Counting Down to CHA 2017: Handmade Cards with Starshine and Go Now Go
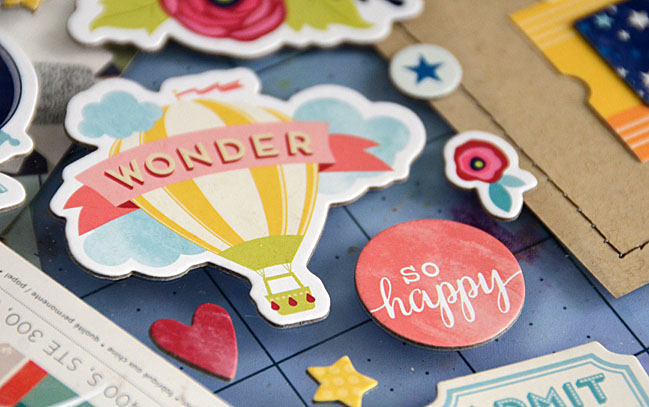
Contributing Designer May Flaum recently shared a 1-2-3 approach to card making on her blog, with plenty of Starshine stickers to embellish. I love her take on how simple it can be to make your own cards, so I followed her steps but changed the collection. In just a short little window of time, I had three cards ready to send, so I know this will work with your stash favourites too.
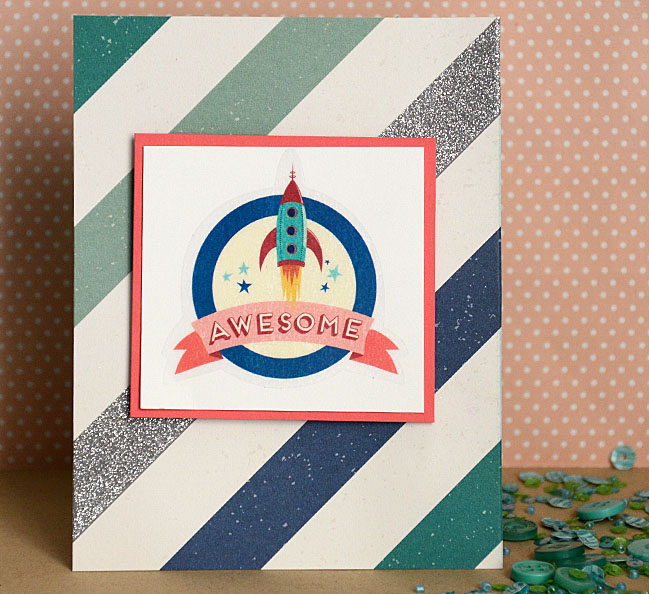
May’s 1-2-3 approach starts with a simple combination of choosing one patterned paper to become the card, one sticker or embellishment to become to the focal point, and a matted square between the two.
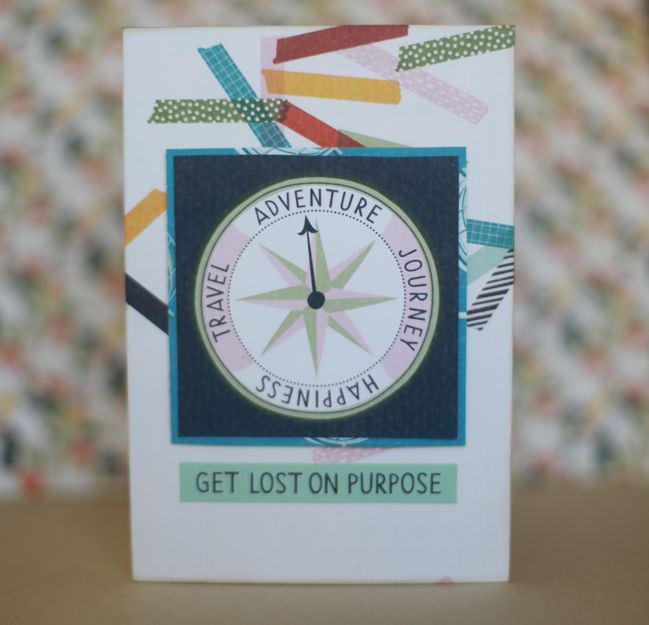
The only thing I did differently when working with the Go Now Go collection to add a word strip sticker below the compass. That compass square comes from a cut-apart sheet of paper, and that washi-styled background paper is one of my favourites for cutting into journaling boxes.
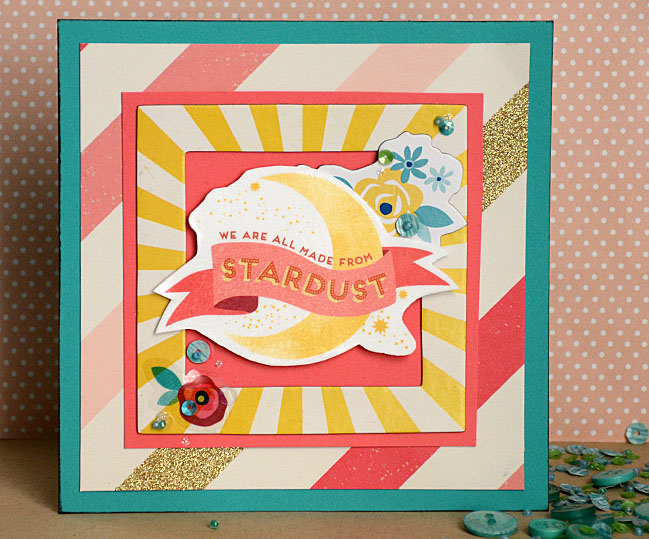
For card two, May sticks with the patterned paper background but looks within a collection for something that has a frame, like the chipboard stickers in the case of this square. She still uses a big sticker or die-cut as a focal point, but dresses it up with things like her collection of beautiful sequins and buttons.
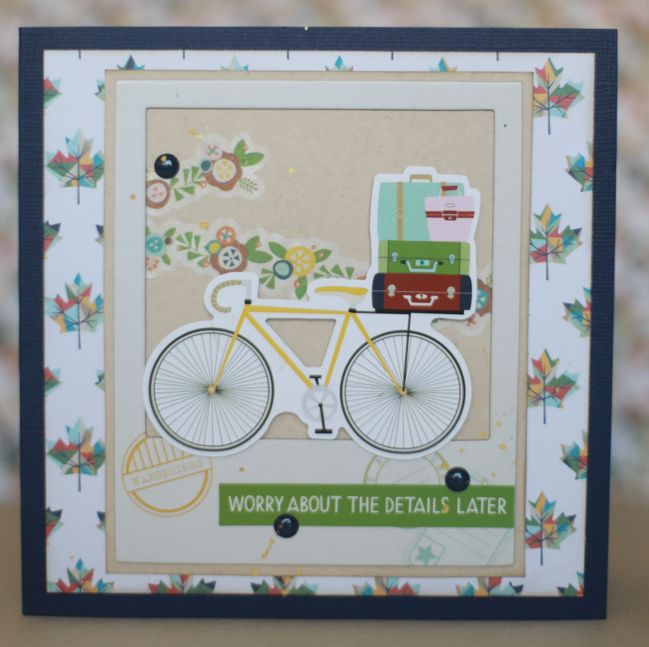
There’s a chipboard sticker frame in the Go Now Go collection too, so that was an easy choice to follow her formula. Both the bicycle and the floral washi tape stickers are from the sticker book, and instead of sequins and paint, I used a few enamel dots and some gold mist.
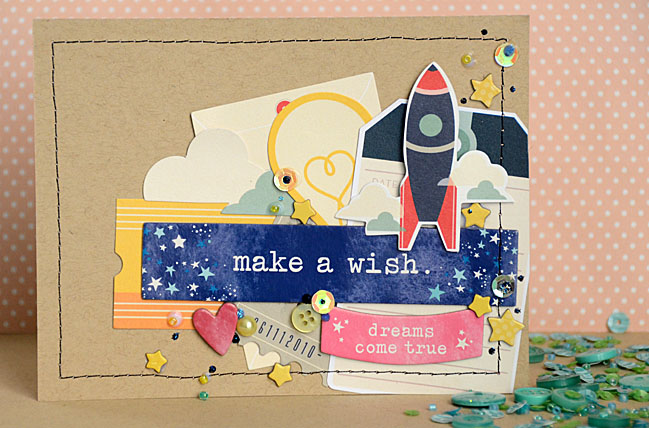
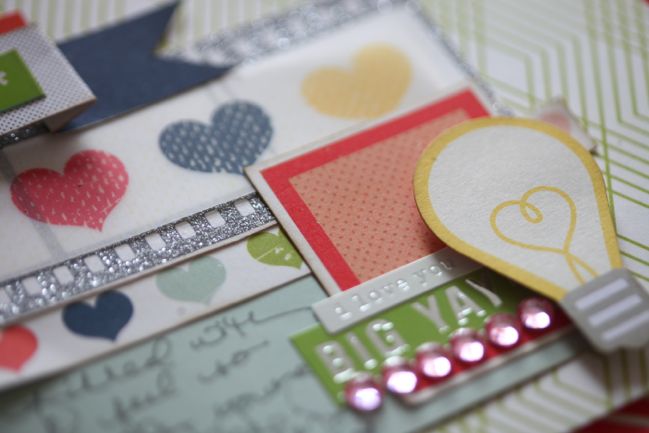
It’s step three in that 1-2-3 card making process when May lets loose with a more collaged look that can incorporate leftover stickers, die-cuts, and paper scraps. Starting with kraft cardstock instead of another sheet of patterned paper makes it easier to see all the elements she selected and layered across the front of this card. Plenty of sparkle from glitter glue and sequins makes for something very special!
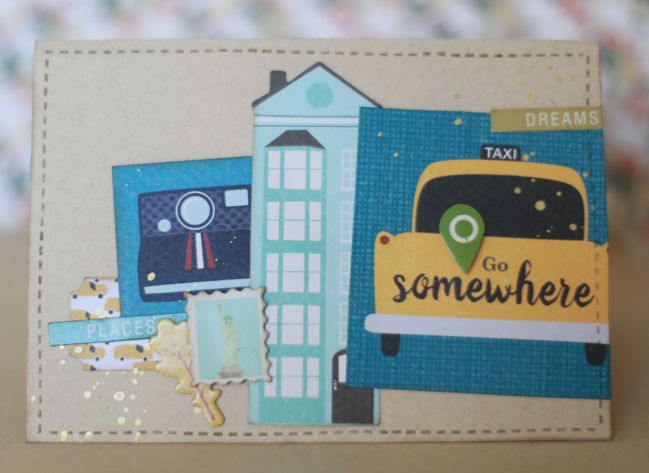
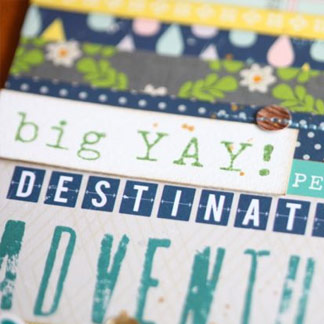
I kept that kraft cardstock look for the background and piled on pieces from the cut-apart papers, labels punched from patterned paper scraps, die-cuts, stickers, and chipboard, before sprinkling with more gold mist. May used her sewing machine to add the stitched frame, but I cheated and used a stitched border stamp design to try something just a little different. As soon as I finished this card, I knew exactly who would receive it: a friend who always has a serious longing to be in New York!
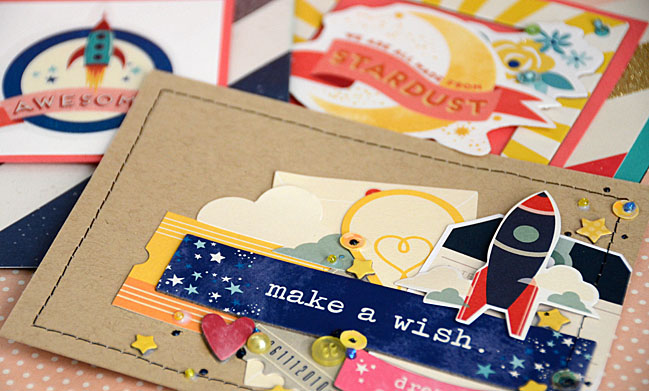
I love May’s philosophy on making cards like this, and following the steps made it a much more streamlined process than my usual card making endeavours! I always seem to forget how paper works for at least an hour if I start on a card rather than a scrapbook page, but not this time. All three were done in a flash and with very minimal mess to tidy. I think this process works well in both directions: if you have a collection you love and want to use in every way, make a set of cards you will send to others, whether they be for an occasion or just for little notes. If you prefer to work with scraps, you could choose a nice combination to use then create sets either to write and send yourself or to bundle together and give as a gift. Thank you, May!
And thank you for your love of Starshine. If you have a favourite Starshine project you’d like to share, please leave a link in the comments. I’d love to see! Tomorrow we’ll talk a bit more about Go Now Go, while I get my bag packed for CHA 2017!
![]() Comment [8]
Comment [8]


