pretty paper. true stories. {and scrapbooking classes with cupcakes.}

lovely to meet you Twitter Facebook Pinterest YouTube

Take a Scrapbooking Class

online scrapbooking classes

Shop Shimelle Products

scrapbook.com simon says stamp shimelle scrapbooking products @ amazon.com shimelle scrapbooking products @ amazon.co.uk

Reading Material

travel

american crafts Category

Go Now Go: my new collection with American Crafts

Go Now Go scrapbooking collection from Shimelle and American Crafts

What’s on my desk? Something so exciting for me!

Go Now Go scrapbooking collection from Shimelle and American Crafts

Go Now Go is my newest collection with American Crafts, and it makes its debut today on the AC blog. I’ve just been able to start to work with the actual products and a bit later today, I’ll share a first look video with you on YouTube.

Go Now Go scrapbooking collection from Shimelle and American Crafts

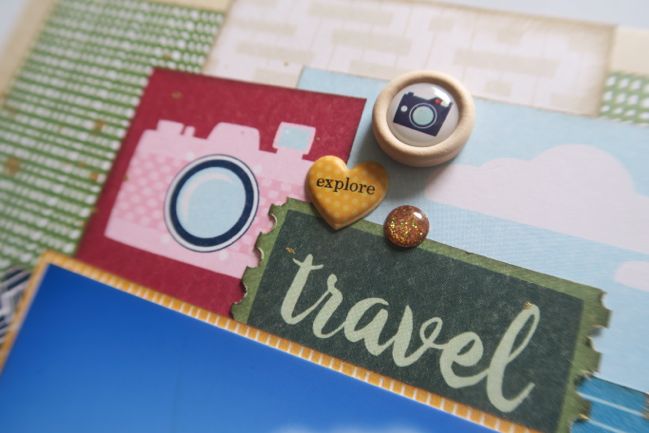
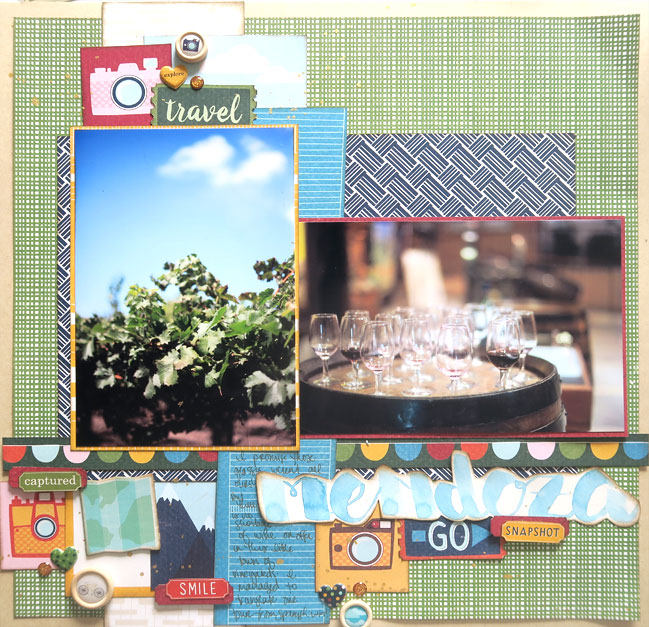
I made one page as soon as I turned off the camera from filming with that, and I’m loving the rich colours and blue skies. Colour, colour, and more colour please and thank you.

Go Now Go scrapbooking collection from Shimelle and American Crafts

I can’t wait to share more with you, so I hope you’ll stop by again soon!

Special treatment for scrapbooking a special photo

scrapbooking a special photo // scrapbook page by Gina Lideros

Happy Friday! Contributing designer Gina Lideros is here with a beautiful and colourful layout to inspire you. I hope you have a crafty and creative weekend!

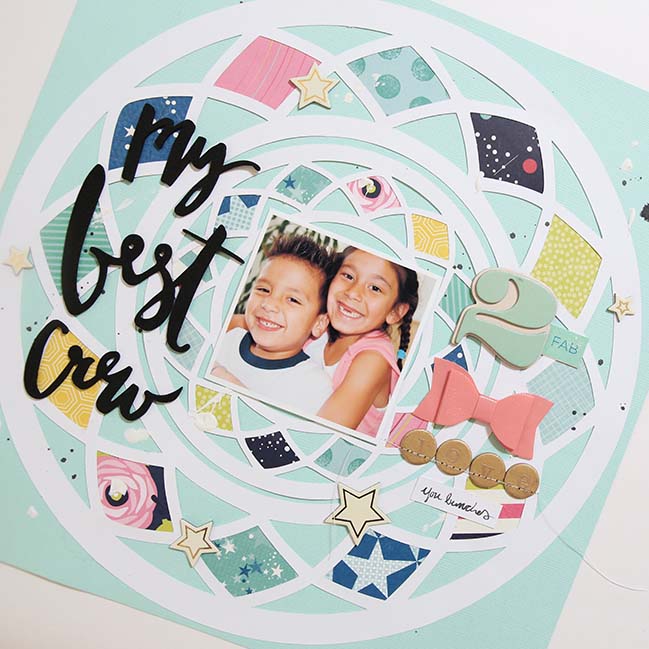
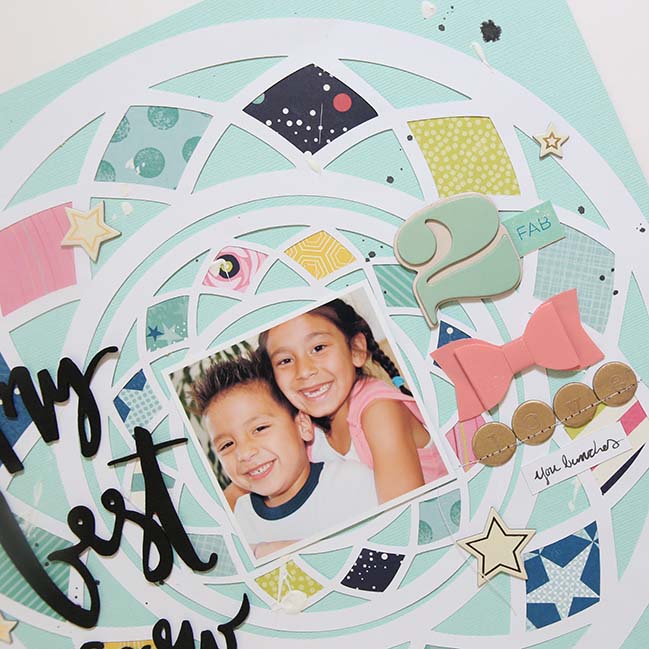
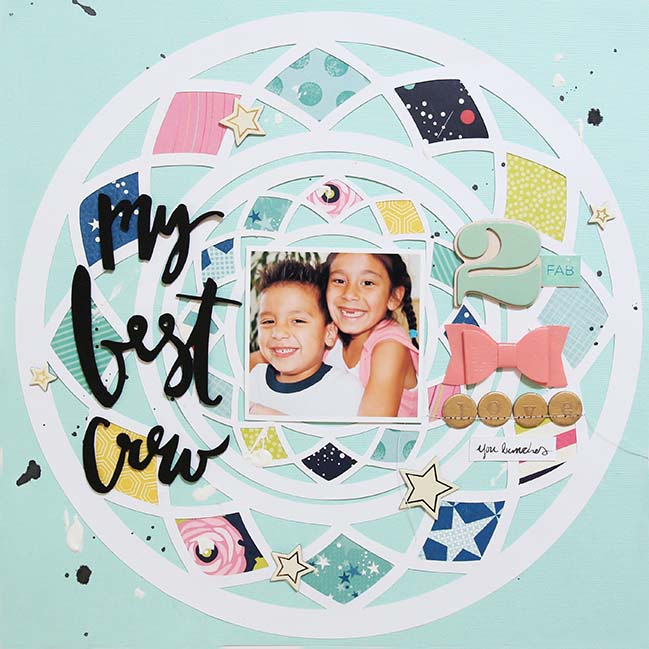
I really loved this picture and knew it had to be used on a layout. This photo is of my daughter and son and was taken over ten years ago. Oh my! How they have grown during that time. I love looking back on old memories such as this, when they were so little. This photo captures their personalities and how close they are. I loved using the Starshine collection for this layout. I felt that the colors in the collection helped match the
colors in the photo.

To create the circle frame around the photo, I used a cut file from the Silhouette Design store called Circle Frame Lace Decoration, and doubled it to make one larger circle and one smaller circle cut out of white cardstock paper. I backed the circular design with patterned papers and then adhered it to a light blue cardstock background.

scrapbooking a special photo // scrapbook page by Gina Lideros

The title “My Best Crew” was created using foam word thickers from the Dear Lizzy collection. I love adding inks and mists to my pages, I achieved this by flicking drops of black spray mist and drops of white paint across my page. After the paint was dry I printed my small square photo and added it to the center of my layout.

scrapbooking a special photo // scrapbook page by Gina Lideros

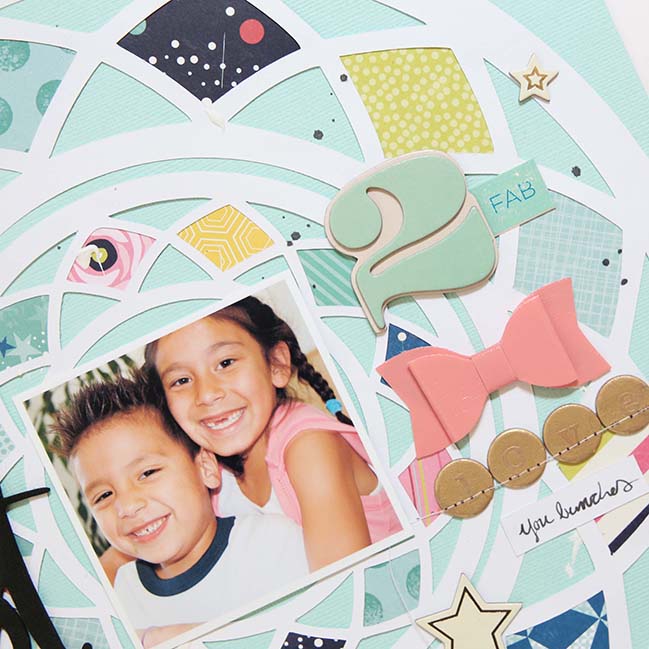
After my photo was adhered, it was time to add embellishments! I chose chipboard stars from Shimelle’s Christmas Magic collection. Because these stars are so neutral they go with all sorts of projects not just Christmas! They are in the Starlight Thickers set, which has plenty of numbers. I also raided my scrap room for some embellishments and Thickers from Shimelle’s first collection. Those gold letter Thickers are some of my favorite stickers. I spelled out the word “love” using them and stitched over them with my sewing machine.

scrapbooking a special photo // scrapbook page by Gina Lideros

The last step to put the finishing touch on my page was to journal “you bunches” on a white strip of cardstock paper and adhere it under the gold letters. I also added a light pink bow from WRMK’s new Wildflower collection. The light pink mixed with the light blue add the perfect softness to my page.

I hope that I have inspired you today to scrap an older photo and use circles in a unique way! Please share your creations with us.
-Gina

Glitter Girl Adventure 137: An Inky Experiment

Glitter Girl Adventure 137: An Inky Experiment // Distress Ink scrapbook page by Shimelle Laine

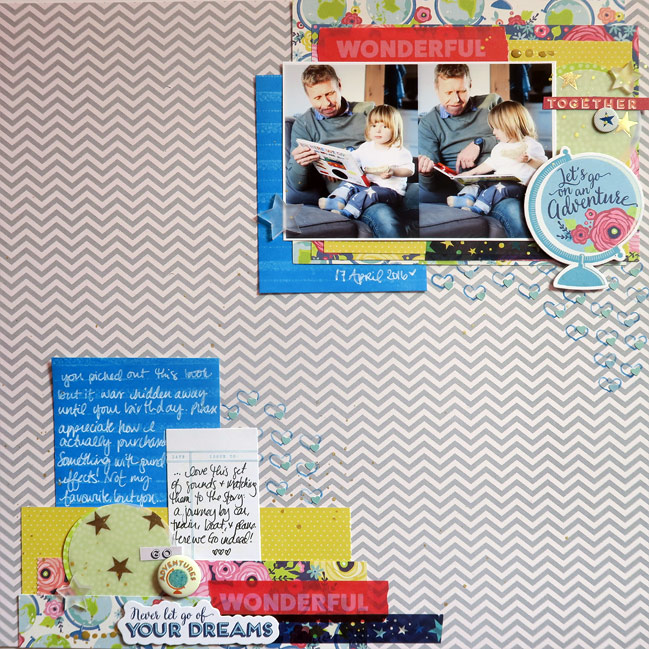
I can’t entirely explain why I have collected a full box of Distress Inks in a range of colours when I don’t do much in the way of inking techniques. I love the looks and could watch card making videos of Distress techniques all day in some land of fairy tales and yet I only seem to make cards when I’m in panic mode and can’t devote time to trying something new and experimental. But I do spend time on my scrapbook pages! There is no good reason not to just put those inks to use, even with all the little tricks that make them different to a standard dye ink pad. It’s time for Glitter Girl to get on the case.

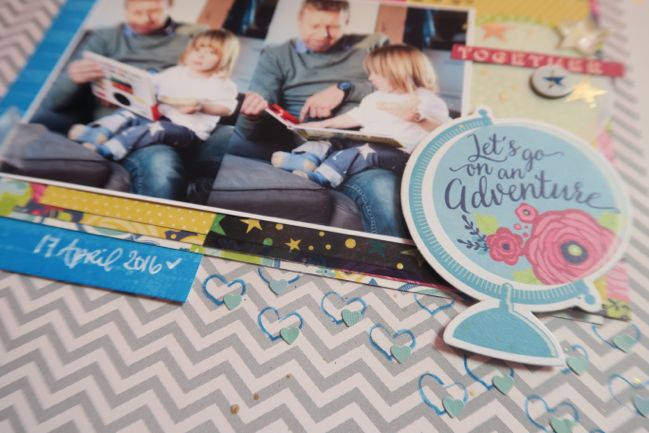
The combination of pencil and the heart stencil was inspired by Kirsty Smith’s page here. Kirsty often works with many white elements on a page, but I almost always go for fully saturated colours, so swapping from traditional pencil to coloured pencil was perfect for adapting the idea!

Glitter Girl Adventure 137: An Inky Experiment // Distress Ink scrapbook page by Shimelle Laine

This page features the Starshine and True Stories collections, along with washi tape strips and tiny heart stickers from Studio Calico, and Ranger Distress Inks.

If you enjoy Glitter Girl’s Adventures and chatting about scrappy things, please find us on Facebook: Scrapbook like a Superhero is a group of scrappers with plenty of ideas to share and possibilities to discuss.

Glitter Girl Adventure 136: Multiple Photo Mayhem

birthday scrapbook page by shimelle laine - with Glitter Girl process video

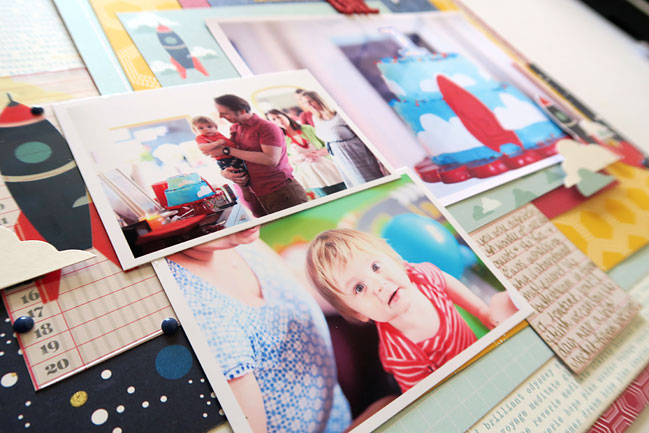
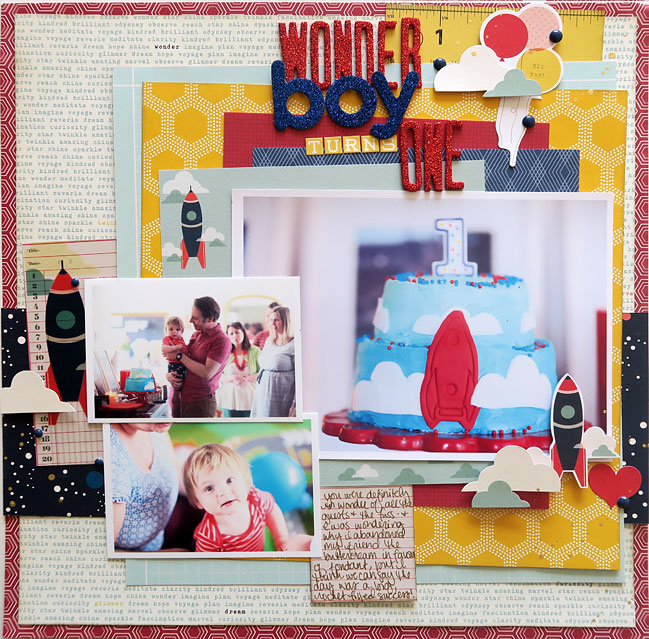
This week, Glitter Girl is on a quest to help with those situations where you have lots of photos and quite like the idea of using more than one size of photo, but that’s where the stumbling block hits. I’ve She’s chosen Wonder Boy’s first birthday party as the plentifully-photographed event, and a year on, there is just one page in my scrapbook from that day. There are about fifty photos in a folder on my computer so perhaps it’s time to make some progress with that!

I won’t scrapbook all fifty, but I do think I’ll make about four 12×12 pages on this, and I know two of them will be single photo layouts – the one I already made and one I have in my mind with a photo that doesn’t really match the look of the other pictures I have from that day. That leaves me with two pages left and forty-eight photos to choose from!

birthday scrapbook page by shimelle laine - with Glitter Girl video on scrapbooking with multiple photos

Going through that folder and thinking about the day helped immensely: I knew I wanted a big picture of the cake, then I have a bunch of other snapshots from various moments of the day that aren’t really stunners in the same way as those two that will get their own layouts, but they capture the way I remember that day now and that’s exactly why I want to get them in my book. I knew it would be way too many to include all those on just one page, so combining two with the cake worked for me.

birthday scrapbook page by shimelle laine - with Glitter Girl process video

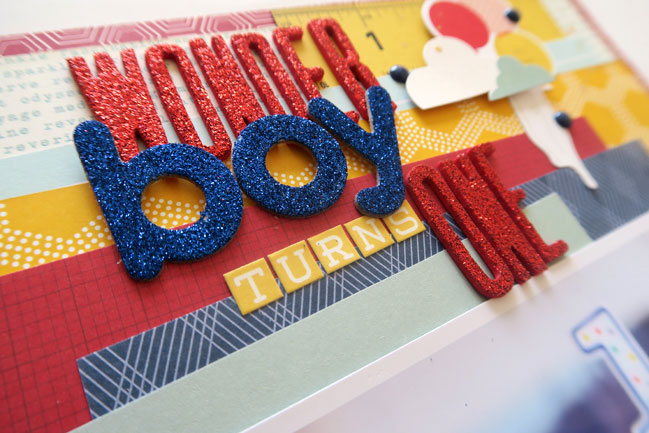
There’s lots of True Stories supplies on this page, though in the complete layout there is actually at least something from all four of my collections with American Crafts, since the red letters are from Christmas Magic! But definitely plenty of True Stories rockets, as that was the big design feature of the party. Is using a particular paper line for the party decor and then using it again to scrapbook those photos venturing into the territory of buying patterned paper or die-cuts first then going out to buy clothes to match? It just might be. I think I’m okay with that.

A Last Minute Easter DIY + A Special Sale

Easter decor by Gina Lideros
Two little extras today for your Easter weekend: first, it’s not too late to do a little Easter decorating, and Gina Lideros has a project that is quick and easy and perfect to do either by yourself or as a collaborative family project. Then something just for you: a sale on some classes so you can have a calorie-free Easter treat!

Easter decor by Gina Lideros
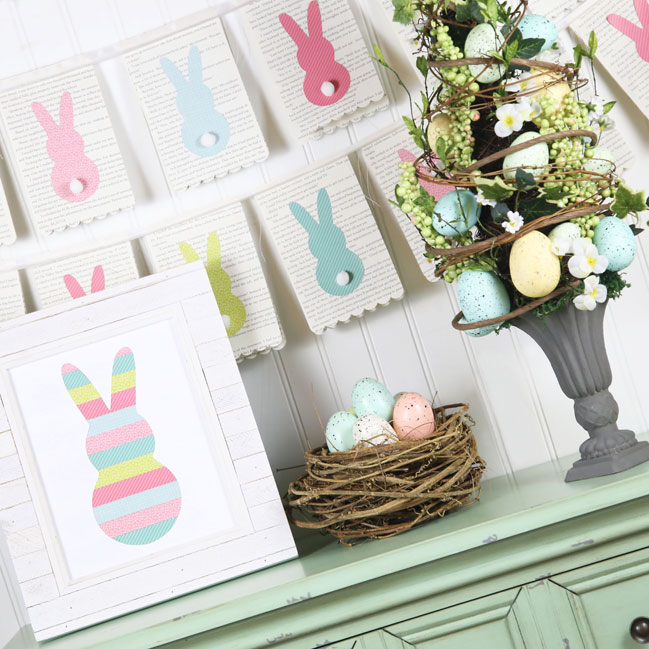
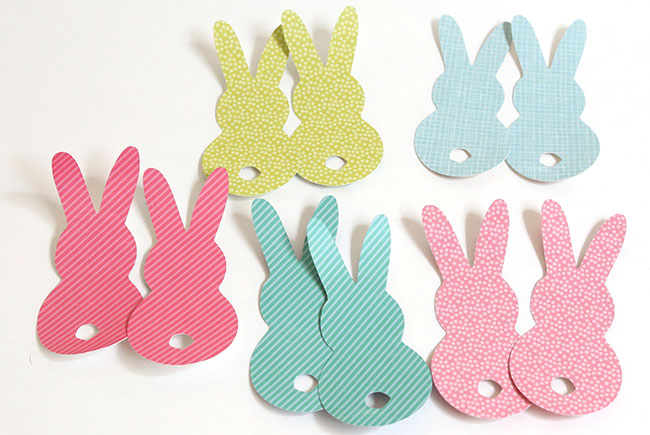
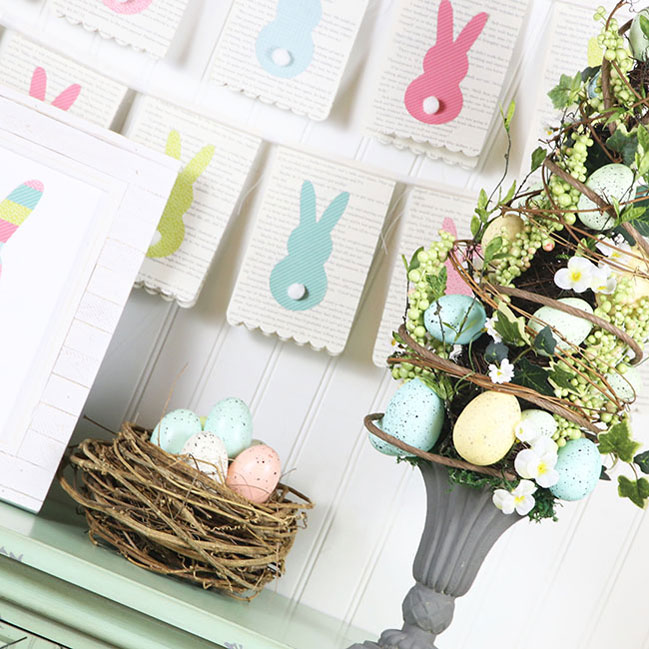
To start creating my banner I used my Silhouette Cameo to cut little bunnies out of patterned paper. This file in the Silhouette store works beautifully, but there are plenty of different Easter shapes so you can choose something to your liking.

Easter decor by Gina Lideros
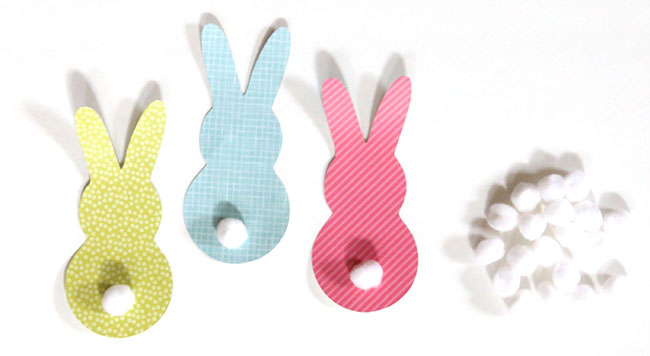
I thought that the little bunnies could use cute cotton tails, so I applied a small fluffy tail to each one for a quick and easy detail.

Easter decor by Gina Lideros
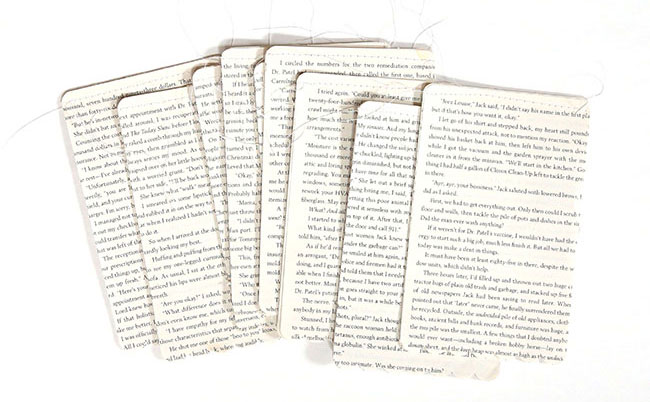
I used old book pages for the background of each piece of the banner, sewing them together for a bit more strength and using a border punch at the bottom for a cute scalloped edge. You could easily use patterned paper for this step too – select a small pattern in a pale color or a color that gives you a good contrast with your bunnies.

Easter decor by Gina Lideros
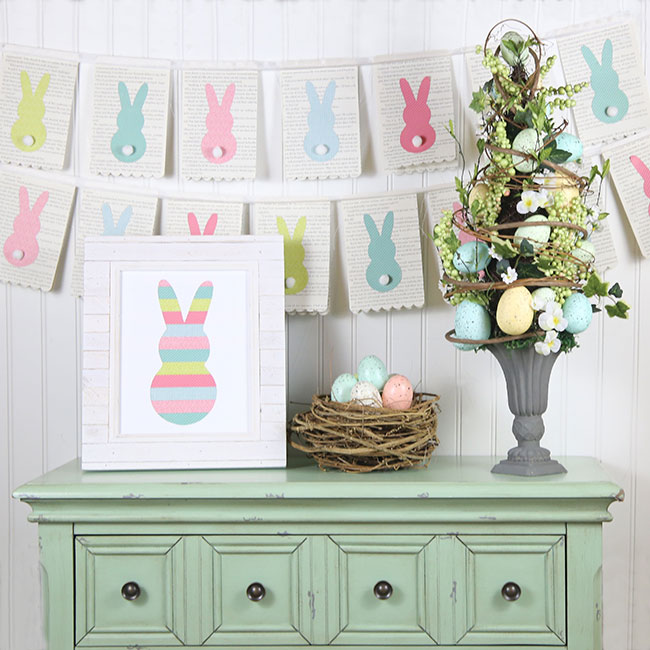
I added seam binding to the top to bind the banner together. Then I just adhered a bunny to each piece and my banner was ready to hang. I also created a small bunny framed piece by taking strips of patterned paper and adhering them behind a bunny that I cut out using my Silhouette Cameo. It’s the remaining piece from when I cut the bunnies for the banner, so it’s nice to have the potential to use both the positive and the negative when cutting the design!
- Gina

Easter decor by Gina Lideros
I’m very happy to say I’m in the final stages of a new class – finally! So this weekend I’m offering a special price on some existing courses that complement the new one coming up so soon. Chief among them is Cover to Cover, the course that covers how I went from treating every page like an individual project and just stacking the pages up in endless piles of disorganised craft to putting the book back in scrapbooking and finding an album system that absolutely changed this hobby for me. This is something I also discussed in the audio course format with Noell Hyman in the Story Centred Album recordings, but Cover to Cover is a course of PDF and video content that goes into step by step detail of how I made my photo storage work, how I got all those stacks into albums that made sense to me, and how keeping things really, really simple lit a flame under my creativity to keep making pages that told my stories. This course is normally $30 USD, but over the Easter weekend, it’s just $22. You can read all about the course here, but be sure to come back to this page to pay, as the sign up button on that page will charge you the normal full price.
Sorry this offer has now expired. The class is still available at the full price on the link above.

Next up is Inspired By, a group video workshop where several of us chose something as our inspiration piece then shared how we went from that inspiration to a new finished layout in a start to finish process video. The class includes ten videos plus a reference PDF, and normally costs $15. This weekend, it’s just $10. Again, you can read about the class details here, but be sure to return to this page to purchase so you get the discount!
Sorry this offer has now expired. The class is still available at the full price on the link above.

And the third and final special offer is slightly different. Glitter Girl’s Scrapbooking Survival Guide is a course I originally taught at Two Peas in a Bucket and it hasn’t been available since their closure. This is another thing finally reaching that point where I get to cross it off the list! If you took this class at Two Peas, you do not need to purchase it. We will be adding your access here, but it takes some time as there isn’t an easy way to transfer the list from their site to mine. But those names will start to be added on Tuesday and I will post here when we are through the full list so you can get in touch then if you should have had access and aren’t seeing it in your class list. But for those who have never taken the class, it’s now available for signing up! At Two Peas, the course was broken into two purchases – the ten video Survival Guide class for $25 and an additional extended video (Glitter Girl’s Guide to Stretching your Stash) was an additional purchase. Here, it will all be together for the $25 price on an ordinary day, which is already a saving since you basically get an extra mini workshop for free. But this weekend, you can purchase the full set for $18. That’s eleven videos (including one that is significantly longer than the rest) and five accompanying PDF files to break it all down. Class access for this course will be sent on Tuesday and Wednesday, the 29th and 30th of March.

Some important things
…Class access for Cover to Cover and Inspired By can take up to 24 hours. Class access for Glitter Girl’s Scrapbooking Survival Guide will take place on Tuesday and Wednesday. You should receive a welcome email in that time frame, and if it’s your first class purchase here, you’ll also be sent login details in a separate email. They can sometimes go to your spam folder, so keep an eye if you don’t see it in your inbox.
…These classes are all archived and you will access the materials online. They include permanent access and you can access them any time, at any pace, and in any order you fancy, as long as you have an internet connection. If you already have an account and want to check what classes you already have, you can find that here, but remember your classes won’t be visible until you sign in with your username and password.
…Sale prices end at 6am UK time, Tuesday 29th March 2016.
…You can always contact me at shimelle@gmail.com if you have any questions with your purchase.

Easter scrapbook page by Heather Leopard
That’s enough blather from me! Have a beautiful Easter weekend and do not miss the fabulous Easter crafting tutorials from Heather Leopard while you’re here!

Scrapbooking photos edited with a phone app

scrapbooking photos edited on your phone - layout by shimelle laine

Looking over what I’ve scrapbooked in the last year or so, what is your percentage of photos taken on your phone versus a camera that is just a camera? If we don’t count that one year of Project Life documentation, my actual camera is still winning, but the gap is closing – it’s probably forty percent phone and sixty percent camera for me. My dedicated camera still wins simply because the quality is better and I’m better at using it, while I tend to reach for my phone when I need to snap something quickly and I aim purely for the speed and my composition and exposure and anything else pretty all just goes out the window. So I edit. Of course there is an app for that. In fact, there are roughly eleven zillion. I asked today’s guest designer Gretchen Henninger to share how she edits her phone photos and my entire plan was that we would show you at least two apps because there would be two of us and there are roughly eleven zillion apps so it would be a start.

We both use the same app. Of course we do. Let’s see how many of you are already using this one too!

scrapbooking photos edited on your phone -original phone photo

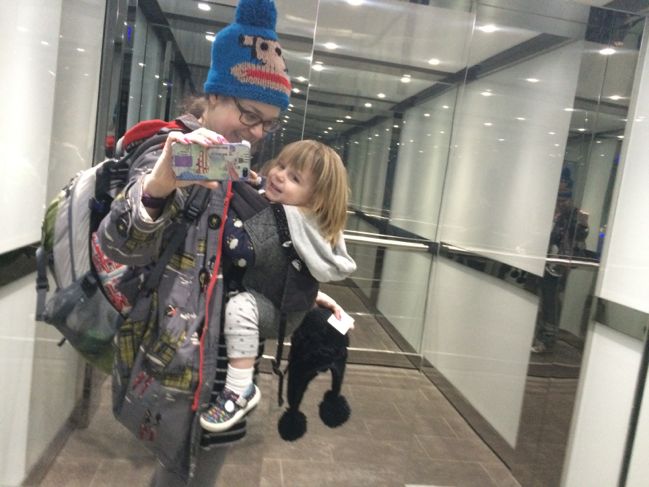
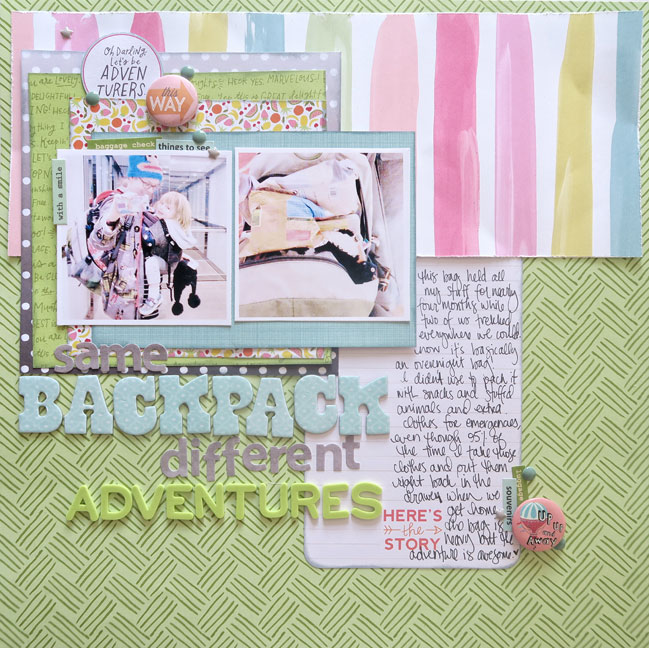
Here’s my original photo. I wanted to snap a picture that showed this entire packhorse situation of backpack and toddler, and preferably with a happy face on the toddler. That means I have to be quick, so this is what I ended up with. It’s crooked and the colour is pretty bland and perhaps someday someone will wonder why you can actually see my photo in so many of my pictures but it’s going to keep happening because I can’t get on board the with entire concept of a selfie stick, which is something for a whole other day.

My first edit to this photo was to straighten it and crop it, both of which I just did right there in my camera roll.

scrapbooking photos edited on your phone - using Pic Tap Go

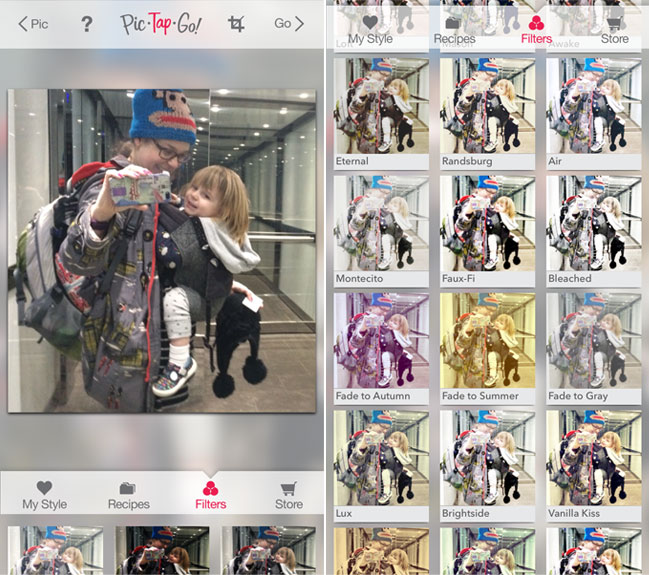
Then I loaded it into PicTapGo, which looks like this. It’s basically the phone version of Totally Rad Actions, the Photoshop editing plug-in I’ve been using for a long time. You don’t get that level of control, but you get a lot of options and every single filter can be layered and dialled up or down in intensity. You can also save combinations of filters you like and the app will automatically show you the last three combinations you’ve used without you saving anything, so if you want the second photo to match the first, you don’t have to repeat all the steps. That’s what I did with the two photos for this layout. When you’re happy with the edits, it’s just a click to save it to your camera roll or post to social media.

scrapbooking photos edited on your phone - layout by shimelle laine

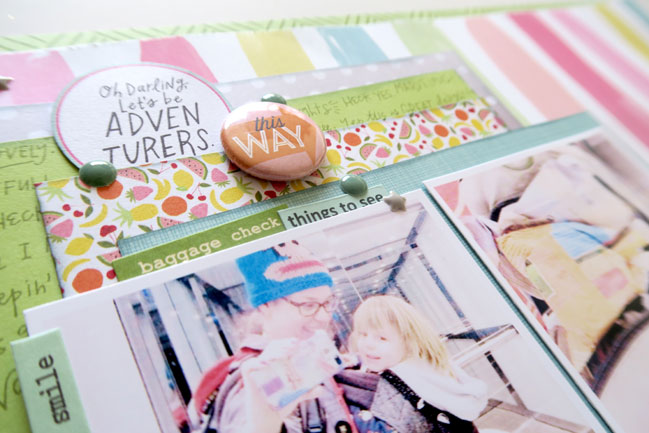
I printed both photos on a single 5×7 sheet on my home printer and scrapped them with papers from the Dear Lizzy Happy Place line. I hadn’t been sure what I would use this line for until things were a bit more spring and summer here, but then I realised how much I love the greens in this collection. I need to go back and get more sheets of the green patterns. The shades are really lovely, and I am totally saying that the tropical fruit pattern fits perfectly with journaling about how I now can’t leave the house without multiple snacks in my bag. Even if on days when it’s packed this full, the snacks must be sturdier than tropical fruit. I’m still going with it.

Now I edited my photos because they were just a bit lacklustre from being taken so quickly, but Gretchen has a specific challenge situation she finds herself in not uncommonly. Basically because her husband is a rock star.

scrapbooking photos edited with a phone app - page by Gretchen Henninger

I love using my camera phone to capture everyday moments, or evenings out when carrying a full-sized DSLR would be a nuisance. I edit almost every camera photo I take with PicTapGo. With a few quick taps I can lighten, sharpen, and crop a picture and have it ready to post on social media or print for scrapping.

scrapbooking photos edited with a phone app - page by Gretchen Henninger @ shimelle.com

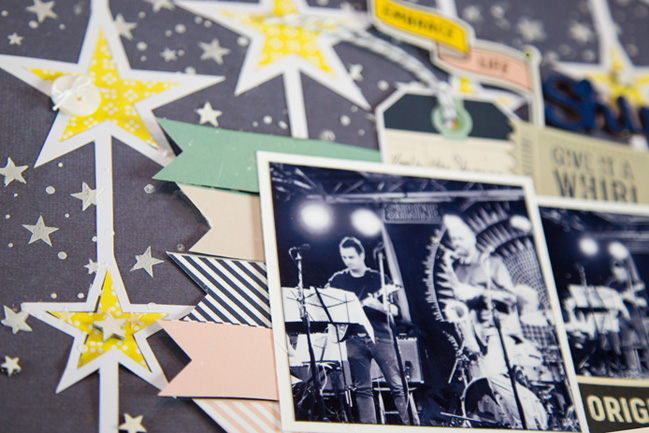
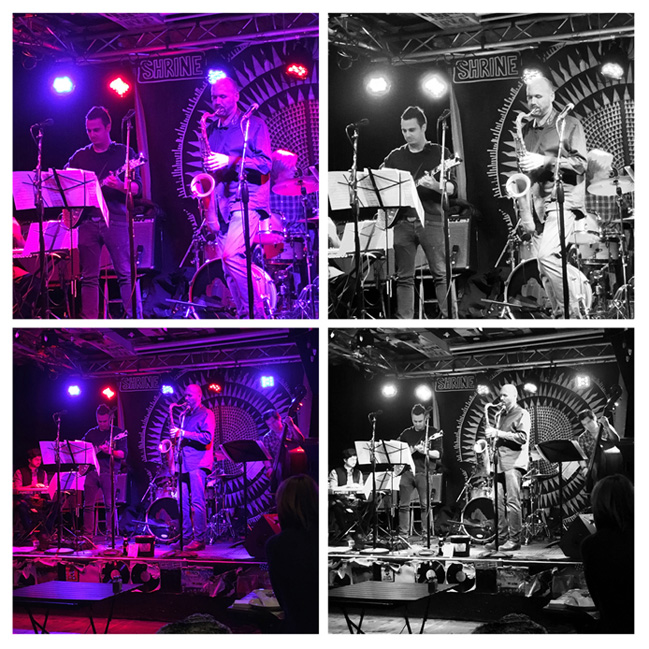
I struggled with the lighting in these photos that I took of my husband on stage. I played around a bit and decided to use the Metropolis filter, which converted the photo to black and white and sharpened the contrast.

scrapbooking photos edited with a phone app - page by Gretchen Henninger

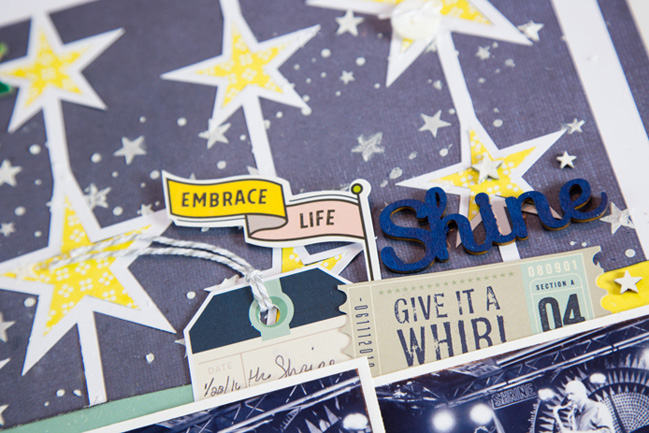
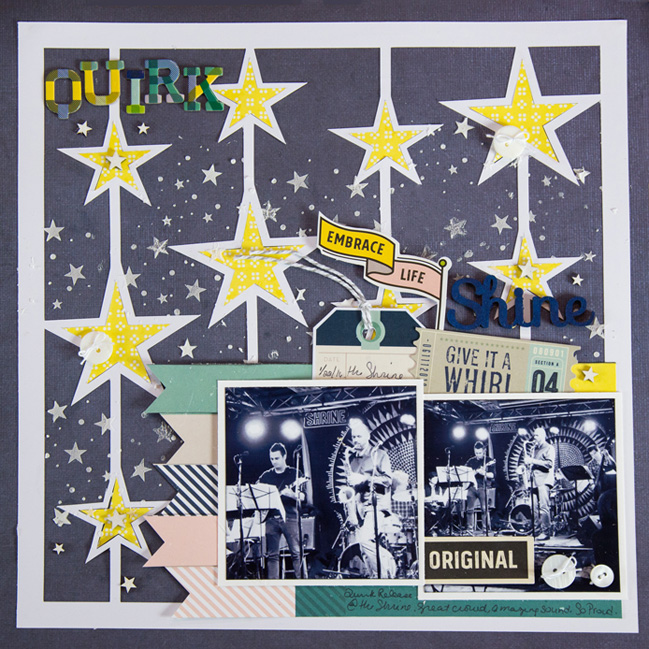
With the distracting colors gone, I was able to pick my papers and get to work scrapping this fun event. I decided to use a star-studded background: Miss Kate Camping Overlays, cut on my Silhouette, and a mix of product from Shimelle’s True Stories collection and Simple Stories’ A Charmed Life.

I added emphasis to each of the stars by layering them smaller embellishments like Studio Calico wood veneers and buttons. After all, my husband is the star of my life.
-Gretchen

scrapbooking photos edited with a phone app - page by Gretchen Henninger

We’d love to hear what apps you love for editing photos taken on your camera before you scrapbook them! Even if you’re another PicTapGo fan!

Today’s Guest Artist: Gretchen Henninger loves knitting, hiking, and photography. You can find more from Gretchen on Instagram, YouTube, Twitter, and her blog.

Weekly challenge: Take inspiraton from maps or globes

weekly challenge: take inspiraton from maps or globes @ shimelle.com

Oh hello there. Let me bring us back to our regularly scheduled scrappiness. A few things (mainly Wonder Boy learning he cannot actually fly) made me hit my first real bump in the road with keeping up with my master plan, but I hope you were able to use the pause in time to catch up with some crafty things and you’re ready for something new now! I am, and I’m happy to say I finally got unstuck with the project that was sitting half-finished on my desk pre-derailment, and got that scrapbooking project and several others finished and photographed today. Huzzah! I’ll have a few extra things to share in the next few days as I play catch up, but let’s have our weekly challenge on Monday while it’s still just barely Monday in my time zone, shall we?
weekly challenge: take inspiration from maps or globes @ shimelle.com

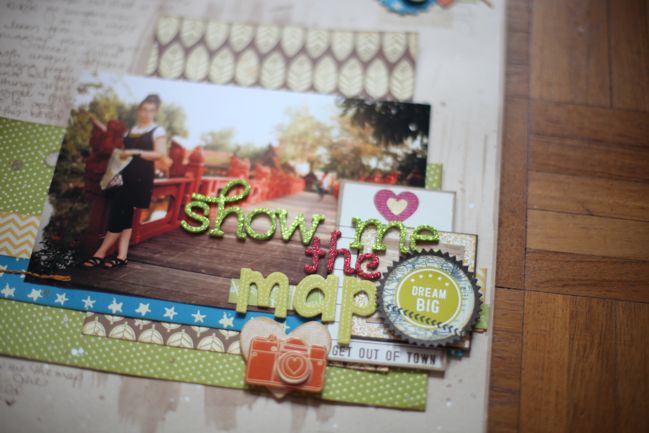
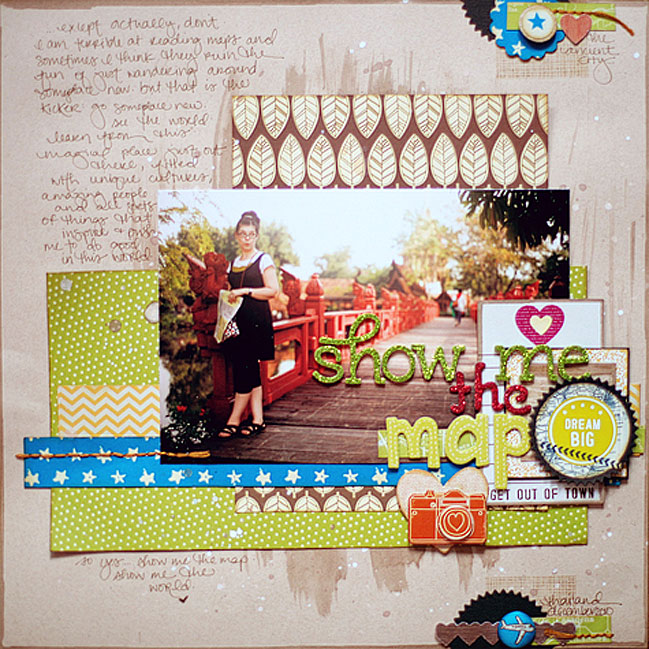
Way back in 2011, I wasn’t designing products for American Crafts but instead designed projects using their lines as part of my year-long spot on their design team. It coincided with the start of Amy’s collections at AC and it was definitely a joy to have every little piece of those collections, as I’ve always cherry picked my favourite pieces when doing my own shopping and can’t think of a time when I’ve splurged on an entire collection in one go. (I have been known to go back and buy missing pieces if I’m really loving how one collection works, though!) At any rate, this page is one of my favourites I created in that year of designing with all things AC, and it’s relevant to this week’s challenge, I promise!

And now, on to the challenge! This week, think as symbolic as you choose. I challenge you this week to take maps or globes as your scrapbooking inspiration. Just create a new scrapbook page inspired in some way by the idea of maps and globes – be that a more literal travel page with globe-shaped die-cuts or something more metaphorical, like a personal journey toward a goal. Everything else is completely up to you, so you can take your inspiration in any direction you like! To get you started on this week’s challenge, take a look at these examples from contributing designer Kirsty Smith and guest artist Margie Visnick.
weekly challenge: take inspiraton from maps or globes @ shimelle.com // layout by KIRSTY SMITH

weekly challenge: take inspiraton from maps or globes @ shimelle.com // layout by KIRSTY SMITH

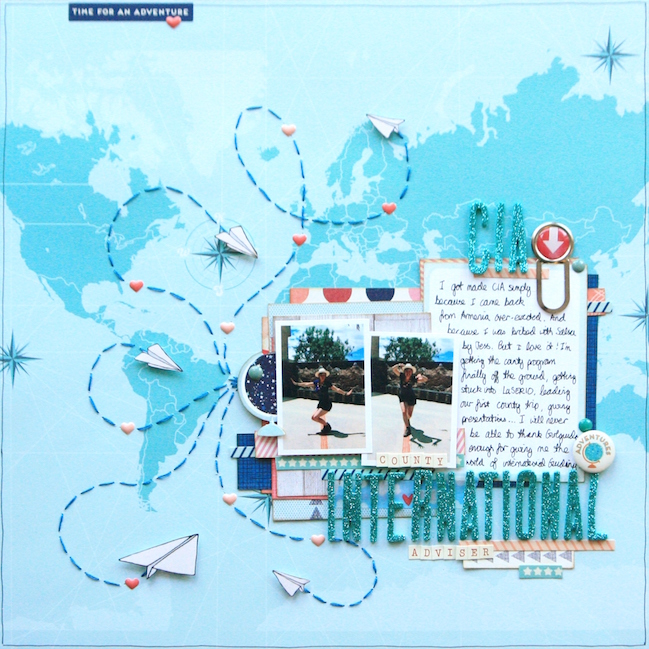
One of the things I love most about the Starshine collection is that it really does work for a huge range of different subjects and styles. I LOVE to travel and take photographs as I explore, and I’m always on the lookout for new designs and ideas to inspire my travel layouts. Starshine seems absolutely tailor-made! I adore the little starry globes in Shimelle’s new line and I used one as a great starting point for this page.
weekly challenge: take inspiraton from maps or globes @ shimelle.com // layout by KIRSTY SMITH

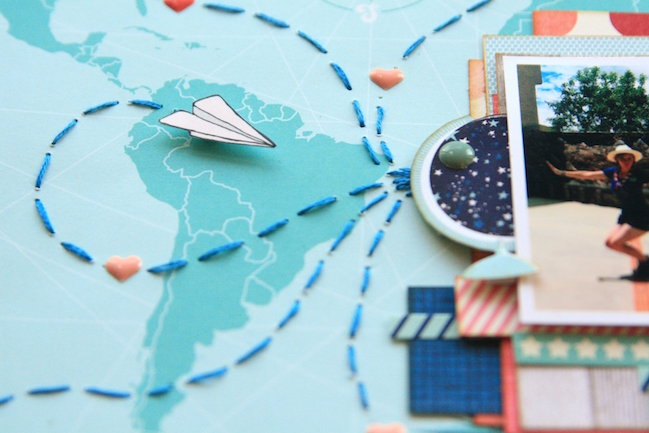
I used the globe as a focal point on a background of map-themed patterned paper. I added my photos and journaling on one side of the page, and used the starry globe to launch little stitched flight paths for paper aeroplanes soaring around the world.

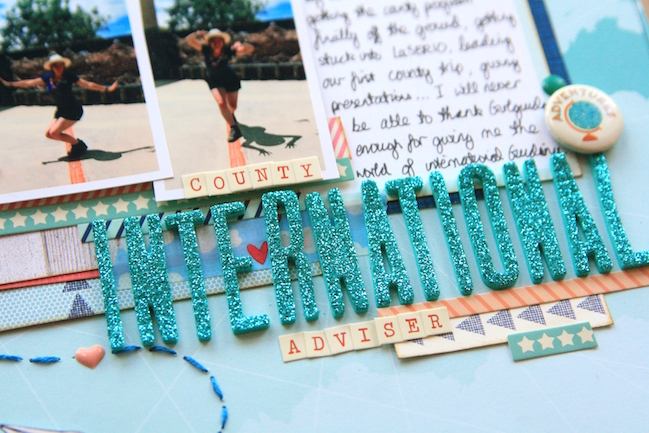
I’m a huge fan of aqua, (I blame Shimelle!) and I layered up lots of coordinating stickers and papers to frame my design and my title, which had to be glittery Thickers! I used little flashes of pink to give a bit of contrast, from layers peeping out behind the photos, to puffy little heart stickers to add detail to the paper aeroplane flight paths.
- Kirsty
weekly challenge: take inspiraton from maps or globes @ shimelle.com // layout by Margie Visnick

weekly challenge: take inspiraton from maps or globes @ shimelle.com // layout by Margie Visnick

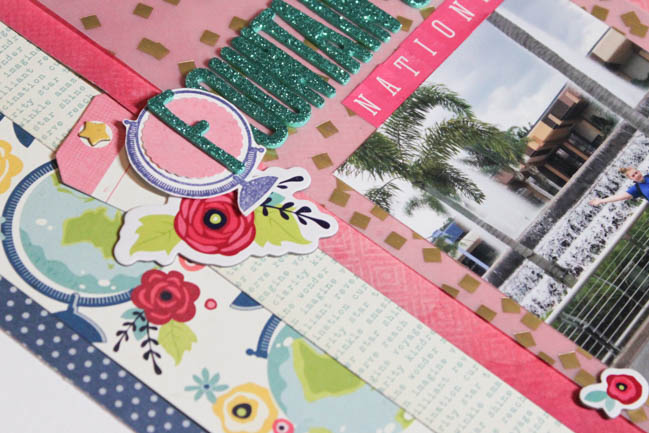
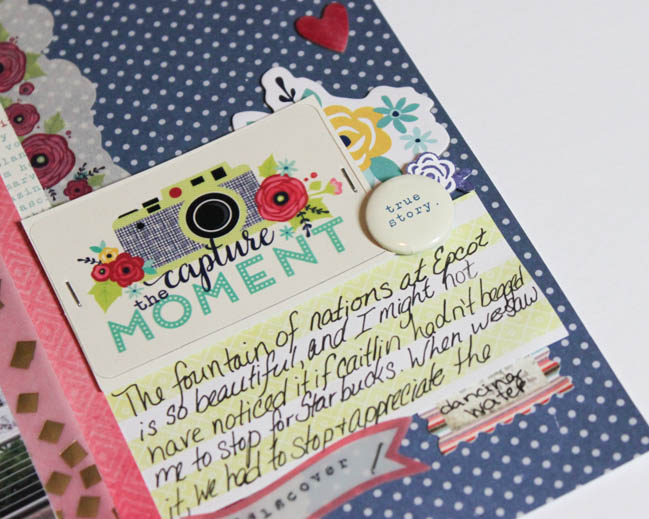
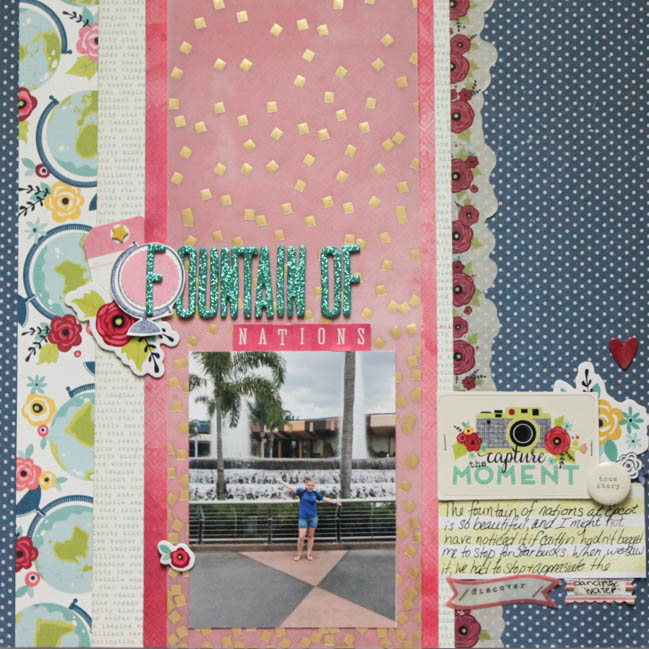
My scrapbook pages are quite often inspired by all of the lovely products that are available, and quite often, it sparks a story or reminds me of a moment that I need to record. This was definitely the case with the beautiful globe print, “Exploration”, from the Starshine collection. The globe plus floral pattern immediately reminded me of Epcot at Walt Disney World, and exploring the “World”, when we were there right after the Flower and Garden Festival. I started browsing my folder of photos from Epcot that day, and stumbled across this photo of my daughter, with a story still waiting to be told, and I had the basics for my page.
weekly challenge:weekly challenge: take inspiraton from maps or globes @ shimelle.com // layout by MARGIE VISNICK

I chose a blue/grey polka dot from the True Stories for the background of my page, and layered it up with several of my favorite patterned papers from the Starshine collection, and a pretty pink watercolor ombre paper from Amy Tangerine’s new Better Together collection, along with a piece of gold foiled vellum from Dear Lizzy’s Fine & Dandy collection. Shimelle’s new floral washi tape from Starshine was the perfect addition to draw the eye across the page, and from there, all that was left to do was to layer up an assortment of embellishments. I mixed all sorts of different bits, mostly from the Starshine collection, all though a couple of wee bits from an old Basic Grey die cut assortment did make their way into the layout, simply because they were on my desk, and needed to be used. I used stamped bits (the navy globe under the first letter of the title, and the tiny navy rose in the cluster to the right), punches, chipboard stickers, die cuts, an acetate piece that I stapled to a scrap of white cardstock so that it would show up, and some flair.
- Margie


You have a week to complete the challenge and share a link – but of course you’re welcome to set your own time schedule. Whatever keeps you happy and creative!

I’ll see you tomorrow to share some new projects of my own. I have both my old + new products and my monochromatic challenge pages ready to show you!

Today’s Guest Artist: Margie Visnick loves scrapbooking, photography, and red velvet everything. You can find more from Margie on Instagram, Pinterest, and her blog.
My take on scrapbooking with hearts

scrapbook page by shimelle laine @ shimelle.com

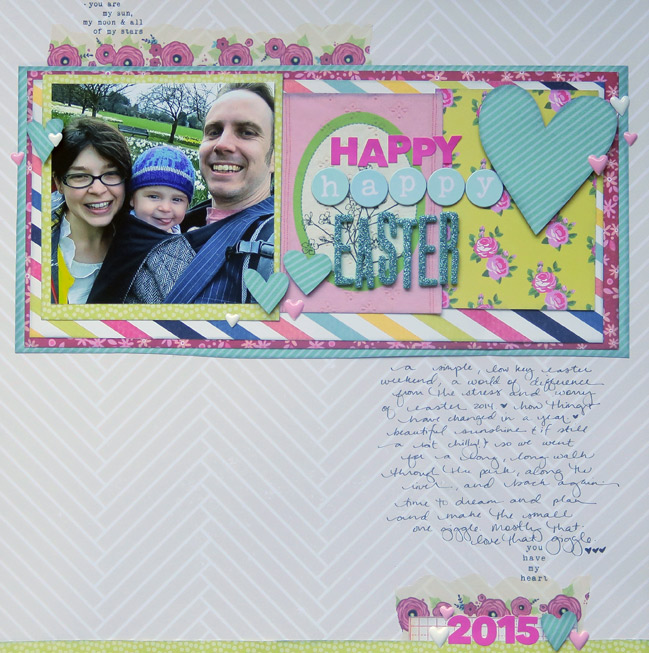
Some days, short and sweet scrapping sessions are just the thing, and that’s the case with my take on this week’s scrapbook with hearts challenge. I had twenty minutes, a photo already printed, and a few papers on my desk. Time to go, go, go!

Cutting boxes is quick, so I cut one square to frame the square photo and three more into horizontal rectangles, each a little bigger than the last. All those papers are from the Starshine collection – the background is from my first collection with AC. The two 3×4 cards were already that size, and easy to find in a box of cards roughly filed by colour. They are both Studio Calico designs – the one of the left from a 12×12 cut apart paper and the one on the right came in a kit from about this time last year.

Using the same paper as one of the boxes for the embellishments is another way to speed things up! Punches and dies are quick and easy enough for cutting shapes, but hearts are something I prefer to cut by hand. I cut one large heart then four small hearts from the scraps around the edges of the big heart.

It was at this point that I really wanted something more floral to pick up on all the daffodils in the background of the photo. (They are out already this year! It’s crazy.) I am currently wasting no opportunities to use that shaped washi tape with the flowers! A little at the top and a little at the bottom of the page made me realise where everything else would go: title between the photo and the big heart, journaling down the page in a column on the right, and a little bit of embellishment below that to connect it all and act a little like a frame so the journaling catches your eye a bit more. I felt like a bit of colour at the bottom would help it not feel so bland, so found another strip of the same paper that frames the square photo to run across the bottom edge.

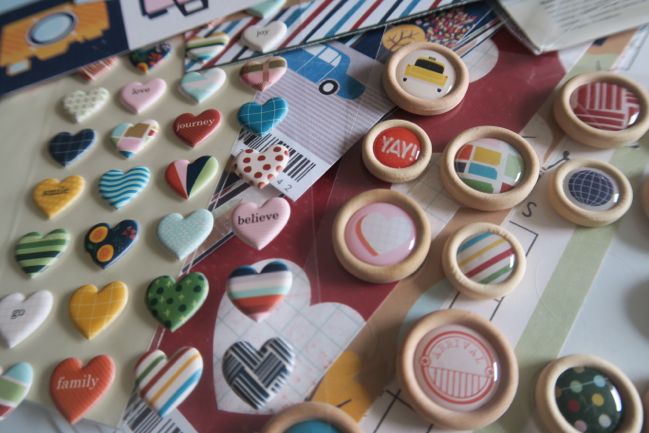
Simple simple title with Thickers and Studio Calico stickers (from that same Valentine kit), two little rub-ons with sweet sentiments in typewriter text (mostly to make the black journaling pen not feel so stark), and a bunch of little enamel hearts from Amy Tangerine.

Start to finish in twenty-five minutes. Because some days the need for sleep and the need for creativity are in a big, big battle, yes?

Happy scrapping with hearts, whether you have just a few minutes or several hours of blissful creating time this week!