Easter Scrapbooking with Starshine and some clever cutting
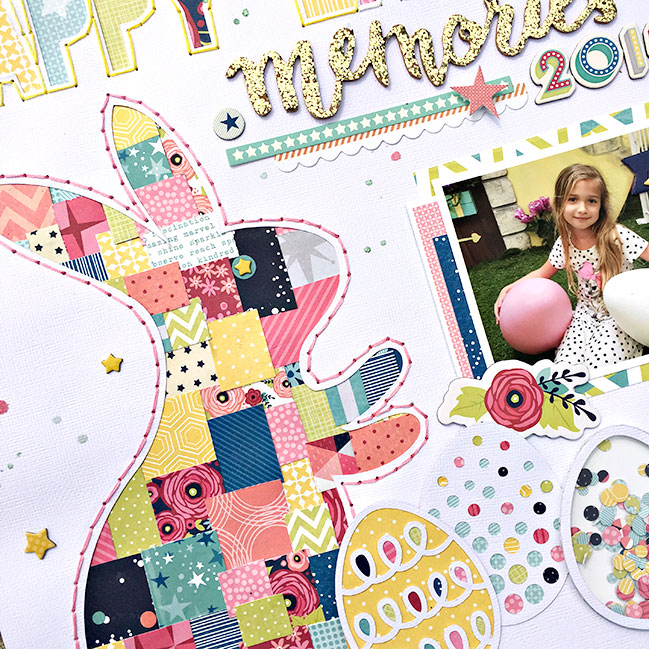
We have more Easter fun here for the holiday weekend, starting with this amazing combination of Starshine papers and shape cutting with the Silhouette or a craft knife from contributing designer Heather Leopard. We can’t wait to see how you scrap this Easter!
Happy Good Friday everyone. I hope you all are ready for a fun-filled Easter Weekend. In honor of this wonderful holiday, I created an Easter layout about my daughter’s trip to visit the Easter bunny last year. I thought it only fitting to include an actual bunny on the layout but not just any bunny would do…it had to be a patchwork bunny ‘cause how cute are patchwork stuffed animals?!
I have a few photo tutorials I want to walk through with you today. First is the patchwork, then the process for how I created the eggs and lastly is the shaker confetti egg. Let’s take a look…
To create the patchwork bunny, I cut the bunny from the white cardstock. I actually thought I would just back the negative space with a fun pattern paper but as I was looking at the bunny that was about to be thrown away or go to my scrap pile I realized I had to use it as part of the design. I had cut it out just to add it right back and that’s when the idea to add a bunch or rectangle and squares hit me.
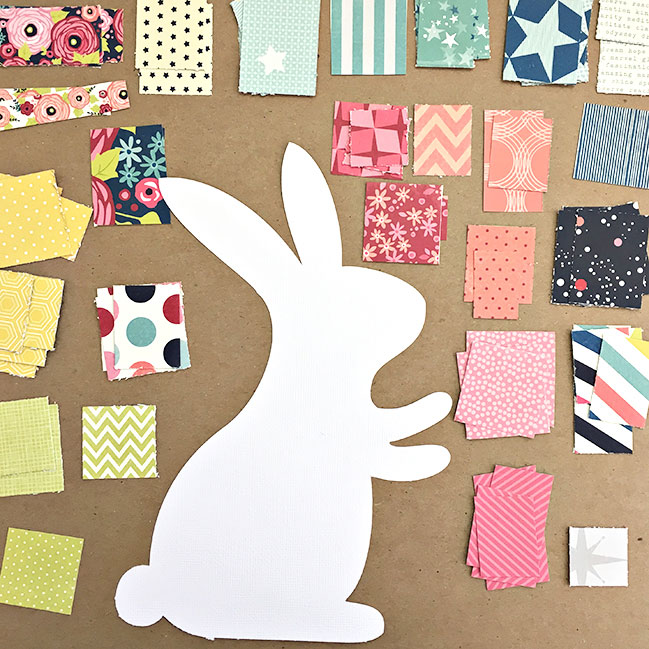
First I cut a bunch of different sized squares from various pattern papers and arranged them by color around the bunny. I literally went color by color and adhered them to the top of the bunny, overlapping them with no rhyme or reason. The only thing I was concerned about was that I didn’t put the same pattern next to itself.
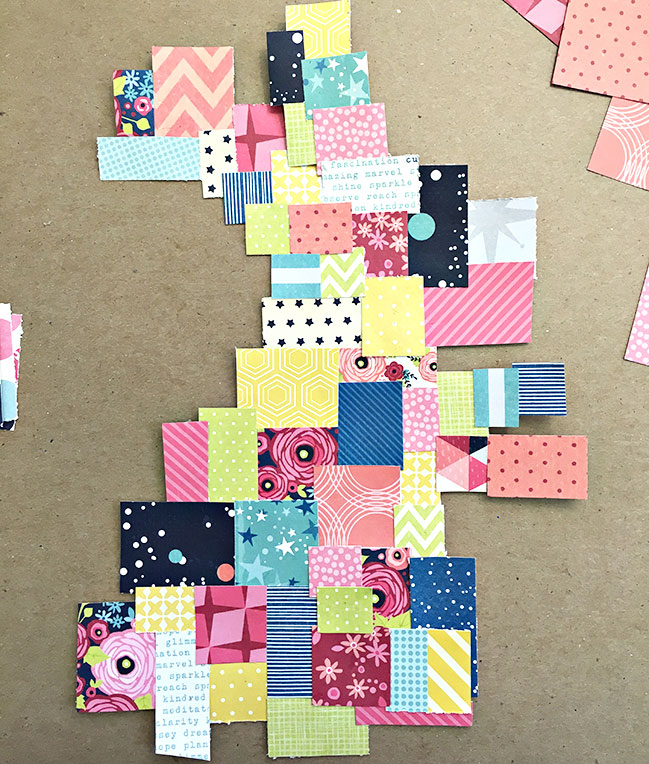
You can kind of still see the shape of the bunny after all the patterns have been added. Tip: don’t trim the edges around the bunny. Leaving it untrimmed will help ensure you won’t have any open gaps when you add the cardstock overlay.
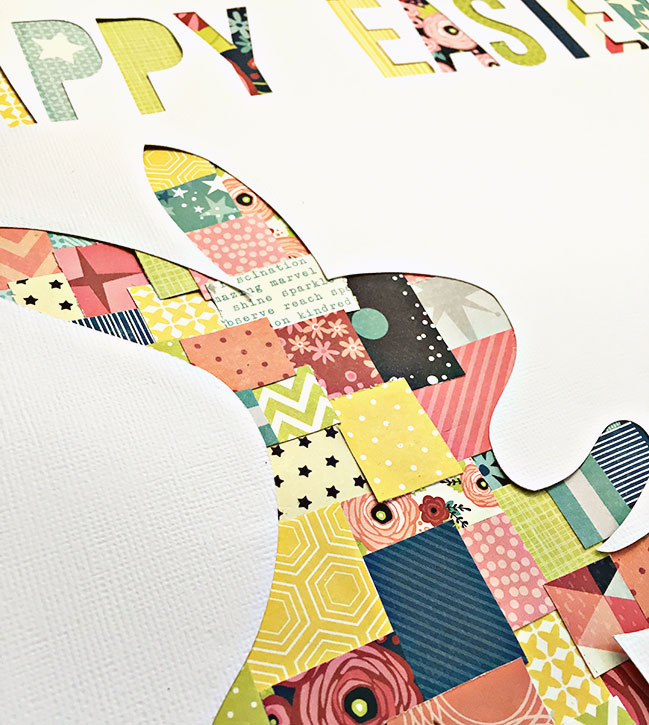
I also cut a big title at the top of the page so before adding the overlay to the top of the patchwork bunny, I added patterns to the back of the letters. I opted not to use the patchwork pattern for this and simply used 1 pattern per letter so as not to get too crazy. Once the title was complete, I added the overlay on top of the bunny. Tip two: make sure to use good adhesive to get all those little edges to stick down. You can see them popping up here before I adhered them together. To finish off the bunny and title, I handstitched around them.
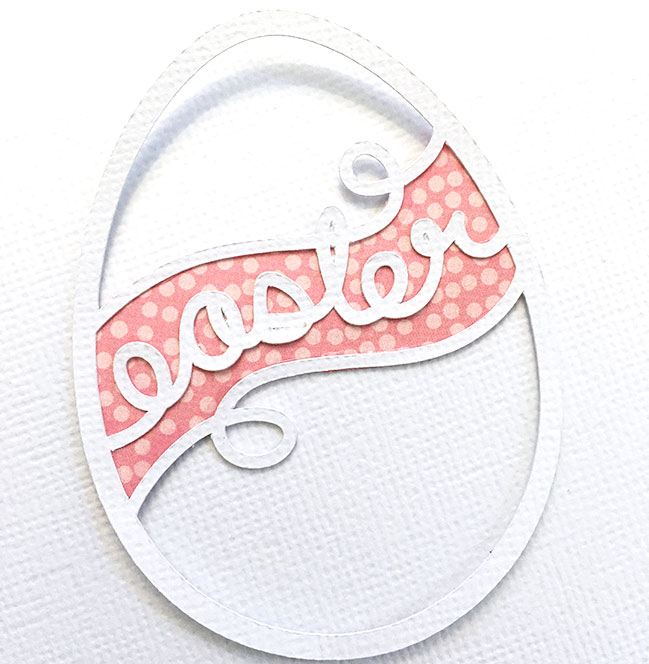
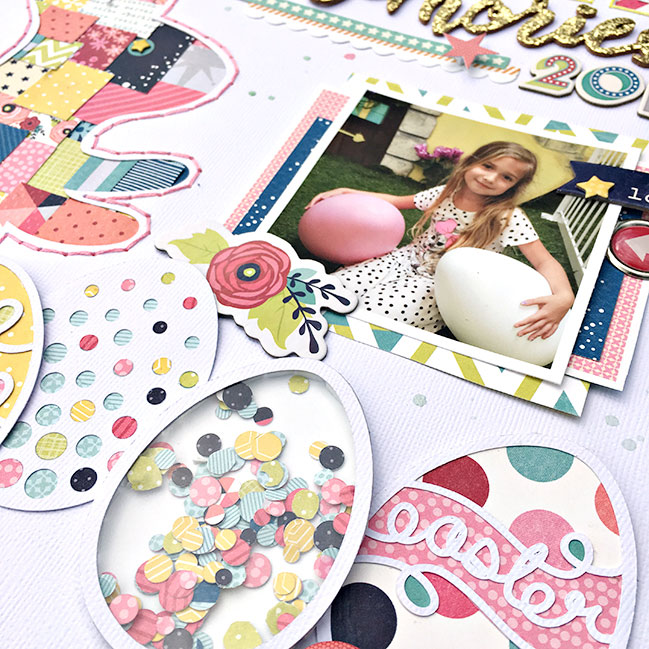
I figured that an Easter layout cannot be complete without a few Easter eggs. I will walk you through the process for how I customized them. The first egg has a cute little banner and word in the middle. I could have traced this in Silhouette Designer but I hand cut it by simply tracing it on the pattern and then cutting it out. I then cut little bits for the loops and then backed it with a coordinating pattern paper.
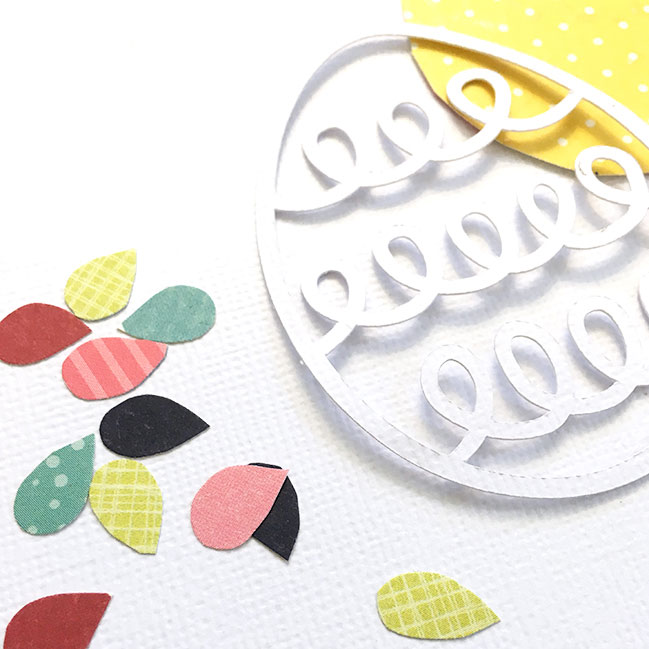
The next egg had a ton of loops. Again, I could have traced and cut them on my Silhouette Cameo but that’s too easy. I simply eyeballed the design and hand cut them. If they were too big, I just trimmed them down and then adhered them to the loops. Then I backed it with a bright yellow pattern.
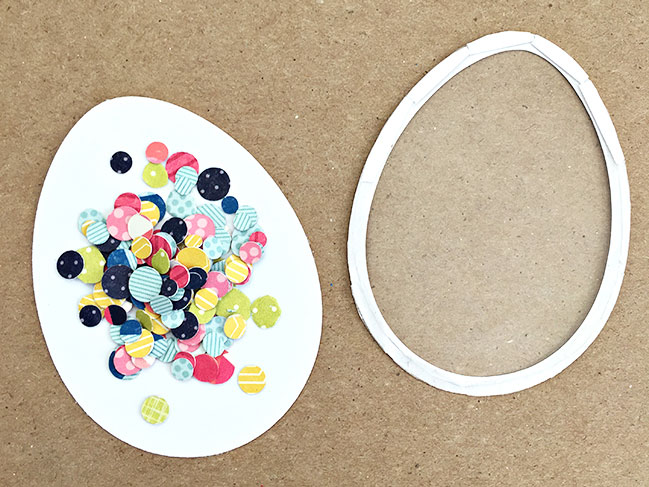
The last one I’m showing today is a shaker box egg. I traced the outside of one of the other eggs for the back of the egg and then did an offset trace on the inside to create the top of the egg. I then used some leftover packaging material to create the clear front of the egg, adhering it with skinny double sided adhesive. I cut a few circles from the pattern papers and placed them on top of the solid egg background. Lastly, I cut some foam adhesive in half and applied it to the back of the top layered egg. Does that even make sense? I placed it on top of the solid egg with the confetti and voila, a shaker egg. I used some of the leftover confetti for the fourth egg.
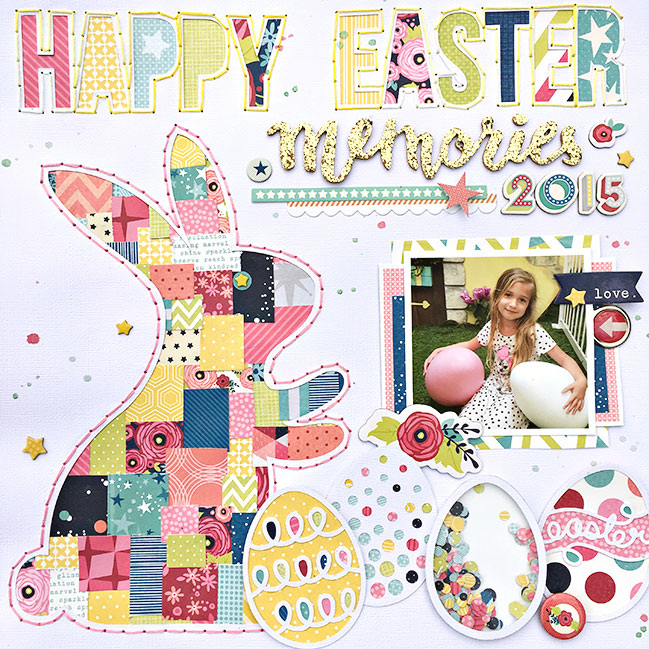
All that was left was to finish off the title, add the all-important photo and embellishments and last but not least the journaling, which you don’t see here. I plan to add that under the bottom left bunny ear or maybe between the bunny and the photo. Decisions, decisions. Where do you think I should journal?
![]() Read more about:
Read more about:
Next post: A Last Minute Easter DIY + A Special Sale
Previous post: Glitter Girl takes on scrapbooking with minimal supplies


