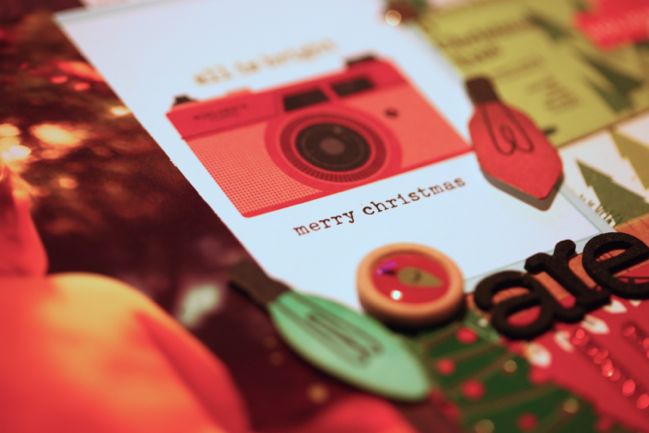
Counting Down to CHA 2017: A bit of Christmas Magic
With True Stories in the spring, collection three arrived for the holiday season and brought a bit of nostalgia along for the fun. Christmas Magic was actually named after my childhood puppy! This is the most limited colour palette I’ve worked with in the paper collections: predominantly evergreen, brick red, and cream, but actually you’ll find some shades of blue and turquoise in there too. Plus silver and gold! I think my favourite part of this collection was two vellums – one with stars and one with snowflakes, each with a bit of special shimmer. But I also love the stories told in the ephemera and sticker motifs: the Christmas records my family would pull out year after year, the toys inspired by the look of Christmas TV specials, like Rudolph and Frosty. I also loved a product that was very different for me: a die set to cut paper chains to put on the Christmas tree. The challenge was to make a set that would have an interesting pattern even with plain cardstock (so you’d feel better about cutting plenty!) while also making them possible to assemble without any adhesive. Last Christmas, I made lots of these with crafters in pubs across London, and I got such a thrill from an email from someone who used the die with a Brownie troop to make seemingly endless paper chains to decorate their community centre.
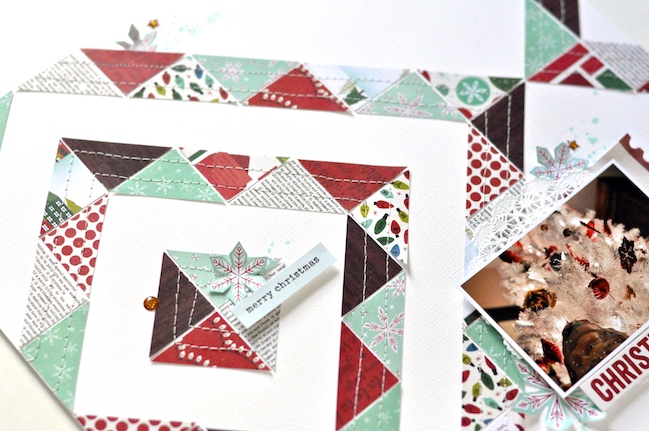
Today contributing designer Leigh Ann Odynski has a beautiful page to share with you, featuring Christmas Magic.
_My design for this Christmas scrapbook page was inspired by Heather and Laureen who shared their pages here at the last online crop weekend.
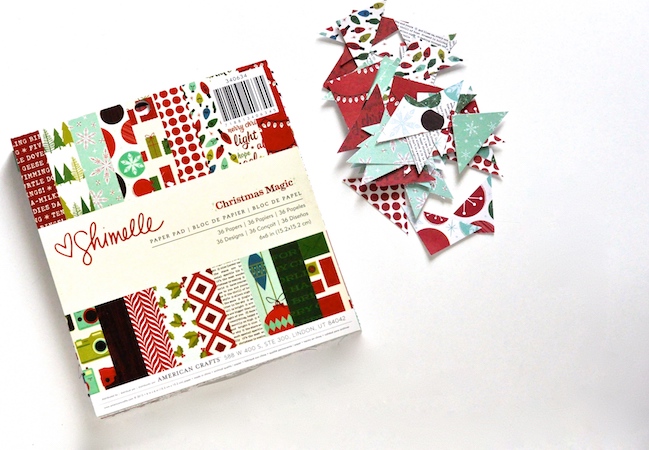
I love how the quilted look works with the Christmas Magic Shimelle collection. To start off, I took the 6×6 Christmas Magic paper pad and picked out patterns in my layout colors. Turquoise, red, and black and white. Try for a variety of pattern styles. All over, tone on tone, text, and scenes are some of the patterns I chose. Punch four to eight squares of each pattern and then trim them all into triangles.
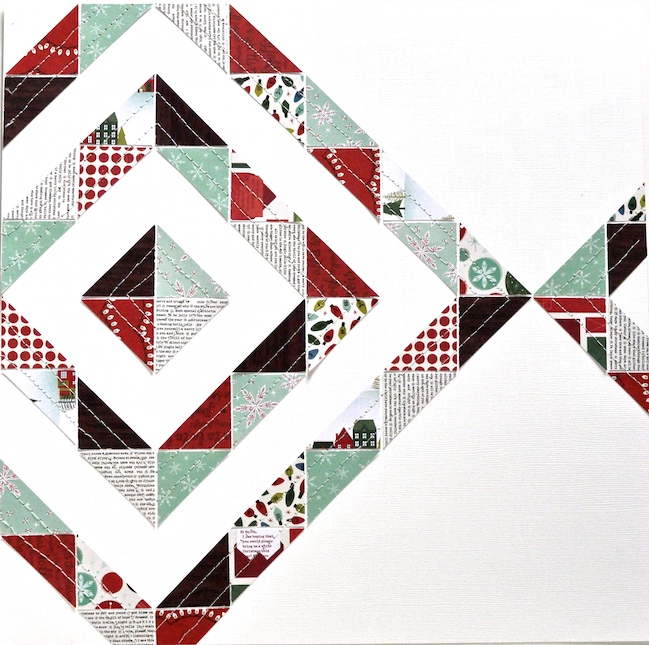
To lay them out on the page, I started at the very top left corner, by placing a triangle even with the edges of that top corner and then flipping it over. You can line up all the triangles quite easily in this way. A T-Square ruler helped me keep the horizontal line of the diamonds lined up.
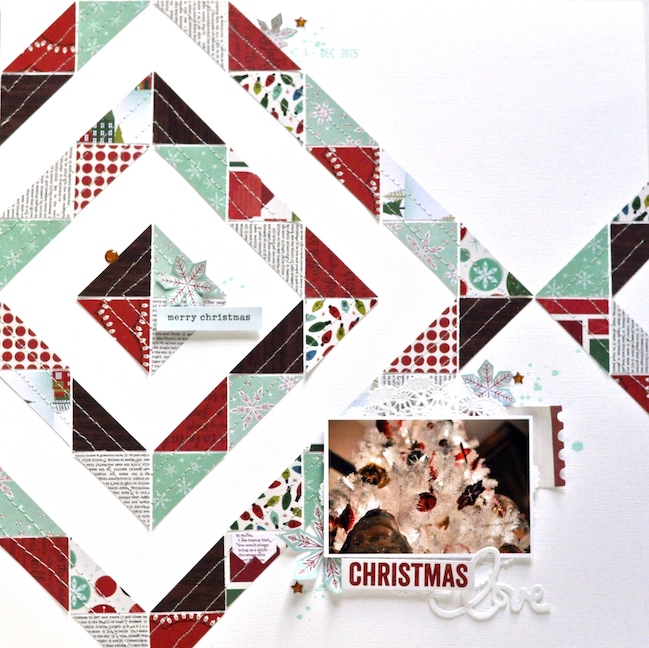
After your triangles are all glued down with a tiny dab of glue, then you can stitch as shown, through all the triangles. I chose to keep the embellishing to a minimum so that the patterned papers and the quilted design are the focal point of the page. A 3×4 photo and snowflakes cut from the patterned papers, new Go Now Go enamel dots and some die cut pieces are all you need to finish out the page. You can add a few drops of Mr Huey’s “Dewey” color to coordinate with the colors in this line if you like!
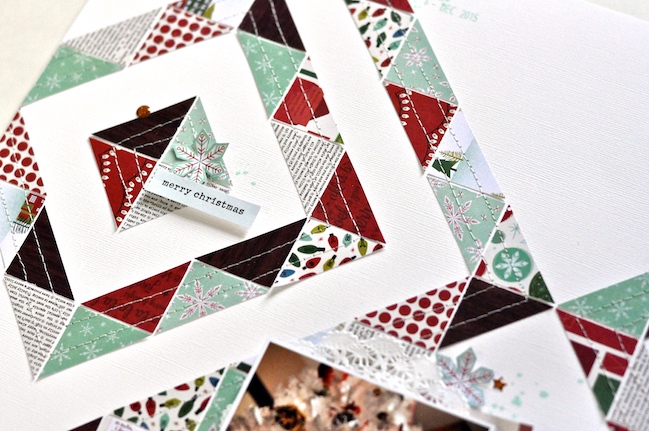
Notice how I kept the embellishments in three small areas around the page. They form a triangle, but are kept close to the diamond shapes of patterned paper.
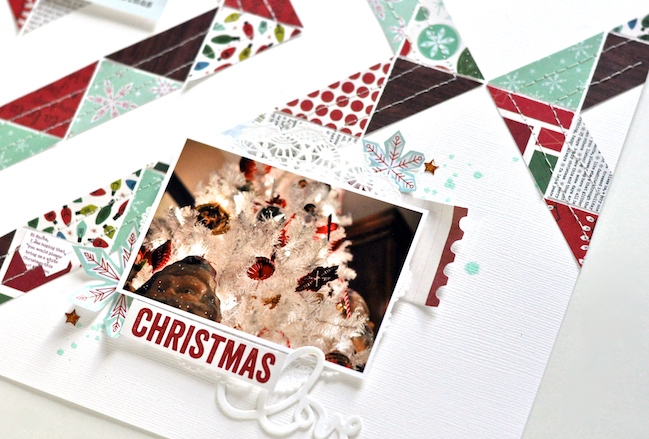
I love how Leigh Ann’s tiny triangle technique could be used to make gorgeous Christmas cards out of the smallest scraps. I’m trying to tell myself to let go of some Christmas scraps I’ve kept for years, but this idea is not helping that effort, I’m afraid!
Much of what I made with Christmas Magic was part of my Journal your Christmas project in 2015, but there is one very Christmassy process video should you require that sort of inspiration! Again, please feel free to link up your own Christmas Magic projects in the comments! The more the merrier.
Not long until CHA now. I’ve even started putting things in a suitcase! Tomorrow, we go to infinity and beyond in terms of paper collections. See you then!
![]() Read more about: american-crafts
Read more about: american-crafts
Next post: Counting Down to CHA 2017: Handmade Cards with Starshine and Go Now Go
Previous post: Counting down to CHA 2017: Remember this collection?


