


Get ready for Journal your Christmas - Supply Lists and Stamp Preorder!
I almost don’t start talking about Christmas until November, but there’s one exception to that rule and it’s SUPPLIES FOR CHRISTMAS ALBUMS! Today I’m sharing suggestions for supplies if you’re following along with Journal your Christmas or going freestyle making your own Christmas album project. Please keep in mind this is not a list where you’re meant to get one of everything! Each section has notes to explain what you’ll need so you can adapt to your style. AND STAMP PRE-ORDERS ARE LIVE! For just one week, you can preorder your 2022 Journal your Christmas stamp set, so scroll to the bottom of this post to order that directly from me. All the other supplies linked are from Scrapbook.com and linked with affiliate links. Thanks!
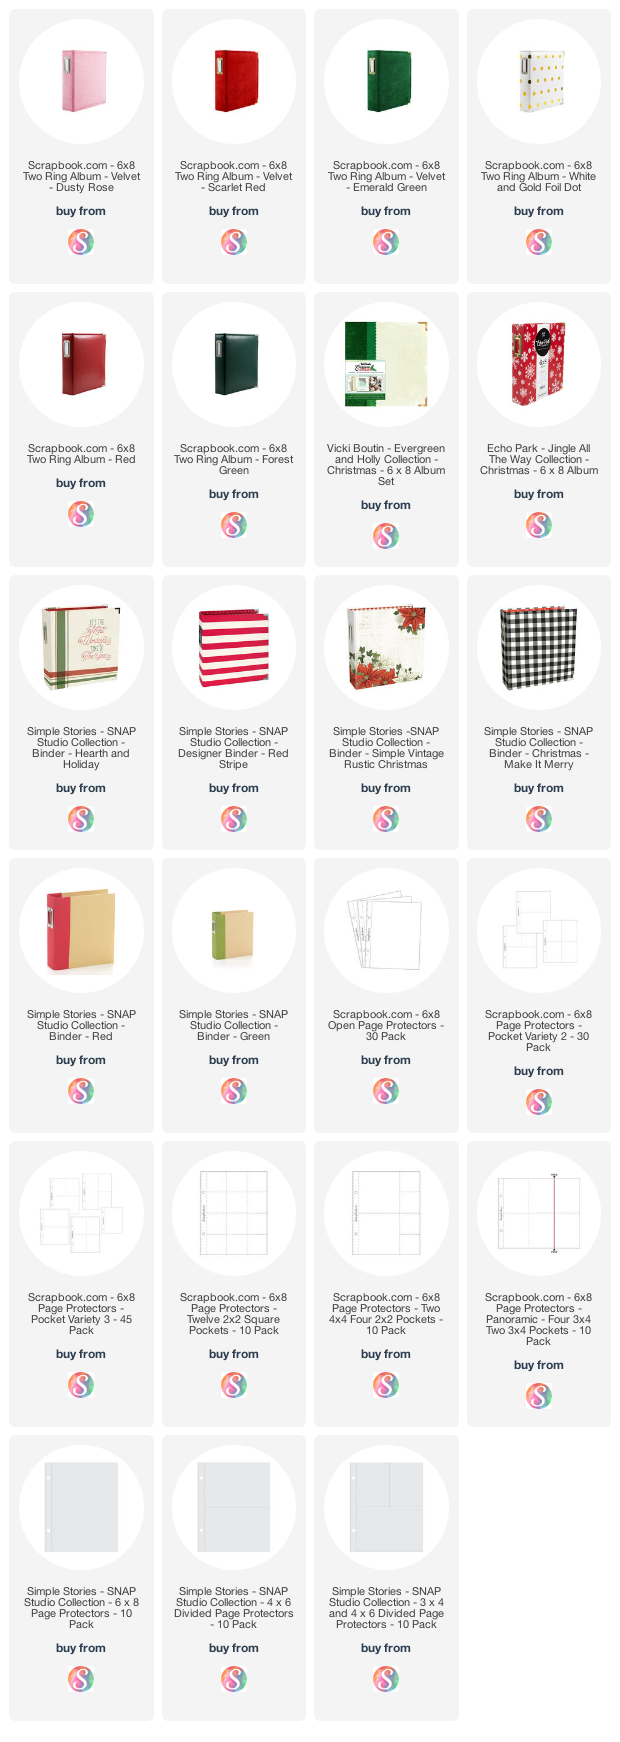
Albums:
6×8 is my favourite size for this project, so all these suggestions are that size. Keep in mind you need a decently thick binder if you want to daily entries throughout December – think full album with smaller pages rather than mini book. It’s a classic rookie situation to get to the 15th of December and realise no more pages will fit in your binder. (It’s okay – then you just get a volume 2 and finish that way!) I ordered the pink velvet album earlier this year and earmarked it for this project, but they have since brought out the velvet in red and green so I might change my mind. But right now I am planning on the pink. Choose one album you like and enough page protectors in the styles you like. Some of them fold out which is new this year and I’m excited about that option for including more photos without having to make them all tiny.
Patterned Paper:
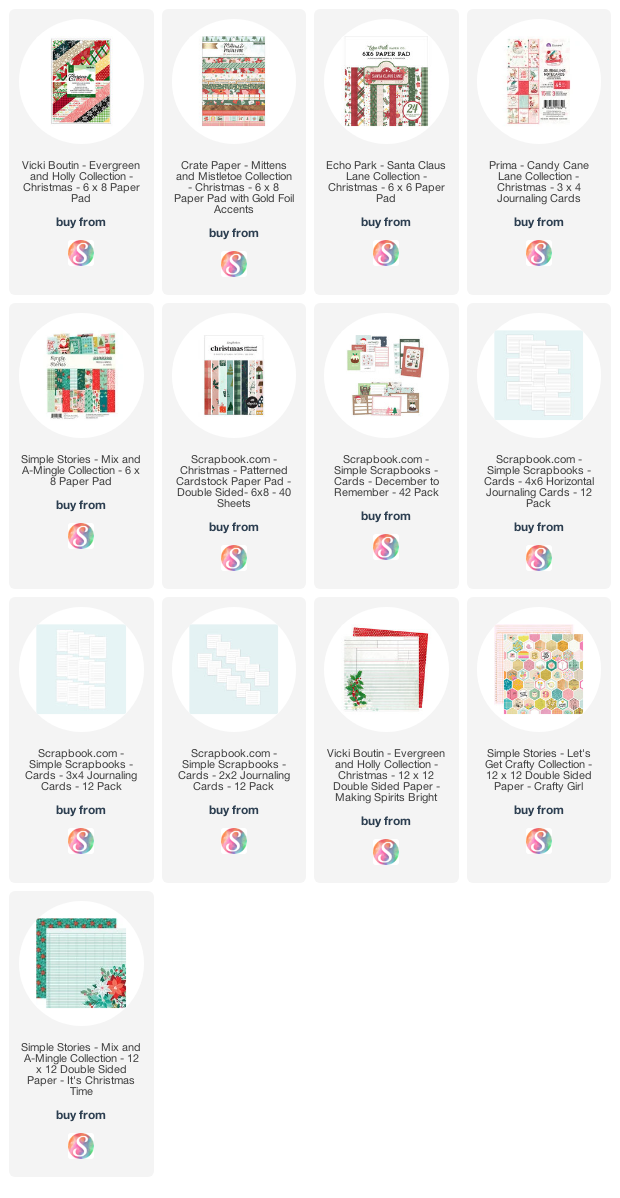
Here’s where we get into embracing your personal style! I love that lots of the brands do 6×8 paper pads for these collections now because it means you can mostly just work from a paper pad or two (or more) and not need to worry about cutting down lots of full sheets. Ask yourself if you prefer tradition red and green only colours or if you would like to add in more shades like pink, aqua, and turquoise. That will help you choose which patterned papers are best for you! You can also think about whether you prefer clean designs or things with a more collaged or textured feel. The Echo Park and Simple Stories collections here are cleaner; Vicki Boutin, Prima, and 49 & Market are more textured and painterly. If all of these seem too bright, take a look at the other options from Simple Stories – they have multiple collections but I liked Mix and A-Mingle way better than the others this year. Your personal style might suit the others better and that’s okay! You can still use the supplies the same way.
I’ve added some 12×12 sheets that are cut apart you might fancy even in a smaller album. If storage is an issue, just cut them down as soon as they arrive.
I also really love woodgrains and vellum in my Christmas album, so I’ve included five different woodgrain papers (might be a case of ignoring the other side and that’s absolutely fine) and some vellum options if you like those as well!
Embellishments:
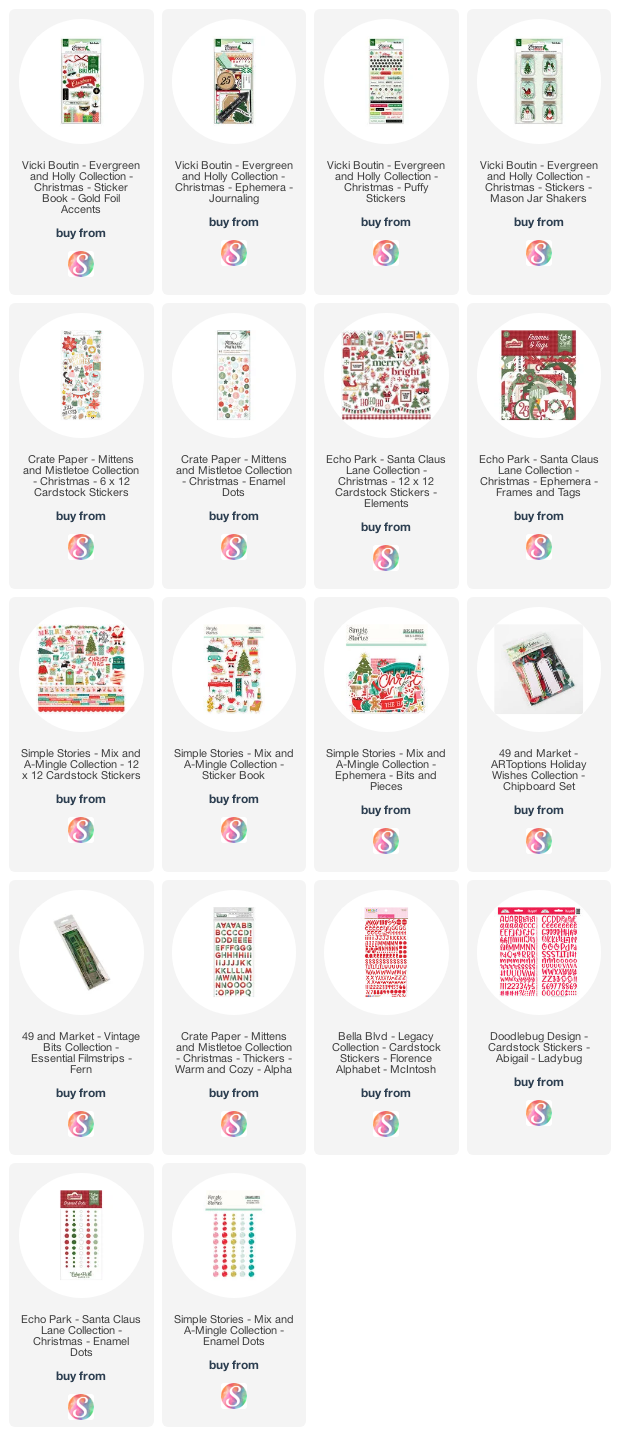
I always find it easier to start with paper then move to the embellishments, so if you’ve chosen your papers already, then you can choose the embellishments that will work best. It can be as simple as adding the embellishments from the collection to match the papers you picked – so if you went for Santa Claus Lane papers, get the Santa Claus Lane stickers and die cuts.
Vicki Boutin’s sticker book is all cardstock stickers (no clear, no washi). Her puffy stickers include tiny numbers! Love that. The Simple Stories sticker book also includes a page of numbers and a page of letters. Make sure you include something for lettering that suits how you scrap: adding some letter stickers, assembling a stack of letter stickers from your stash, or adding a set of letter stamps.
And of course enamel dots! If these two sets sell out there are other options in similar colours, or you could get a whole pack or red and a whole pack of green from the single colour options by Altenew and Doodlebug.
Mixed Media:
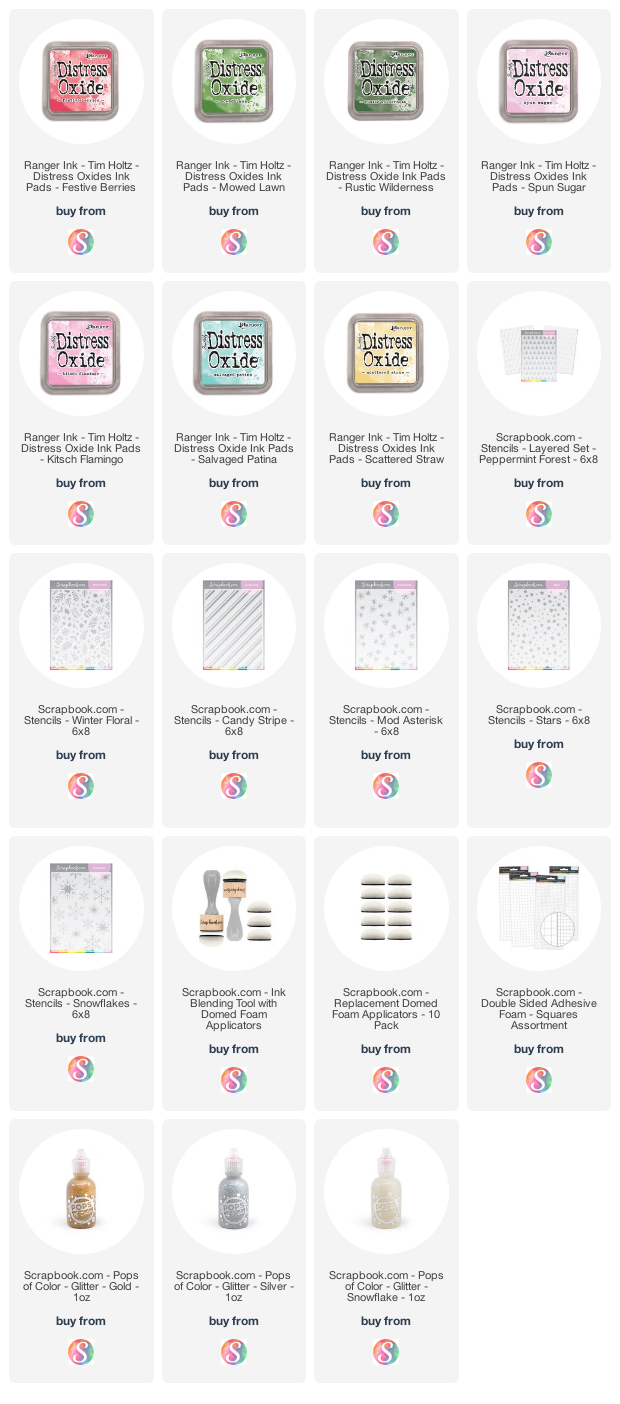
If you like working with ink, stamps, and stencils, then this section is for you. These are the colours of ink I use most often in my Christmas journals, but if you have similar colours already in your stash you can stick with those! A red and two shades of green will get you very far in a Christmas style, then add pink, yellow, and aqua if you want to embrace that wider and less traditional colour palette. There are gold, silver, and white glitter options if you like a bit of Christmas sparkle. You can decide if you want all your sparkle to be one colour throughout or if you like a mix. Plus a variety of stencils and boopers and extra booperheads to keep you going!
AND OF COURSE, THIS YEAR’S STAMP SET!
This year’s stamps are a single sheet and they are $15 USD shipped to anywhere in the world. I ship these directly from my house here, so this is a separate purchase from anything linked above. This is a preorder and it will be live for one week only! If you definitely want a set, please place your order now. They will ship out to you as soon as they arrive here so they can arrive with you before we start December.

$15 USD includes worldwide shipping, and if you have any questions on that you can always email me.
Above all else, when you assemble your supplies for Christmas scrapping, remember to stay true to your style and your budget. It is great to use old stash you have on hand. It is also fun to get something new and use it straight away! I’ll help you use what you buy as long as you don’t go too overboard, okay? Awesome.
Thanks friends! See you in November to talk about Christmas more!
![]()


