pretty paper. true stories. {and scrapbooking classes with cupcakes.}

lovely to meet you Twitter Facebook Pinterest YouTube

Take a Scrapbooking Class

online scrapbooking classes

Shop Shimelle Products

scrapbook.com simon says stamp shimelle scrapbooking products @ amazon.com shimelle scrapbooking products @ amazon.co.uk

Reading Material

travel

Weekly Challenge :: Scrapbook with Vellum

weekly challenge: scrapbook with vellum // older layout by shimelle laine

Okay, I hear you: last week’s challenge was not the easiest… but it was so much fun to see those pages appear with that familiar embellishment placement yet each page looking completely unique! How about we go a little simpler this time though? And it gives me an excuse to repost this layout that is years old and inspired by a layout a decade older than that, and yet it still makes me smile with one of my favourite colour combinations and that little pocket trick that means there’s no need at all to spend time getting everything just so in an embellishment cluster, because it’s just going to move when you turn the page anyway!

And now, on to the challenge! This week you need to look for something specific in your stash. I challenge you this week to scrapbook with vellum! Use a lot or a little; plain or patterned – whatever you have on hand. Everything else is completely up to you, so you can take your inspiration in any direction you like! A few years ago, my sparkly friend shared a video on this topic, if that’s helpful! To get you started on this week’s challenge, take a look at these examples from contributing designer Nicole Nowosad and guest artist Jen Schow.

weekly challenge: scrapbook with vellum // layout by Nicole Nowosad

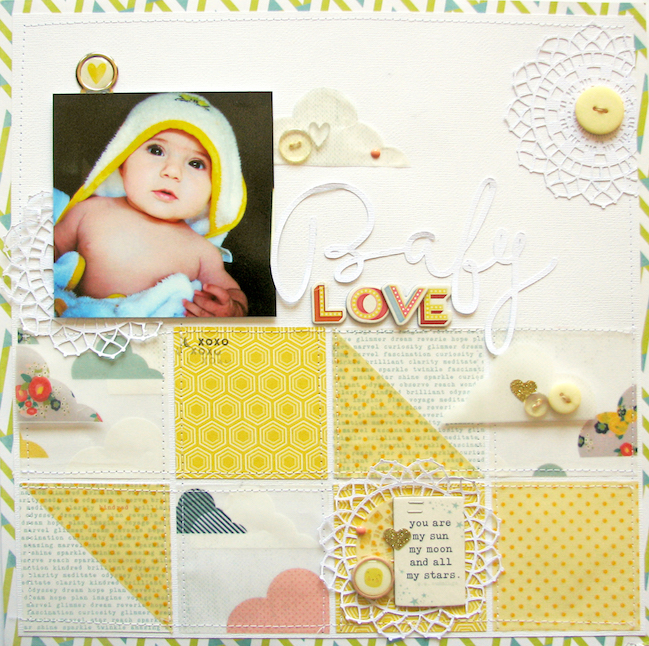
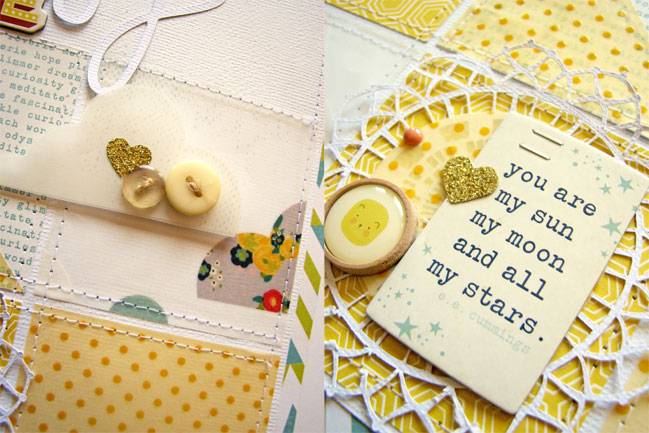
Vellum adds such a soft touch to a project. I love combining vellum over patterned paper to create a completely different look, or even using it on it’s own in replacement of patterned paper. I did both on my project to create a fresh and easy layered look by using some yellow vellum on my project.

weekly challenge: scrapbook with vellum // layout by Nicole Nowosad

I trimmed some of the clouds from the Shimelle vellum paper, and to hide the adhesive, I added some buttons and glitter heart so the adhesive has a place to hide behind it!
- Nicole

weekly challenge: scrapbook with vellum // layout by Jen Schow

weekly challenge: scrapbook with vellum // layout by Jen Schow

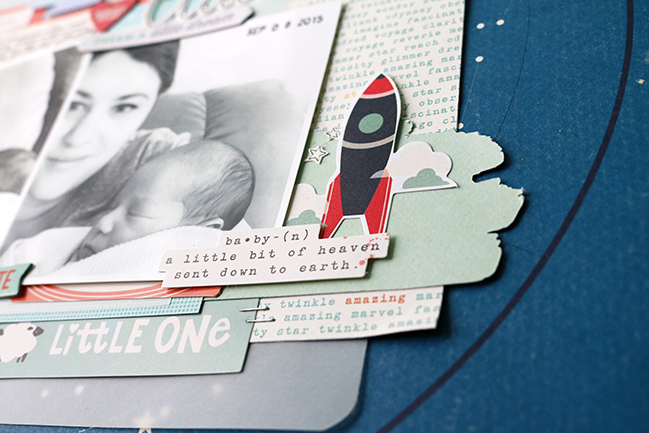
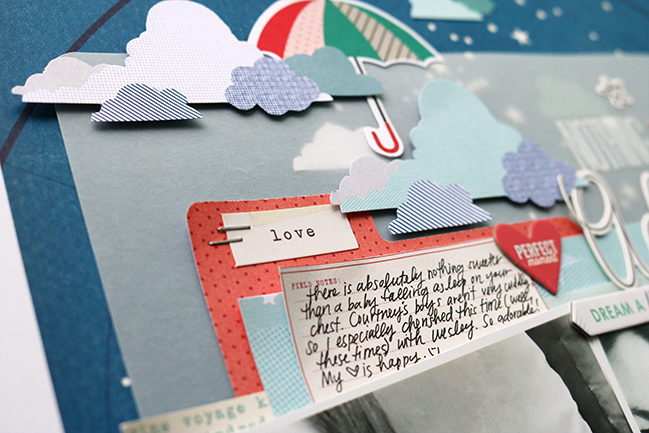
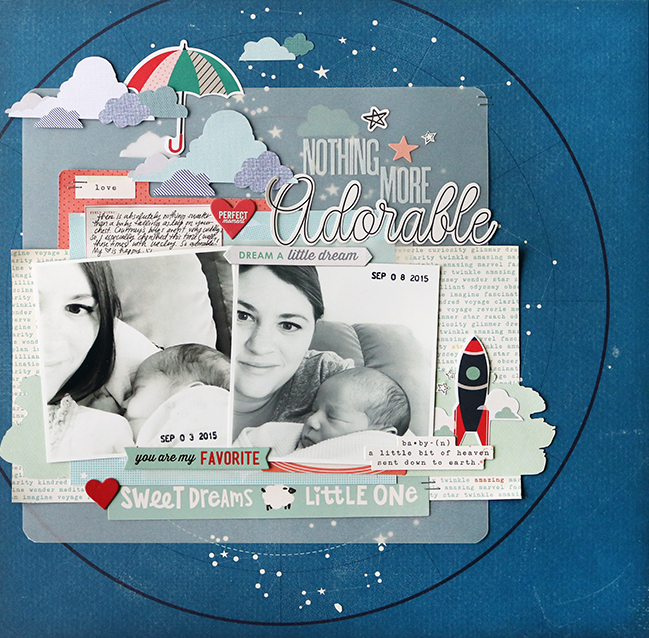
I love the softness and depth that vellum adds to a layout, and a baby layout? Even better. I paired up the Shimelle Starshine collection (and bits from True Stories as well) with some of the new Crate Paper Little You collection and I love the way these two collections work together. I knew I wanted to use the constellation paper for a background the minute I saw it, but sometimes dark papers are hard for me to use as a full sheet.

weekly challenge: scrapbook with vellum  // layout by Jen Schow

Enter vellum. It softens it up just enough, but you can still see the stars shining through. I cut some clouds from the Starshine 6×6 paper pad and layered them on top of and underneath the vellum and I love the depth that creates. You can watch the whole thing come together in my process video.

- Jen


You have a week to complete the challenge and share a link – but of course you’re welcome to set your own time schedule. Whatever keeps you happy and creative!

Today’s Guest Artist: Jen Schow loves pretty paper, taking photos, and putting together puzzles. You can find more from Jen on Instagram, YouTube, and her blog.

Scrapbooking with Flowers and Frills

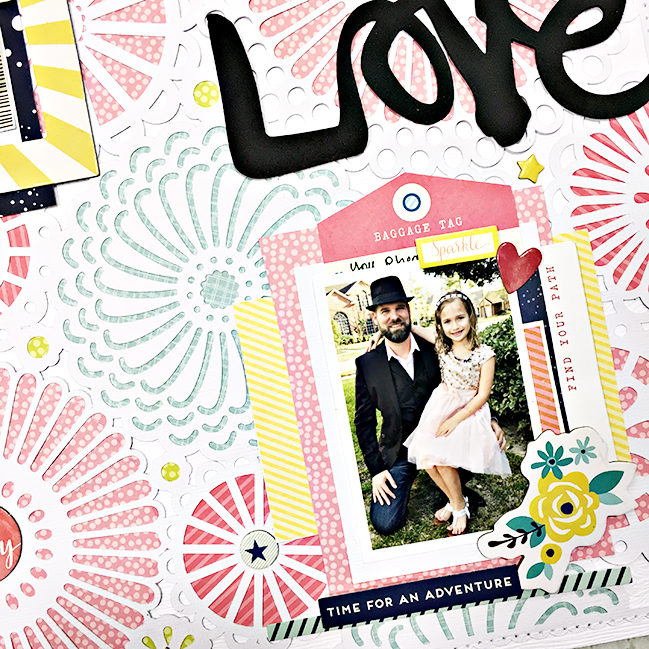
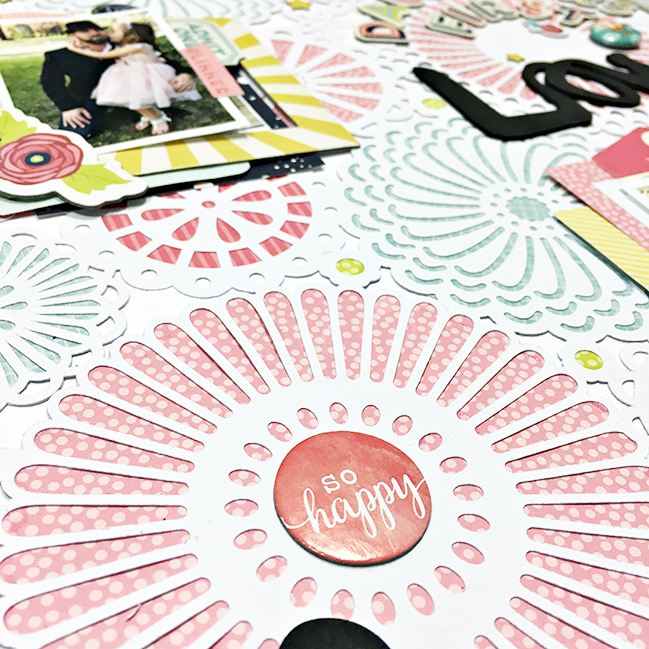
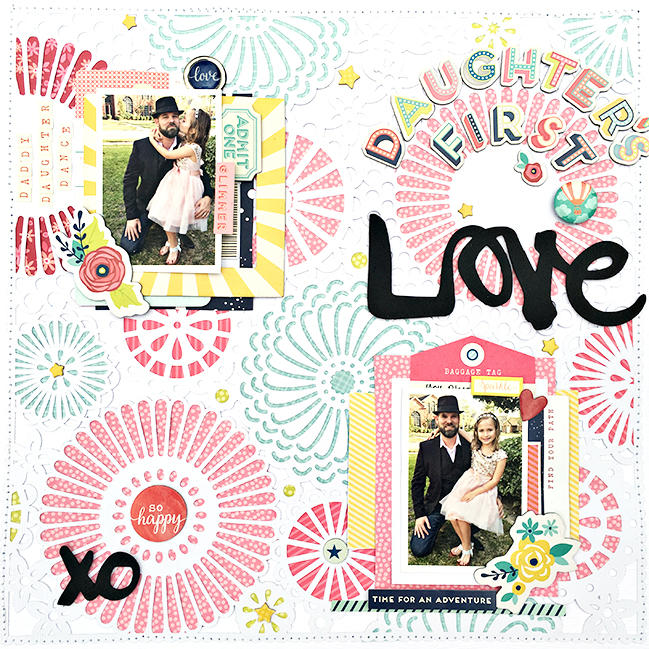
Scrapbooking with Flowers and Frills // scrapbook page by Heather Leopard

Happy Friday, scrappy friends! Spring is starting to spring up here (storms included!) and it seems just about time for some glorious floral scrapbooking to bring a little spring inside to the craft desk. Contributing designer Heather Leopard has a beautiful idea for page design that might inspire you to go floral or to find something a little different for your next page!

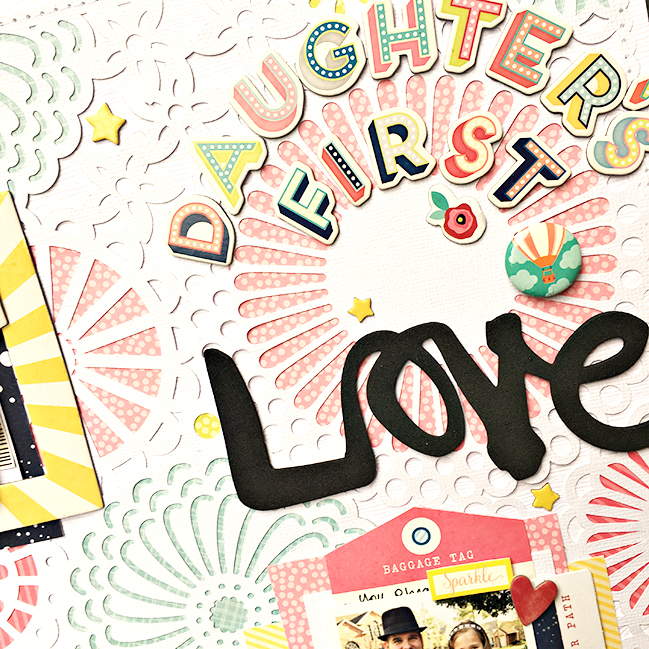
When I think of girls, or at least my littlest girl, I think of flowers and frills so I thought it would be fitting today to talk to you about “dressing” up your page to tell the whole story. When thinking through this page and the photos I wanted to scrap, which feature my youngest daughter dressed to the nines and her daddy in a top hat and ready for the ball, I knew I wanted to create a background that helped tell the story of them going to a daddy daughter dance. I chose a cut file that featured floral designs that all had a similar geometric shape. I cut them out of white cardstock and set out to find colors that complimented their attire. After carefully selecting four different patterns, I traced the perimeters of the flowers and then hand cut the pattern paper so that it could be placed behind each of the large floral cuts. It seems like quite the daunting task but it’s really not so bad, since the cuts don’t have to be perfect. You just need enough so that you can adhere them to the back of the flower cuts.

Scrapbooking with Flowers and Frills // scrapbook page by Heather Leopard

Once the flowers were all filled in, I stitched the large die to another piece of white cardstock. I stitched around the edges but I may go back and stitch around some of the flowers for a little more added interest.

Scrapbooking with Flowers and Frills // scrapbook page by Heather Leopard

The next task was to determine where to place the photos. I started out by overlapping the photos and keeping them together but it just wasn’t working for me so I separated them and went to work with layering. I absolutely love to layer. I think it helps draw attention tot he photos. Some of the ways I like to layer are: adding three to four pieces of pattern paper behind the photo, adding a frame (die cut or chipboard), adding tags and other ephemera and of course stickers. In addition, I will add staples and foam adhesive to make the bits pop a little more. It helps to layer a little bit over the photos, being careful not to cover up anything important or distract from the photo. I’m pretty sure I ended up using all of these ideas on these photos. …Yep, I just checked and I did!

Scrapbooking with Flowers and Frills // scrapbook page by Heather Leopard

Of course no layout would be complete without a title and journaling. I decided to make good use of the large flower at the top right of the page for the title. I love the quote that a daddy’s is a daughter’s first love so I used a condensed version of that and used a combo of alphabets, placing the individual letters on the outside and inside curve and completing the title using the lovely script word. I also added a little subtitle in the upper left near the photo to document why they were all dolled up. Last but not least, the journaling and date is tucked behind the bottom photo. It reads, “You, Rheagan and Daddy love going to the daddy daughter dance every year. I love the pre-dance prep, from finding the perfect dress, shoes, and accessories to helping with hair, nails, and make-up. Y’all have so much fun doing carriage rides, crafts, flipbooks, having dinner and of course…dancing!”

I hope the one thing you will take away from today is to try to look for different ideas on how to tell the full story through all the design elements on your page, not just with your photos. I’d love to see how this concept works for your stories!

Weekly Challenge :: Taking Inspiration from a Favourite Scrapbooking Sketch

weekly challenge: taking inspiration from a favourite sketch

The loveliness of sketches: use them once, use them twice, use them a dozen times and still come up with something that looks new while completely eliminating that phase of creating when we just push paper around on a desk wondering where all the pieces should go. This week’s challenge is a throw back to one of my favourites of all the sketches I’ve ever posted here over the years. It made me giddy to see two people take it on for today, so I’m very excited to see you give a try!

I challenge you this week to scrapbook with this page sketch. You can see the full layout, along with a process video, from my original try with this sketch here. To get you started on this week’s challenge, take a look at these examples from contributing designer Sheena Rowlands and guest artist Irit Landgraf.

weekly challenge: taking inspiration from a favourite sketch  // layout by Sheena Rowlands

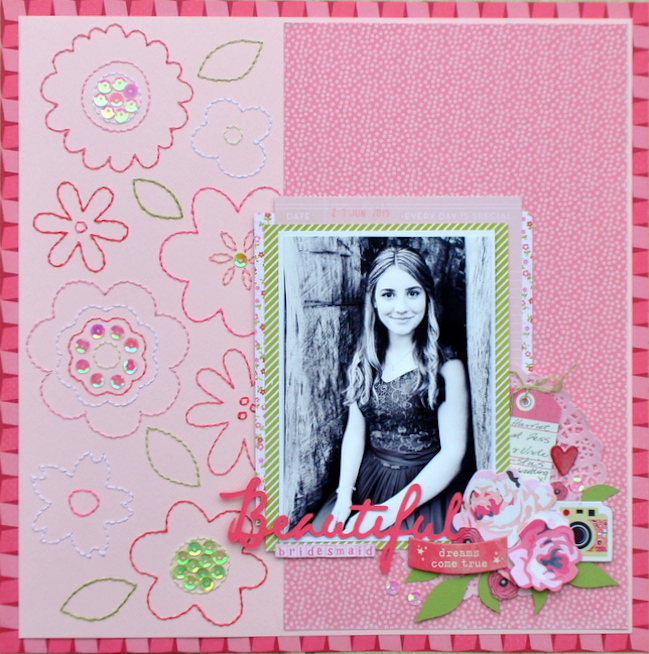
I find sketches are a really useful way to kick start my mojo. I was instantly drawn to the circles on the left side of this sketch and decided to make them the feature of my page.

weekly challenge: taking inspiration from a favourite sketch  // layout by Sheena Rowlands

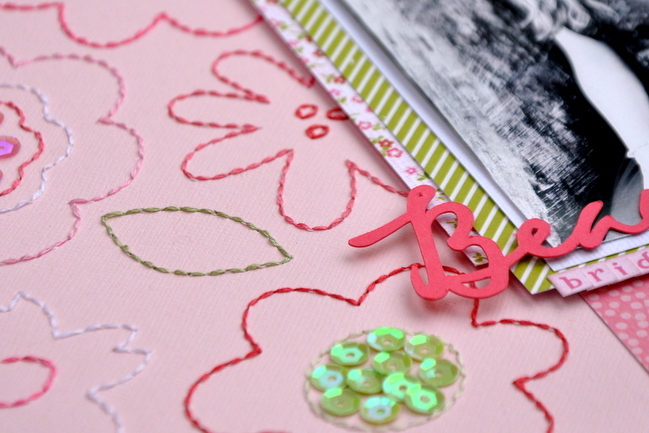
I chose a photo of my daughter as a bridesmaid at my brother’s wedding last year so I felt flowers would be perfect to cascade down the side. They are hand sewn using embroidery floss and decorated with sequins. I picked out some of the pink papers from the Starshine collection plus a couple from True Stories to create a soft feminine page. I added a cluster of embellishments, cut title, and journaling tag to complete the page.
- Sheena

weekly challenge: taking inspiration from a favourite sketch // layout by Irit Landgraf

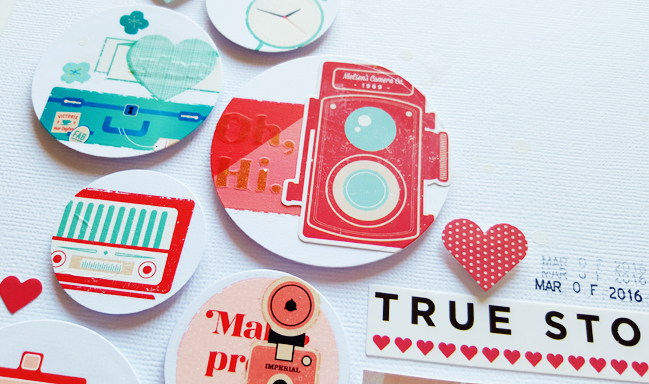
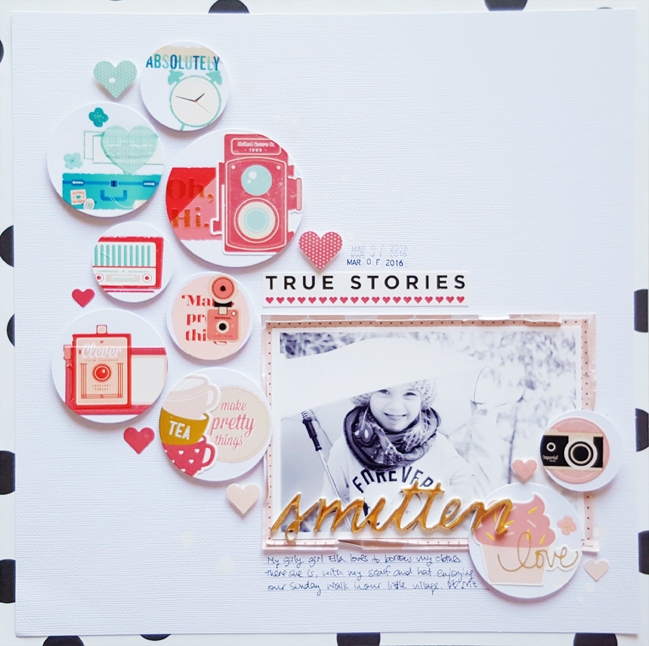
Thanks to the sketch, this layout came together really fast. I wanted to use some stickers and rub ons from Shimelle’s first collection. I love the images, the cupcake, tea cups, and vintage cameras, but larger embellishments can be tricky to use.

weekly challenge: taking inspiration from a favourite sketch // layout by Irit Landgraf

The circles in the sketch gave me the idea for my design. Grouping elements by color is another go-to technique that makes my process much easier! Watch my process video and see how everything came together!


- Irit


You have a week to complete the challenge and share a link – but of course you’re welcome to set your own time schedule. Whatever keeps you happy and creative!

Today’s Guest Artist: Irit Landgraf loves traveling, scrapbooking, and chocolate ice cream (preferably Italian). You can find more from Irit on Instagram, YouTube, and her blog.

A Last Minute Easter DIY + A Special Sale

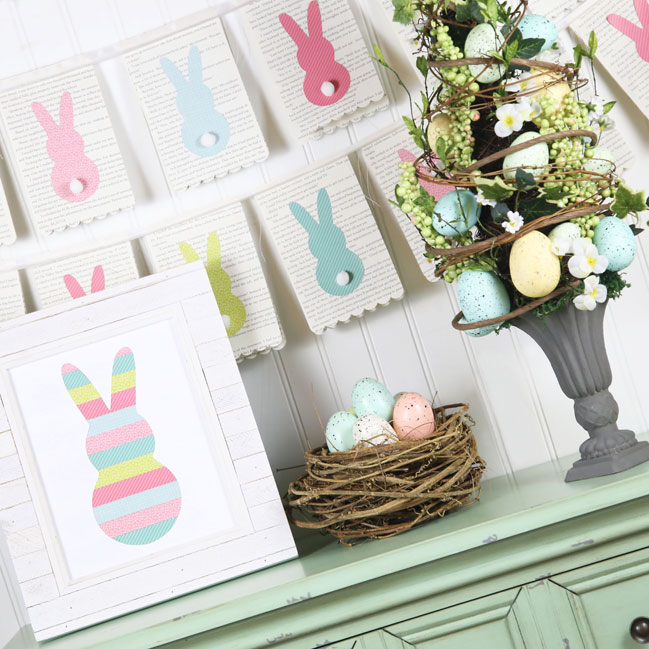
Easter decor by Gina Lideros
Two little extras today for your Easter weekend: first, it’s not too late to do a little Easter decorating, and Gina Lideros has a project that is quick and easy and perfect to do either by yourself or as a collaborative family project. Then something just for you: a sale on some classes so you can have a calorie-free Easter treat!
Easter decor by Gina Lideros
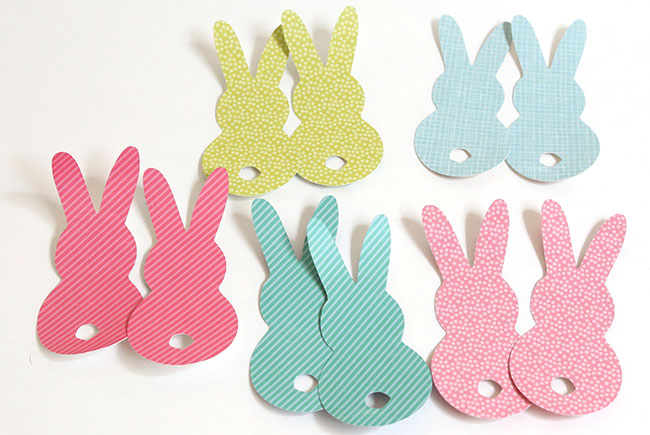
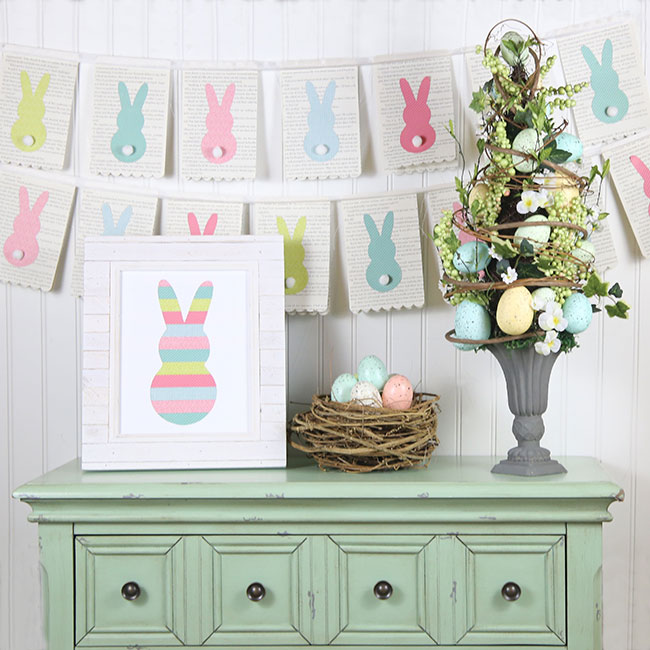
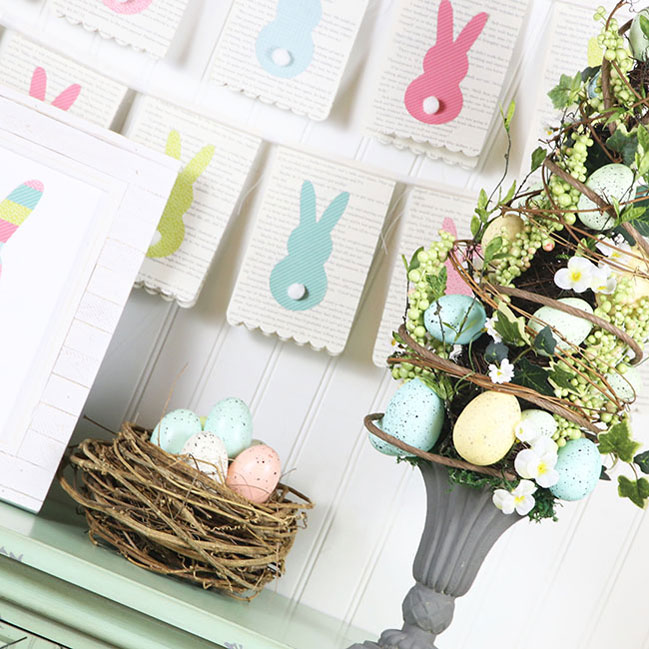
To start creating my banner I used my Silhouette Cameo to cut little bunnies out of patterned paper. This file in the Silhouette store works beautifully, but there are plenty of different Easter shapes so you can choose something to your liking.
Easter decor by Gina Lideros
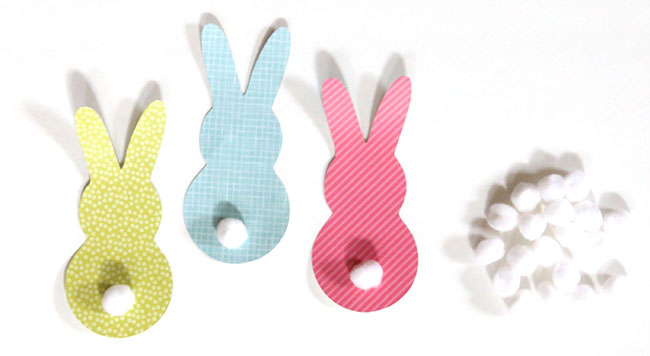
I thought that the little bunnies could use cute cotton tails, so I applied a small fluffy tail to each one for a quick and easy detail.
Easter decor by Gina Lideros
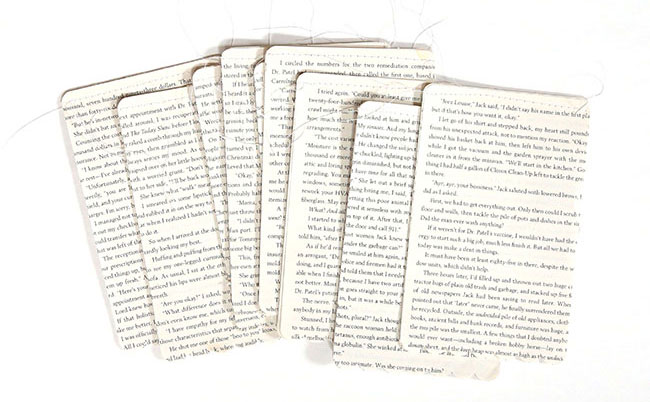
I used old book pages for the background of each piece of the banner, sewing them together for a bit more strength and using a border punch at the bottom for a cute scalloped edge. You could easily use patterned paper for this step too – select a small pattern in a pale color or a color that gives you a good contrast with your bunnies.
Easter decor by Gina Lideros
I added seam binding to the top to bind the banner together. Then I just adhered a bunny to each piece and my banner was ready to hang. I also created a small bunny framed piece by taking strips of patterned paper and adhering them behind a bunny that I cut out using my Silhouette Cameo. It’s the remaining piece from when I cut the bunnies for the banner, so it’s nice to have the potential to use both the positive and the negative when cutting the design!
- Gina
Easter decor by Gina Lideros
I’m very happy to say I’m in the final stages of a new class – finally! So this weekend I’m offering a special price on some existing courses that complement the new one coming up so soon. Chief among them is Cover to Cover, the course that covers how I went from treating every page like an individual project and just stacking the pages up in endless piles of disorganised craft to putting the book back in scrapbooking and finding an album system that absolutely changed this hobby for me. This is something I also discussed in the audio course format with Noell Hyman in the Story Centred Album recordings, but Cover to Cover is a course of PDF and video content that goes into step by step detail of how I made my photo storage work, how I got all those stacks into albums that made sense to me, and how keeping things really, really simple lit a flame under my creativity to keep making pages that told my stories. This course is normally $30 USD, but over the Easter weekend, it’s just $22. You can read all about the course here, but be sure to come back to this page to pay, as the sign up button on that page will charge you the normal full price.
Sorry this offer has now expired. The class is still available at the full price on the link above.

Next up is Inspired By, a group video workshop where several of us chose something as our inspiration piece then shared how we went from that inspiration to a new finished layout in a start to finish process video. The class includes ten videos plus a reference PDF, and normally costs $15. This weekend, it’s just $10. Again, you can read about the class details here, but be sure to return to this page to purchase so you get the discount!
Sorry this offer has now expired. The class is still available at the full price on the link above.

And the third and final special offer is slightly different. Glitter Girl’s Scrapbooking Survival Guide is a course I originally taught at Two Peas in a Bucket and it hasn’t been available since their closure. This is another thing finally reaching that point where I get to cross it off the list! If you took this class at Two Peas, you do not need to purchase it. We will be adding your access here, but it takes some time as there isn’t an easy way to transfer the list from their site to mine. But those names will start to be added on Tuesday and I will post here when we are through the full list so you can get in touch then if you should have had access and aren’t seeing it in your class list. But for those who have never taken the class, it’s now available for signing up! At Two Peas, the course was broken into two purchases – the ten video Survival Guide class for $25 and an additional extended video (Glitter Girl’s Guide to Stretching your Stash) was an additional purchase. Here, it will all be together for the $25 price on an ordinary day, which is already a saving since you basically get an extra mini workshop for free. But this weekend, you can purchase the full set for $18. That’s eleven videos (including one that is significantly longer than the rest) and five accompanying PDF files to break it all down. Class access for this course will be sent on Tuesday and Wednesday, the 29th and 30th of March.

Some important things
…Class access for Cover to Cover and Inspired By can take up to 24 hours. Class access for Glitter Girl’s Scrapbooking Survival Guide will take place on Tuesday and Wednesday. You should receive a welcome email in that time frame, and if it’s your first class purchase here, you’ll also be sent login details in a separate email. They can sometimes go to your spam folder, so keep an eye if you don’t see it in your inbox.
…These classes are all archived and you will access the materials online. They include permanent access and you can access them any time, at any pace, and in any order you fancy, as long as you have an internet connection. If you already have an account and want to check what classes you already have, you can find that here, but remember your classes won’t be visible until you sign in with your username and password.
…Sale prices end at 6am UK time, Tuesday 29th March 2016.
…You can always contact me at shimelle@gmail.com if you have any questions with your purchase.
Easter scrapbook page by Heather Leopard
That’s enough blather from me! Have a beautiful Easter weekend and do not miss the fabulous Easter crafting tutorials from Heather Leopard while you’re here!
Easter Scrapbooking with Starshine and some clever cutting

Easter Scrapbooking with Starshine and some clever cutting // layout by Heather Leopard
We have more Easter fun here for the holiday weekend, starting with this amazing combination of Starshine papers and shape cutting with the Silhouette or a craft knife from contributing designer Heather Leopard. We can’t wait to see how you scrap this Easter!

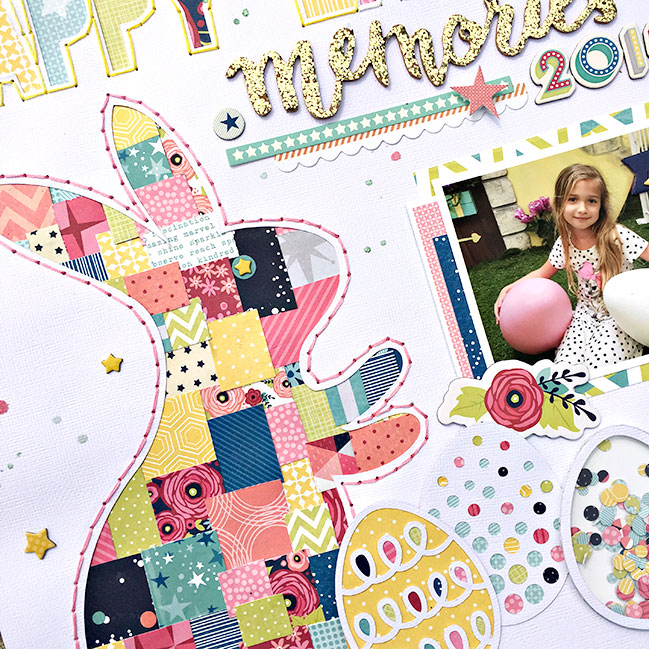
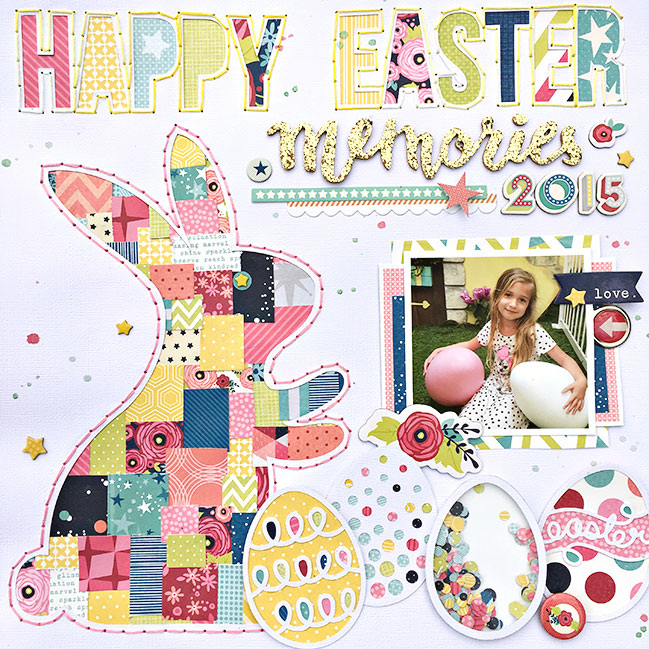
Happy Good Friday everyone. I hope you all are ready for a fun-filled Easter Weekend. In honor of this wonderful holiday, I created an Easter layout about my daughter’s trip to visit the Easter bunny last year. I thought it only fitting to include an actual bunny on the layout but not just any bunny would do…it had to be a patchwork bunny ‘cause how cute are patchwork stuffed animals?!

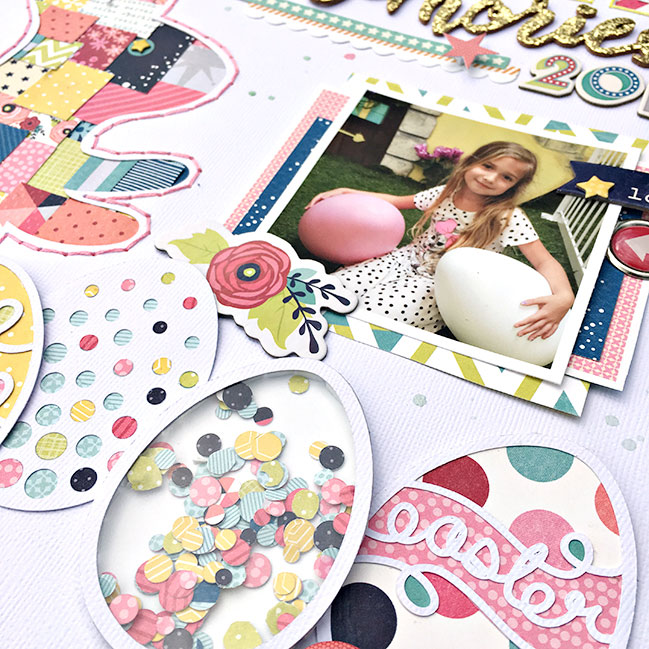
I have a few photo tutorials I want to walk through with you today. First is the patchwork, then the process for how I created the eggs and lastly is the shaker confetti egg. Let’s take a look…

Easter Scrapbooking with Starshine and some clever cutting // layout by Heather Leopard

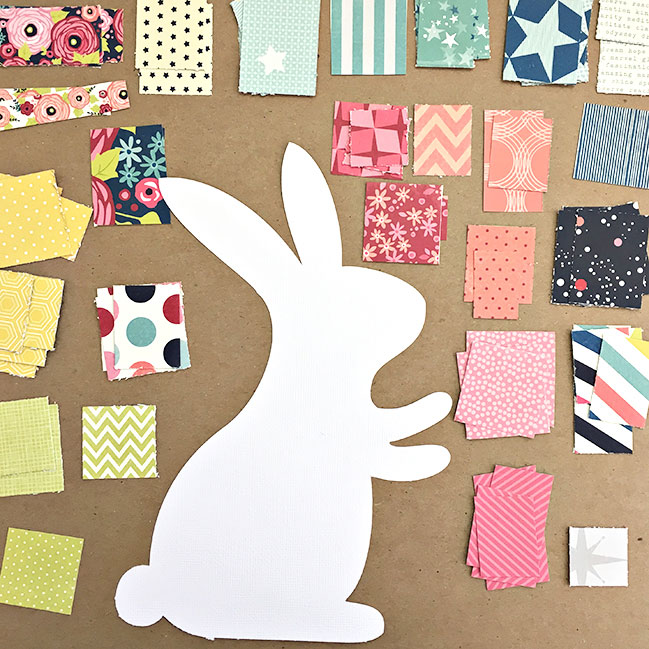
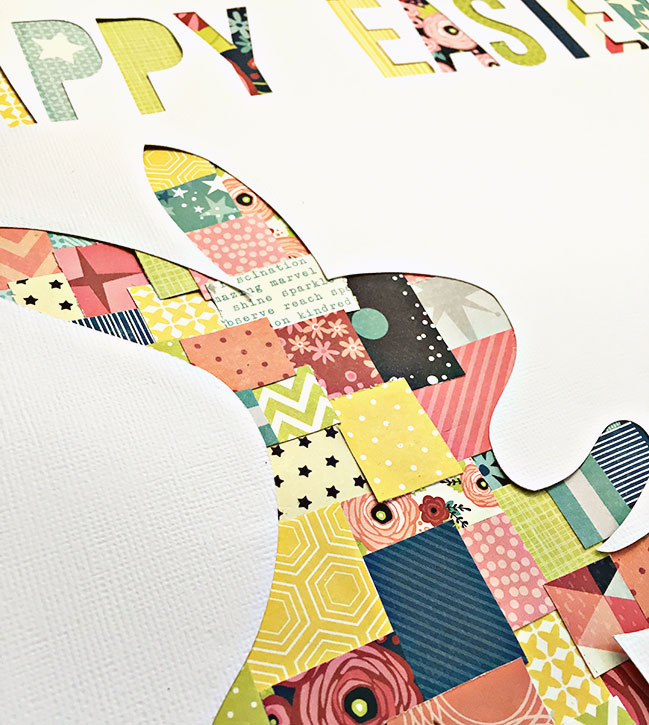
To create the patchwork bunny, I cut the bunny from the white cardstock. I actually thought I would just back the negative space with a fun pattern paper but as I was looking at the bunny that was about to be thrown away or go to my scrap pile I realized I had to use it as part of the design. I had cut it out just to add it right back and that’s when the idea to add a bunch or rectangle and squares hit me.

Easter Scrapbooking with Starshine and some clever cutting // layout by Heather Leopard

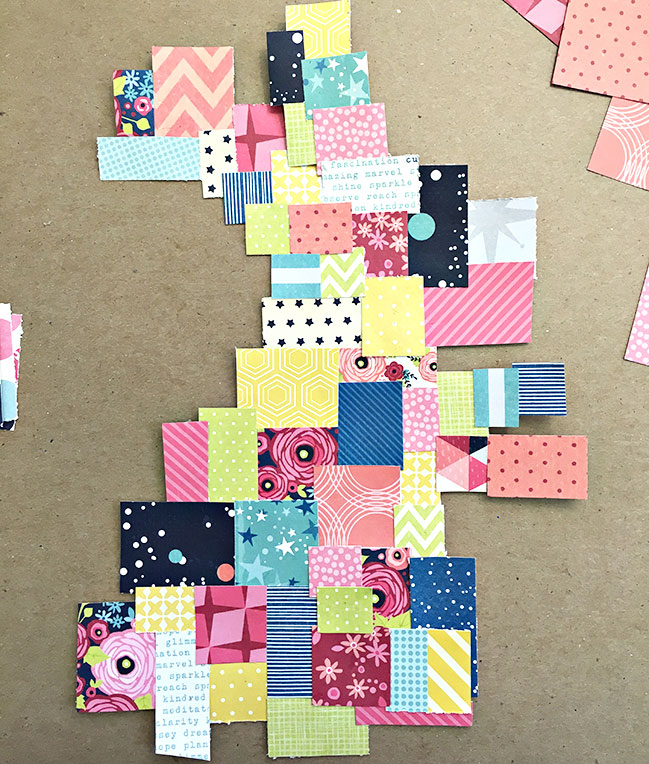
First I cut a bunch of different sized squares from various pattern papers and arranged them by color around the bunny. I literally went color by color and adhered them to the top of the bunny, overlapping them with no rhyme or reason. The only thing I was concerned about was that I didn’t put the same pattern next to itself.

Easter Scrapbooking with Starshine and some clever cutting // layout by Heather Leopard

You can kind of still see the shape of the bunny after all the patterns have been added. Tip: don’t trim the edges around the bunny. Leaving it untrimmed will help ensure you won’t have any open gaps when you add the cardstock overlay.

Easter Scrapbooking with Starshine and some clever cutting // layout by Heather Leopard

I also cut a big title at the top of the page so before adding the overlay to the top of the patchwork bunny, I added patterns to the back of the letters. I opted not to use the patchwork pattern for this and simply used 1 pattern per letter so as not to get too crazy. Once the title was complete, I added the overlay on top of the bunny. Tip two: make sure to use good adhesive to get all those little edges to stick down. You can see them popping up here before I adhered them together. To finish off the bunny and title, I handstitched around them.

Easter Scrapbooking with Starshine and some clever cutting // layout by Heather Leopard

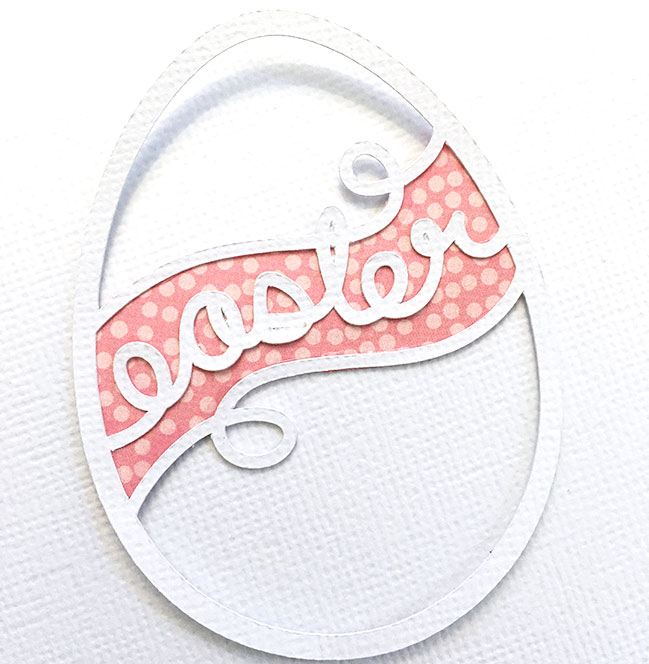
I figured that an Easter layout cannot be complete without a few Easter eggs. I will walk you through the process for how I customized them. The first egg has a cute little banner and word in the middle. I could have traced this in Silhouette Designer but I hand cut it by simply tracing it on the pattern and then cutting it out. I then cut little bits for the loops and then backed it with a coordinating pattern paper.

Easter Scrapbooking with Starshine and some clever cutting // layout by Heather Leopard

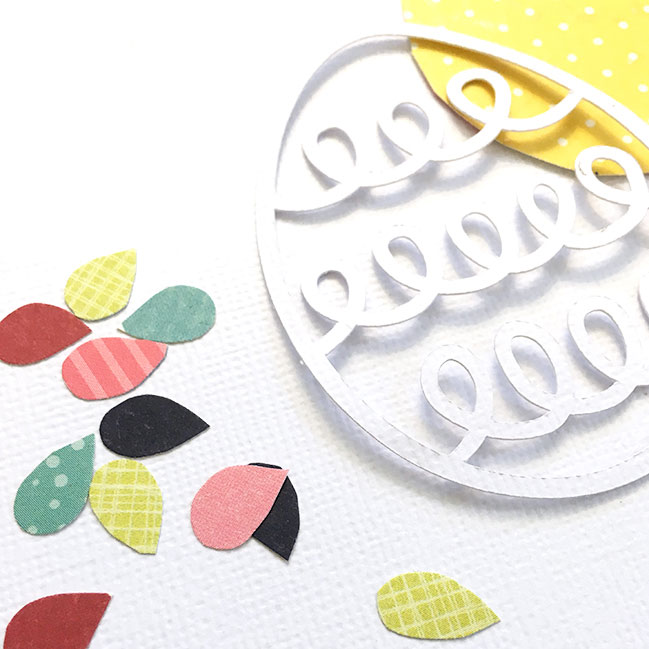
The next egg had a ton of loops. Again, I could have traced and cut them on my Silhouette Cameo but that’s too easy. I simply eyeballed the design and hand cut them. If they were too big, I just trimmed them down and then adhered them to the loops. Then I backed it with a bright yellow pattern.

Easter Scrapbooking with Starshine and some clever cutting // layout by Heather Leopard

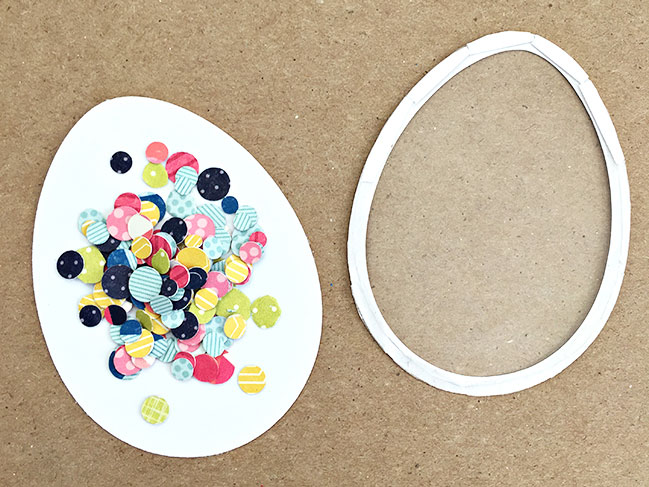
The last one I’m showing today is a shaker box egg. I traced the outside of one of the other eggs for the back of the egg and then did an offset trace on the inside to create the top of the egg. I then used some leftover packaging material to create the clear front of the egg, adhering it with skinny double sided adhesive. I cut a few circles from the pattern papers and placed them on top of the solid egg background. Lastly, I cut some foam adhesive in half and applied it to the back of the top layered egg. Does that even make sense? I placed it on top of the solid egg with the confetti and voila, a shaker egg. I used some of the leftover confetti for the fourth egg.

Easter Scrapbooking with Starshine and some clever cutting // layout by Heather Leopard

All that was left was to finish off the title, add the all-important photo and embellishments and last but not least the journaling, which you don’t see here. I plan to add that under the bottom left bunny ear or maybe between the bunny and the photo. Decisions, decisions. Where do you think I should journal?

Glitter Girl takes on scrapbooking with minimal supplies

Glitter Girl takes on scrapbooking with minimal supplies // layout by shimelle laine

Glitter Girl has been avoiding one particular question for a while. It came from so many different people. Students with zero scrapping budget. Overseas scrappers crying from the cost of shipping and import tax. Scrappers with no space for stash or no cash for stash. And a scrapbooker who just turned her craft room into a nursery for twins balancing the emotion of probably not having time to scrapbook much for a while while also having an innate need to create in order to feel just right.

That challenge was to scrapbook without much in the way of supplies. No stickers. No purchased embellishments. No big stack of patterned paper and drawer of punches.

One sheet of white cardstock and whatever is left in a 6×6 paper pad that has done a fair bit already. Nothing else.

This is the most intimidating challenge Glitter Girl has ever taken on, I do believe!

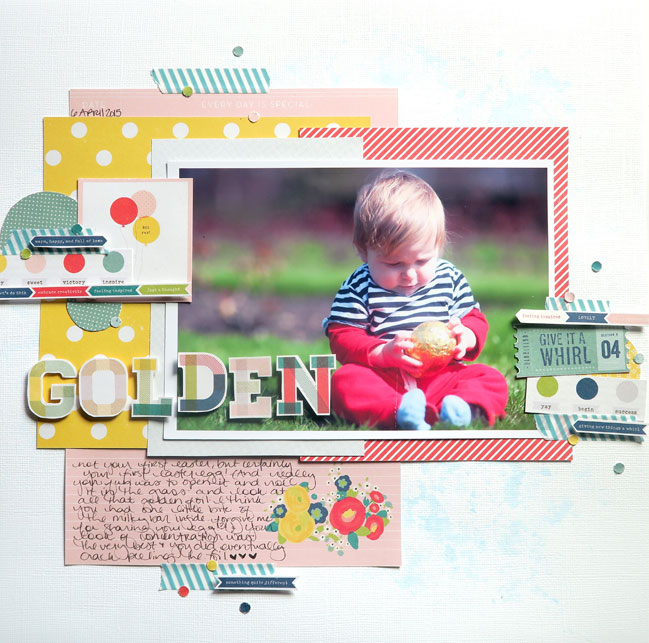
And she cheated. That washi tape and the hole punch are totally cheating. Disappointing, really.

Glitter Girl takes on scrapbooking with minimal supplies // layout by shimelle laine

That toddler painting technique is something that needs to appear more in my albums, but it was only after I finished the page that I realised it needs to involve an actual toddler. I’m going to pull out some cardstock the next time he is painting and see if anything might make a nice background. I might as well put him to work, right?

But truthfully: this challenge has made me look like a deer in the headlights every time it has been asked in any wording, and yet I am so, so glad I tried it. You can too: grab a 6×6 paper pad and one sheet of cardstock for your background and go. If you end up needing to cheat a smidge, so be it, but the victory of getting to the end and realising the whole page was basically made with leftovers from a 6×6 paper pad? That feeling is pretty fabulous indeed!

I hope you enjoy watching this adventure!

Scrapbooking on a black cardstock background

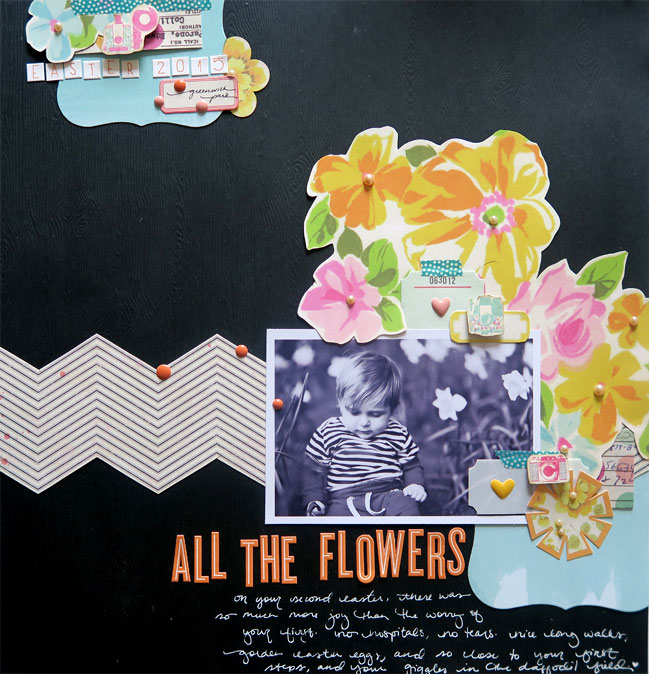
Easter scrapbook page on black cardstock background // layout by shimelle laine

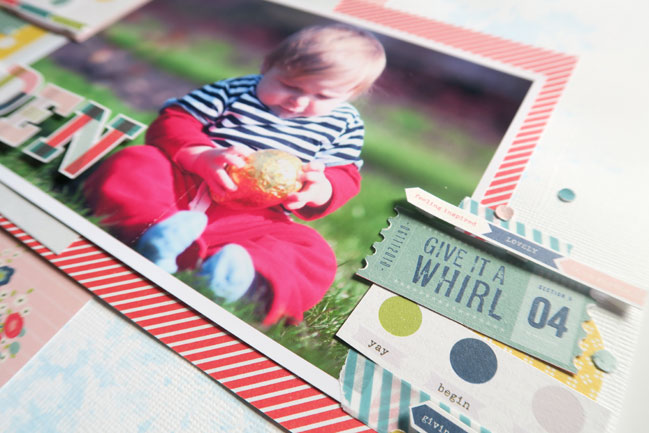
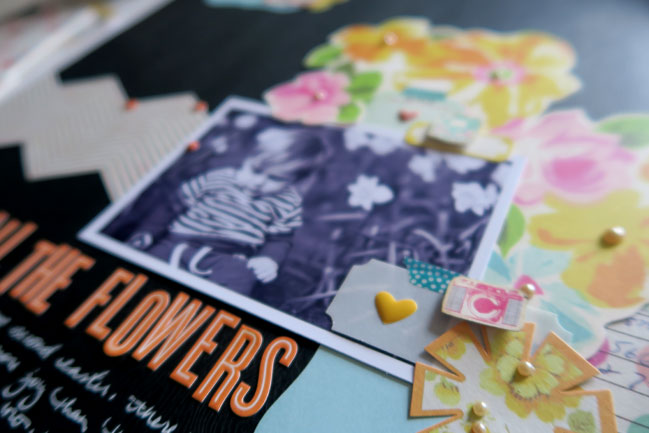
Last week’s Glitter Girl Adventure has a lot to answer for when I look at my desk this week. I didn’t put that floral paper away. I found myself working from the edge of the paper into the middle again rather than the other way around. And in a further quest to switch up a few things to add some variety to what I’m making at the moment, I turned around to my paper and realised although I have significantly less plain cardstock than I used to keep, I do still have some. If I was going to take on this week’s black and white photo challenge, why not try it with black cardstock in the background and get all the colour from the other elements of the page?

Because black cardstock: it’s the first thing you go to for scrapbooking Easter photos.

Yeah, I was a little worried it might all go horribly, horribly wrong and I was totally going to blame Glitter Girl if it did. Sometimes having an alter ego is handy like that.

Easter scrapbook page on black cardstock background // layout by shimelle laine

But actually, I’ll give her credit. I love this photo on that floral paper. And I love the floral on the black background. And I love that simple things like enamel dots can save the day when you’re cutting chevron patterned paper and multitasking sends you cutting in the wrong place. And actually, I am really loving not just the black but also the orange on this page. Black and orange on an Easter page.

Easter scrapbook page on black cardstock background // layout by shimelle laine

I think this means I might need to make bunny costumes for Halloween.

Still time to grab a black and white photo for this week’s challenge!

Weekly Challenge :: Scrapbook your Black and White Photos

weekly challenge: Scrapbook your Black and White Photos

Happy Monday! Have you been up to any crafting over the past weekend? Or looking forward to some time to create over the Easter holiday weekend? Whenever you find the time, I have a new challenge for you to stretch your scrapbooking muscles, whether you choose an Easter theme or some other photos from your desk!

This week, embrace colour, but only in your supplies. I challenge you this week to scrapbook your black and white photos. Go ahead and change that photo with every clashing colour imaginable, print it in black and white, and enjoy using any colour scheme you choose rather than struggling to make everything match. Or you might have photos that were originally taken in black and white, perhaps! Everything in style and theme is completely up to you. In recent years, this photo is my favourite in black and white, going from ho-hum in the original colour version with the tinge of hospital lighting to soft and dramatic in monochrome. (There’s a video of that page too!) To get you started on this week’s challenge, take a look at these examples from contributing designer Gina Lideros and guest artist Melinda Sweetman.

weekly challenge: Scrapbook your Black and White Photos // layout by Gina Lideros

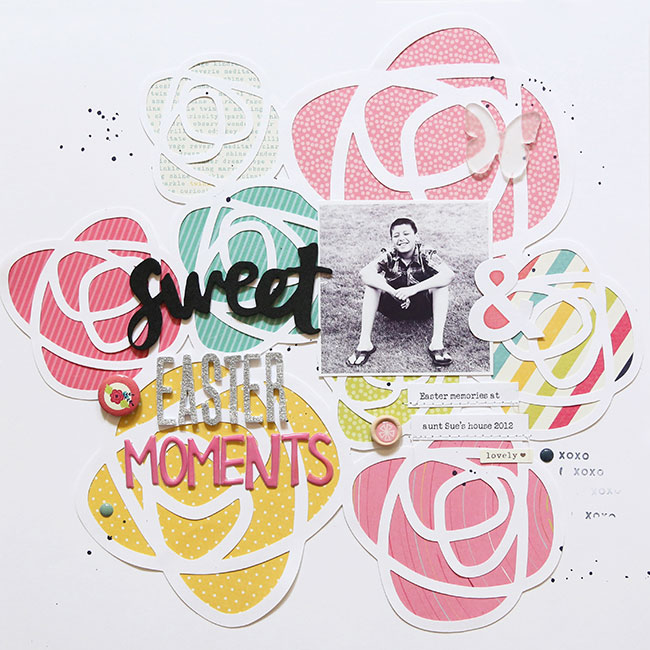
Since this week’s challenge is to create using black and white photos, I dug deep into my photos from past Easter events. I found this photo of my son that I loved taken on Easter a few years back. I wondered at first if I could make it work with a flower background and lots of pinks, not unlike Glitter Girl’s latest adventure!. Have you ever used a masculine photo before on a feminine layout? I wasn’t sure at first, but I love it now. I’m glad that I tried something that was a little out of my norm.

weekly challenge: Scrapbook your Black and White Photos // layout by Gina Lideros

Because of the Easter theme, I specifically chose candy-colored papers from the Shimelle Starshine collection, and paired it with a few older embellishments from the Shimelle True Stories collection. I also added a few bits and pieces from other American Crafts collections. To start creating my layout I used my Silhouette Cameo to cut out my background and then backed each piece with patterned papers. I topped it with Thickers and just a few small embellishments.
- Gina

weekly challenge: black and white photos  // layout by Melinda Sweetman

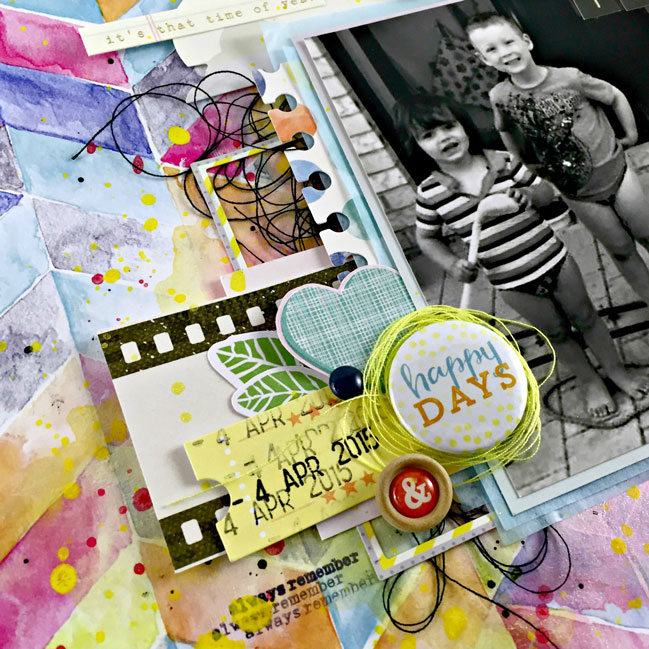
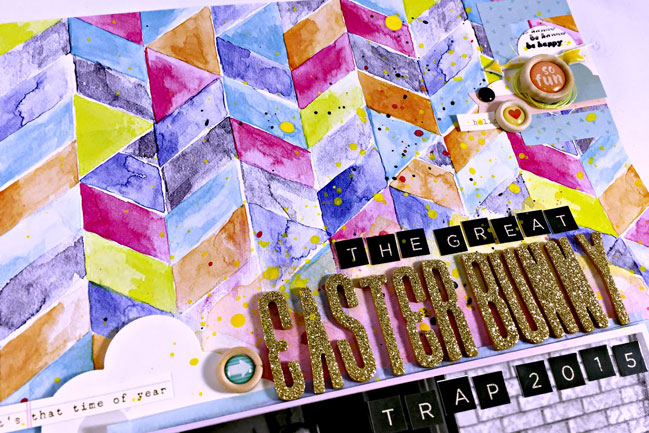
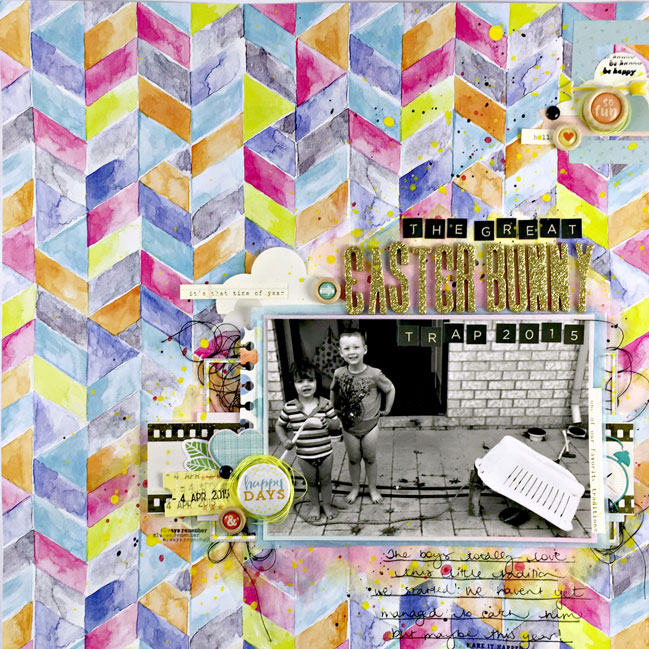
This page documents a little family tradition that started back in 2013 when my littlest guy was not even a year old! I have yet to scrap most of these fun memories but figured I would start with last year’s photo as my boys were posing so nicely next to the bunny trap! I wanted to use a lot of bright fun colours so the black and white photo was perfect!

weekly challenge: black and white photos // layout by Melinda Sweetman

This annual event started when my husband came up with the idea of a trap inspired by Wile E Coyote, grabbed a washing basket, some rope, found a piece of wood from his stash and a plate with a carrot on top and voila! It was such a hit the first year that my big guy asked about it the following year and this Easter coming up we will do it again for the fourth year. Our family got a pet rabbit named Olaf in 2014, but not once did it cross my boys’ minds that perhaps we would catch the “wrong” bunny. Even when I suggested it they both laughed at me!

weekly challenge: black and white photos // layout by Melinda Sweetman

I pulled that fun paper from my stash, did some water colouring after a light coat of gesso and then matched some paper, stickers, rub ons, and Thickers from the very first Shimelle collection with the roller stamp from the True Stories collection and also some of the Life Is Beautiful and Hello Sunshine collections by Cocoa Vanilla Studios. I love the vibrant and fun look of this page and can’t wait for my boys to look back at this when they get older and laugh!
- Melinda


You have a week to complete the challenge and share a link – but of course you’re welcome to set your own time schedule. Whatever keeps you happy and creative!

Today’s Guest Artist: Melinda Sweetman loves coffee, her family and pretty paper.. You can find more from Melinda on Instagram, Facebook, and her blog.