paper: pretty paper. true stories. {and scrapbooking classes with cupcakes.}

lovely to meet you Twitter Facebook Pinterest YouTube

Take a Scrapbooking Class

online scrapbooking classes

Shop Shimelle Products

scrapbook.com simon says stamp shimelle scrapbooking products @ amazon.com shimelle scrapbooking products @ amazon.co.uk

Reading Material

travel

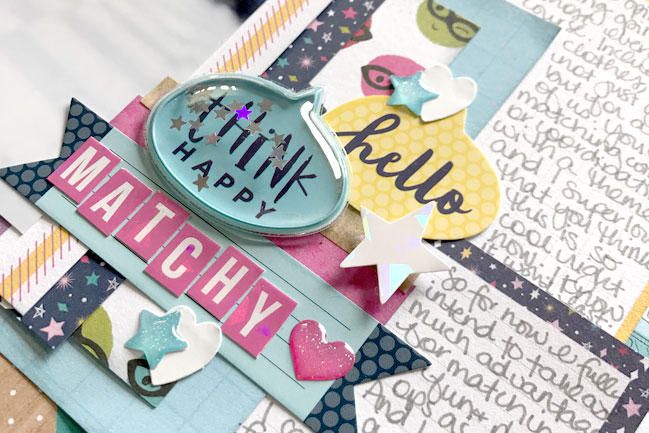
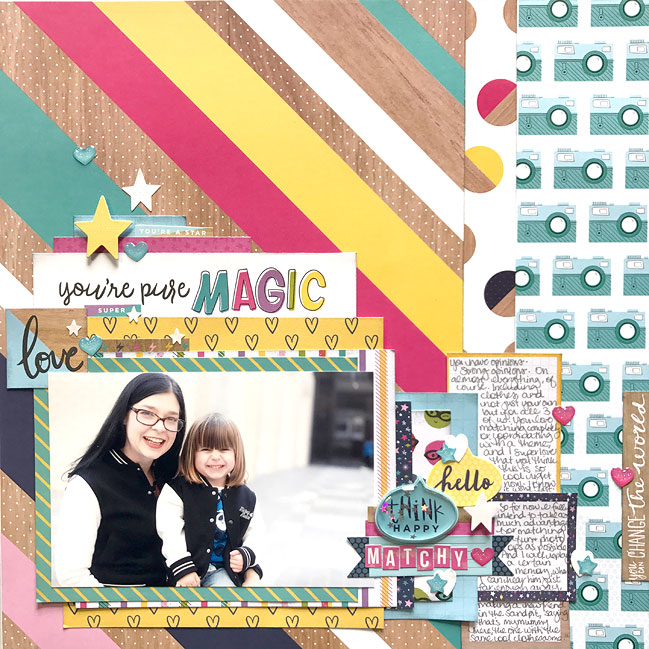
You're Pure Magic: my first layout with the Glitter Girl collection

scrapbook page with American Crafts Glitter Girl collection by Shimelle Laine

I have to admit filming the products in a new collection without getting stuck in immediately with scissors, glue, and photos is tough! It’s a hard life, I know, but with that out of the way now I can have fun actually making stuff! For my first project, I wanted to make a scrapbook page with plenty of colourful layers and other than that, I didn’t have much of a plan! But you can watch the whole process if you like.

Everything on this page is from the Glitter Girl collection. I also used a small heart punch and some grey ink, but that’s it!

scrapbook page with American Crafts Glitter Girl collection by Shimelle Laine

The journaling for this page was something I’d already written and posted with the photo here on Instagram, though I changed the voice from ‘him’ to ‘you’ to be more consistent with my family albums. I knew I wanted to use lots of colour with this picture and its big amount of white and black, because the story is actually quite cute and whimsical. If the same photo had a more sombre story, I think it would work beautifully with a largely soft white, grey, and black colour scheme, but that just doesn’t suit the energy in this memory for me. Colour it is!

The Glitter Girl collection from Shimelle and American Crafts

The Glitter Girl collection ships to stores in mid August, and I can’t wait to see what you make with all these colours and patterns.

Introducing Glitter Girl: My newest collection with American Crafts

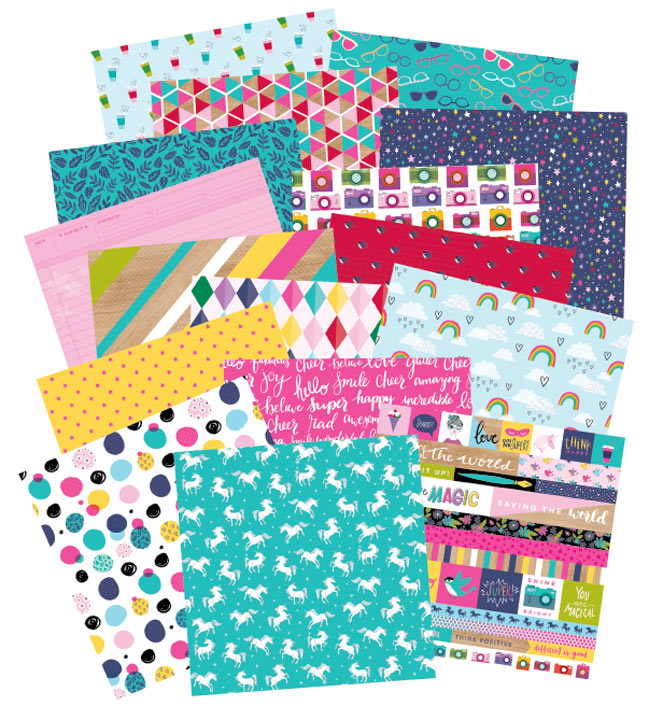
Glitter Girl from Shimelle and American Crafts :: Patterned Papers

I’m terribly torn by the lack of ridiculously brightly coloured, ultra positive, bordering on a rainbow-powered daydream supplies available in the scrapbooking world right now. I need my pretty paper with unicorns and stars and plenty of sparkle. Glitter Girl, can you help?

Of course I can.

Today I’m delighted to share my newest collection with American Crafts: Glitter Girl. This is undoubtedly the pinkest, most upbeat, most fairytale of collections I’ve done and there is an extra heavy dose of sparkle on top of Glitter Girl’s two favourite colours: pink and turquoise, of course. Plus woodgrain, gold foil, pearlescent cardstock, holographic washi, and ditty little self-inking rolling stamps. I hope you’re ready to indulge in the paper collection thirteen year old me would have bought with every penny of babysitting money she could save.

Here’s a look at most (not quite all) of the collection right when I opened my box! Come share my excitement at things like lenticular die-cuts and scissors with glittery handles and positive affirmations. It also shows the papers so you can take a good look at all those b-sides too.

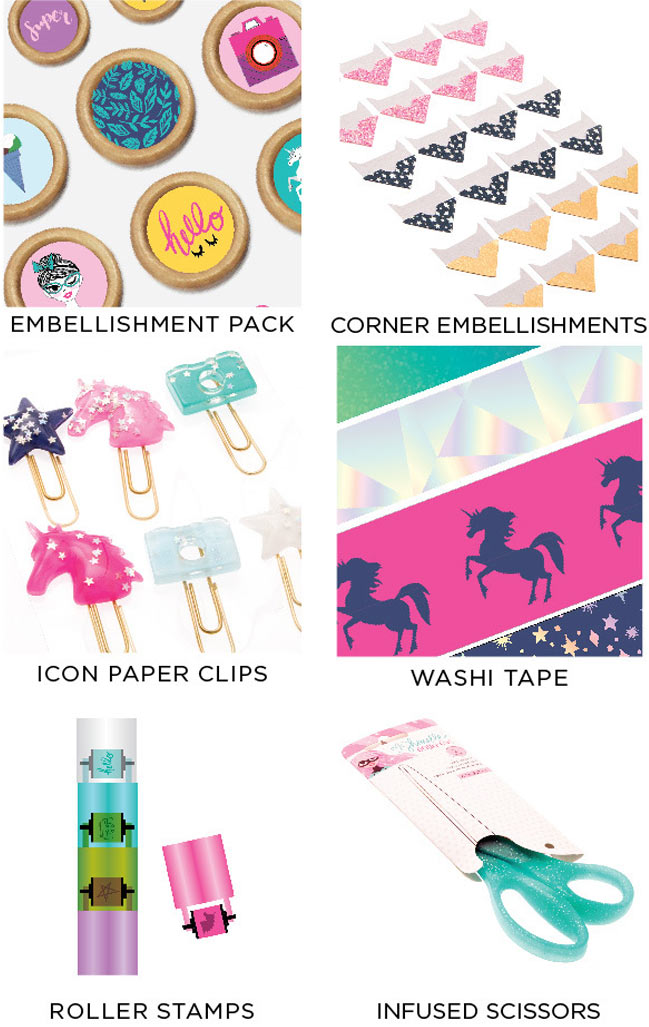
Glitter Girl from Shimelle and American Crafts :: A Selection of Embellishments

There are a few things not in that video, and they include the embellishment pack (wood buttons, small enamel dots, and adhesive sequins all in one pack), washi tape set, and the self-inking roller stamps, which include a camera design and come all stacked in a set.

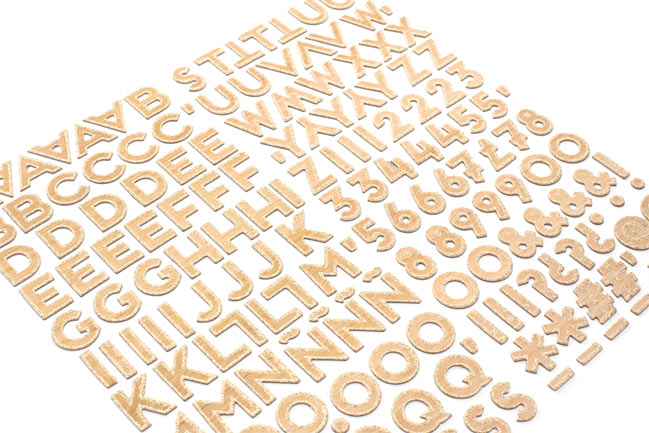
Glitter Girl from Shimelle and American Crafts :: Woodgrain and Gold Glitter Thickers letter stickers

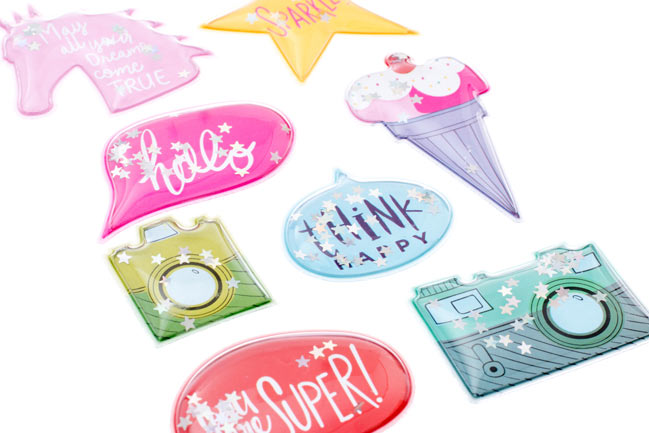
Glitter Girl from Shimelle and American Crafts :: Sparkle-filled Puffy Stickers

I’m not sure which of these two is my favourite of favourites from the entire collection! I have needed both of these in my life for a very long time!

The Glitter Girl collection ships to stores in mid August, so now is the time to let your favourite store know you want to see it on their shelves or website! (They can order directly from American Crafts or through their favourite AC distributor.)

Of course this collection is brand new in my own hands, so I will be sharing so many projects as I make them, including videos on YouTube, Friday Live on Facebook (we chat while I make a layout, starting at 3:45pm UK time / 10:45am Eastern time on Fridays), and Instagram, so please do join in! I’m also excited to see what you make with this collection, and the “Scrapbook Like a Superhero”: group is a great place to share what you make.

Glitter Girl from Shimelle and American Crafts

Thanks so much for taking a first look at all this new paper happiness in my world! I really, really hope you enjoy taking your own turn at saving the world, one piece of pretty paper at a time.

25 Days of Scrapbooking Titles and Journaling: a Challenge for July

25 Days of Scrapbooking Titles and Journaling: a Challenge for July 2017

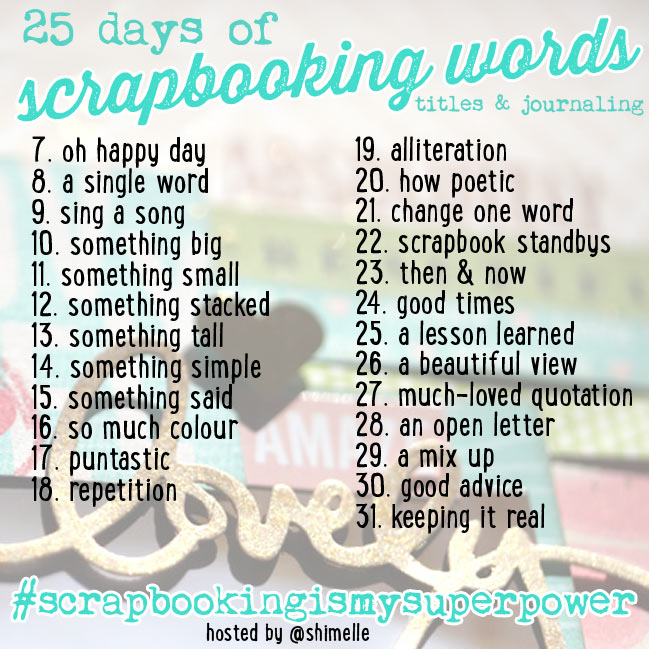
After a month of sharing scrapbooking snapshots and then a big holiday weekend for many, here’s something to keep you going through July! This month we’re starting on Friday, the 7th, and sharing 25 days of scrapbooking words – titles and journaling on our pages.

You are welcome to share scrapbook pages past and present or a mix of both! This is not meant to drive you crazy making a new page every day. Sometimes reviewing an album we haven’t looked at for a while will spark ideas just as much as something completely new, so I love the balance that comes in looking at what others are posting along with what you might be making and what you have made over the years.

This challenge is primarily on Instagram: you can follow me there if you like, and we use the hashtag #scrapbookingismysuperpower. If Instagram isn’t your thing and you’d prefer Facebook, you can also join in there! I post each day on my own page (click the ‘follow’ button if we’re not already friends) as well as the sharing group Scrapbook like a Superhero. You’re welcome to join in anywhere that feels best to you!

And now, for the twenty-five days of topics! Share your interpretation of these, with a focus on the words of your pages.
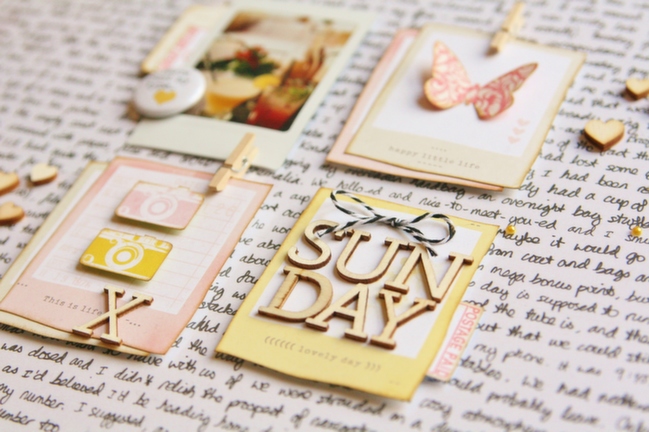
scrapbook page by Kirsty Smith
page with plenty of words by Kirsty Smith.

7. oh happy day

a personal favourite title of mine for all the types of photos that are filled with joy! So we start with something simple. Feel free to use these exact words in your title or journaling or to select another happy wording of your choice.

8. a single word

just one word for the title on your page – what will it be? No other rules apply today!

9. sing a song

find inspiration for your title or your journaling in a song! You can use one line or all the lyrics, whatever you like.

10. something big

make your title BIG! Use big monogram stickers perhaps, or paint it with a big brush, or cut something special, but make your title bigger than usual for a big impact.

11. something small

and now take it the other way – small letters, small title, maybe it won’t even be hugely noticeable as a title. Keep it to a small sentiment today, which might also give you more room for additional photos or extended journaling.
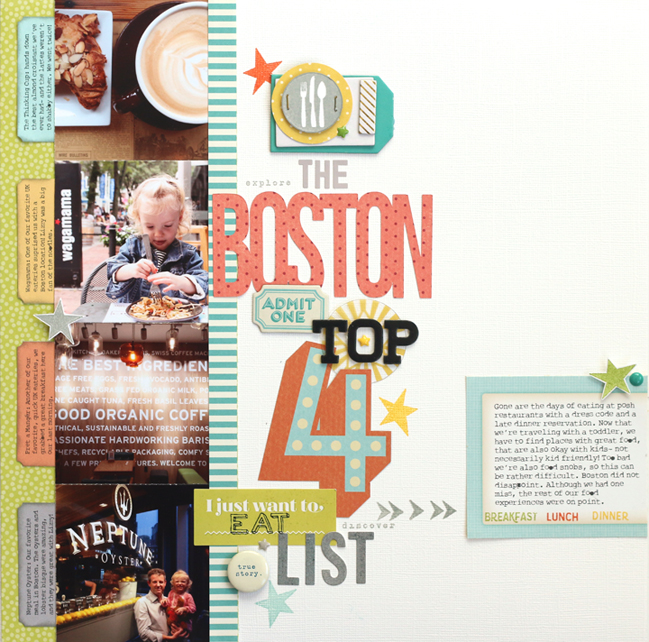
scrapbook page by Meghann Andrew
Stacked title by Meghann Andrew.

12. something stacked

this is one of my favourite types of titles! Take all your words and stack them vertically, so you spell them with stickers or chipboard or stamps, one or two words per line, over several lines. It’s perfect for those sticker sheets that only have enough letters for one or two words as well.

13. something tall

be it stickers, stamps, handwriting, or cut out, what changes when you make your letters taller than they are wide? (They don’t have to be super tall across the page – but an alphabet like Fitzgerald or similar styles lets you add far more letters in the same page space as a blockier font!)

14. something simple

easy-peasy. Here’s a quick one to keep you on track today – just share a title or journaling that keeps things simple.

15. something said

let your story come directly from someone you know: share a title or journaling that spells out something funny or memorable you don’t want to forget. Perfect for wobbly toddler speak or hilarious grown-up moments of losing the word on the tip of your tongue.
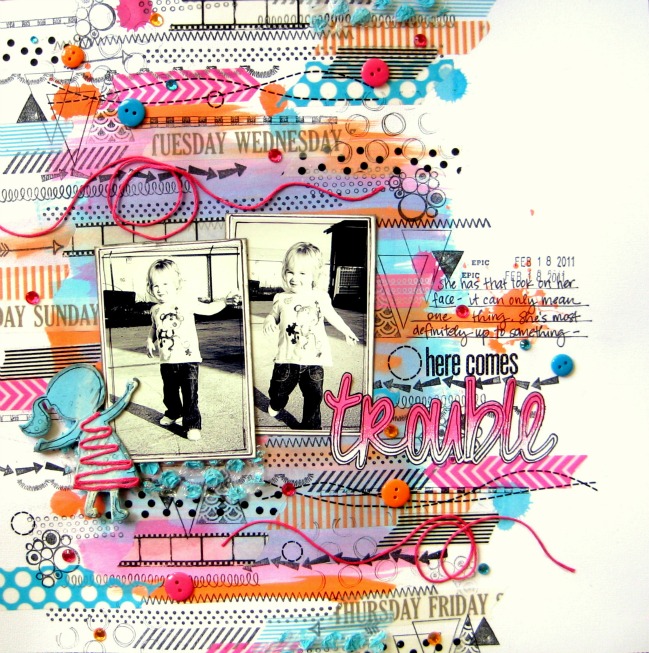
scrapbook page by Missy Whidden
lots of colour from Missy Whidden.

16. so much colour

no plain black or white letter stickers today! Pull out a rainbow of colour for your title or your writing and share what you’ve used from stickers to inks to pens to paper.

17. puntastic

you know you want to love a pun. Go on, we won’t punish you.

18. repetition

stuck for a title? Repetition is the easiest way to link your title and journaling and make it look like you always had a master plan! Something as simple as ‘I Remember…’ can be your title and then start of three or more sentences in your journaling. Start with whatever you want, but say it a few times and up your impact.

19. alliteration

truly not just something useful in high school English class. Pick words with the same starting sounds for a title that just seems practically perfect!

20. how poetic

don’t feel blocked into paragraphs and traditional sentences for your journaling. Use a poem of your own composition or one you’ve always loved by another writer. Don’t overthink this challenge – you could write a haiku or a list poem and it still counts as channeling your inner Shakespeare!

21. change one word

take a well-known phrase and change just one word: it’s why ‘happy unbirthday’ works so well! ‘I just want a cup gallon of coffee.’ ‘Lions and tigers and bears caterpillars, oh my!’

22. scrapbook standbys

there’s a reason why we see some words on plenty of products – they are pretty universal and useful! Things like documented, memories, remember, adventure, photographed, captured and others along those lines can apply to pretty much any photo, so it’s all in how you make it your own.

23. then & now

put two photos from different times together and title it ‘then & now’ – it’s that simple!

24. good times

I remember Amy Tan telling a story from her early days of scrapping when she’d done about ten pages all with the title ‘good times’ because it applied to so many of her photos that she didn’t even notice until she saw them in her album. I love it – so let’s all do a ‘good times’ title today!

25. a lesson learned

here’s your wording for today: a lesson learned (or learnt, depending on your background)! What might that lesson be? It can be something big or little – perfect for falling over on a bike right up to showing up to a wedding in the same dress as two other friends (when you weren’t bridesmaids).

26. a beautiful view

scrap something scenic today, and find a way to compose a beautiful title from the words a beautiful view!

27. much-loved quotation

choose your words from someone else today, like a line from a favourite film or a noteworthy speech. If you get stuck, the internet is definitely your friend for finding quotations, but it may deliver so many that you have trouble choosing just one.
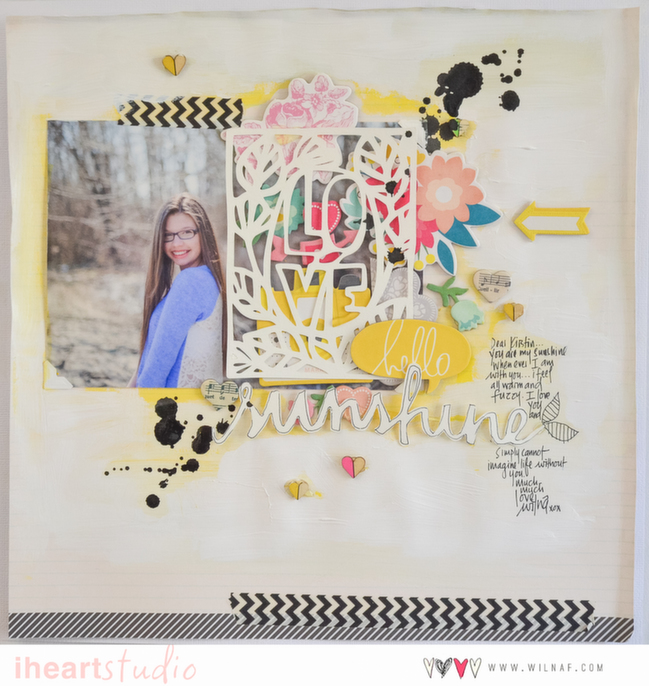
scrapbook page by wilna furstenberg
a letter in the journaling by Wilna Furstenberg.

28. an open letter

a combination of title and journaling, an open letter is just a letter that’s there on your page to be read. Use ‘Dear ______’ as your title, and the letter itself as the journaling. It could be a letter to a person with a photo of them, or it could be something bordering on sarcastic, like an open letter to the car that splashed your favourite shoes as you walked down the path.

29. a mix up

as much as I love letter stickers, the moment when it becomes difficult to spell a whole word with what’s left on the sheet. Get a little more love from those letters by making your title from a mix of several different letter styles!

30. good advice

this one can be used for scrapping advice given to you or advice you would give to someone else. Use ‘good advice’ or some variation as your title and the advice itself as your journaling, and it will all fit together beautifully.

31. keeping it real

and let’s end with something a bit realistic. Every day isn’t the best day ever, no matter how many stamps and stickers we own to say as much. What moment is in your album that simply wasn’t the best? Share it with us today!
Inspired by Evelyn La Fleur

Buzz Lightyear in our house

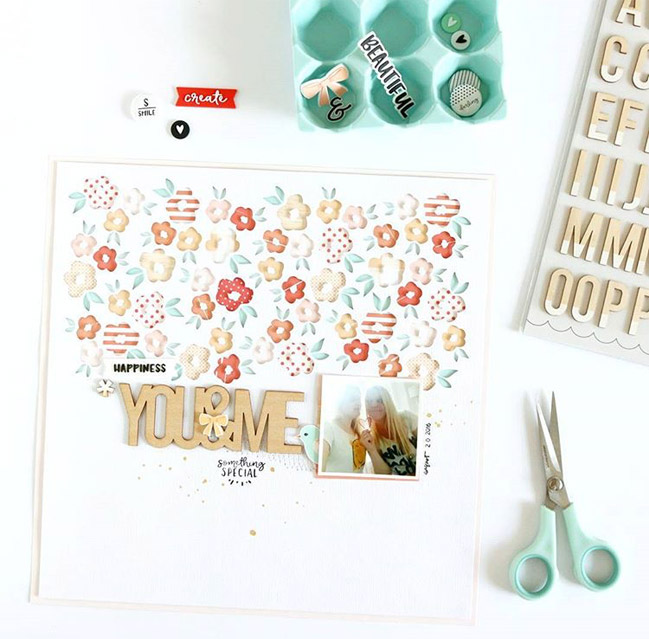
Throughout June, I’ve had a heap of fun on Instagram with a month-long photo challenge: #scrapbookingismysuperpower. This past weekend one of the prompts was to scrap lift, and I chose a beautiful page by Evelyn La Fleur.

beautifully die cut scrapbook page by Evelyn La Fleur

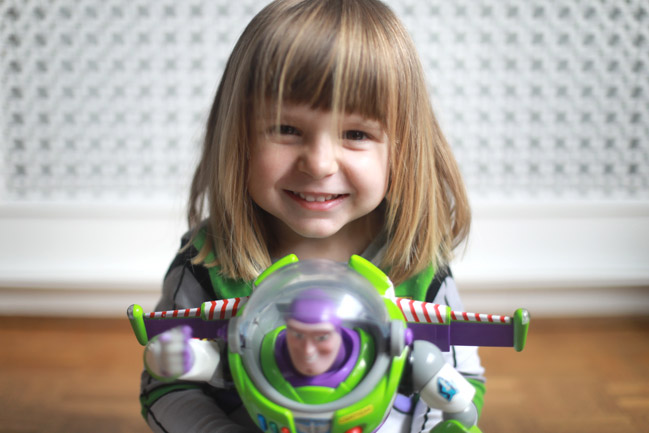
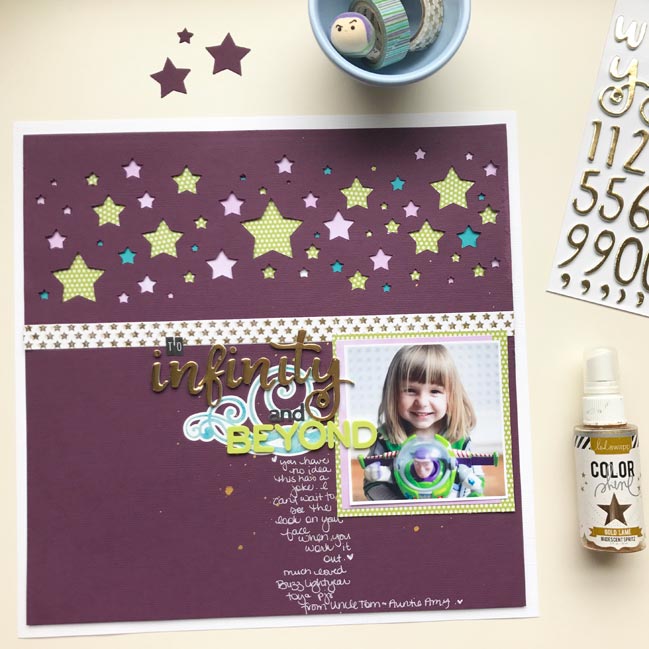
I love that colourful and detailed cut pattern at the top and came up with a thought to make it go with that Buzz Lightyear photo above – not flowers, stars! Of course. And I also wanted to include some white but mostly a more saturated colour – like purple.

To Infinity and Beyond - Buzz Lightyear scrapbook page by Shimelle Laine

I even gave her way of photographing pages a try and it was so much fun, if a little disconcerting that it would make me want an endless supply of dishes and things to coordinate with every layout.

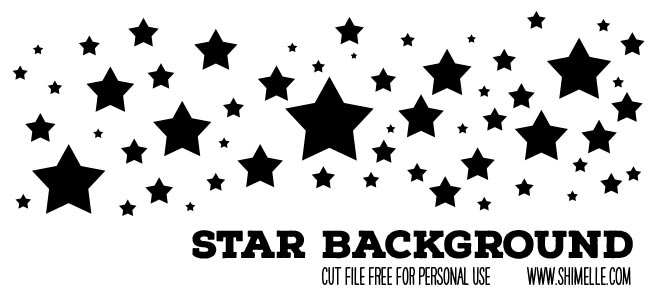
Star background cut file - free for personal use

I didn’t see a star background like what I was imagining on the Silhouette store or with a quick Google search, so I put together this one. It’s very simple, but I like how it turned out! Click the image to download the PNG and you’re welcome to use it freely for your own pages and projects. I just opened it in Silhouette Studio, made it the size I wanted, then used the ‘trace’ function to add the cut lines.

If you use it, please share – I’d love to see what it inspired on your desk! Happy scrapping!

Making one big choice: A new scrapbooking video series

choosing patterned papers for scrapbook pages // scrapbook process video by Shimelle Laine

Sometimes we need to shake things up a little bit. Not a lot. Just a little shift in the routine makes things feel new, right? I’ve needed that when scrapbooking and making videos lately, but I think I’ve found a simple little premise to set me up for some happy creating for at least a few weeks: making one big choice.

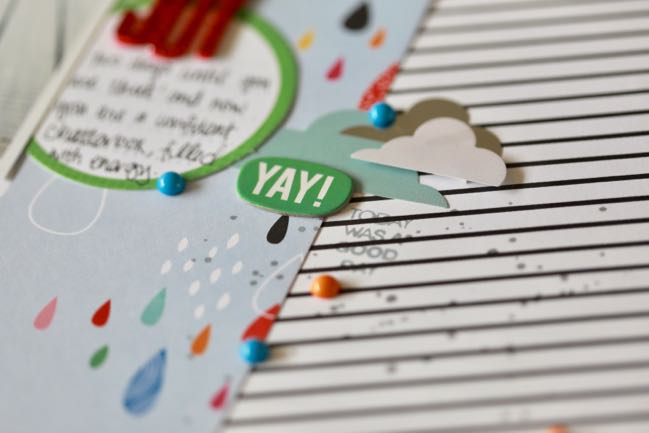
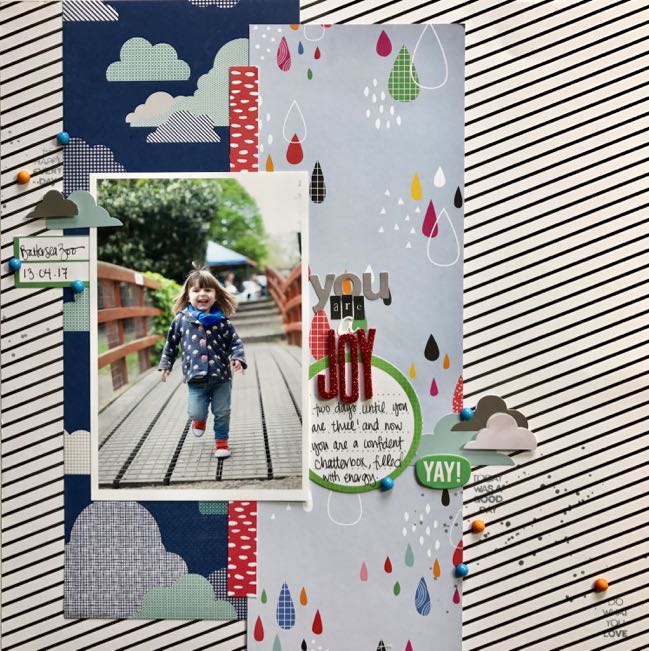
Starting with this video, I’ll be sharing some simple pages that come from one big decision, like how this layout all came from the decision between two different raindrop-printed patterned papers. This way I can show you both options, you can decide if you would make the same decision on your own desk, and if we want, we can try to figure out why. (If we don’t want, we can just make layouts we like without worrying about all the why and that’s always a good thing too.)

choosing patterned papers for scrapbook pages // scrapbook process video by Shimelle Laine

Supplies include papers and die-cuts from my Starshine collection and Amy’s On a Whim collection, plus stickers from True Stories, red Fitzgerald Thickers, and a Studio Calico stamp set.

If this type of design process video helps you but you’d like to break things down further, take a look at Design Decisions, a class now available in a self-paced format that is entirely based on the choices we make on each new page.

I’d love to hear if you think you’d choose the same patterned paper or a different option for a page like this – or if you’ve used either of the raindrop papers on pages of your own, please share what you’ve made!

Glitter Girl Adventure 153: Take Away Crafting

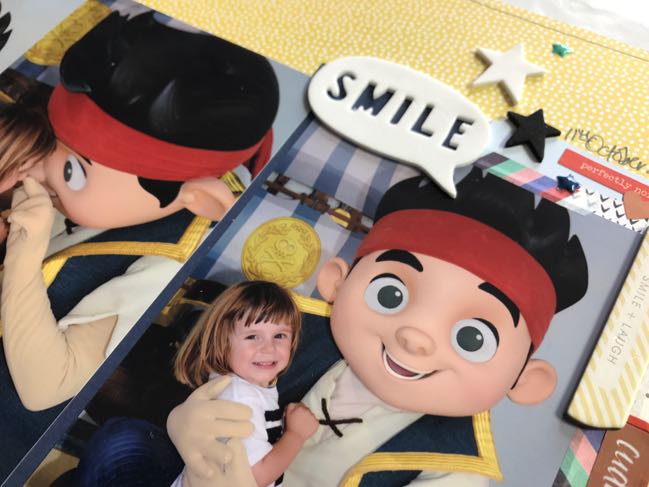
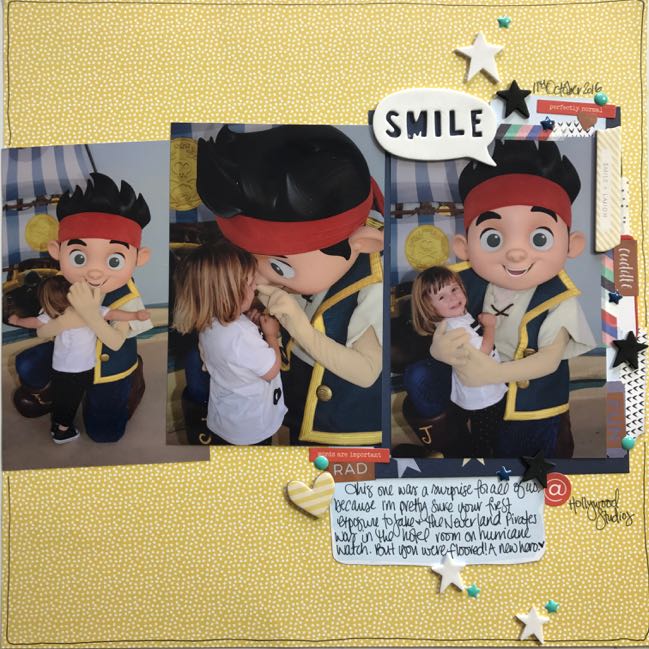
Scrapbooking Disney Hollywood Studios // Glitter Girl video by Shimelle Laine

Have you every taken a “scrapbook on the go” kit? Sadly I’m not going to a crop, but as summer arrives my family tends to spend more time away from home. I’d love to be able to scrapbook while we’re there, but I can’t pack everything in my stash. Glitter Girl, can you help?

Of course she can! Using a kit that’s either purchased and ready to go or inspired by one using the inspiration of something like the Counterfeit Kit Challenge can be the perfect way to have just enough to keep you going while you craft away from your usual home.

If you have the March 2017 kit from Gossamer Blue, then you can basically follow along! I didn’t change much at all because I had most of it to hand, but I did swap one sheet of patterned paper, one sheet of embellishments (I didn’t have the puffy stickers from Oh My Heart so I used a sheet of chipboard stickers that were in my field of vision), and some wood veneer pieces. The kit is largely my Little by Little collection along with Paige’s Oh My Heart collection. If you don’t have those to hand, no problem! Check out the different combinations created by the design team for the Counterfeit Kit Challenge, who all put together something similar from the supplies they had on hand, new and old!

Scrapbooking with a Counterfeit Kit // Glitter Girl video by Shimelle Laine

I’m really looking forward to making the facing page for this now, with lots of aqua to pull out that tiny bit of accent in the enamel dots. I need to figure out what photos those should be, then I’ll get that committed to paper. I’ll also be using the rest of this kit, so I look forward to making more and sharing soon!

If you’ve tried the Counterfeit Kit concept or if you have made packing your scrap supplies into a art and a science, do share! We’d always love to hear from you here or at Scrapbook Like a Superhero. Happy scrapping!

A Bit of Real Life: How we designed a stamp set together in about a day

how we designed a stamp set together in about a day
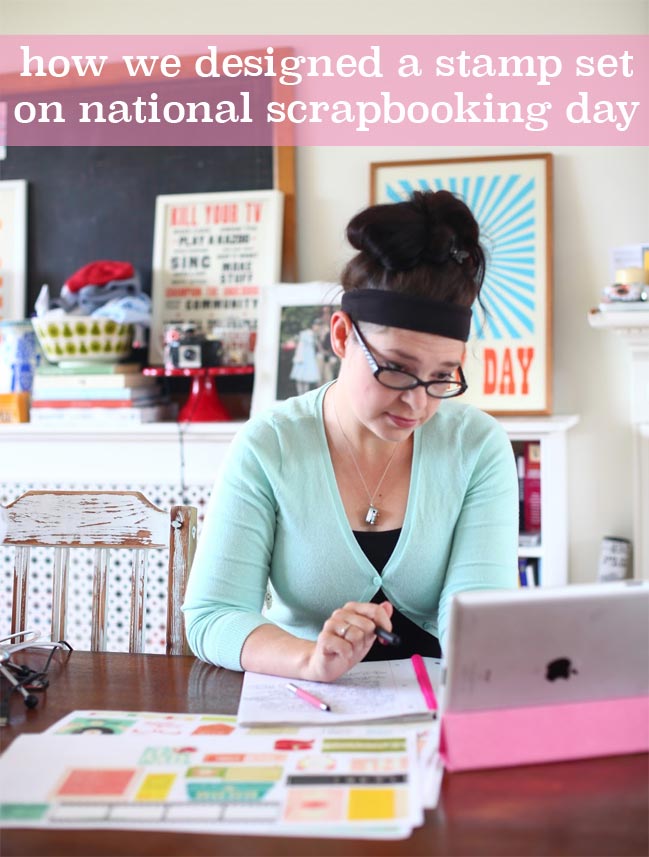
I did not think to make this entire adventure beautifully photogenic, so have a photo from working on the first collection I did with AC. I’m told I make this face a lot when I’m trying to fix something I don’t like.

With so many scrapbooking challenges around on National Scrapbooking Day, this year I wanted to do something a little different, something a little bit behind-the-scenes and choose-your-own-adventure. With plenty of input from the members of the Scrapbook Like a Superhero Facebook group, we made a product in just a bit more than a day, and at the end of this post you can even place a pre-order! (Feel free to skip right to the end if you’re not interested in my long-winded description of how we got there. I promise that’s fine.)

We started Friday night with a simple request: name a word you would like to see on more scrapbooking products. You can see the full list of answers here but the list was long and varied. Several suggestions of words like ‘really’ and ‘seriously’ stuck out to me at the beginning, and I read those in a slightly sarcastic tone, like really?? and seriously??, which I later realised may not have been the intended interpretation, but at any rate it gave us a starting point that is pretty much the same starting point I use when we put together whole collections at American Crafts: choosing a word and playing with its shape and style until I feel like there is more potential for all the other designs to come.

Admittedly I don’t work on a 24 hour time frame when we do an AC collection, so I scaled everything back a bit. For a collection, I’d choose a word and then write it many ways myself – on different papers, with different pens, brushes, and paints – and then I’d also gather a few dozen fonts and look at the styles there and how they might mix and match with either the other fonts or the handwritten examples. We probably look at at least a hundred versions of that one word when we start a collection but for this project, we started with nine iterations of the word ‘seriously’, all written by hand but in a digital form.

As it goes, eight of them were script (with three different brush pen styles represented) and only one of them was printed. I’ll admit that comes from my own style at the moment: I prefer script to print, especially when it’s my print! But we can all be hard on our own writing. Putting it to a vote on the Facebook group, the printed version had the most votes by far – but if you added all the script options together, more people preferred script of some sort to print. It’s also interesting to note that there was no universal NO answer: each of the nine versions was picked multiple times and two people stated they didn’t like any of them and would prefer a typed font. Which is fine and illustrates perfectly one of the biggest things I’ve had to learn about design over the years: it is impossible to please everyone all the time.

While I mulled over what the long list of words and the styles choices might mean, I put the product type to a vote: I wanted to limit us to something I could actually make real on my own, so I wasn’t looking for us to create an entire line of paper or embellishments that need factory equipment. Our options went up in a poll: clear stamps, cut files, printable paper, or printable stickers. Clear stamps was the run away winner from the outset. Once that was clear, we needed to put the theme to a vote, and I thought we might see whether or not I had been misjudging the sarcasm in the word list: would a ‘real life’ option be preferred over something more aspirational? Yup. By a mile.

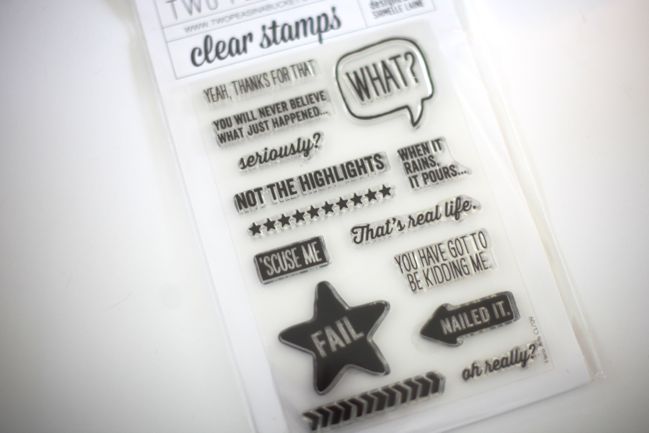
nailed it stamp set by shimelle for two peas in a bucket

Funnily enough, I’ve made a set of real life clear stamps before – but it was a long time ago and they haven’t been available for years. They were quite simple in design but that seems to have worked in their favour because I hear often that they are still in heavy rotation on crafters’ desks, and that is an awesome feeling. Obviously I don’t want to make exactly the same thing again, so before this stage in the process I thought we might be mixing some handwriting, some drawing, and some typed lettering, and I’ll be honest: I was worried about the time frame with any drawing because that takes me far longer! But with ‘real life sayings’ as the favourite, and having done that typed before, making it all handwritten made perfect sense. Most, if not all, of the remaining words and phrases came from that original list, which is something I find myself doing with collections too: even when we are in the final stages, I go back to the original notes and style board to keep checking that I haven’t lost my way and to find something that might be just right but had fallen off my radar. I’d totally forgotten about ‘worst day ever’ as a suggestion, and as much as I love Rapunzel for her best day ever, I think even she would approve of needing a worst day stamp to counter the dozen best day stamps I have in my stash.

There is also practicality in the design process, so one poll asked if a set price seemed right on or too high, which is helpful before everything is finished because I cannot describe how annoying it is to make up the most amazing thing in your head and then find out it’s retail price would be one million pounds. It’s really, really annoying. Good to check that early on then.

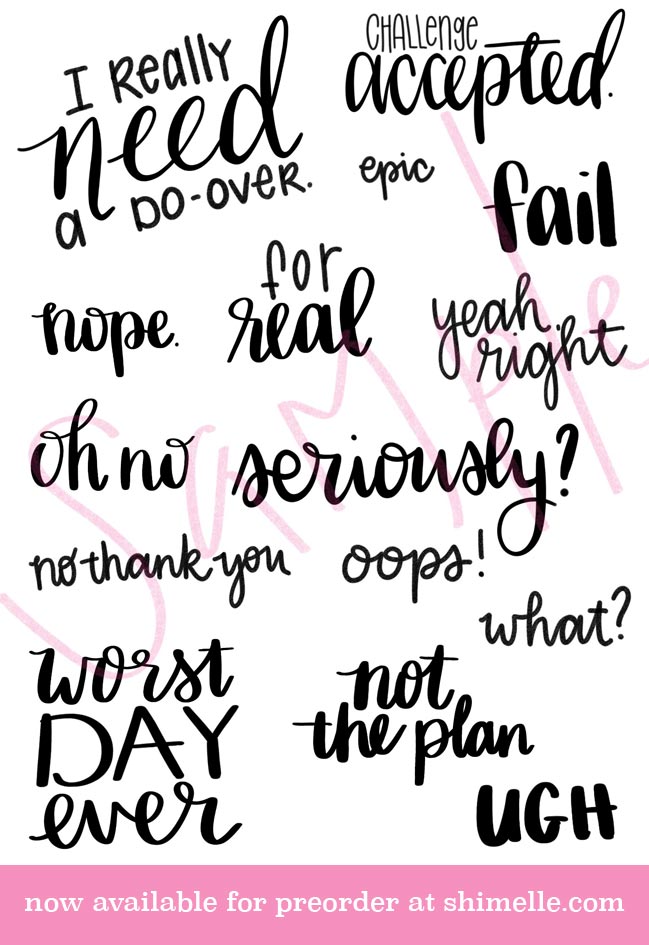
Then as I drafted more, I could ask for more specific feedback: do these two lettering styles look good together? Should this phrase have a box around it or just words? Is this better with or without punctuation? There are some times when going with the majority vote doesn’t seem like the best option and the punctuation was one of those: more people preferred the phrase ‘I really need a do-over’ without a full stop at the end than with the punctuation, but it’s super easy to cut the dot off the end of a clear stamp or just not ink it. If you’ve ever tried to correct imperfect stamping with a pen, you know it can be really difficult to get a good match if you wanted to add that dot. So the dot stayed. I hope no one is heartbroken about that.

real life stamps available for pre-order

And eventually, we got to a finished draft! There will be a tiny bit of fine tuning to come: there are a few letters that are a little uneven and I’d like to take the time to do that individual pixel work to get them just right, and I will need to move things around a bit to make sure the stamp lines with cut properly. I’m also going to order a few different versions of the word ‘seriously’ in stamp form and use them a bit so I can see what is most legible before committing to a single version, and all of that is stuff that is definitely part of the design process but best not to rush into a one day window. Then I weighed some stamp sets and envelopes of the same size so we could get postage prices and here we are: an actual product to pre-order!

It will take four to six weeks for these to ship, as I’ll submit the plates this week for testing, get them back from the stamp maker and test them plenty, then put in the order. They will be made in the UK with high quality photo polymer. Once I receive it, I’ll package them into envelopes and send them out. With that time frame in mind, I’ll offer two options for the pre-order: pay a deposit now and the remaining total when your stamps are ready to ship, or go ahead and pay the full amount now being aware that there is not an exact shipping date on these since they need to be produced. Absolutely your choice of which you’d prefer! For UK address, the stamp set is £12 including shipping (that’s UK pounds). For addresses anywhere in the world outside the UK, the stamp set is $16.50 including international shipping (that’s US dollars).

And that’s everything! You can go ahead and place your preorder now, and I estimate preorders will be open for about two weeks. I’ll close them when I have the test stamps back and I’m happy that everything is working as planned. (I’ll post on the Facebook group when I’m ready to close the preorders, but go ahead and order now if you’re worried you’ll forget!)

UK address, full payment – £12.00 GBP
Non-UK address, full payment – $16.50 USD
UK address, deposit of £6 GBP (£6 more will be invoiced when ready to ship)
Non-UK address, deposit of $8.25 USD ($8.25 more to be invoiced when ready to ship)

Thanks so much to everyone who took part in this adventure! It was lots of fun for me and I hope the stamps are something you will love and use for a long time to come.

Glitter Girl Adventure 152: Getting Unstuck

Getting Unstuck with your Scrapbook Style :: Glitter Girl Scrapbooking Process Video by Shimelle Laine

I feel like my layouts all follows the same design, even though I try to make them different. I wish I created pages that always looked fresh and exciting. Is there some special trick I can remember? Glitter Girl, can you help?

Of course she can! Start with a layout you made that you love but you haven’t made recently, so you have some visual inspiration that isn’t conforming to your most recent design habits. From there, we can create a new page that will look new by changing three specific things but keeping the rest the same. Glitter Girl starts with this page from NSD 2012, which came from a challenge to scrap lift a beautiful page by Jaime Warren. (There are so many beautiful interpretations of that challenge on that post!) Jaime works in photography these days and you can see her beautiful work here, but her archive of scrapbooking inspiration is still online as well.

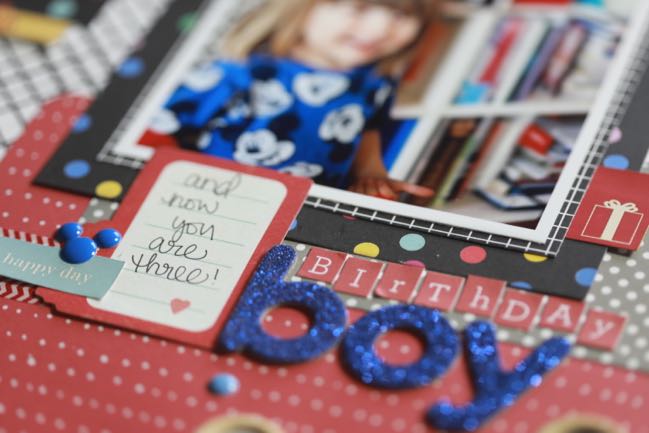
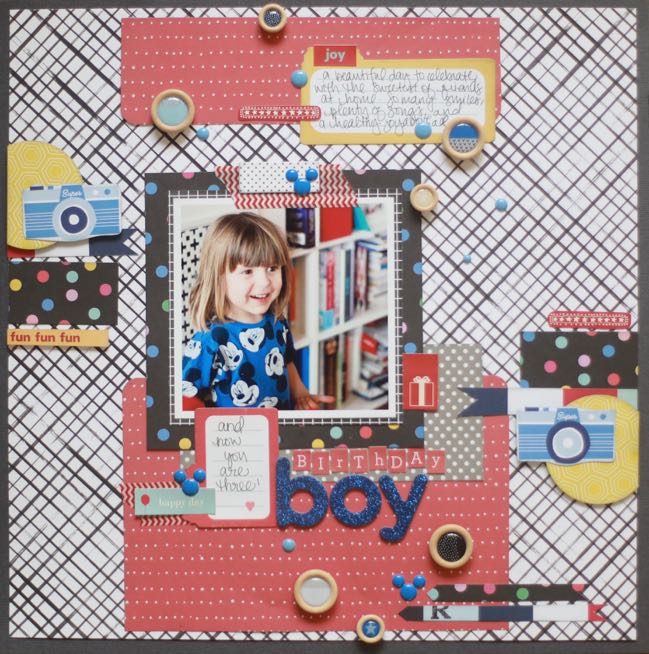
This page includes a fair amount of ‘vintage’ scrapbook supplies, including Love Elsie papers from 2007 and my favourite blue Thickers that are at least six years old. There are a few more recent things though, I promise! The black and white patterned paper from Crate Paper’s Heart Day, a few things from Amy Tangerine’s On a Whim collection, and the colourful grid paper and wood buttons from Little by Little. Those enamel dots are by Doodlebug (and were a good mix of sizes to make the Mickey heads).

Getting Unstuck with your Scrapbook Style :: Glitter Girl Scrapbooking Process Video by Shimelle Laine

And Happy National Scrapbook Day 2017! This weekend I’m going to develop one product from start to finish and take you along for the ride, and you can help decide what we make and how it looks. Join in the fun at Scrapbook like a Superhero.

Plus I’m pinning the NSD sales, challenges, and excitement I can find to this Pinterest board. Feel free to let me know about anything I should add and I’ll get it pinned!

Happy scrapping!