pretty paper. true stories. {and scrapbooking classes with cupcakes.}

lovely to meet you Twitter Facebook Pinterest YouTube

Take a Scrapbooking Class

online scrapbooking classes

Shop Shimelle Products

scrapbook.com simon says stamp shimelle scrapbooking products @ amazon.com shimelle scrapbooking products @ amazon.co.uk

Reading Material

travel

Challenge 01 :: Lots of Little Photos

Challenge 01 :: Lots of Little Photos
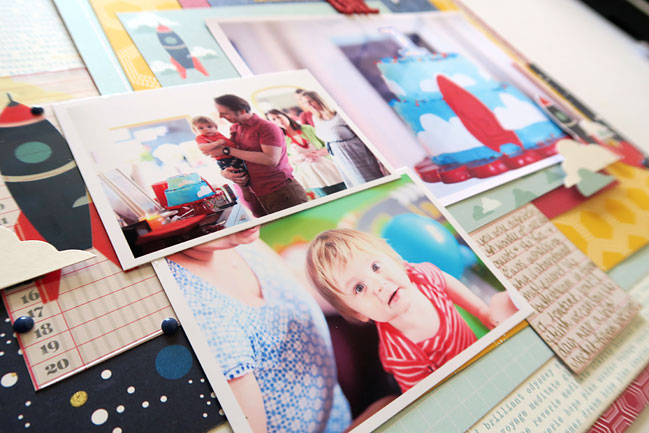
Goodness me, I have a lot of photos from those twelve days. Thank goodness I dropped my phone and not my camera! Does a giant stack of new photos make you excited or intimidated? It is actually one of my very favourite things about scrapbooking: I never feel like I have to make it through every photo in the stack, so I’m excited by all the potential in those new photos! Of course, if I made them all single photo layouts, I’d need even more room to store all my albums, so let’s be practical with this first challenge of the weekend: create a new page with lots of little photos!

A few posts in the archives might be useful for this challenge: Glitter Girl’s Multiple Photo Mayhem adventure and a double page Sketch to Scrapbook Page spin both include process videos, and Formulas for Stretching Supplies shares four layouts from one kit to scrap seven small photos and one big one.

Now, to get you started on this first challenge, take a look at these fabulous examples from contributing designer Nicole Nowosad and guest artist Michelle Gallant.
challenge: lots of little photos // scrapbook page by Nicole Nowosad

challenge: lots of little photos // scrapbook page by Nicole Nowosad

challenge: lots of little photos // scrapbook page by Nicole Nowosad

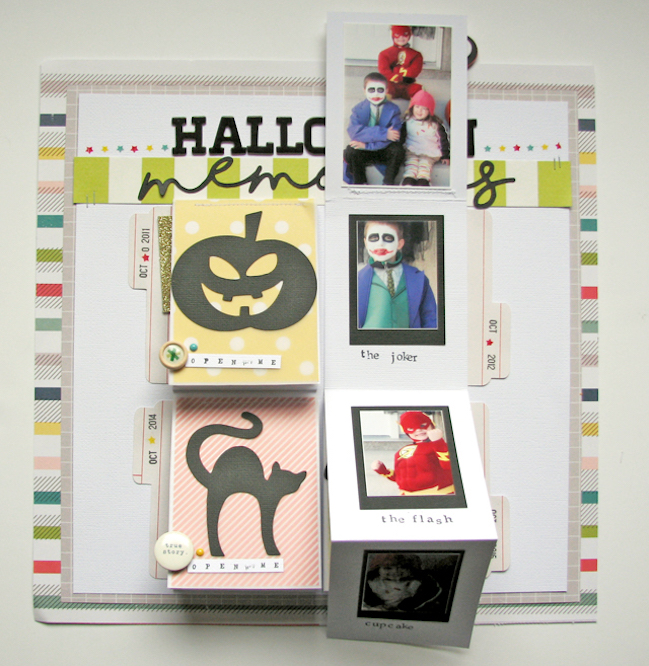
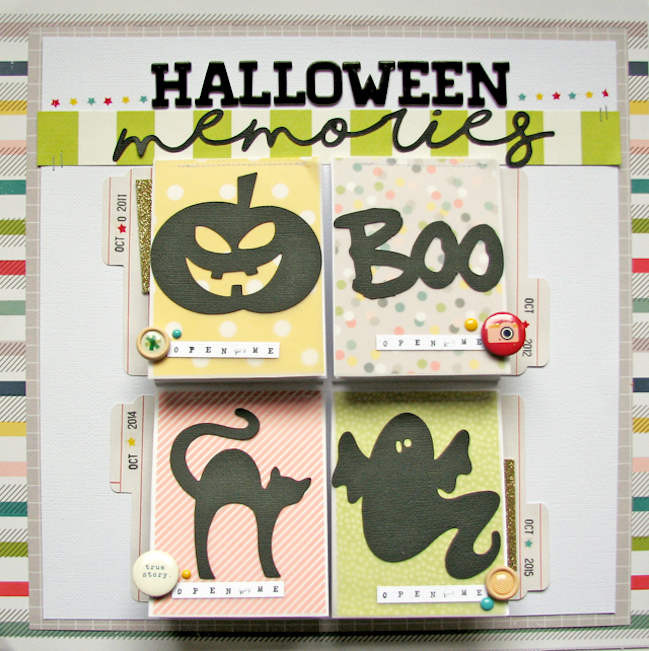
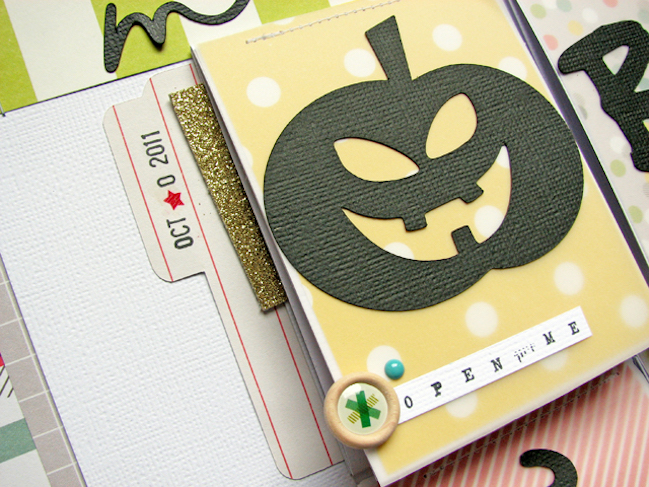
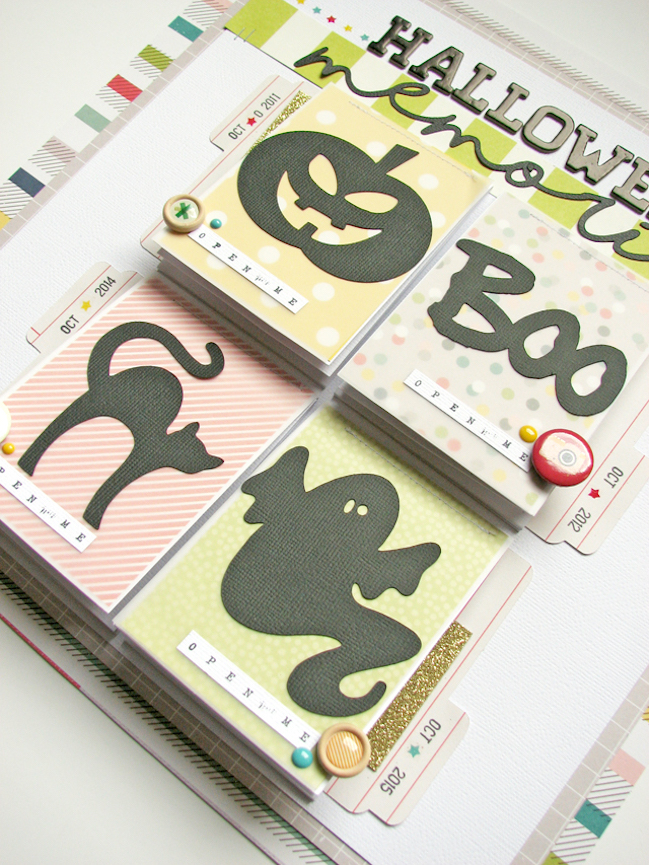
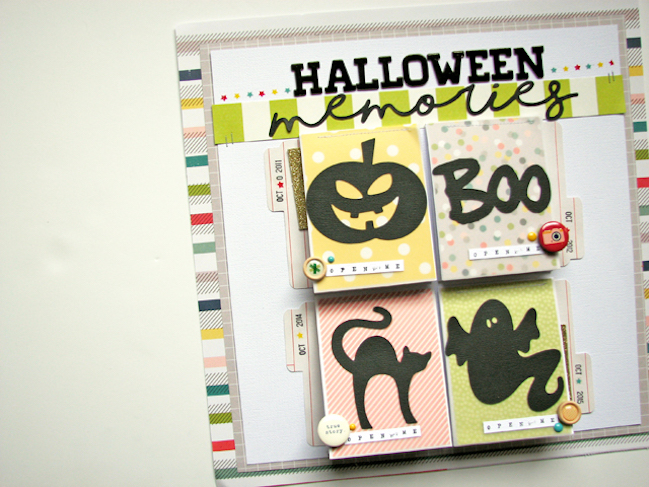
Halloween is always a busy time of the year in our house, carving pumpkins and pulling costumes together. Every year I try to take photos of each of my kids for Halloween all dressed up and thought it would be fun to make a bit of a recap page on this project. I had so many photos to scrap that I was a little stumped at first at just how to pull them all together. I decided to print some smaller photos of each of my kids as well as their group photo for each year and then create mini flip outs on my page to keep them all together in one year!
challenge: lots of little photos // scrapbook page by Nicole Nowosad

challenge: lots of little photos // scrapbook page by Nicole Nowosad

I simply cut a 3“x 12” strip of paper and scored it every 4”, folding it accordion style to the inside of another 3“x 8” piece of folded card stock that I decorated with some die cut shapes, vellum, and wood buttons. I added in each of the small photos and stamped their costume to the empty area in the mini flip out before securing the little mini books to my page in a simple grid. It is a great way to tuck in lots of small photos in a simple and interactive way too!
- Nicole
challenge: lots of little photos // scrapbook page by Michelle Gallant

challenge: lots of little photos // scrapbook page by Michelle Gallant

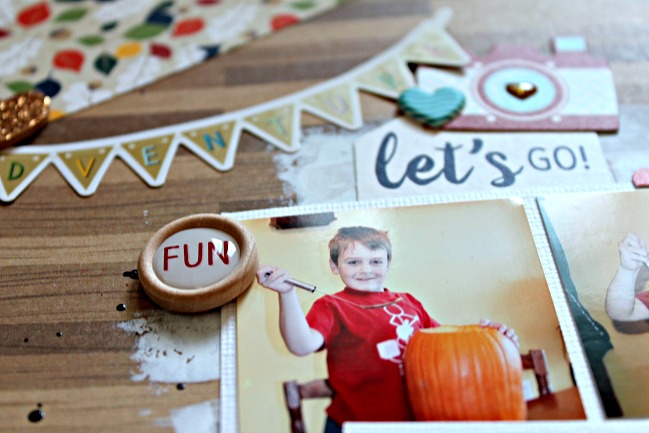
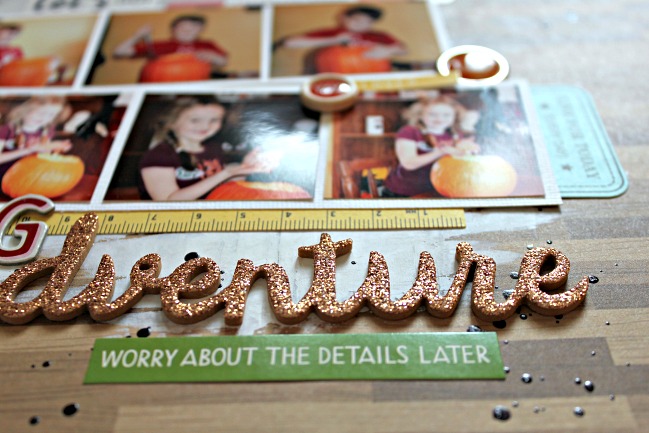
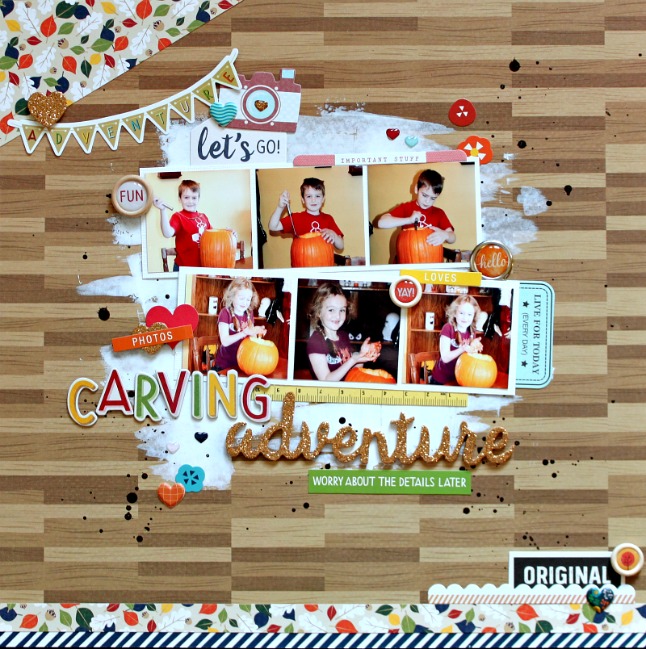
I decided to use these photos of my kids because it was the first year we let them carve the pumpkins by themselves (with a little help with the cutting). They were so proud!
challenge: lots of little photos // scrapbook page by Michelle Gallant

For my project I used mostly the Go Now Go collection. I love the colors of this collection, it was perfect for my pumpkin page!
- Michelle


I’m leaving all the challenges open until the end of the following weekend to allow more time to participate, but the special discount on the new class will be sent to those who upload a new project just this weekend – by the end of Sunday, 30th of October, 2016. This is for new layouts created this weekend, not archived layouts made previously. One discount applicable per person. You can upload your page to another site (blog, Instagram, Facebook, scrapbooking gallery, etc) and use the InLinkz button above to link to that OR you can upload a photo of your page directly with the same button rather than linking elsewhere. Either is fine! If you have trouble figuring out what to click, give a shout in the comments and I’ll email you with help. Thanks!

Today’s Guest Artist: Michelle Gallant loves taking photos, spending time with family and watching hockey. You can find more from Michelle on Instagram, and her blog.

Let's get back to this

mickey mouse sketch

Through a combination of little mistakes that added up to bigger problems, things have been quiet here when I didn’t intend them to be. It goes something like this: find opportunity to swap three day family getaway for twelve day amazing holiday and take such opportunity. Decide it is best to focus on family and getaway and not lug lots of work equipment, computer devices, or other such things with me when I can do most things in a pinch with my phone. Twenty-six hours into said getaway, in a moment of jet lag, excitement, and too many small objects in one hand, drop my phone and watch as someone arrives with a dustpan and brush to sweep it away in one million tiny shards of glass. As this is right at the front gate of Disney’s Animal Kingdom, say ‘hakuna matata’ and try to see the best part of the situation.

The best part was that I spent eleven days never looking at a phone and fulling soaking in every single thing. That was pretty awesome.

But a few of the messages I wasn’t receiving by not looking at that phone were telling me that all the things I had scheduled to carry on in my absence were breaking. Not awesome at all.

Now we are back, I have communication with the wider world again, and I have a heap of inspiring projects to share with you. Scrapbook pages! Tutorials! Process videos! And a new class to announce!

So let’s do this: starting now and going throughout this weekend, it’s an impromptu explosion of inspiration here. Online scrapbooking party time! Then Monday morning, I’ll share all the details for the new class and open registration for that. Sound good? And for a little extra, if you create a page this weekend for one of the challenges, I’ll send you a little discount to use on Monday, should you want to sign up but keep a few more pennies in your purse.

Tell a friend: we’re scrapping all weekend, right here!

PS: We’ve entered the ‘Mummy, draw me a _____, please’ phase of creativity. Usually it’s steam trains. Lately I need to add a certain cast of characters to my repertoire. It’s a mixed bag: he is high pressure on time constraints but low pressure on accuracy. Phew.

Layers of a story: Creating an interactive page

layers of a story: creating an interactive page // scrapbook page by Kirsty Smith

With September drawing to a close and back to school turning to the countdown to half-term break in this part of the world, it seems about right for daydreaming about the summer holidays. Today contributing designer Kirsty Smith shares more about how she relishes travel scrapbooking.

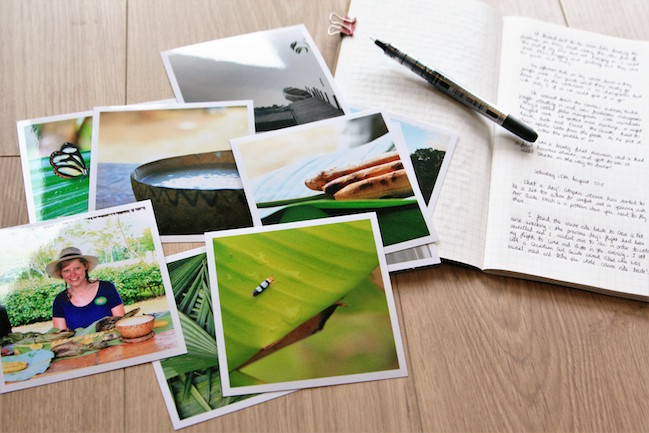
Last summer, I went backpacking in South America, and a real highlight of the trip was the few days I spent in the Amazon basin in Ecuador. It was an incredible experience, living in the heart of the rainforest and seeing first-hand the stunning biodiversity. I also had the most unusual picnic of my life, feasting on catfish roasted in banana leaves in an open fire, fermented sugar cane drink, and, that’s right, roasted weevils on a stick. Disturbingly creamy on the inside.

While I have lots of pictures that I love from this trip, I don’t really want to make lots of jungle-themed pages. Additionally, the pictures go together as set, both visually as they contain lots of lush, green tones, but also thematically as they are all snapshots of a bigger story. It didn’t make sense to me to try and find a way to scrapbook each little idea separately; I think I would have run out of enthusiasm quite quickly, which would be shame as this is an experience I really want to scrapbook!

layers of a story: creating an interactive page // scrapbook page by Kirsty Smith

So today, I’m going to share a way to combine lots of photos, memories and scrapbooking across multiple page protectors into one, deconstructed layout. Trust me: it’s a lot less complicated than it sounds! I thought about what I wanted to include and in many ways it was simple: I wanted a lot of journaling and a whole bunch of photos, I wanted to make and embellish a layout, and I wanted a title that would tie everything together.

layers of a story: creating an interactive page // scrapbook page by Kirsty Smith

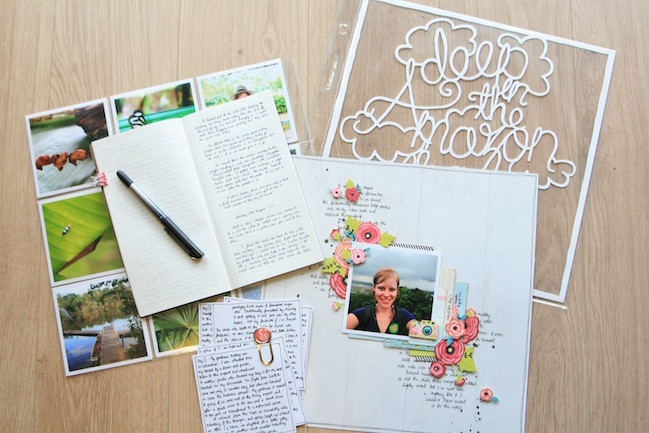
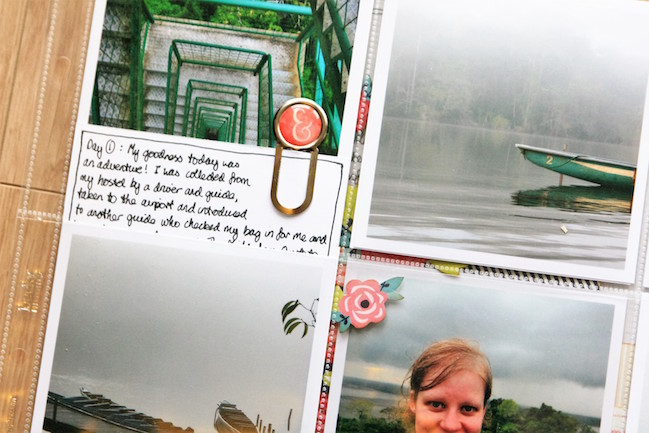
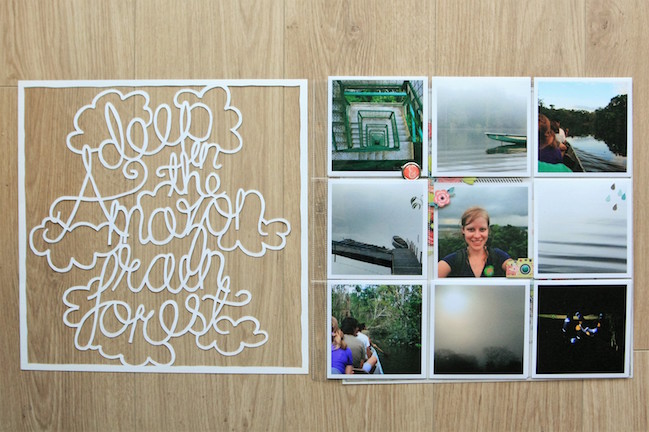
First of all, I wanted to organise my photos. I had a large batch of pictures printed as squares, as I like this format for my album, and I pulled out all of the rainforest pictures. Opting to include all my prints meant that the decision process was very quick indeed! I chose one picture to be a focus for my scrapbook page, and gathered the other 16 into a divided pocket page.

I grouped the photos by colour more than anything: the bright greens together and the duskier tones together. I found I had enough photos to fill both the front and back of eight slots of my page protector. This was one of those moments where I let the materials I had influence the design, and so I slotted my pictures into the pockets leaving the middle pocket free. Which gave me a cunning idea for my scrapbook page!

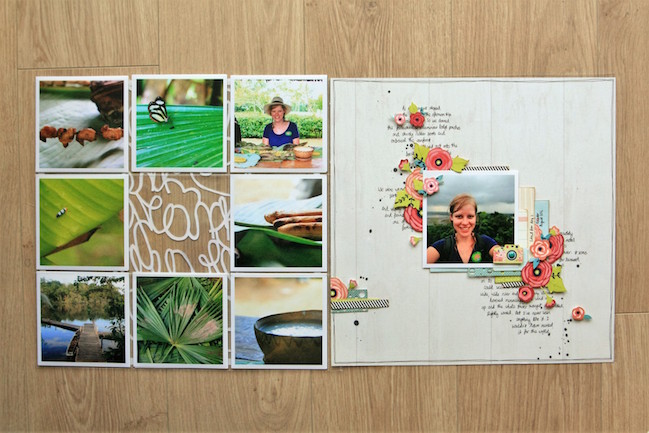
The pocket page of photos influenced my layout design, in that I made sure that the placement of my photo lined up with the empty section of my pocket page. That way, when someone is looking at my album, they will see a tantalising glimpse of the page underneath, but it will line up as though that pocket has a photo in after all!

layers of a story: creating an interactive page // scrapbook page by Kirsty Smith

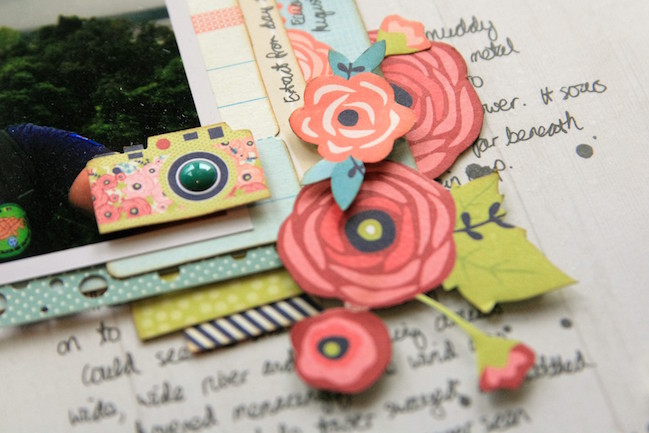
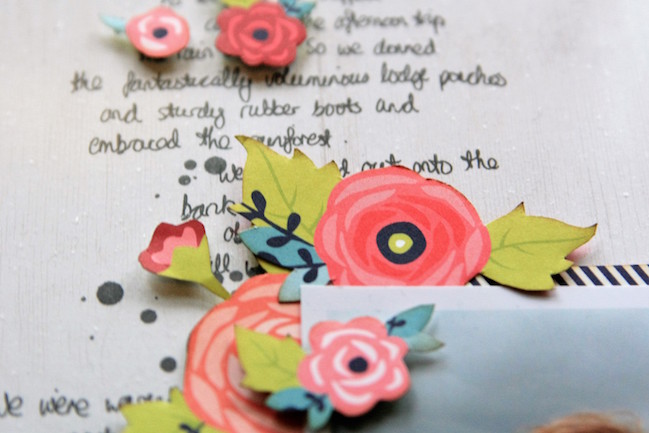
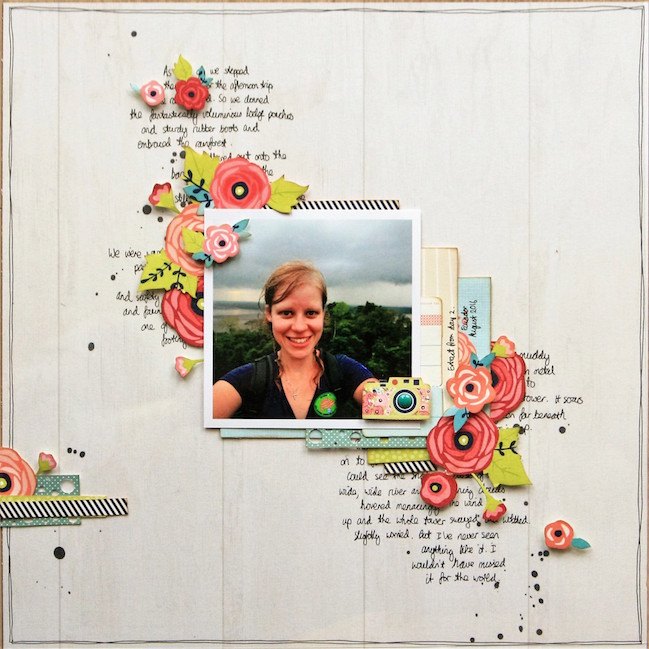
Once the picture was in place, I turned my attention to the embellishment. The lovely floral motif in Shimelle’s Starshine collection seemed perfectly in tune with the exotic nature of rainforest flora. With the photo carefully in position, I used journaling cards and the cut-apart sheets from the Starshine Collection to create layers around my photo. I arranged flowers cut from patterned paper around the photo and trailing up and down the page to create the impression of foliage. A little camera icon was the last touch, as I like to include something that reminds me of travel.

layers of a story: creating an interactive page // scrapbook page by Kirsty Smith

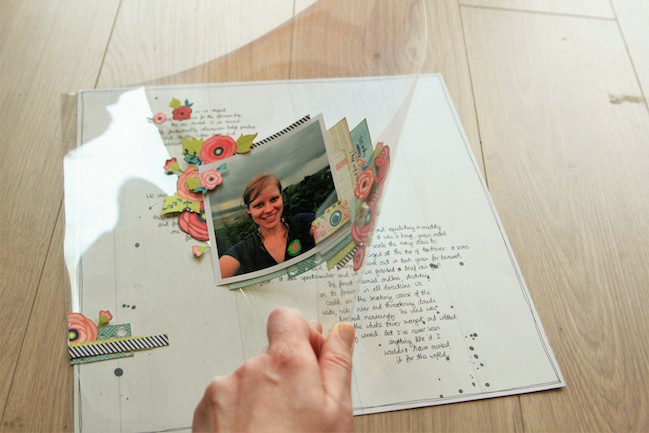
Finally, I transferred everything onto a sheet of acetate. This is something I’ve done a few times before, and is a great way to sneak extra journaling onto a page. I adhered everything in place, popping up some of the flowers on foam squares. I journaled my story onto the background paper so that it would be visible peeking out behind the design. Placing the acetate on top means that lots of the writing is hidden; it doesn’t overwhelm the page and it seems a more organic part of the design. But it’s still very easy to read the full story by simply lifting the acetate. The page protector will keep the acetate lined up with my background, so I don’t need worry about attaching them.

layers of a story: creating an interactive page // scrapbook page by Kirsty Smith

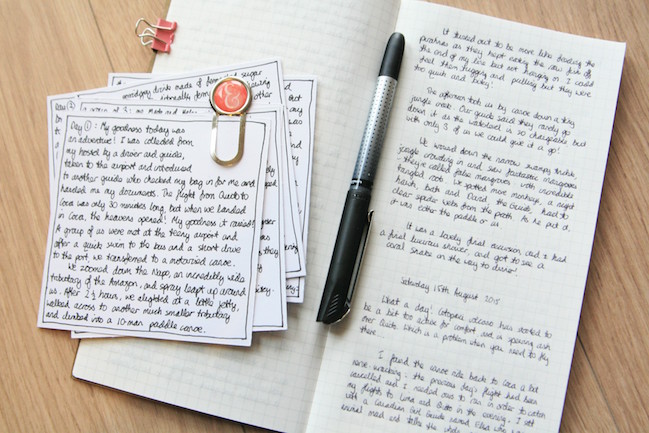
Most of the elements of the page are now in place, but I had lots more story to tell which was recorded in my travel journal from the trip. I cut a sheet of white cardstock into 4×4 squares and continued telling the rest of my story.

layers of a story: creating an interactive page // scrapbook page by Kirsty Smith

If you prefer not to hand write, you could absolutely save yourself a lot of time and type out your journaling! However, as I was recounting a big adventure here, I was happy to invest the time in doing this. The journaling cards can now slot easily into the pocket page between the photos, with a paperclip indicating that they can be pulled out and read.

layers of a story: creating an interactive page // scrapbook page by Kirsty Smith

On a side note, if I can I like to journal as I travel. That way I know I can scrapbook those memories any time I like; I won’t forget because I have my travel journal to refer back to. In this instance, I simply copied what I had written down last August. I recommend trying it if you think it might take a while to get to the scrapbooking!

layers of a story: creating an interactive page // scrapbook page by Kirsty Smith

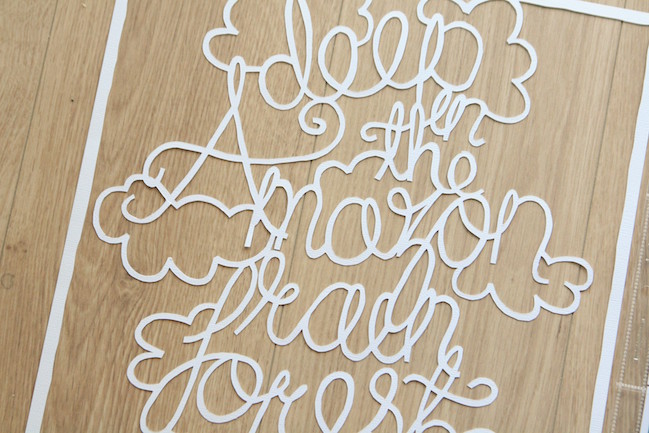
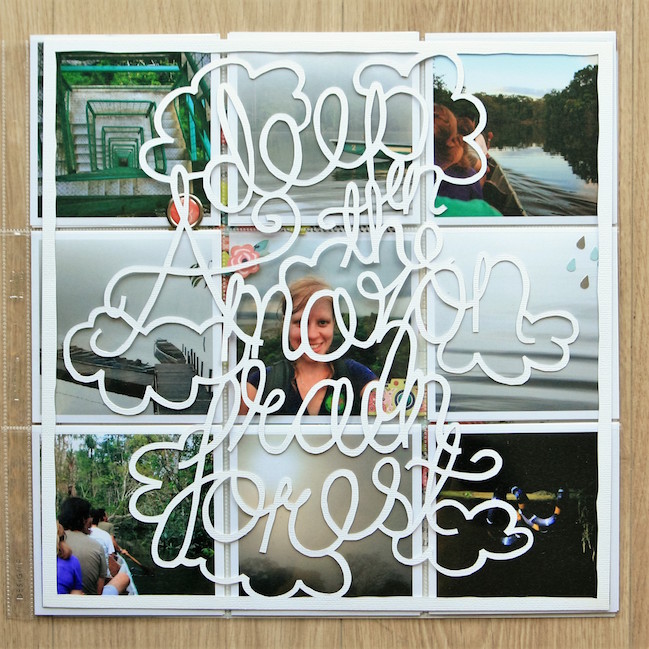
Finally, I created a hand-cut title to introduce the whole topic. I wanted the title to invite the reader to head “deep in the Amazon rainforest” with me, and to indicate that the reader can turn the page and find more and more layers of detail about this adventure. An overlay, or die cut would work just as effectively here (I simply don’t own one so I rely on what I can do by hand!) and allows you to peek through to the next layer of the page.

layers of a story: creating an interactive page // scrapbook page by Kirsty Smith

layers of a story: creating an interactive page // scrapbook page by Kirsty Smith

layers of a story: creating an interactive page // scrapbook page by Kirsty Smith

I like to think that overall, the reader gets a whole experience from this scrapbook layout. As they turn the page, they are pushing back the overgrown foliage with me, and exotic flowers trail around the design. The title reveals photos and the odd hidden detail; a paperclip indicates hidden journaling. The photos themselves give way to a scrapbook page which can be glimpsed through the pocket page, and the acetate of the page itself can be lifted to disclose further rainforest secrets.

I loved putting this project together, and while it’s not something I would do for every page, it’s tremendously satisfying to feel that I have all the pictures and journaling recorded in my album. And the fact that I was able to do it in one project, even if that took a little longer than usual, meant that I don’t feel I need to go back and create more and more pages about the rainforest. The memories are all there!

Back to School scrapbook ideas

Back to School scrapbook ideas // scrapbook page by Shimelle Laine

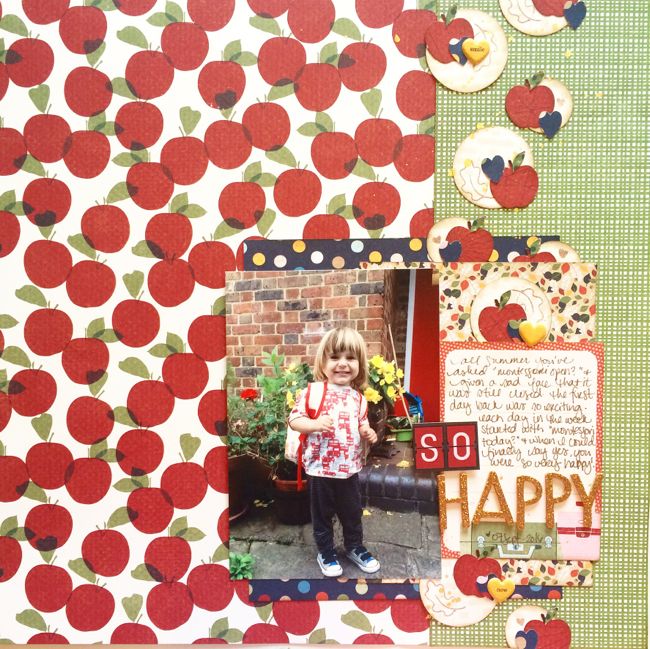
Excuse my giddiness, but I scrapbooked a back to school photo! Okay, he’s two. Okay, it’s not really school. But it was pretty close and he was beyond excited for the summer break to be finished and to go back to see friends and try his favourite things. It’s a session we attend together once a week at a local Montessori school, and through the summer, barely a day went by when I wasn’t asked ‘school open again? Or school still closed?’ He was very excited indeed, and the happiness in this big grin was very real.

Back to School scrapbook ideas // scrapbook page by Shimelle Laine

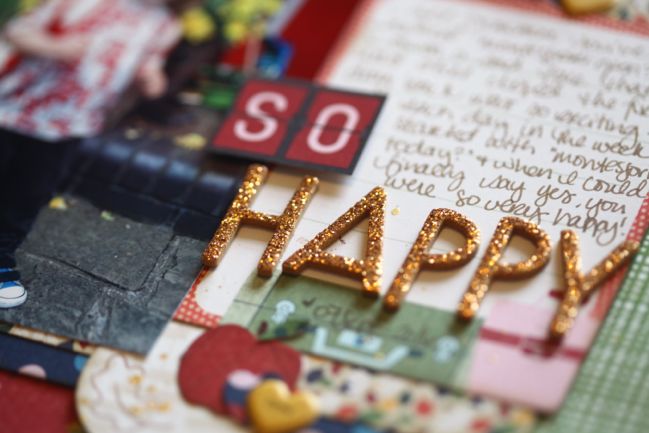
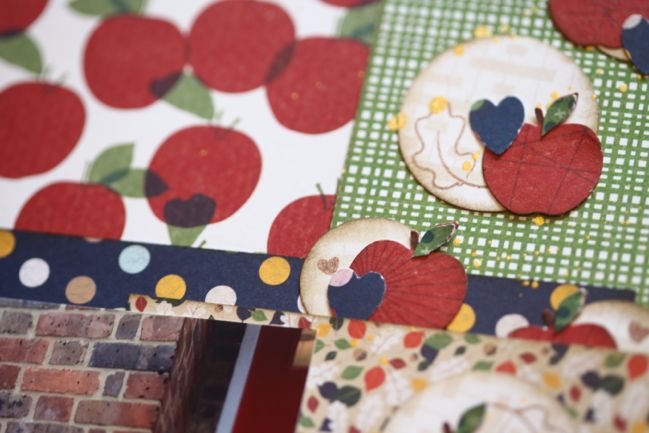
And I was a little extra giddy to have a back to school excuse to pull out the apple papers from Go Now Go and get to work on a school themed page. The ‘so’ in the title is taken from a larger word in the departure board patterned paper, which can be used as a full page or cut apart to make plenty of titles and sentiments.

Back to School scrapbook ideas // scrapbook page by Shimelle Laine

The apple embellishments came from a Martha Stewart apple punch – I knew there was a reason I was hanging on to that! I just punched the same shape from three different pieces of paper then cut the small pieces apart and glued them on top of the full red apple. The stamped leaves are from an autumn-themed set by Lora Bailora.

Of course back to school doesn’t have to be apples, and guest artist Jane Ratanapol has a second look to share with you today.

Back to School scrapbook ideas // scrapbook page by Jane Ratanapol

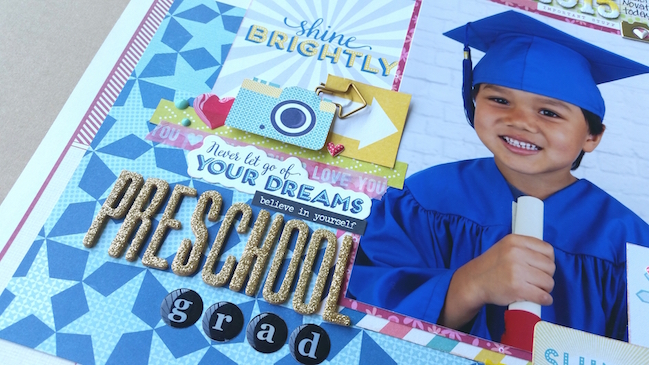
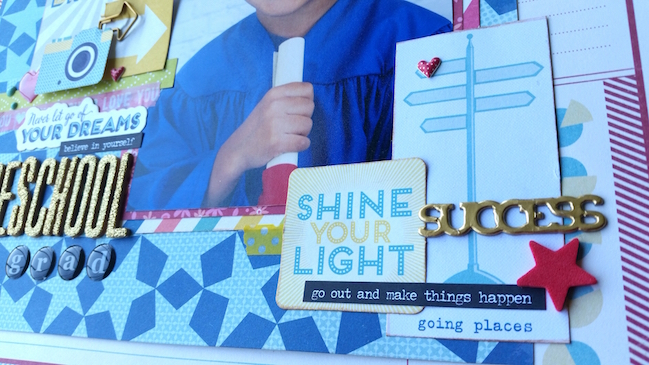
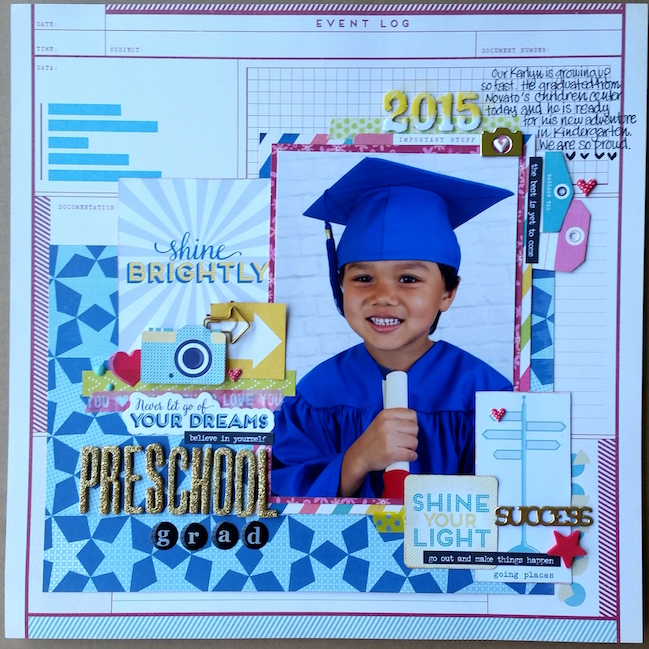
For this layout I used a lot of products from Shimelle’s Starshine collection. I find that this collection is versatile for many occasions – not just specific themes, and I love working with 12×12 paper pad and the cut apart sheets. I found arranging embellishments on my layout a challenge yet very relaxing. I chose this picture of my son’s preschool graduation because the color scheme goes together well with Shimelle’s Starshine products.

Back to School scrapbook ideas // scrapbook page by Jane Ratanapol

It’s not often that I get to use larger photos on my layouts, but this is one special layout, and a special occasion! I wanted to focus on his success and really tell the story of this big milestone in his life. I wanted to use a lot of embellishments that can tell story of the photo and I loved layering them. I didn’t really have a lot of space to journal but I think the photo and all the embellishments tell the story behind this photo very well.

Back to School scrapbook ideas // scrapbook page by Jane Ratanapol

We’d love to see what you’ve been making with back to school photos. Care to share in the comments?

Today’s Guest Artist: Jane Ratanapol loves crafting, hanging out with her three beautiful children (but they are a handful!), and a good cup of coffee. You can find more from Jane on Facebook.

Weekly Challenge :: Take Inspiration from a Travel Scrapbook Page

Weekly Challenge :: Take Inspiration from a Travel Scrapbook Page // scrapbook page by Shimelle Laine

Thanks so much for sharing all your painted pages last week! This week, we’re thinking all things travel and autumn, but don’t worry – there is room to take this challenge to any topic you’d like to scrapbook. We’re looking back at an older page and video and taking inspiration to make something new.

Every once in a while, I find it really interesting to look at how my process has changed over the years by reviewing old videos. (Not too much, mind you, because it is easy to just look at all the things I would do differently now and there’s no sense in that!) That’s the same desk I use now and I’m amazed at how much I managed to keep on the table. Today I’d be afraid it would all fall off and, with my luck, I’d smash a bottle of mist and paint everything in sight. Whoops!

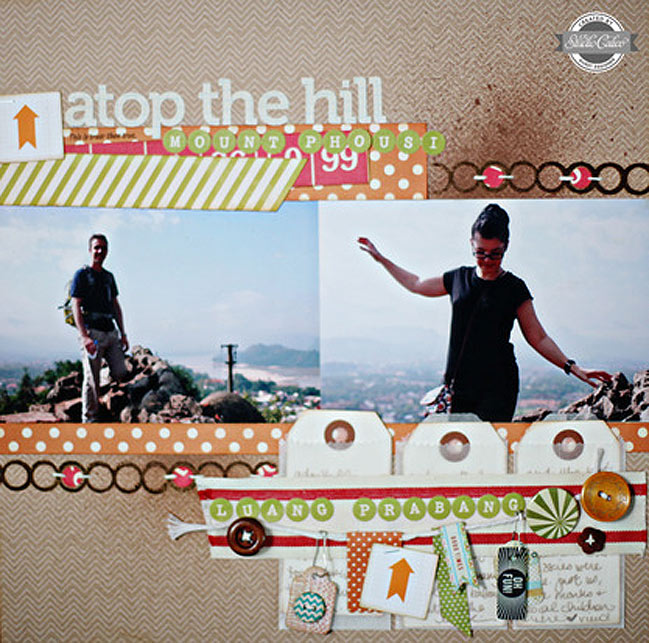
Weekly Challenge :: Take Inspiration from a Travel Scrapbook Page // scrapbook page by Shimelle Laine

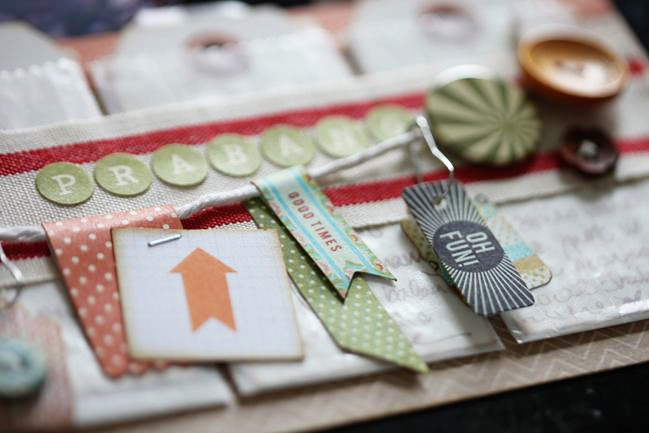
I made this page more than four years ago as a guest artist for Studio Calico, and it’s one I still really like. Yes, it has plenty of embellishment, but there’s also that big focal area across the middle of the page that lets the photos stand alone. And it’s an easy design to adapt to your chosen level of embellishment – just use more or less in that bottom right corner as suits your style! But you could also take inspiration from just one little detail and have a very different page design: pop tags into vellum pockets or string small embellishments on twine, or place your title on a stack of paper strips, perhaps.

This week, I challenge you this week to take inspiration from this page. There’s so much room to interpret this challenge that you might find you’re not even making a scrapbook page, but rather a card, planner layout, or gift tag! To get you started on this week’s challenge, take a look at these examples from contributing designer May Flaum and guest artist Sandy Lewis.

Weekly Challenge :: Take Inspiration from a Travel Scrapbook Page // handmade card by May Flaum

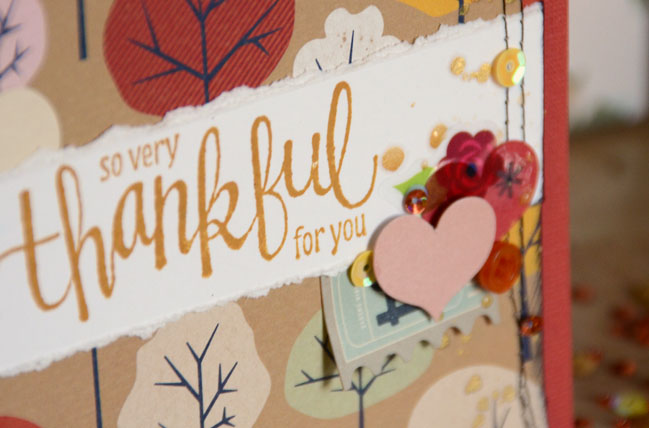
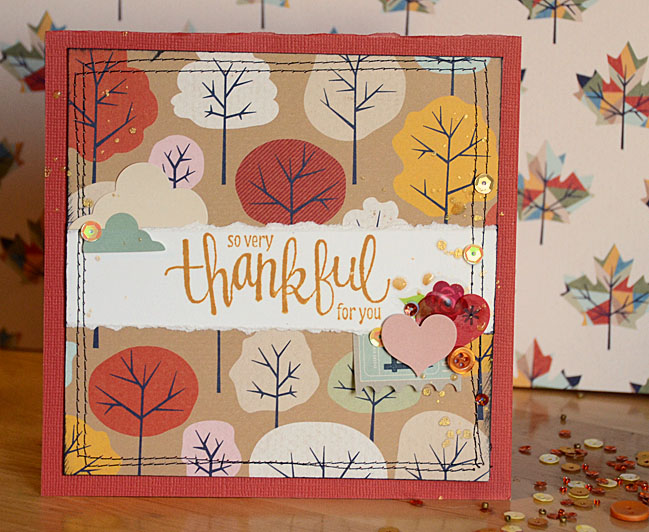
When I was looking at the sketch I made from this scrapbook layout, I got to thinking it would translate beautifully into a card design. I didn’t have three little tags, so I went to my Shimelle die cut stash and found a few little things to cluster in a similar area. Using the big strip of white cardstock to hold my big sentiment? Perfect in lieu of photos!

Weekly Challenge :: Take Inspiration from a Travel Scrapbook Page // handmade card by May Flaum

All ready for fall and inspired to try more paper crafting cross inspiration where sketches are concerned, I’m really loving how this turned out!
- May

(By the way, don’t miss May’s beautiful autumn star project – it’s gorgeous!)

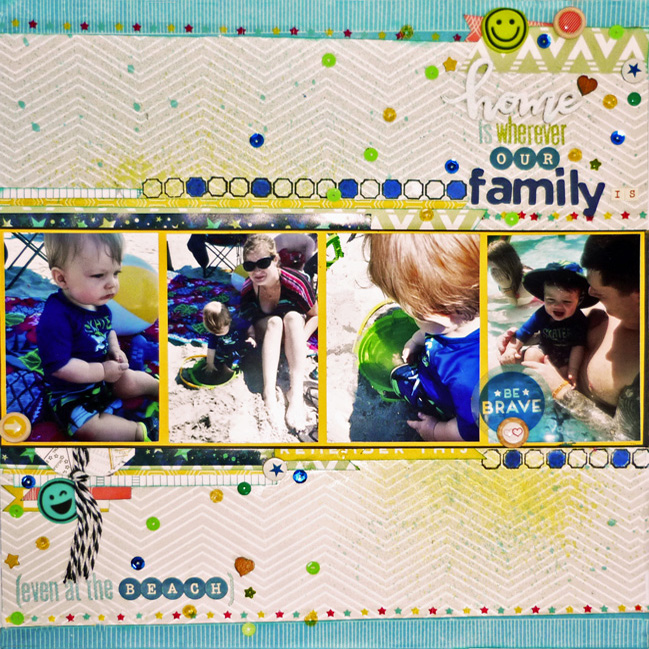
Weekly Challenge :: Take Inspiration from a Travel Scrapbook Page // scrapbook page by Sandy Lewis

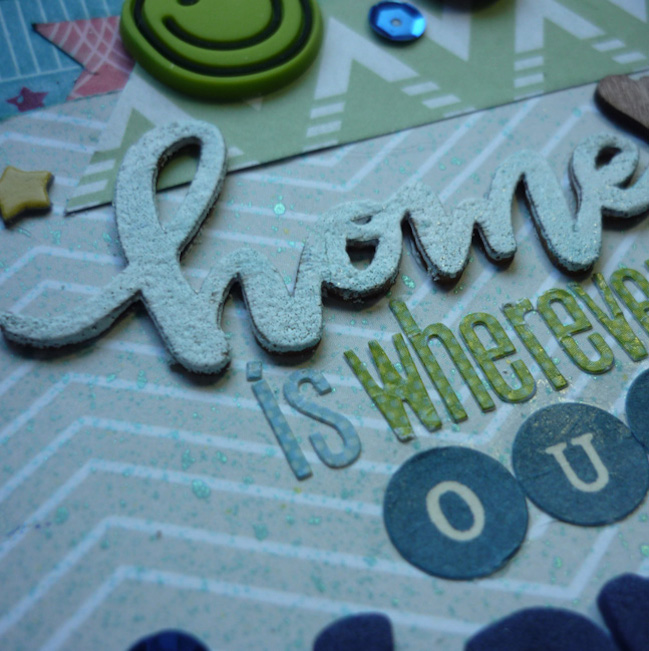
My only grandson turned one on my twenty-fifth anniversary, and photos of him and his family are some of my main inspirations for scrapping. Having watched Shimelle and Glitter Girl scrap for the past however many years, I often scrap lift from the videos. I used many of her lines on this layout that I scraplifted and made my own, and they work so well together: Go Now Go Journey paper, Starshine Orion and Hubble papers, washi, tiny letter stickers and embellishments. I used a wood word and rubber faces from Freckled Fawn, and Versamark and Hero Arts white embossing powder, along with Distress Ink in Peacock Feathers and the Tim Holtz applicator.

weekly challenge: challenge title here // scrapbook page by Sandy Lewis

_My layout features my adorable grandson with his family at the beach for the very first time. I wanted to tell the story from the ‘I’m home every time I’m with you’ angle, rather than a vacation or travel topic. It seemed apt to work with the concept of ‘home’ with such a little one, as ‘vacation’ is a pretty complex topic for a baby. _
- Sandy


You have a week to complete the challenge and share your page – but of course you’re welcome to set your own time schedule. Whatever keeps you happy and creative! By the way you don’t have to link to your page on a blog if that’s not your thing! You can simply upload a photo of your page when you click to add yours or you can link to any site, including Instagram, Facebook, and scrapbook page galleries. We’d love to see what you’re making, no matter where you prefer to share!

Today’s Guest Artist: Sandy Lewis loves family, scrapbooking, and Chihuahuas. You can find more from Sandy on Instagram, Pinterest, and her blog.

Scrapbook a nature walk with Go Now Go

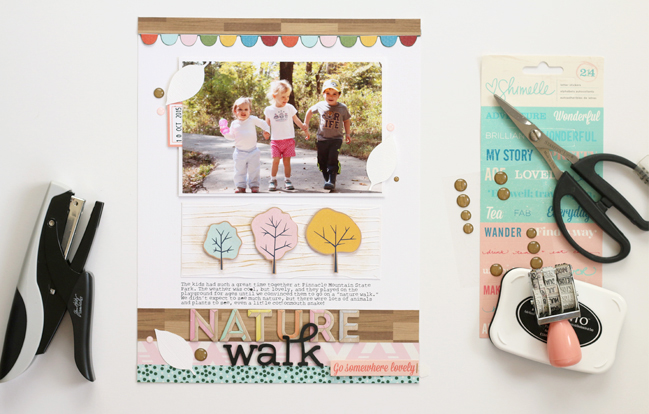
Scrapbook a nature walk with Go Now Go // scrapbook page by Meghann Andrew

The seasons are a-changing. One of my intentions when designing Go Now Go was that it could be used for autumn adventures, even if they were close to home, as well as travels further afield. Today contributing designer Meghann Andrew shares how she put Go Now Go to work. She has a little trick up her sleeve for this week’s paint challenge too, so don’t forget to join in if you’re inspired!

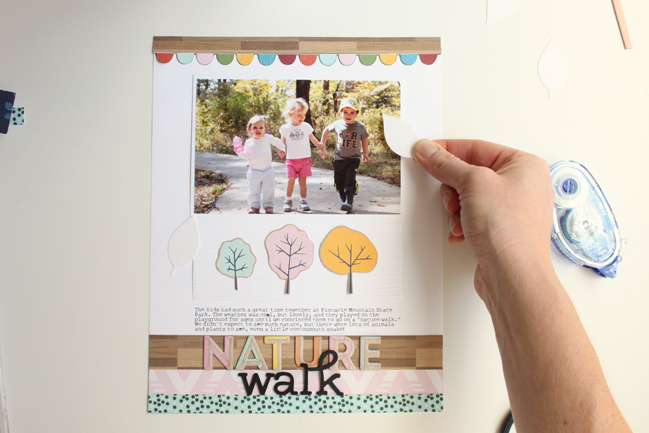
Although we live in the height of suburbia, we try to get out in nature as much as possible. Sometimes with little ones, this just means a paved walk through the woods, like the occasion that I’m documenting today.

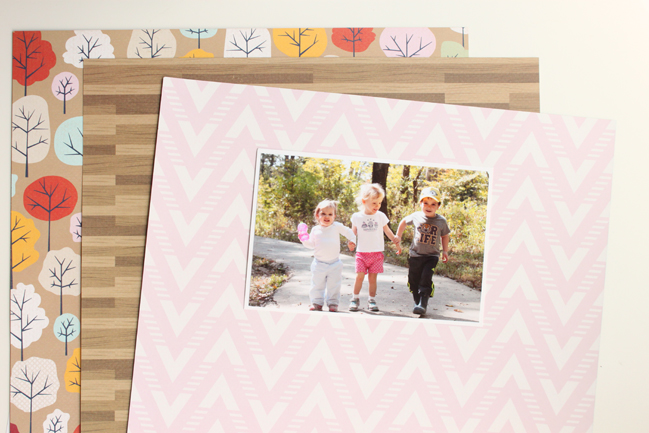
I started this layout by selecting a few patterned papers from the new Go Now Go collection. Since this layout records a walk in the woods, I couldn’t stay away from the beautiful woodgrain pattern, and I knew immediately that I wanted tocut the trees from the Park pattern to use as embellishments.

Scrapbook a nature walk with Go Now Go // scrapbook page by Meghann Andrew

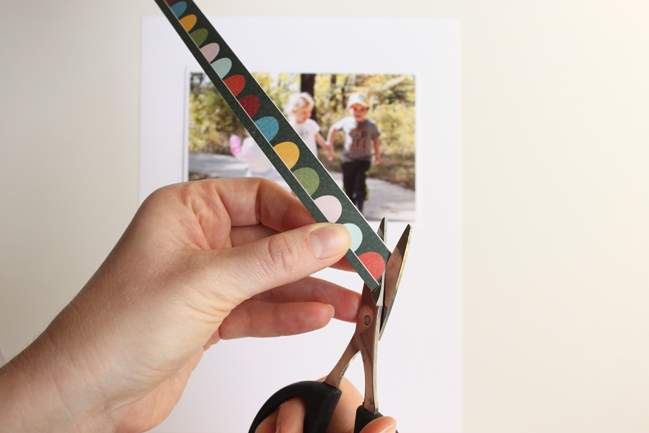
I was immediately drawn to the bright and cheerful scalloped edge strip on the Race patterned paper, but since the dark background behind the scallops seemed to heavy for the top of my layout, I cut each of the scallops from the background and topped this piece with a thin strip of the Pond woodgrain.

Scrapbook a nature walk with Go Now Go // scrapbook page by Meghann Andrew

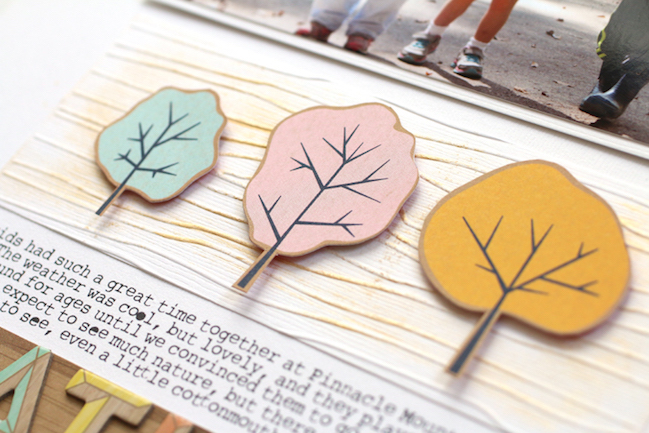
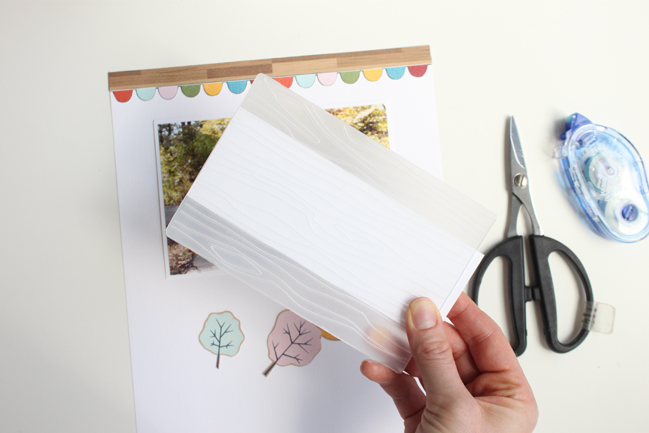
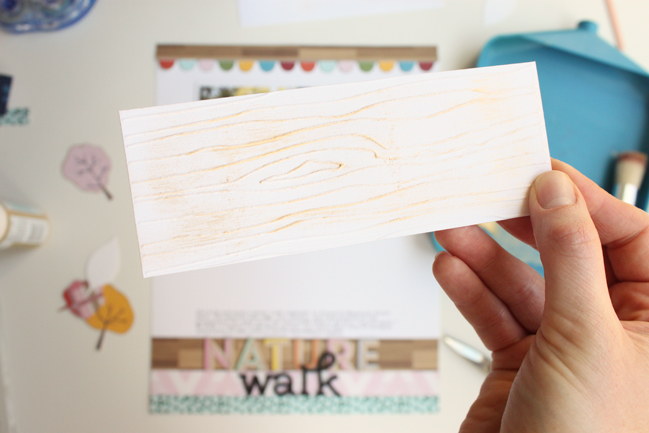
Next, I detail cut my little trees, using the same colors that the children in my photo were wearing. I wanted to place them below my photo, but they seemed to just “float” on the page, so I decided to adhere them to another strip of white cardstock to give them a home. However, I wanted this piece of cardstock to stand out from my white background, so I decided to use the Shimelle woodgrain embossing folder to give it some texture.

Scrapbook a nature walk with Go Now Go // scrapbook page by Meghann Andrew

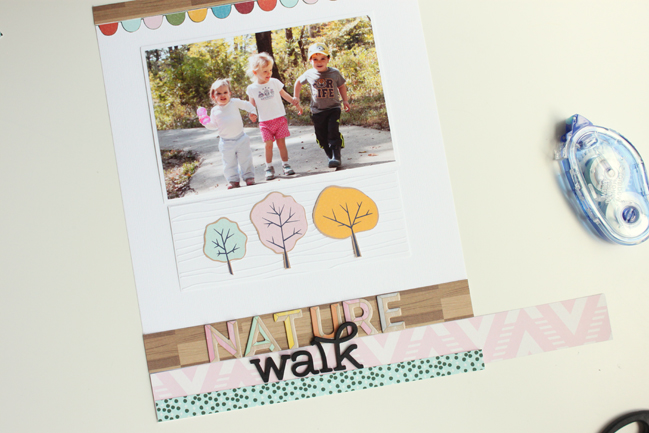
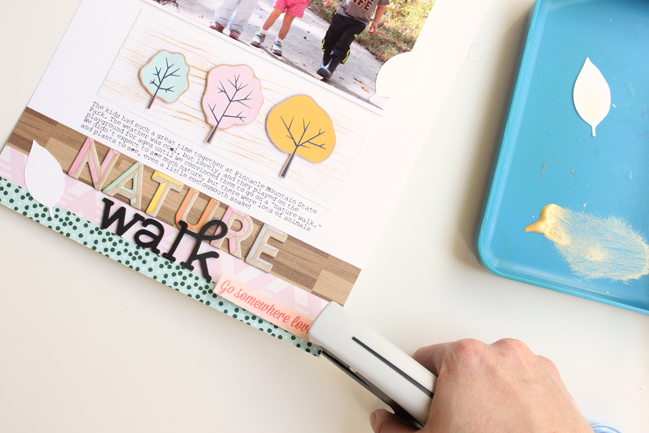
At the bottom of my layout, I added another, wider strip of the Pond woodgrain patterned paper, along with the Botanical pink chevron and teal and green manufacturer’s strip from the Race paper. It was on this block of patterned paper that I decided to add my title, using two different types of Thickers.

Scrapbook a nature walk with Go Now Go // scrapbook page by Meghann Andrew

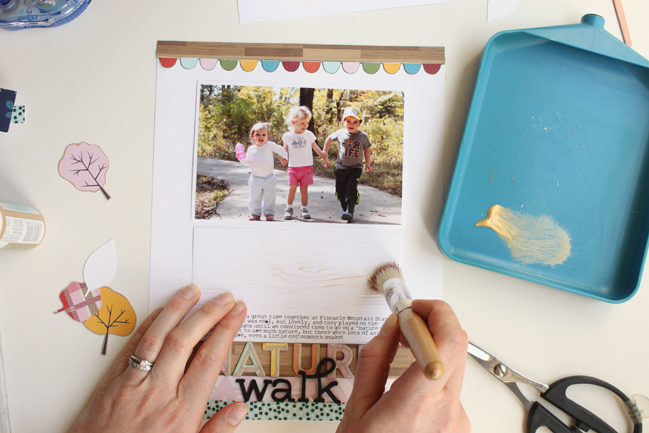
After embossing, the woodgrain texture still wasn’t very apparent, so I used a stiff brush and gold acrylic paint to drybrush the raised grain on the paper. By applying just a tiny amount of paint, I still kept the white background and made the woodgrain stand out with a metallic sheen.

Scrapbook a nature walk with Go Now Go // scrapbook page by Meghann Andrew

Scrapbook a nature walk with Go Now Go // scrapbook page by Meghann Andrew

Since I already had quite a few colors and patterns on my page, I decided to add a few die-cut white cardstock leaves around the page. I love the dimension of tone-on-tone shapes.

Scrapbook a nature walk with Go Now Go // scrapbook page by Meghann Andrew

Because my page was already well balanced, I only added the “go somewhere lovely” sticker to the bottom right corner, offsetting it with the date tab at the top left corner of my photo. I also added a few enamel dots around my leaves for good measure.

Scrapbook a nature walk with Go Now Go // scrapbook page by Meghann Andrew

I love that our time outdoors has been documented in such a fun and colorful way on this layout!

Scrapbook a nature walk with Go Now Go // scrapbook page by Meghann Andrew

Scrapbooking with Watercolours

Scrapbooking with Watercolours // scrapbook page by Shimelle Laine

Be honest with me: have you put some sort of paint on your desk this week yet? Acrylic paint, watercolour, a bottle of mist? Anything? Today we have two more ways to splash paint on your page, and we promise it isn’t really that scary at all!

Lately I’m using paint for lettering more and more. It’s something that started when I was working on The Scrapbook Process and it showed up in my Olympic album there in particular. Then it kept appearing while I worked on The 20 Project and I think it’s here to stay for a while now. I love that this feels like a full circle for me. I fell into scrapbooking because a group of us wanted to make a book about a particular event (without knowing that ‘scrapbooking’ was a word) and was given the project because I liked doodling words and writing things with pretty pens. I fell for the hobby when I picked up my first Lindsay Ostrom book of letters and doodles. In my early days of working with Creating Keepsakes and Paperkuts magazine, I was hand lettering so many of my page titles, and we often talked in the assignment process about how this was really catering for the part of the scrapbooking audience who weren’t able to spend constant cash on letter stickers and didn’t want to use lots of computer-generated lettering on their pages. But then handmade titles went a bit out of fashion in print and of course I fell in love with Thickers, so I didn’t really miss the lettering on my pages so much as I was having fun with something different. Now I’m not giving up my Thickers in the slightest, but I am just enjoying the freedom of mixing in painted titles that can be just the right size and colour for the space available. And while accepting your own handwriting is its own creative challenge, this isn’t a scary technique because I always paint the title on another sheet of paper and cut it out to put it on the page. I have zero worry that I will mess up the rest of the layout since I’m not working directly there and I can write the same word three or twenty times until I get one I really like. Not scary!

using watercolours on your scrapbook page // scrapbook page by Shimelle Laine

(By the way, I really hope you’ll embrace the fun of Go Now Go for things close to home as well as far away. I find it funny how many of the same phrases apply to life on the road or life at home with a toddler. It’s definitely down to perspective when we classify what’s an adventure!)

using watercolours on your scrapbook page // scrapbook page by Valerie Bishop

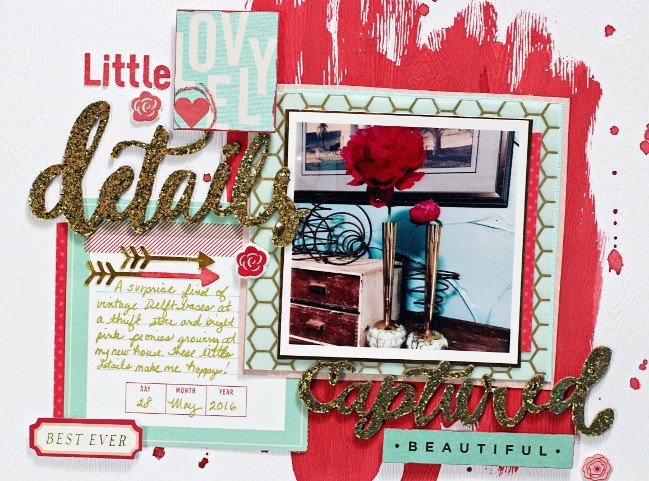
Now, if you do want paint on the background but you still want to veer far from the scary, guest artist Valerie Bishop is here to help! Her beautiful page was made by doing the painting first, so there’s no worry about spilling paint on your favourite pack of embellishments… provided you keep your desk relatively tidy. Though where is the fun in that?

using watercolours on your scrapbook page // scrapbook page by Valerie Bishop

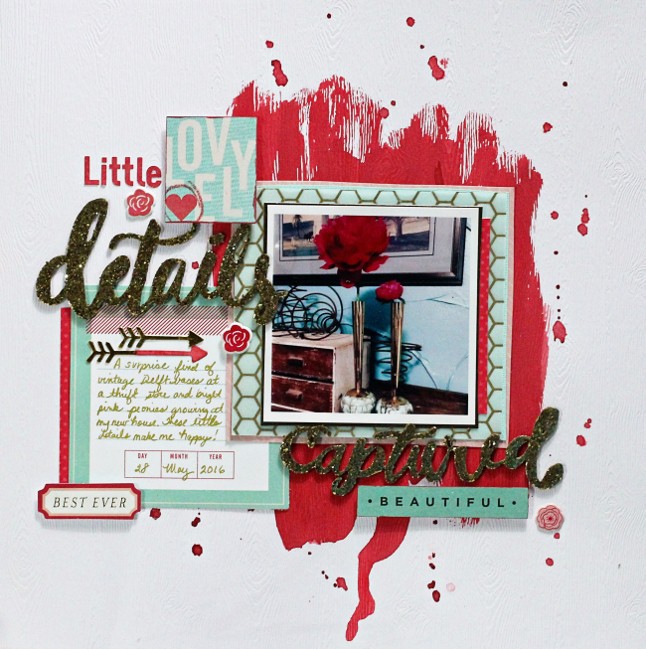
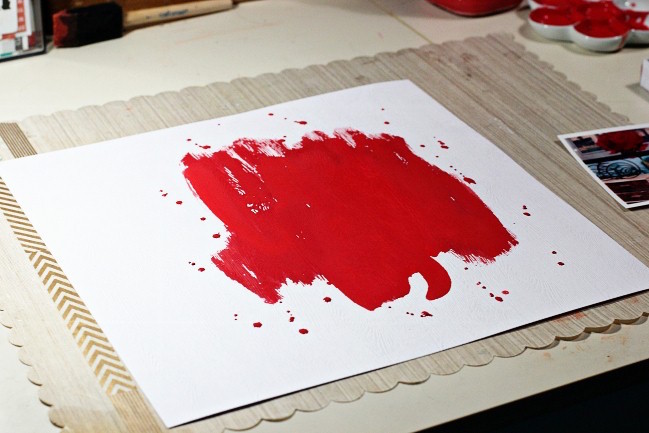
I love using watercolors because I can create a background color that matches my photo if I can’t find any patterned paper that will match it! I used a heavy weight cardstock as my base of this layout to keep it from buckling from the watercolor. I simply estimated where I wanted my to photo to be on the layout and swiped some watercolor that I mixed to highlight the flower in my photo across my cardstock.

using watercolours on your scrapbook page // scrapbook page by Valerie Bishop

After it was dry, I used complementary colors of embellishments and papers to layer under my photo and around my page. I also used the watercolor paint to change the color of one of the arrow shapes and to edge a couple of the Shimelle die cut cardstock shapes the I used to embellish my layout.

I used embellishments and patterned papers from Shimelle’s first collection as well as items from American Crafts, Elle’s Studio, We R Memory Keepers, and Chickaniddy.

Today’s Guest Artist: Valerie Bishop loves making memories with her family, bicycling, and creating layouts about both activities. You can find more from Valerie on Instagram, Twitter, and her blog.

Stamping with Watercolours

Stamping with Watercolours // scrapbook page by Emma Callagher

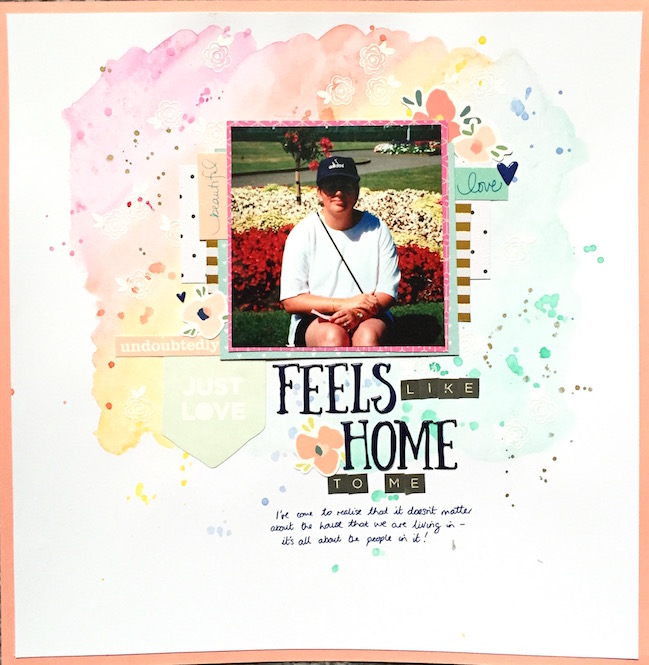
With even more ideas for this week’s paint challenge, please welcome guest artist Emma Callagher, here to encourage you to get your stamps in on the painted action!

Stamping with Watercolours // scrapbook page by Emma Callagher

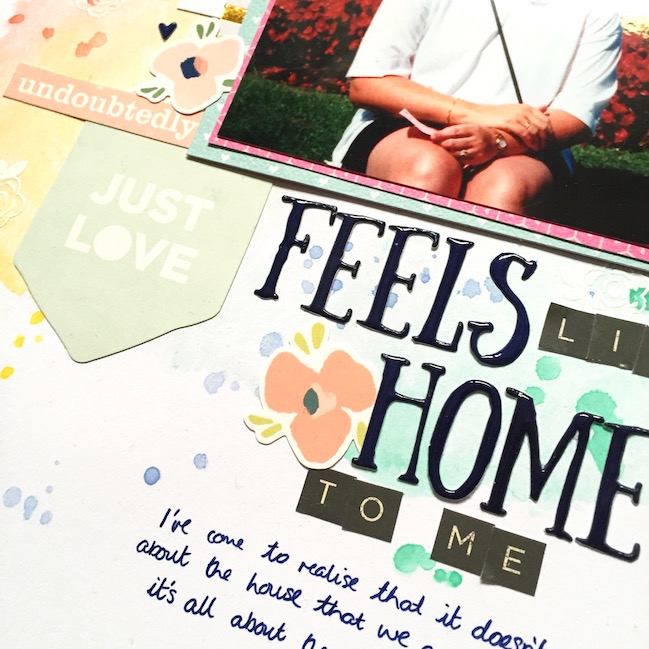
ome is where the heart is”, they say. Whoever they are, I totally agree. I think it’s important to remind yourself every now and then, that the most important things in life are not usually physical possessions but rather, the people you share your life with. For me, wherever my lovely mum is feels like home. Mums have that way about them don’t they? I love this photo of my mum. It was taken when I was about four or five and I love the flowers and the colours all around her.

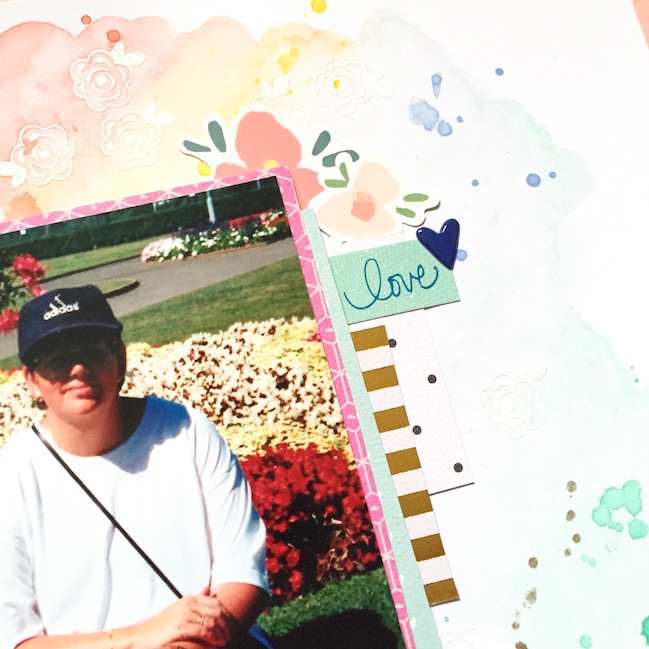
To highlight this, I pulled out the small flower stamp from the Shimelle Starshine stamp set and stamped in Versamark ink so I could white heat emboss for a resist technique. I used Kuretake Gansai watercolours over the top so the flowers stood out and I thought the colours worked really well with the photo. I think stamping gives awesome texture to a layout. I then embellished the layout using word stickers from the Starshine collection as well as other elements from my stash including stickers from the Dear Lizzy Saturday collection.

Stamping with Watercolours // scrapbook page by Emma Callagher

Today’s Guest Artist: Emma Callagher loves reading, crafting, and playing with paint. You can find more from Emma on Instagram, YouTube, and her blog.