Layers of a story: Creating an interactive page
With September drawing to a close and back to school turning to the countdown to half-term break in this part of the world, it seems about right for daydreaming about the summer holidays. Today contributing designer Kirsty Smith shares more about how she relishes travel scrapbooking.
Last summer, I went backpacking in South America, and a real highlight of the trip was the few days I spent in the Amazon basin in Ecuador. It was an incredible experience, living in the heart of the rainforest and seeing first-hand the stunning biodiversity. I also had the most unusual picnic of my life, feasting on catfish roasted in banana leaves in an open fire, fermented sugar cane drink, and, that’s right, roasted weevils on a stick. Disturbingly creamy on the inside.
While I have lots of pictures that I love from this trip, I don’t really want to make lots of jungle-themed pages. Additionally, the pictures go together as set, both visually as they contain lots of lush, green tones, but also thematically as they are all snapshots of a bigger story. It didn’t make sense to me to try and find a way to scrapbook each little idea separately; I think I would have run out of enthusiasm quite quickly, which would be shame as this is an experience I really want to scrapbook!
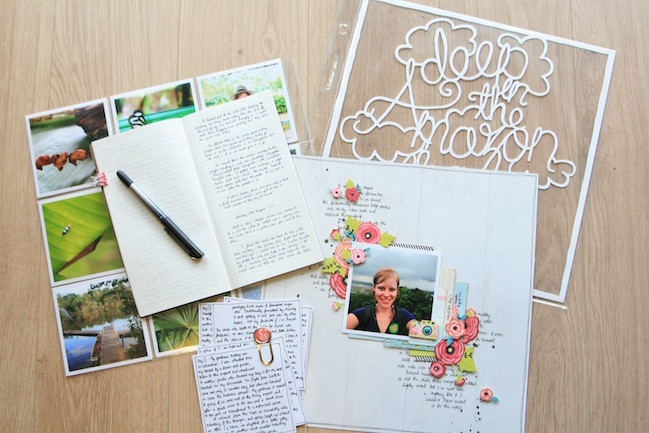
So today, I’m going to share a way to combine lots of photos, memories and scrapbooking across multiple page protectors into one, deconstructed layout. Trust me: it’s a lot less complicated than it sounds! I thought about what I wanted to include and in many ways it was simple: I wanted a lot of journaling and a whole bunch of photos, I wanted to make and embellish a layout, and I wanted a title that would tie everything together.
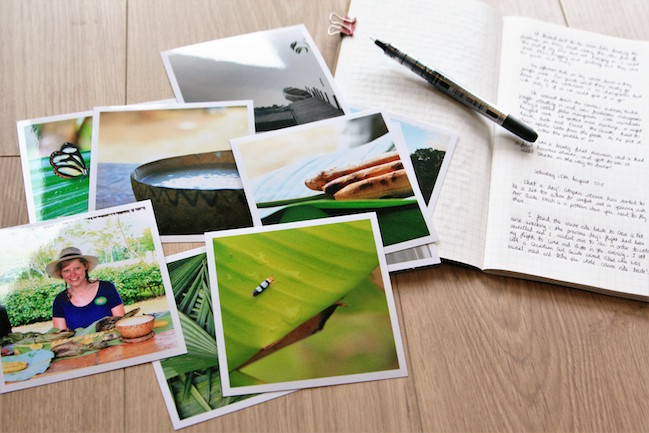
First of all, I wanted to organise my photos. I had a large batch of pictures printed as squares, as I like this format for my album, and I pulled out all of the rainforest pictures. Opting to include all my prints meant that the decision process was very quick indeed! I chose one picture to be a focus for my scrapbook page, and gathered the other 16 into a divided pocket page.
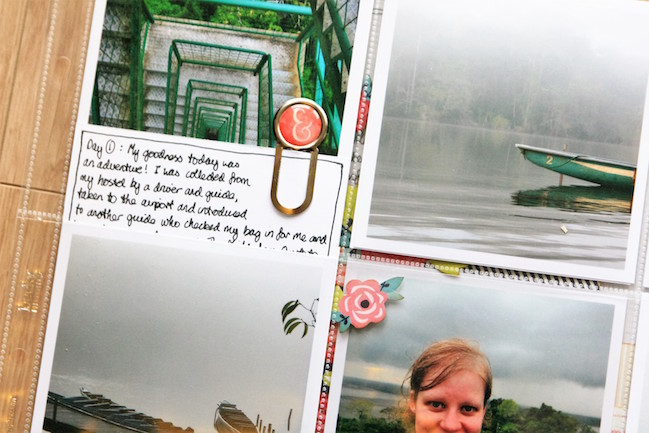
I grouped the photos by colour more than anything: the bright greens together and the duskier tones together. I found I had enough photos to fill both the front and back of eight slots of my page protector. This was one of those moments where I let the materials I had influence the design, and so I slotted my pictures into the pockets leaving the middle pocket free. Which gave me a cunning idea for my scrapbook page!
The pocket page of photos influenced my layout design, in that I made sure that the placement of my photo lined up with the empty section of my pocket page. That way, when someone is looking at my album, they will see a tantalising glimpse of the page underneath, but it will line up as though that pocket has a photo in after all!
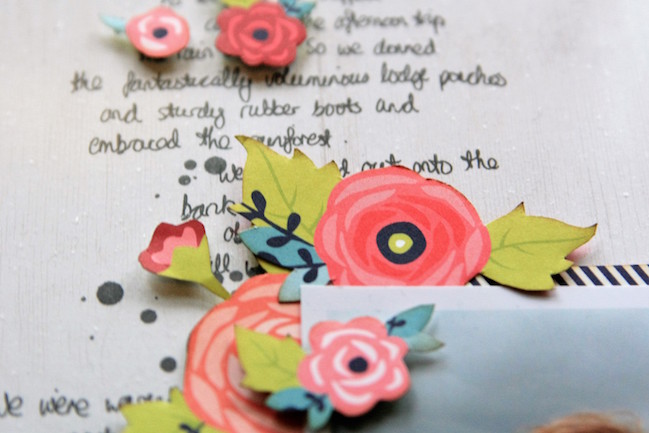
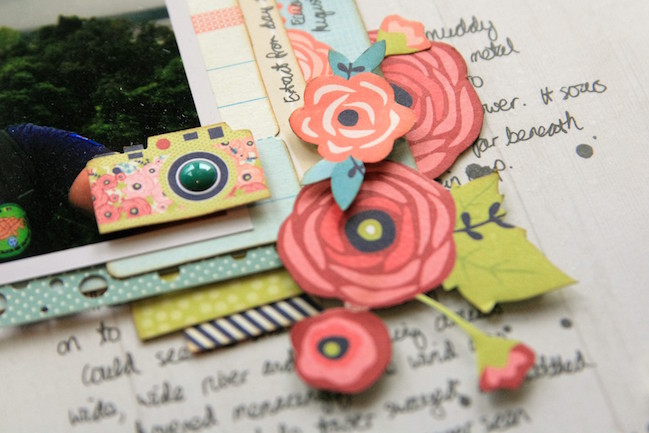
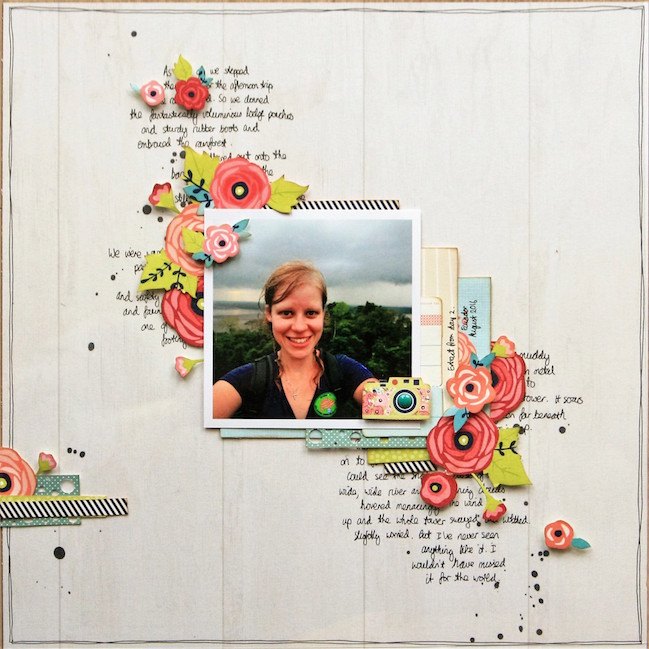
Once the picture was in place, I turned my attention to the embellishment. The lovely floral motif in Shimelle’s Starshine collection seemed perfectly in tune with the exotic nature of rainforest flora. With the photo carefully in position, I used journaling cards and the cut-apart sheets from the Starshine Collection to create layers around my photo. I arranged flowers cut from patterned paper around the photo and trailing up and down the page to create the impression of foliage. A little camera icon was the last touch, as I like to include something that reminds me of travel.
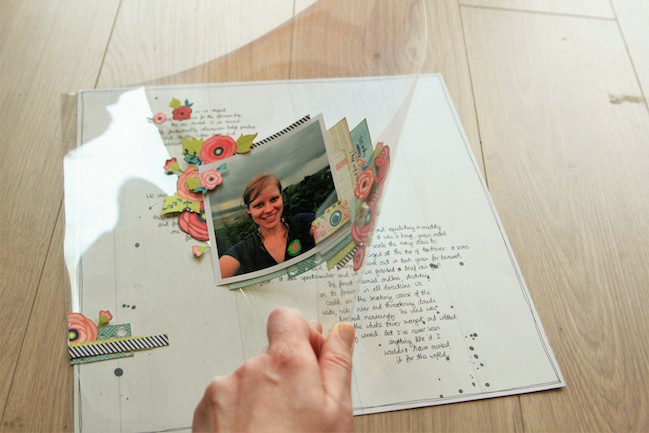
Finally, I transferred everything onto a sheet of acetate. This is something I’ve done a few times before, and is a great way to sneak extra journaling onto a page. I adhered everything in place, popping up some of the flowers on foam squares. I journaled my story onto the background paper so that it would be visible peeking out behind the design. Placing the acetate on top means that lots of the writing is hidden; it doesn’t overwhelm the page and it seems a more organic part of the design. But it’s still very easy to read the full story by simply lifting the acetate. The page protector will keep the acetate lined up with my background, so I don’t need worry about attaching them.
Most of the elements of the page are now in place, but I had lots more story to tell which was recorded in my travel journal from the trip. I cut a sheet of white cardstock into 4×4 squares and continued telling the rest of my story.
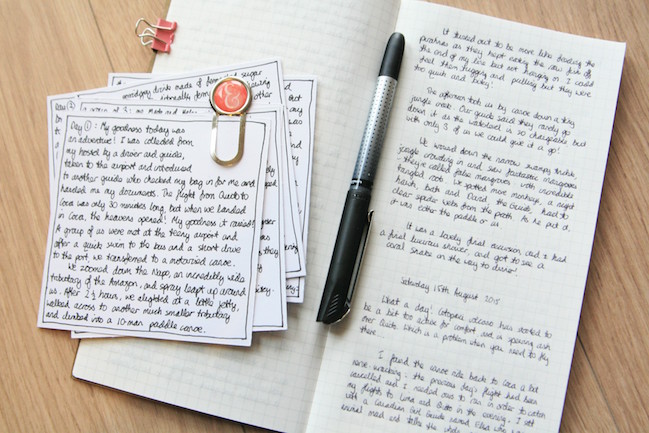
If you prefer not to hand write, you could absolutely save yourself a lot of time and type out your journaling! However, as I was recounting a big adventure here, I was happy to invest the time in doing this. The journaling cards can now slot easily into the pocket page between the photos, with a paperclip indicating that they can be pulled out and read.
On a side note, if I can I like to journal as I travel. That way I know I can scrapbook those memories any time I like; I won’t forget because I have my travel journal to refer back to. In this instance, I simply copied what I had written down last August. I recommend trying it if you think it might take a while to get to the scrapbooking!
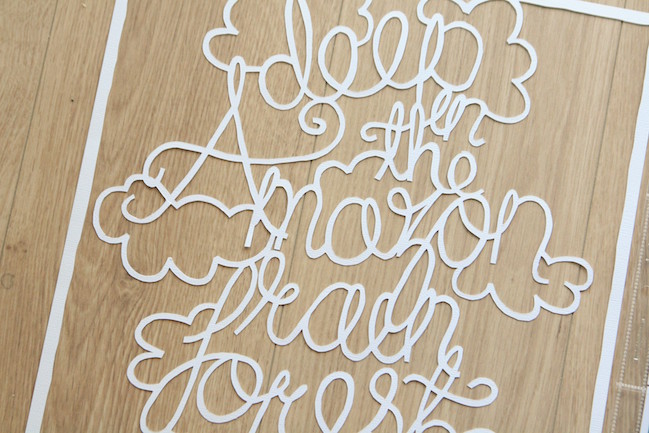
Finally, I created a hand-cut title to introduce the whole topic. I wanted the title to invite the reader to head “deep in the Amazon rainforest” with me, and to indicate that the reader can turn the page and find more and more layers of detail about this adventure. An overlay, or die cut would work just as effectively here (I simply don’t own one so I rely on what I can do by hand!) and allows you to peek through to the next layer of the page.
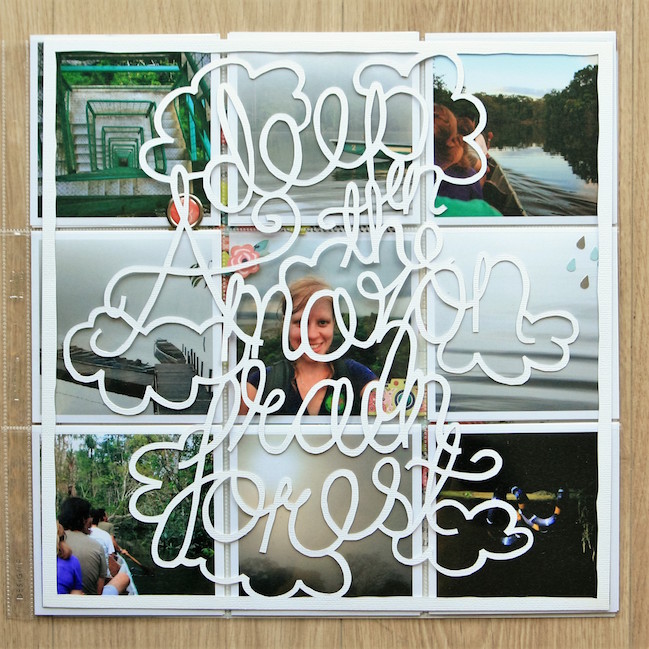
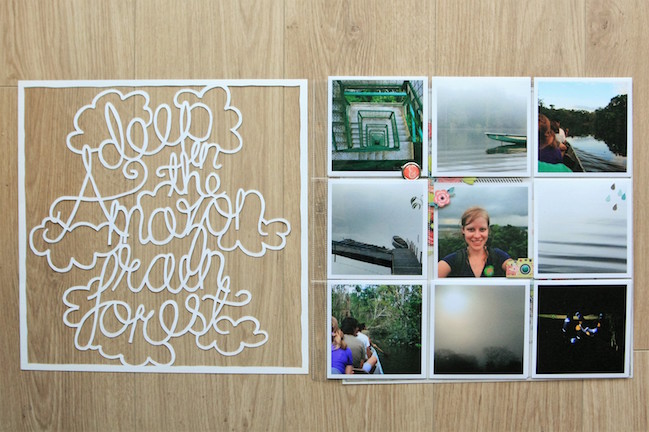
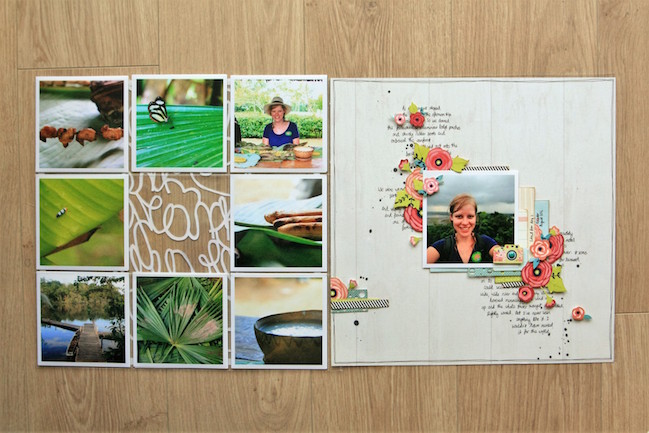
I like to think that overall, the reader gets a whole experience from this scrapbook layout. As they turn the page, they are pushing back the overgrown foliage with me, and exotic flowers trail around the design. The title reveals photos and the odd hidden detail; a paperclip indicates hidden journaling. The photos themselves give way to a scrapbook page which can be glimpsed through the pocket page, and the acetate of the page itself can be lifted to disclose further rainforest secrets.
I loved putting this project together, and while it’s not something I would do for every page, it’s tremendously satisfying to feel that I have all the pictures and journaling recorded in my album. And the fact that I was able to do it in one project, even if that took a little longer than usual, meant that I don’t feel I need to go back and create more and more pages about the rainforest. The memories are all there!
![]() Read more about:
Read more about:
Next post: Challenge 01 :: Lots of Little Photos
Previous post: Weekly Challenge :: Take Inspiration from a Travel Scrapbook Page


