Scrapbook a nature walk with Go Now Go
The seasons are a-changing. One of my intentions when designing Go Now Go was that it could be used for autumn adventures, even if they were close to home, as well as travels further afield. Today contributing designer Meghann Andrew shares how she put Go Now Go to work. She has a little trick up her sleeve for this week’s paint challenge too, so don’t forget to join in if you’re inspired!
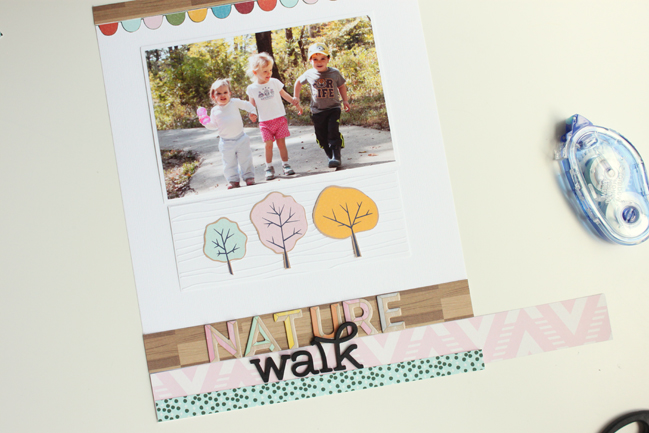
Although we live in the height of suburbia, we try to get out in nature as much as possible. Sometimes with little ones, this just means a paved walk through the woods, like the occasion that I’m documenting today.
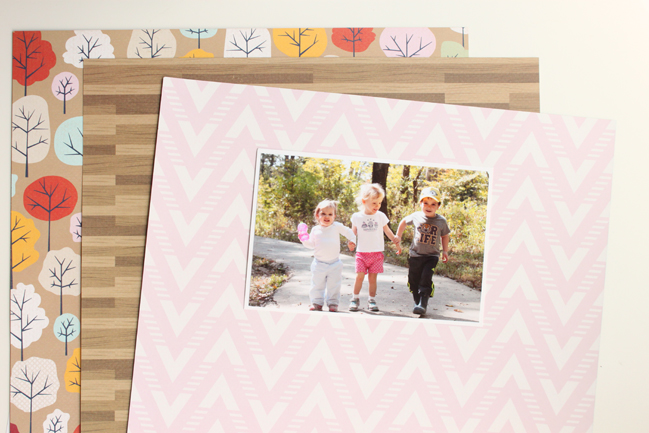
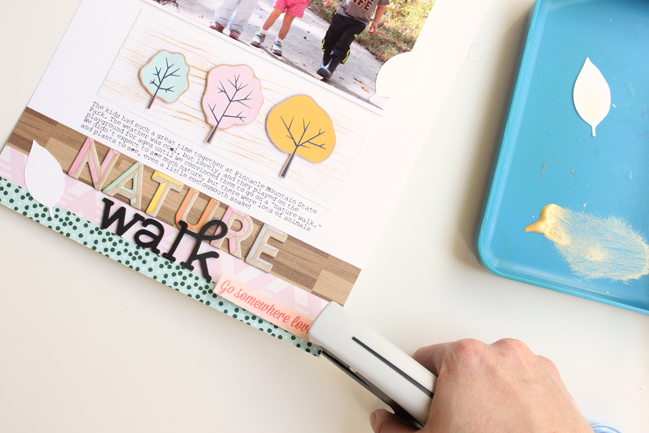
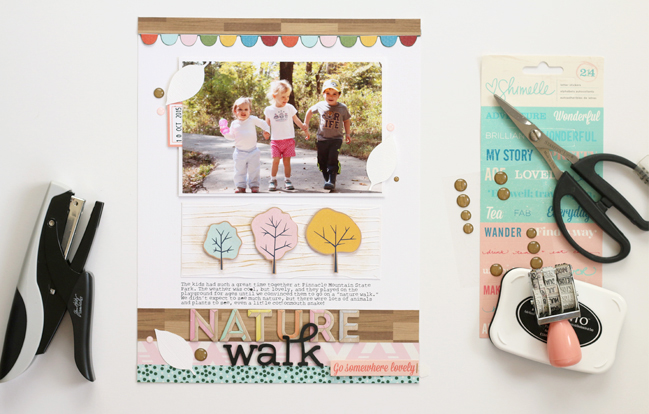
I started this layout by selecting a few patterned papers from the new Go Now Go collection. Since this layout records a walk in the woods, I couldn’t stay away from the beautiful woodgrain pattern, and I knew immediately that I wanted tocut the trees from the Park pattern to use as embellishments.
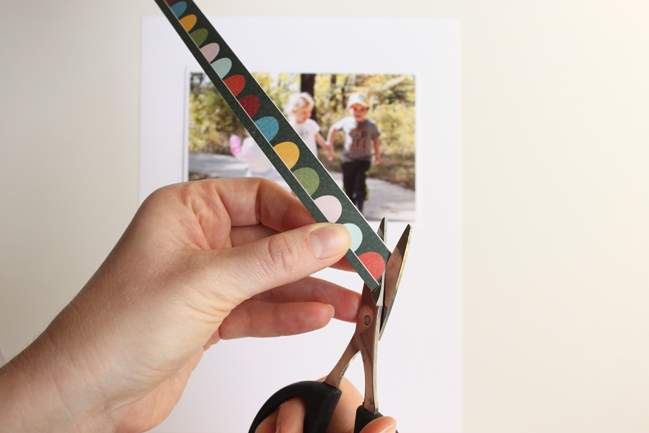
I was immediately drawn to the bright and cheerful scalloped edge strip on the Race patterned paper, but since the dark background behind the scallops seemed to heavy for the top of my layout, I cut each of the scallops from the background and topped this piece with a thin strip of the Pond woodgrain.
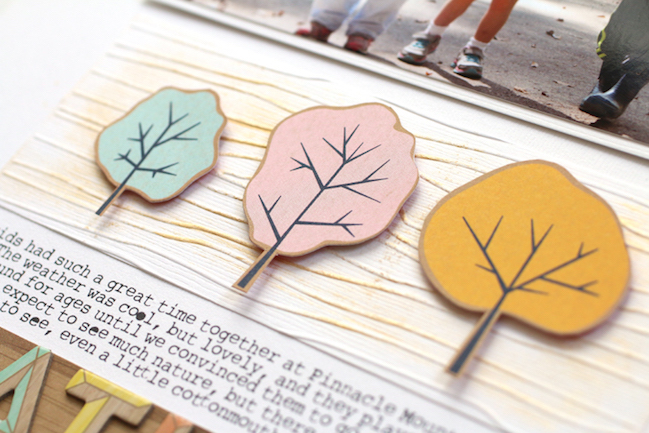
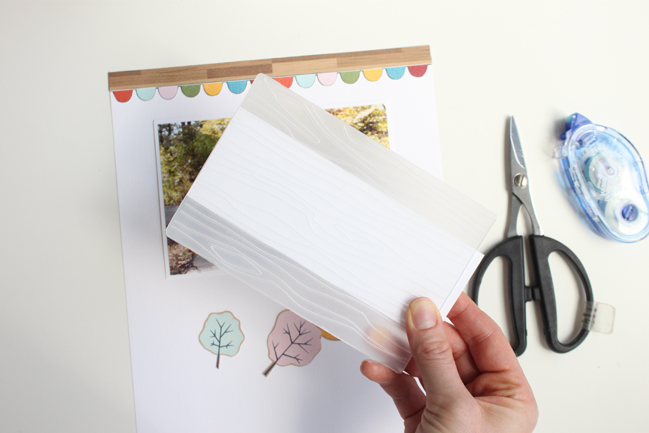
Next, I detail cut my little trees, using the same colors that the children in my photo were wearing. I wanted to place them below my photo, but they seemed to just “float” on the page, so I decided to adhere them to another strip of white cardstock to give them a home. However, I wanted this piece of cardstock to stand out from my white background, so I decided to use the Shimelle woodgrain embossing folder to give it some texture.
At the bottom of my layout, I added another, wider strip of the Pond woodgrain patterned paper, along with the Botanical pink chevron and teal and green manufacturer’s strip from the Race paper. It was on this block of patterned paper that I decided to add my title, using two different types of Thickers.
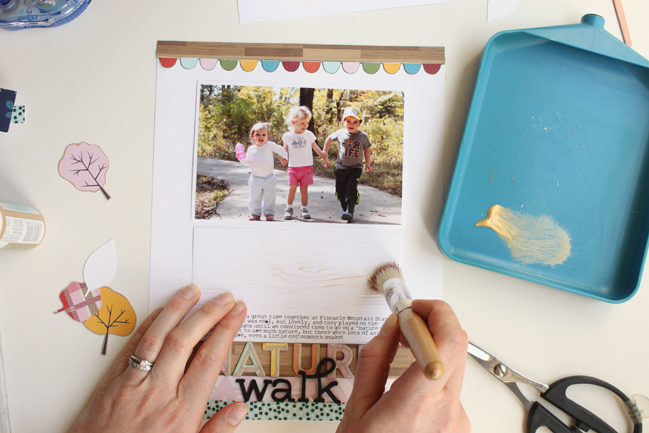
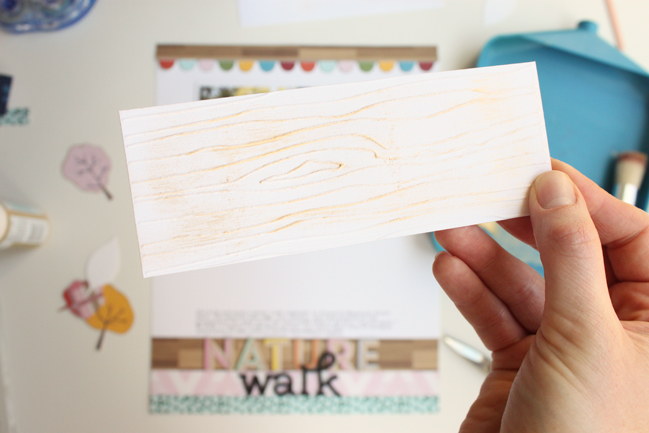
After embossing, the woodgrain texture still wasn’t very apparent, so I used a stiff brush and gold acrylic paint to drybrush the raised grain on the paper. By applying just a tiny amount of paint, I still kept the white background and made the woodgrain stand out with a metallic sheen.
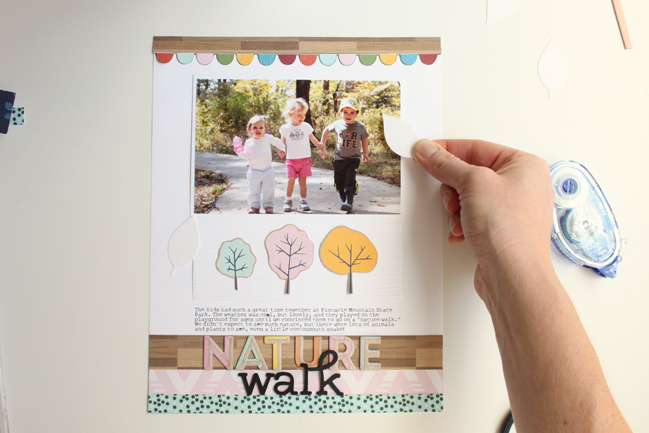
Since I already had quite a few colors and patterns on my page, I decided to add a few die-cut white cardstock leaves around the page. I love the dimension of tone-on-tone shapes.
Because my page was already well balanced, I only added the “go somewhere lovely” sticker to the bottom right corner, offsetting it with the date tab at the top left corner of my photo. I also added a few enamel dots around my leaves for good measure.
I love that our time outdoors has been documented in such a fun and colorful way on this layout!
![]() Read more about:
Read more about:
Next post: Back to School scrapbook ideas
Previous post: Stamping with Watercolours


