pretty paper. true stories. {and scrapbooking classes with cupcakes.}

lovely to meet you Twitter Facebook Pinterest YouTube

Take a Scrapbooking Class

online scrapbooking classes

Shop Shimelle Products

scrapbook.com simon says stamp shimelle scrapbooking products @ amazon.com shimelle scrapbooking products @ amazon.co.uk

Reading Material

travel

Scrapping Night Time Photos
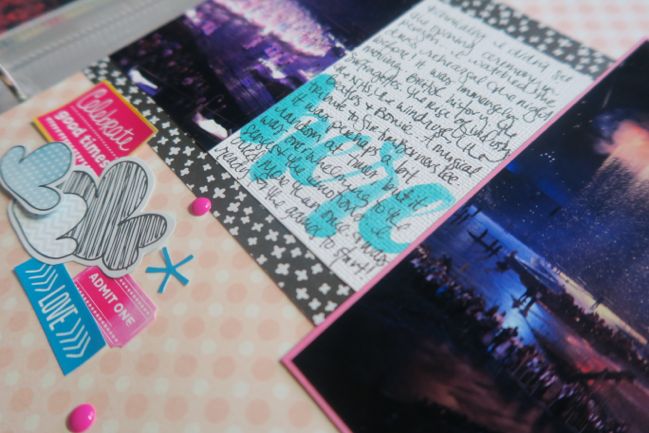
scrapping night time photos // scrapbook page by Sheena Rowlands

Everything’s going a bit late night here at the moment, between Glitter Girl’s dark photo adventure and this project from contributing designer Sheena Rowlands. But all this weekend, there’s actually an absolute stack of inspiration coming your way right here. It’s an online crop weekend! That all kicks off tomorrow morning, so you can stop by and see more. Now thanks to Sheena, I have a new app to go download, so I’ll leave her to tell you all about it, and I’ll see you again tomorrow!

Over the last few years I’ve noticed that I tend to use my phone rather than my DSLR for catching the majority of the images of my family. This is probably due to a little laziness on my part but my phone is so handy and compact that its always with me.

Here in England it is summer time, even if the weather doesn’t always agree! As a family we always spend more time outside way into the evening relaxing, enjoying the warmth. Usually I don’t take many photos when it’s going dark as the flash can make them look unnatural. If I wanted to get a night lit photo of a static image, then I would rest my phone on a wall or other object to keep it still to get a good photo but if I wanted a photo of moving light I had previously got out the tripod and ‘big’ camera and had to set up a shot.

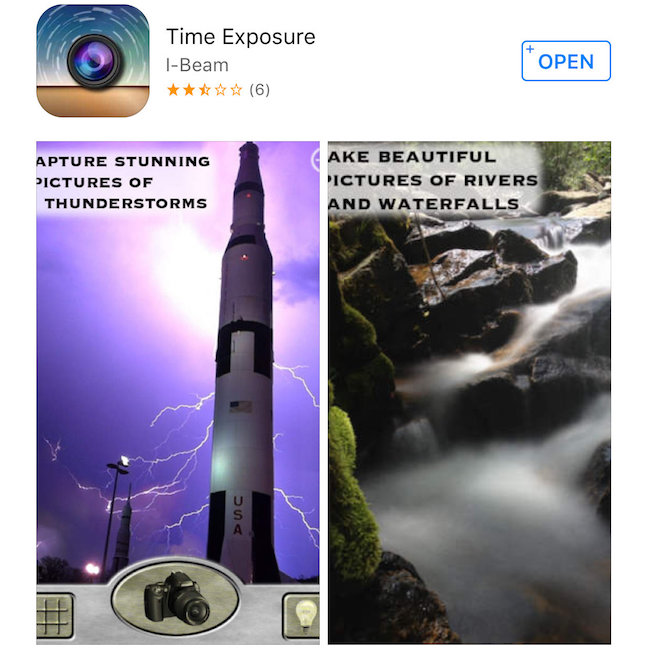
As my children will tell me there are apps for everything these days, so I set about trying to find a free one to help me take better photos at night and specifically alter the shutter speed to capture light. I found this and thought I would test it out.
scrapping night time photos // scrapbook page by Sheena Rowlands

I have to say we have had some fun playing with this app. In its setting you can alter the shutter time from a 1/8 of a second to hours to create an unique image. All these photos were taken whilst I was just holding my phone so no tripod or other methods to keep the phone still, making this ideal for spontaneous fun. They may not be technically perfect but to be honest that doesn’t really bother me.
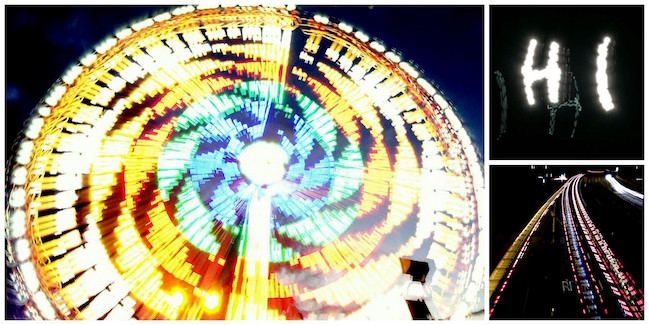
The HI photo was taken using phone torches as the light source.
The wheel was a ride at a local Fun Fair.
The light trails are car headlights taken from a bridge.
These experiments gave me an idea of a photo I wanted to create using sparklers, with a little help from my friends.
scrapping night time photos // scrapbook page by Sheena Rowlands

Night time photos needn’t be scrapped with dark colours, for my page I chose the warm glow of the light as my starting point for gathering supplies. Having dark photos on lighter backgrounds really makes them pop.
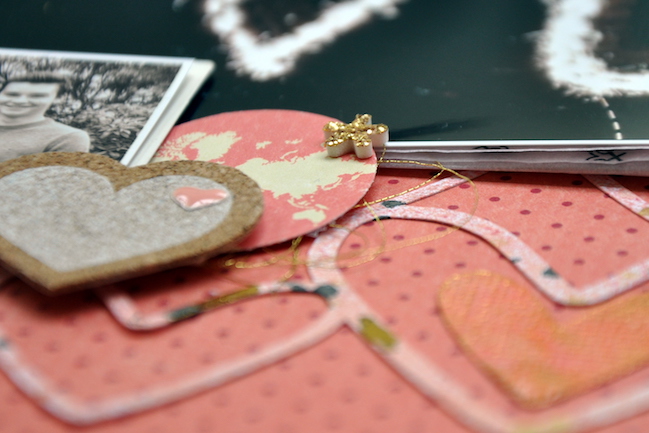
scrapping night time photos // scrapbook page by Sheena Rowlands

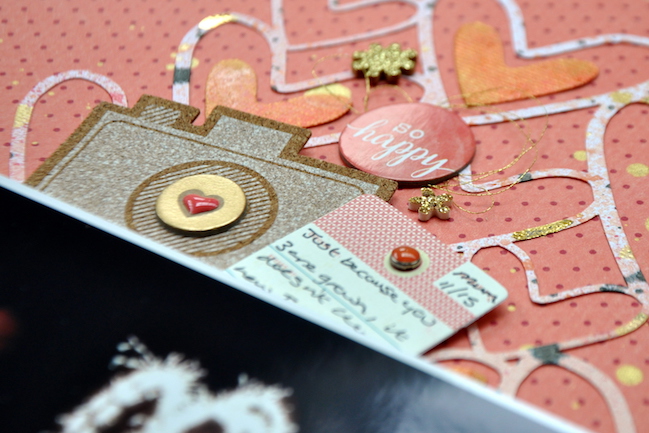
I used the heart background cut file from Just Nick as the basis of my page and splattered it with lots of warm peach and gold tones plus some splashes of black.
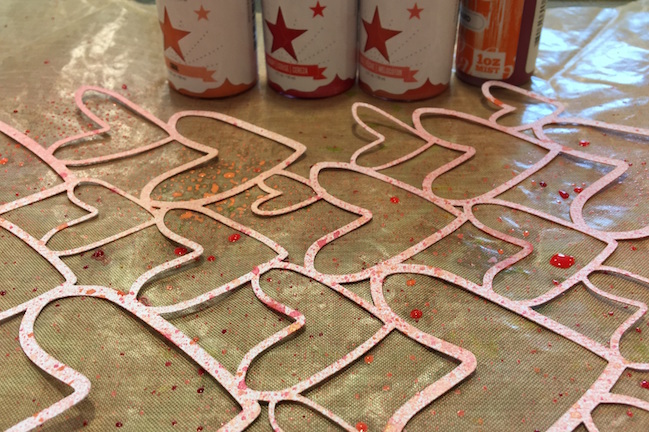
scrapping night time photos // scrapbook page by Sheena Rowlands

I used the light photo we created as the title for my page. I’m glad you can’t see our faces behind the sparklers as we were concentrating hard on creating our letters! Do bear in mind if you try this technique some letters will need to be written backwards to get them right on camera. We did a dummy run with phone torches before we lit the sparklers.
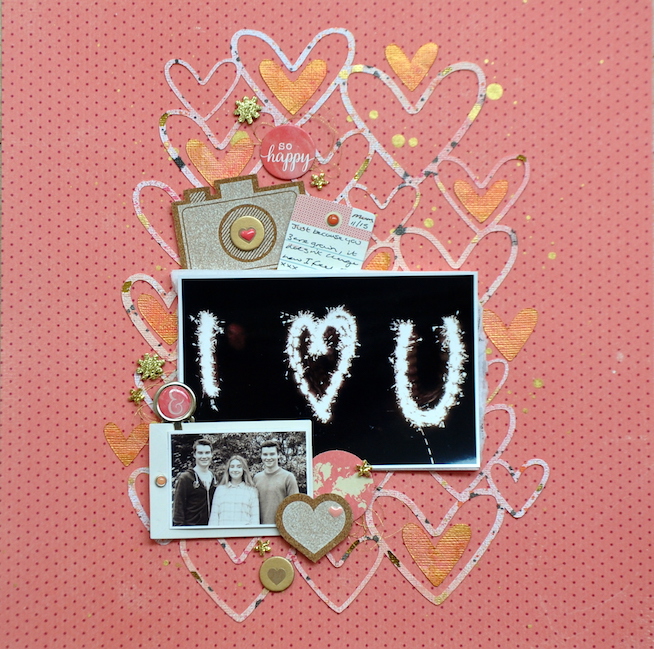
scrapping night time photos // scrapbook page by Sheena Rowlands

I’ve used supplies from all Shimelle’s ranges here to help document my love for my children on this page. I’d love to see layouts featuring your night time photos and and any tips or tricks you have for getting great night time shots.

Scrapbooking with the Silhouette (Plus a Free Set of Cut Files!)

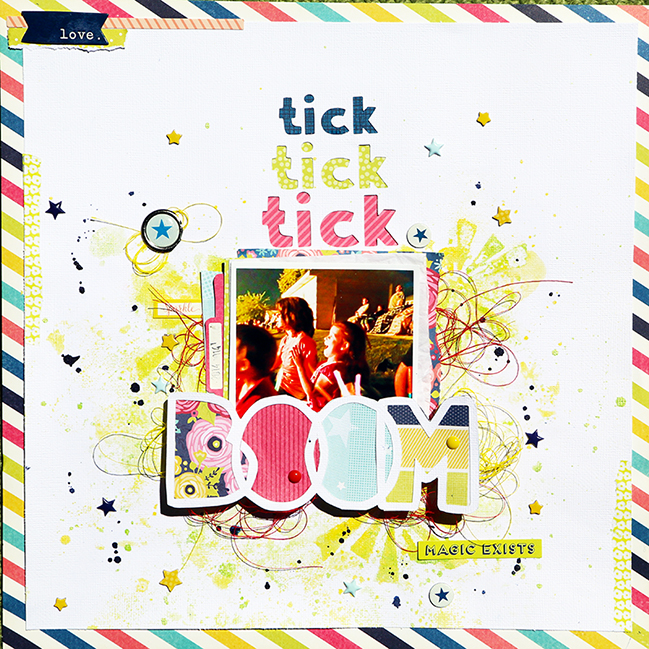
scrapbooking with the silhouette // scrapbook page by Orange Gearle

Today I’m joined by a certain lady named Orange who has me thinking I really need to get my head thinking more creatively about die-cutting! I use my Silhouette most often when I need to make dozens of the same item, like party invitations, and there is a wealth of beauty in creating unique pieces with the Silhouette rather than my assembly line approach. I hope Orange inspires you as much as she has me, and I also hope you enjoy something to get you started or to help build your cut file library.

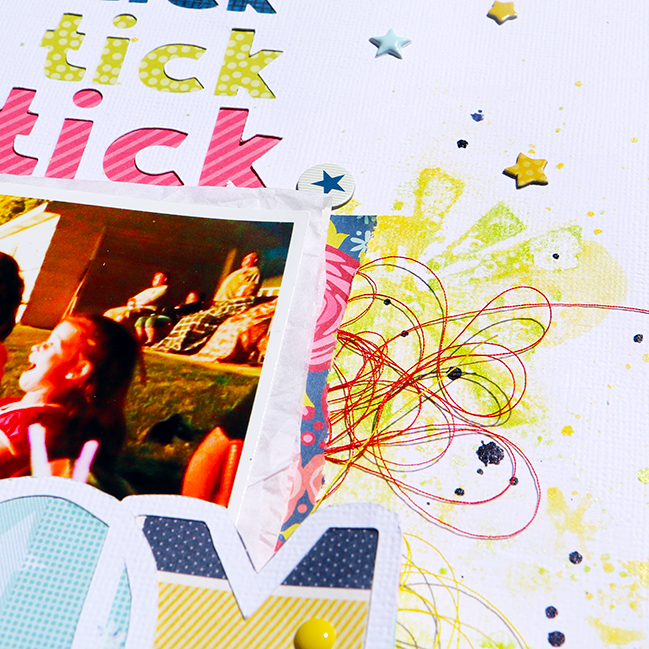
I’ve been looking for the perfect way to document this photograph of my daughter watching the fireworks nearly two years ago. I struggle when it comes to being a “themey” scrapper — I’m just not good at it — I mostly focus on those everyday moments, but I really wanted to scrap this photo!

scrapbooking with the silhouette // scrapbook page by Orange Gearle

The fireworks that we were watching were set to music and so one day, it just popped into my head to use the title “Tick Tick Tick Boom!” from the song by The Hives (which also happens to be one of the songs from that night).

scrapbooking with the silhouette // scrapbook page by Orange Gearle

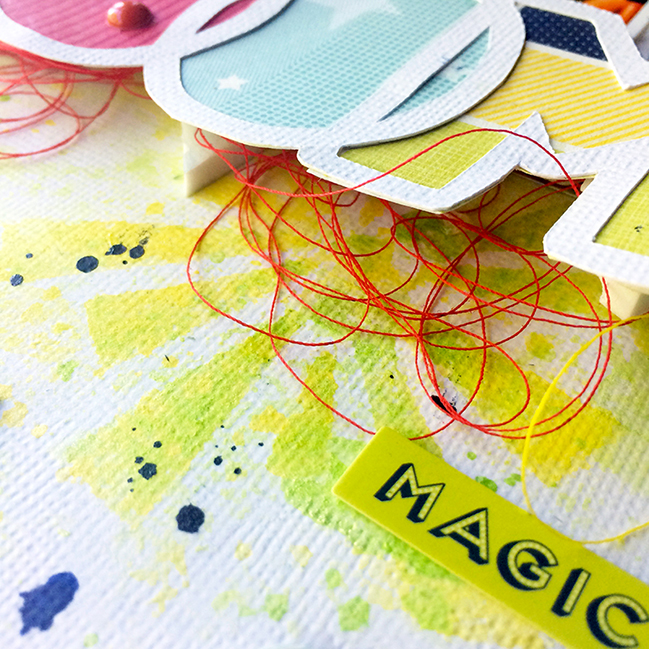
Shimelle’s Starshine collection fit perfectly because there was the navy blue and red, traditional “Fourth of July” colors, but balanced by the less “themey” yellow and bright green! I created three different cut files for this layout — two for the title and one that looks like fireworks to use as a mask.

Now I realise I’m definitely one guilty of letting my Silhouette gather dust, then having a flash of cutting inspiration and firing it up to cut as much paper as I can find. (Well, maybe not all the paper I can find. I can find a great deal of paper.) Recently that included cutting the days of the week in giant size for some big photo scrapping. Those penned words were a kit from the Two Peas digital store years ago, but now I’m delighted to share them with you here, in case you might find them useful to cut the days of the week or months of the year. They can also be added digitally to a photo if that’s more your style!

Click here to download the Penned Dates digital kit.

If you need help cutting PNG files on your Silhouette, this video tutorial will probably help! It’s quite a simple process once you know which buttons you need to click.

Happy scrapping!

Today’s Guest Artist: Orange Gearle loves music, wine, and spending time with family. You can find more from Orange on Instagram, Twitter, YouTube, and her blog.

Weekly Challenge :: Take Inspiration from an Autumnal Page

weekly challenge: take inspiration from an autumnal page // scrapbook page by Shimelle Laine

Summer is finally here and creatively I’m thinking about… autumn. I guess my scrapbooking mind is not in sync with the calendar! But I have a certain page on my mind that you might remember, or if you don’t, you can see it all come together in this video. And it’s this page that leads to our scrapbooking challenge this week!

This week, I challenge you this week to take inspiration from this autumnal scrapbook page. You might take your inspiration from the subject matter, the colour scheme, the placement of items on the page, the product choices – it’s completely up to you! You can find the full original page in the archives here. To get you started on this week’s challenge, take a look at these examples from contributing designer Kirsty Smith and guest artist Tiffani Nelson.

weekly challenge: take inspiration from an autumnal page // scrapbook page by Kirsty Smith

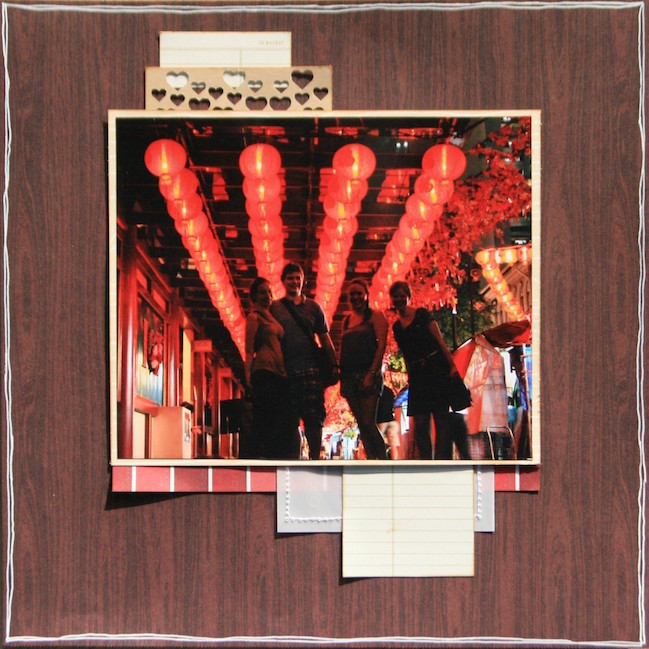
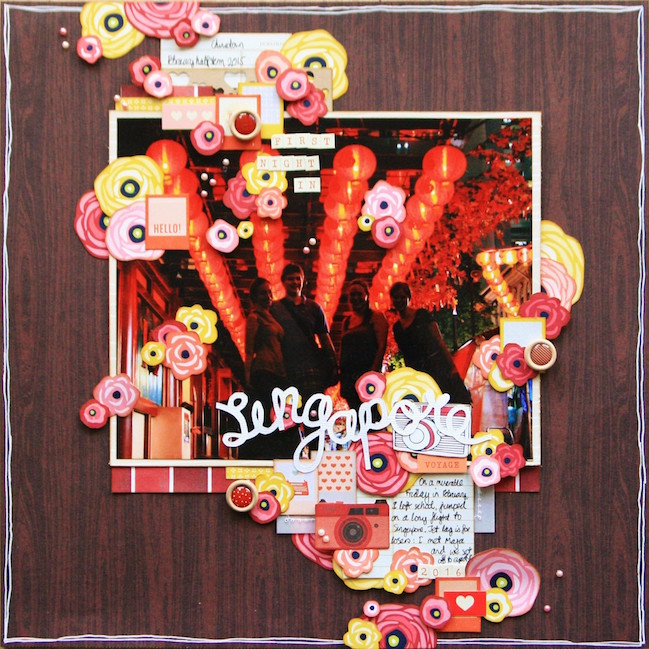
To create my own layout inspired by Shimelle’s beautiful autumnal page, I followed Shimelle’s approach of breaking the process down into two stages: the structure of the design, and then the embellishment. For the first stage, I lifted the foundation of Shimelle’s page, in the same way I might follow a sketch, and used a large photo of a night scene in Singapore which I matted and layered with a couple of rectangular blocks. I think the key to scrapbooking with photographs taken at night is the background of the layout.

weekly challenge: take inspiration from an autumnal page // scrapbook page by Kirsty Smith

The background paper here is actually a woodgrain from the Christmas Magic collection and I love how the deep, rich colour brings out the darker tones of the photograph. It can be tricky to find a match for photographs taken at night sometimes; trying out lots of different options will help you to find a background that allows the picture to pop. Because this photo is sitting on a darker paper, it tones in with the page design and it is easier to perceive the people in the image, instead of just seeing it as a large, dark block in the middle of the page.

weekly challenge: take inspiration from an autumnal page // scrapbook page by Kirsty Smith

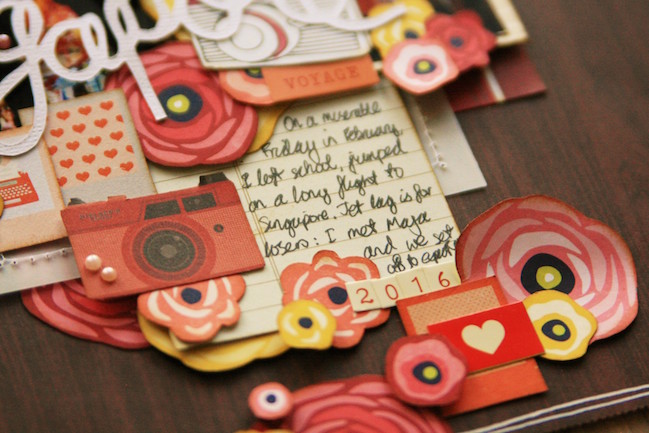
With my design sorted, the second and final stage was the fun part! What makes Shimelle’s design work so well is the trail of embellishments across the page which leads your eye through the story. For my embellishments, I hand cut lots of flowers from a beautiful floral sheet from the Starshine collection. The reds and pinks imitate the glowing tones of the lanterns that adorn Singapore’s Chinatown area and help to tie the photo into the page. I continued adding flowers until I was happy with the balance of embellishment, and the flow across the page, starting with larger ones, and then adding little flowers for detail. Once I was happy, I topped off the page with a hand-cut title in white, to really stand out against the photo, and a couple of little pearls for sparkle.
- Kirsty

weekly challenge: take inspiration from an autumnal page // scrapbook page by Tiffani Nelson

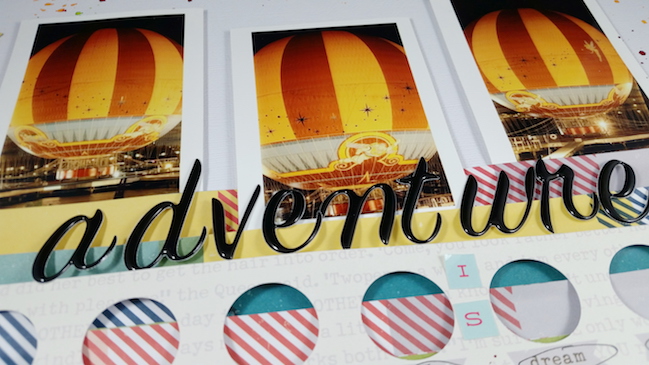
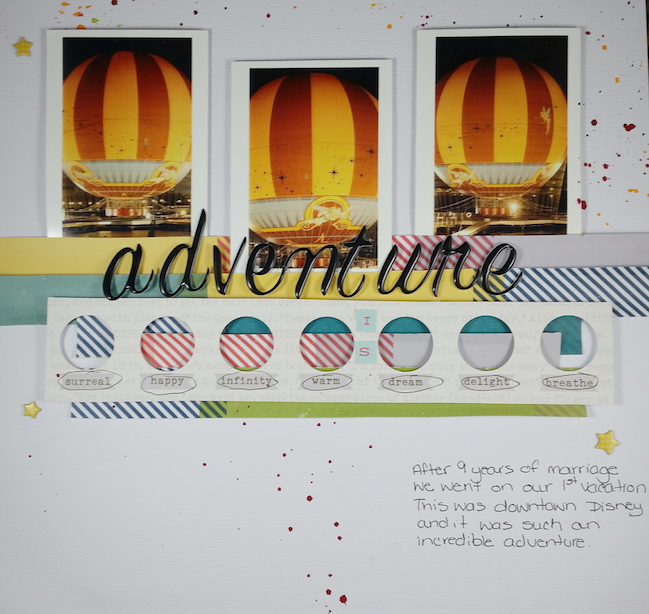
I love simple layouts that have detailed images – after all, the art is also the photo. This layout is about the time my husband and I took a trip to Orlando for our nine year anniversary, after never being on a vacation.

weekly challenge: take inspiration from an autumnal page // scrapbook page by Tiffani  Nelson

I love hot air balloons and was just fascinated with this Disney balloon. Sadly we weren’t able to ride it due to weather, but it was by far one of my favourite parts of the trip. For this layout I used products from the True Stories line – I loved the colors and how well they matched the image and I though the word strips were perfect for cutting one inch circles.
- Tiffani


You have a week to complete the challenge and share a link – but of course you’re welcome to set your own time schedule. Whatever keeps you happy and creative!

Today’s Guest Artist: Tiffani Nelson loves crafting, DIY, and gaming. You can find more from Tiffani on Instagram and her blog.

Weekly Challenge :: Take Inspiration from Planners

weekly challenge: take inspiration from planners // scrapbook page by shimelle laine

Thank you so much for your sunny enthusiasm with The 20 Project. I can’t wait to share the results in class so soon. But not to worry: we still have a challenge for you this week!

weekly challenge: take inspiration from planners // scrapbook page by shimelle laine

I know some of you are reading from places where the school holidays started weeks or months ago, but here it’s pretty common for this to be the last week of classes. Yet my inbox is filled with advertising for back to school items! I’m torn: it’s definitely time to enjoy the summer, but I do love a good bit of back to school shopping. I’m always up for new themed stationery, of course.

weekly challenge: take inspiration from planners // scrapbook page by shimelle laine

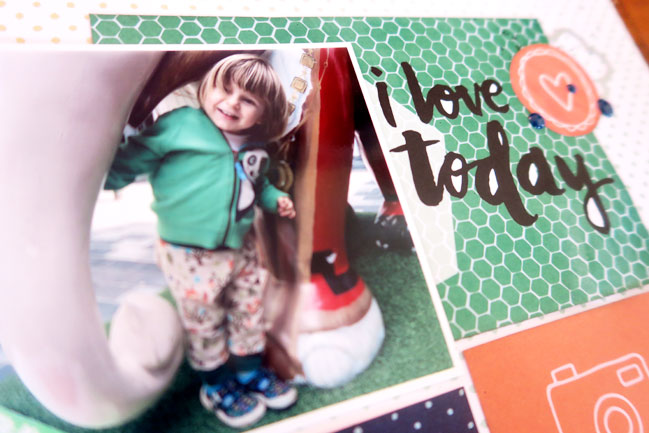
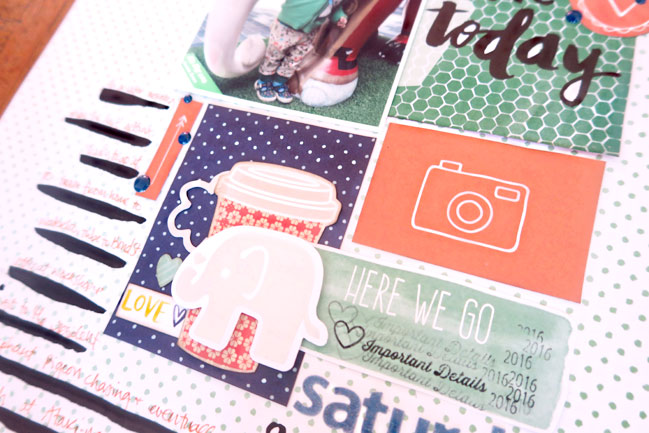
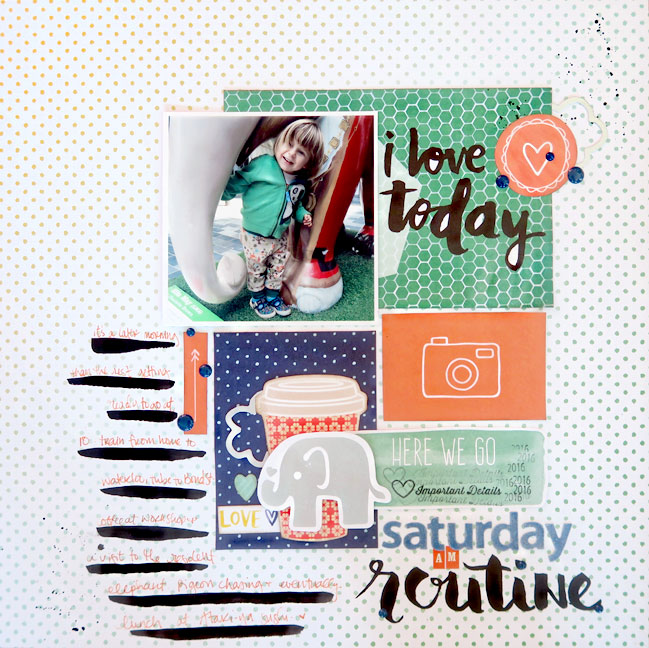
This week, I challenge you this week to take your scrapbooking inspiration from planners. Where that very broad concept may take you is a totally open road! I started by thinking I would work in boxes with relatively even spaces between them to mimic the grid you might find on a calendar or scheduling sheet. Then added in broad brushstroke lines to write on in the style of a to-do list. But I still wanted to keep it in line with the way I would embellish most of my pages, so there’s a big embellishment cluster toward the middle of the page and a smaller one in line with the title to coordinate. Even the subject matter is quite planner-inspired: we’ve got to a point where we have a little routine we follow almost every Saturday for the morning up to lunch, so that seemed like a good way to give some context to the photo, because looking cute climbing under an elephant is not really the sort of journaling that makes me tick.

How you interpret the challenge is completely up to you, so you can take your inspiration in any direction you like! Contributing designer Meghann Andrew also gave this challenge a go to give you some more ideas! We’ve both followed a routine and timing sort of theme, but that’s definitely just one way to take the challenge this week.

weekly challenge: take inspiration from planners // scrapbook page by Meghann Andrew

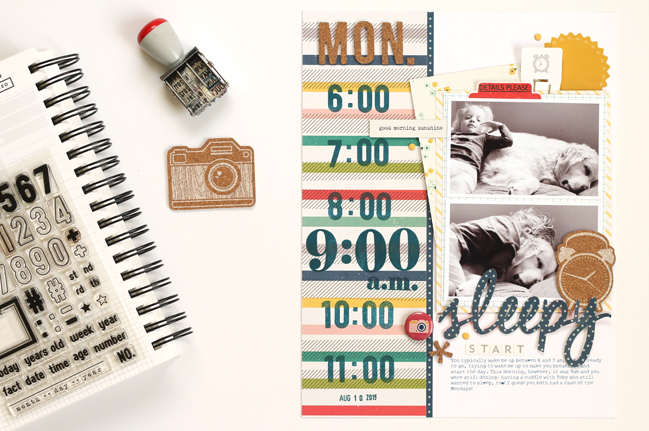
My planner and I are pretty close, so when Shimelle challenged me to use my planner as inspiration for my next layout, I grabbed my Get to Work Book and took the challenge!

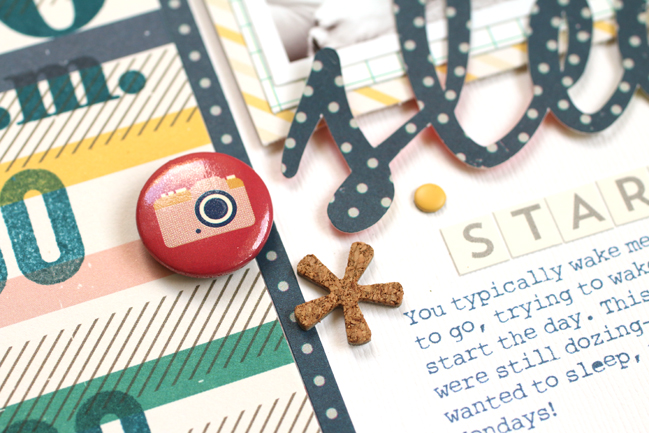
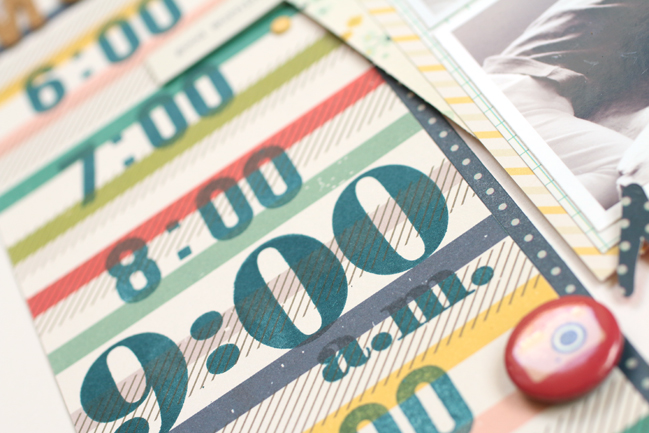
I love vertical columns in my planner to list my appointments and “to-dos” for the day, so a vertical column was the first thing to go on my 8-1/2” x 11” background cardstock. I used the colorful lines on the Americano pattern from True Stories to stamp the time along the column, making the 9am time, an unusually late wake up for our household, a different size and font. At the top, I added the day of the week in cork Thickers, and at the bottom, the date using a date stamp.

weekly challenge: take inspiration from planners // scrapbook page by Meghann Andrew

The right side of my layout was treated more in my typical, layered fashion, with patterned paper topped with two black and white photos of my daughter and dog, who clearly just didn’t want to get out of bed that day.

Having such a colorful left side meant that I kept the embellishment simple, adding cork Thickers shapes from the Shimelle collection, a die-cut title from the True Stories Grey Floral pattern, and a flair badge from Starshine.

weekly challenge: take inspiration from planners // scrapbook page by Meghann Andrew

I love the idea to use time to document a memory, and I’m excited to try it in a different way again- maybe next time to document different moments in a single day!
- Meghann


You have a week to complete the challenge and share a link – but of course you’re welcome to set your own time schedule. Whatever keeps you happy and creative!

A New Online Scrapbooking Class: The 20 Project

A New Online Scrapbooking Class: The 20 Project

Sometimes I love a project that focuses on one specific story for several weeks. And other times I feel like my list of things I want to do is so long and unconnected, I might as well be chopping it up and putting it in a hat. I’ve often thought about that in my head, but this is really the first time I decided I would really and truly make it work in a literal sense. It’s called The 20 Project.

20 items on my scrapping to-do list.
20 new scrapbook pages.
20 videos, each 20 minutes long.
And you’re welcome to join me for the full adventure – it’s $20.

A New Online Scrapbooking Class: The 20 Project

When I chopped up my to-do list to go into the hat, it included things like
…using a kit I purchased but have let sit on my shelf ever since it arrived.
…whittling down a day of 100+ photos to a feasible number that still tells the story in full.
…sorting out an overflow of paper scraps into quick and easy page kits.
…stamping enough to get past my ‘I maybe bought too many stamps’ guilt.
…becoming happier about using portrait and landscape shots on the same page.
…scrapping with a colour wheel to get more interesting combinations from my stash.
…making a dent in my collection of Project Life cards.
…switching up my title techniques to have a bit more variety without completely changing my style.
…and twelve other everyday scrapbooking dilemmas that sometimes leave us all stumped at our desk when we wish we were actually sticking bits of pretty paper to other bits of pretty paper.

A New Online Scrapbooking Class: The 20 Project

This class is primarily video based, but each video is accompanied by a short PDF with photos of the finished layout and a few brief notes, so it’s easy to remember the key elements covered without having to watch the full twenty minutes again.

The pages created cover a variety of topics, including baby and toddler photos but also travel (both people and scenery), home and neighbourhood (cooking, collections, parks and gardens), wedding, hobbies, and everyday life documentation. Some pages include supplies from my own collections with American Crafts, while others do not and use a range of brands across the scrapbooking and stamping industries. You do not need to use the same supplies to follow along with the challenges and techniques. Most of the pages are single-page 12×12 in format, but there are a few double pages either as two 12×12s or as one 12×12 and one pocket page.

A New Online Scrapbooking Class: The 20 Project

The photos shown here are indicative of my scrapping style but are not the twenty pages created for The 20 Project. I’m excited to share all-new material with you in class!

The 20 Project starts on Wednesday, 3 August 2016. You may join at any time, including after the class has finished, but signing up before the third will give you the full live experience of receiving class materials by email and joining in the conversations on the private classroom forum as we go through the twenty days of materials. The final video will be sent on Friday, 26 August. (There are no videos on Sundays or the first Saturday.)

You can sign up now and pay by credit or debit card or from your Paypal balance (you do not need a Paypal account to join in). It’s $20 in US Dollars, and xe lets you see that amount in your currency if you need to check. You’ll receive a welcome message within 24 hours, and if you don’t, please do not hesitate to email me. If the email address on your Paypal account is not the one you want to use for receiving class materials, please let me know either by email or leaving a ‘note to seller’ when you check out.

A New Online Scrapbooking Class: The 20 Project

Any other questions, just let me know! And look forward to a short video on YouTube this week that shares the style of this project. I’d love for you to join me in making August crafty and productive!

Disney Scrapbooking Ideas

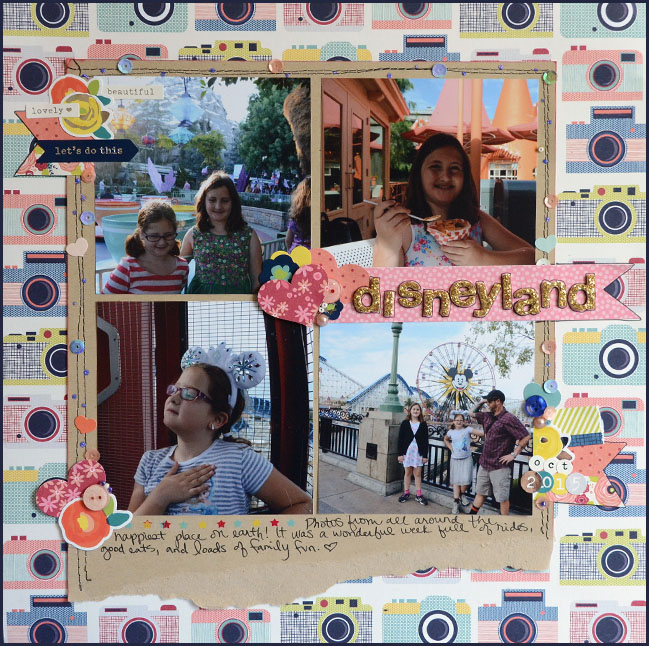
scrap your favourite theme park // scrapbook page by May Flaum

Ready for the weekend? I’m so happy contributing designer May Flaum is here to share a little Disney scrapping love. I hope you enjoy her page tutorial, and I promise you can actually follow it with non-Disney photos too, but maybe don’t tell May. Put your Mickey ears on for May. It’s something I have learned.

If there’s one thing I adore, it’s scrapbooking Disney vacations! May Flaum here, and I’m going to share my go-to recipe for theme park and vacation scrapbooking today. The great thing about this is that no sketch is required! It works best with a bold patterned paper partnered with a neutral cardstock – and from there you can add any embellishments you like.

scrap your favourite theme park // scrapbook page by May Flaum

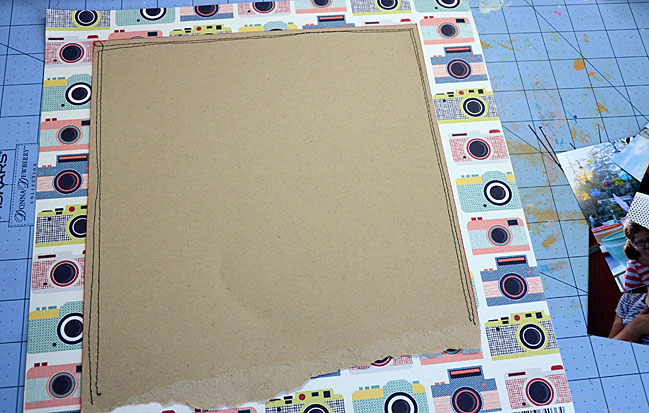
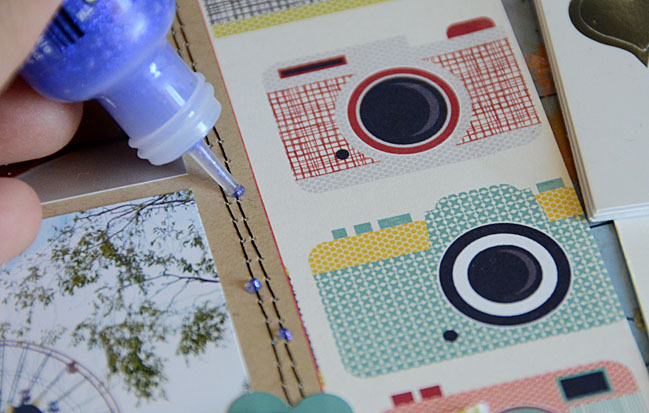
First step – a square or rectangle of cardstock will be your base. I used 9 × 10 kraft cardstock, and tore the bottom as well as stitching the edges for contrast. After adhering to this lovely camera patterned paper I am ready to rock with photos!

scrap your favourite theme park // scrapbook page by May Flaum

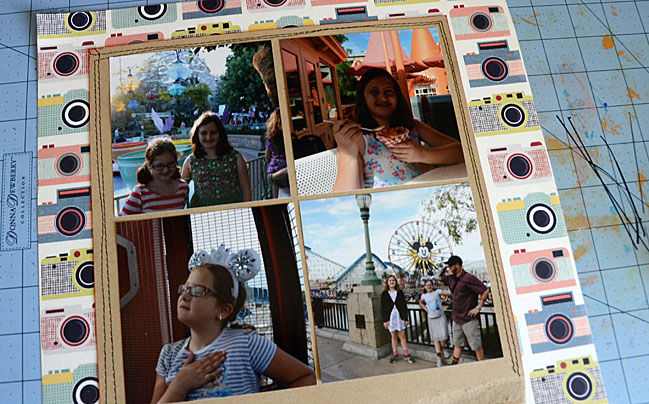
You could alter the size of your cardstock mat to any size photos that you have or want to use – I went with four 4×4 pictures. This will be a title page for my Disneyland trip, so I knew the journaling would be light. If I had more of a story I would cut down the number of photos used or use smaller photos.

scrap your favourite theme park // scrapbook page by May Flaum

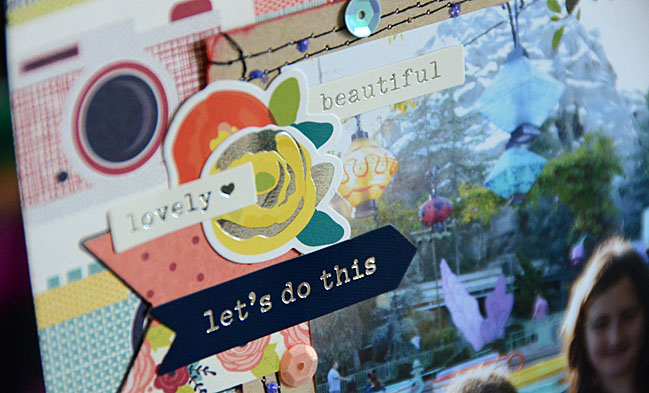
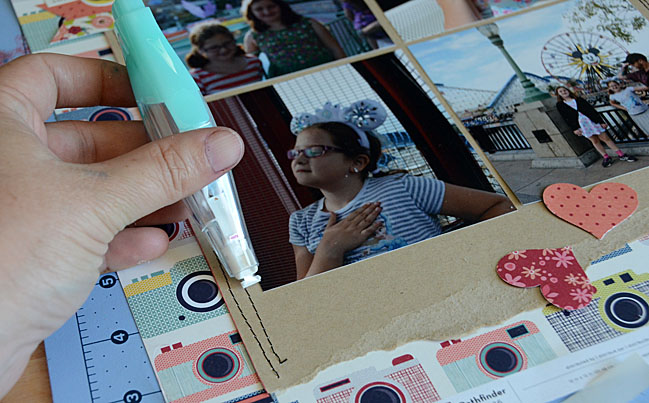
This is my favorite part of this design: Photos + paper and we’re ready to decorate! Choose a few strategic spots to cluster some stickers, and use some of the fabulous rub-ons from Shimelle’s line of course!

scrap your favourite theme park // scrapbook page by May Flaum

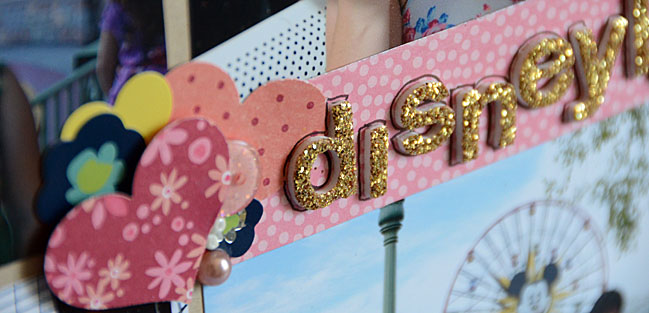
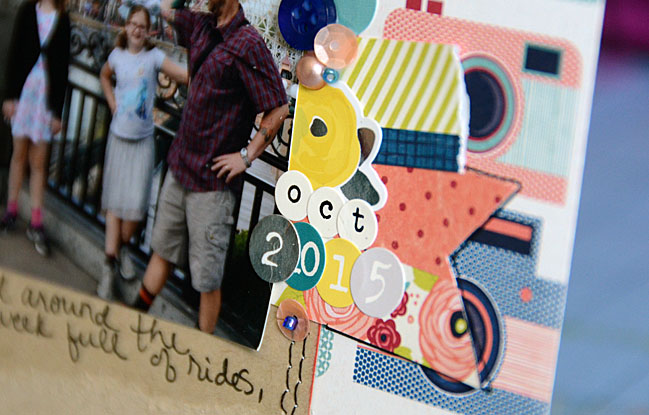
To add some dimension add in some sequins, buttons, beads, or glitter glue. For a little more layering add in a few stickers or strips of patterned paper as I did on my layout.

scrap your favourite theme park // scrapbook page by May Flaum

Often the photos for theme park pages are so busy, I just love this very simple design and set-up that doesn’t compete with the pictures but still allows me to cluster a few embellishments and have some creative fun.

scrap your favourite theme park // scrapbook page by May Flaum

I suggest utilizing background/ok to cover space on your photos to cluster and add some embellishments over since this page is so photo heavy. I also recommend using up some stickers (layering is your friend!) and details in just a few spots.

scrap your favourite theme park // scrapbook page by May Flaum

This layout was so much fun to make, and I hope you’ve enjoyed sharing in my process today.

Weekly Challenge :: Cut your scrapbook embellishments by hand

weekly challenge: Cut your scrapbook embellishments by hand

Thank you so, so much for all your kind responses to Go Now Go. You can watch this first look video if you’d like to see more. It will be shipping very soon, so be sure to ask your favourite scrapbooking retailer to order it if you fancy! But for now, let’s use the stash we have on hand to make way for some favourites from all the summer releases coming out right about now. I know I have a stack of papers and stamps I really, really want to use but I just haven’t got there yet. This week seems like a great time to do that.

And now, on to the challenge! This week I challenge you this week to hand cut the design elements on your next scrapbook page. That might mean cutting lettering for your title, stamping something and cutting out the design, or detail cutting motifs from patterned paper instead of turning to stickers and other pre made embellishments. Everything else is completely up to you, so you can take your inspiration in any direction you like, just get those scissors or craft knives to the ready! You might find this chunky title or this delicate lettering useful from our archived tutorials, but to get you started on this week’s challenge, take a look at these examples from contributing designer Nicole Nowosad and guest artist Jen Campbell.

weekly challenge: Cut your scrapbook embellishments by hand // scrapbook page by Nicole Nowosad

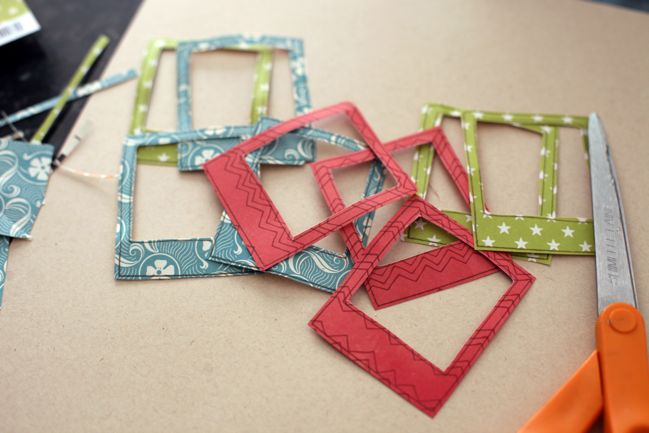
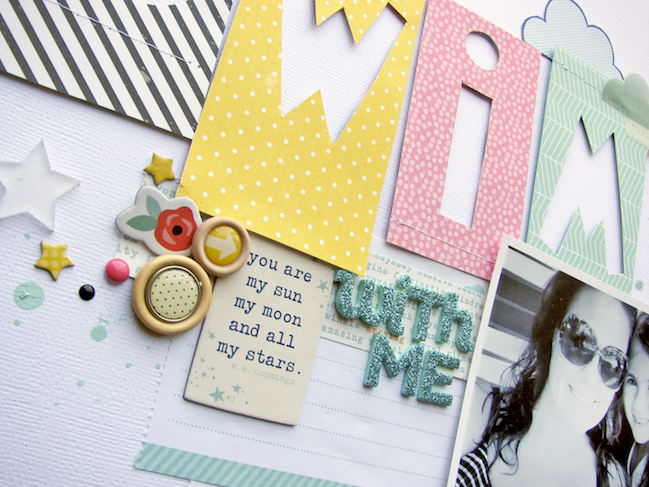
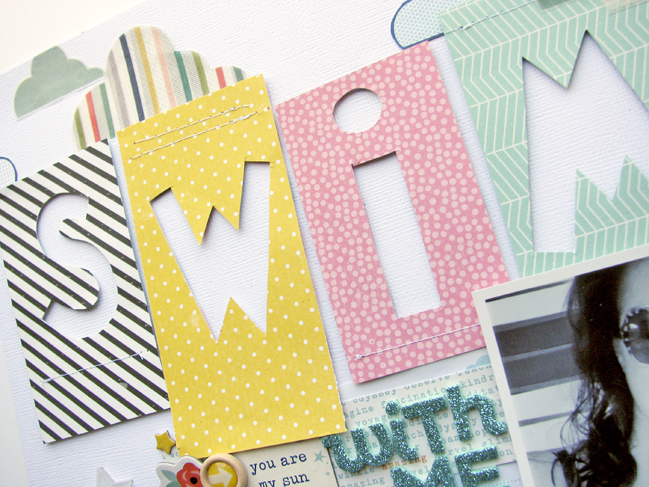
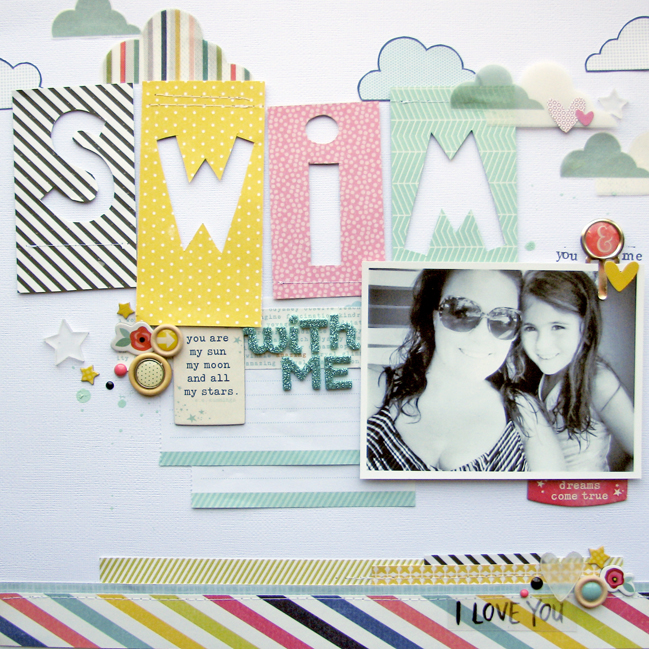
I love the idea of hand cut items on my projects because it adds a fun bit of whimsy. I decided to hand cut some letters for the title on my page. Instead of using the positive letters, I trimmed blocks of patterned paper and used the negative shape of the letters to create my title. To create the letters I flipped the paper to the backside and then drew out good old bubble letters in reverse. I cut them out with a craft knife and some scissors.

weekly challenge: Cut your scrapbook embellishments by hand // scrapbook page by Nicole Nowosad

Once the letters were all cut, I adhered them with foam adhesive for some dimension. They are a great (and easy!) embellishment on the page and a great focal point too.

weekly challenge: Cut your scrapbook embellishments by hand // scrapbook page by Nicole Nowosad

I hope you are inspired to add a little whimsy to your projects and create your own hand cut items for your projects! The possibilities are endless.
- Nicole

weekly challenge: Cut your scrapbook embellishments by hand // scrapbook page by Jen Campbell

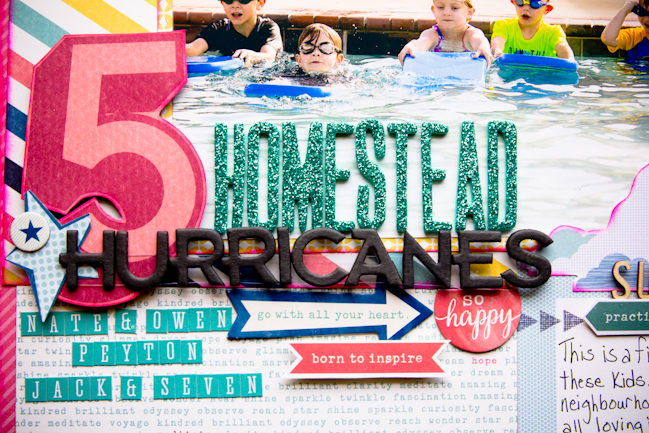
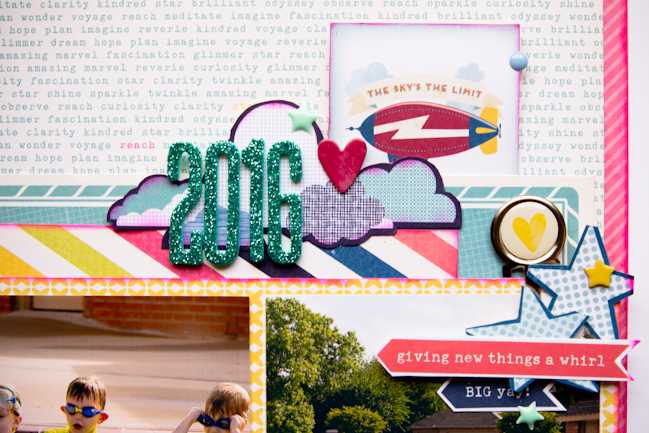
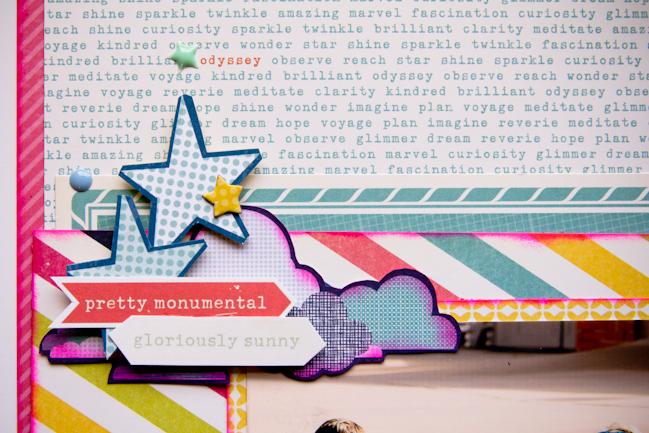
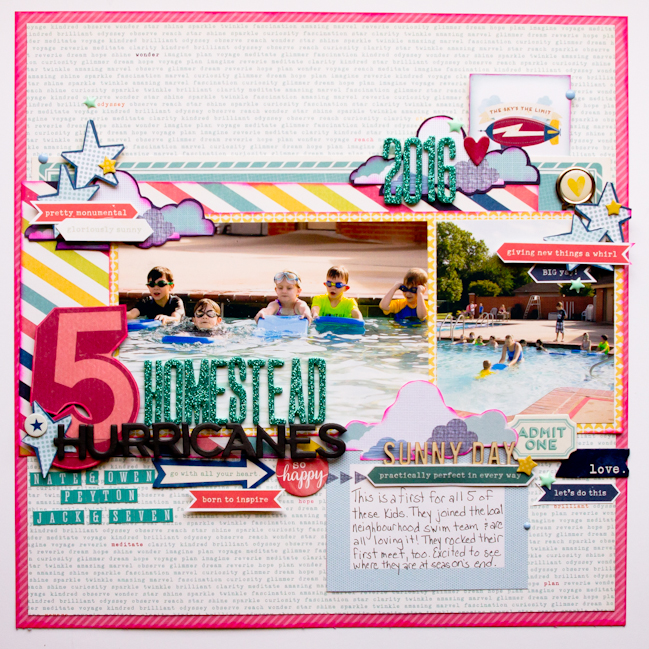
As always, I started my page with photos that I love and a story to tell. These bright shots from swim team practice with all the neighbourhood kids were prefect to use with the cheerful paper and embellishments from Shimelle’s Starshine collection. I knew immediately that I wanted to use the large number five in the title of my page. I used that as a jumping off point for my colour scheme and quickly decided the stars and clouds as well as the word flags from True Stories made fantastic choices for hand-cut embellishment clusters.

weekly challenge: Cut your scrapbook embellishments by hand // scrapbook page by Jen Campbell

weekly challenge: Cut your scrapbook embellishments by hand // scrapbook page by Jen Campbell

I stared by cutting stars, clouds, and word phrases and setting them aside to add as I built the page. Then I layered some paper horizontally to fit behind the pictures. Although I initially planned to just use the neutral word paper as my background, once I got going I realized I needed a bolder colour to ground the page, so I matted the whole thing with a quarter-inch border of the hot pink and then inked the edges of some of the paper and embellishments to tie everything together. I finished my building two embellishment clusters along the top and building a horizontal line of embellishments below the title and pictures and around the journalling box. Final touches to the embellishment included chipboard star and hearts as well as enamel dots and stars.

weekly challenge: Cut your scrapbook embellishments by hand // scrapbook page by Jen Campbell

My go-to title technique: I cut a thin strip of plastic packaging from some scrapbook embellishments and adhered the black chipboard letters to that. Then I used foam 3D adhesive cut into thin strips on the back of the packaging to help me layer the word “hurricanes” over the top of the “5” and overlapping the bottom edge of the “homestead” in glitter Thickers. I like how this technique helps build a cohesive title grouping while keeping all the chipboard letters at the same level.
- Jen


You have a week to complete the challenge and share a link – but of course you’re welcome to set your own time schedule. Whatever keeps you happy and creative!

Today’s Guest Artist: Jen Campbell loves coffee, summer days near the water, and everyday adventures with her three boys. You can find more from Jen on Instagram.

Using the Silhouette to stitch a scrapbook title

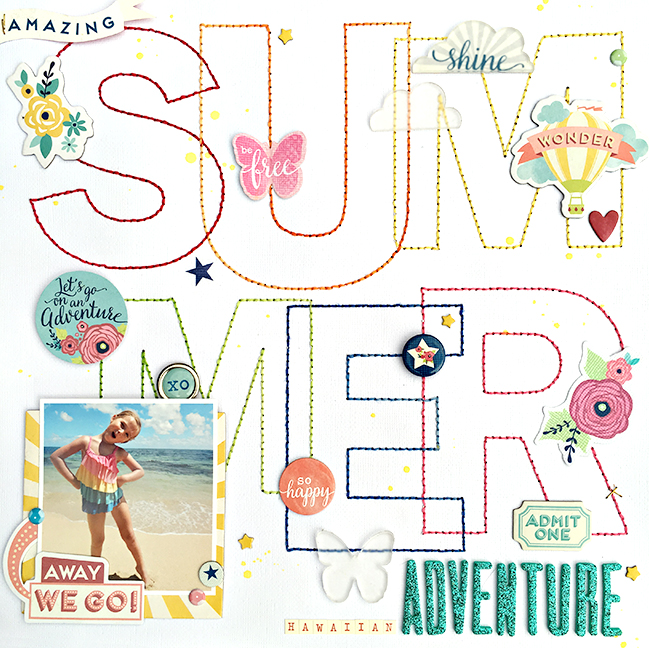
Using the Silhouette to stitch a scrapbook title // scrapbook page by Heather Leopard

Not to let Go Now Go take all the fun today, I’m excited to share this brilliant technique from Heather Leopard, complete with a step-by-step tutorial. I hope it inspires you to get stitching!

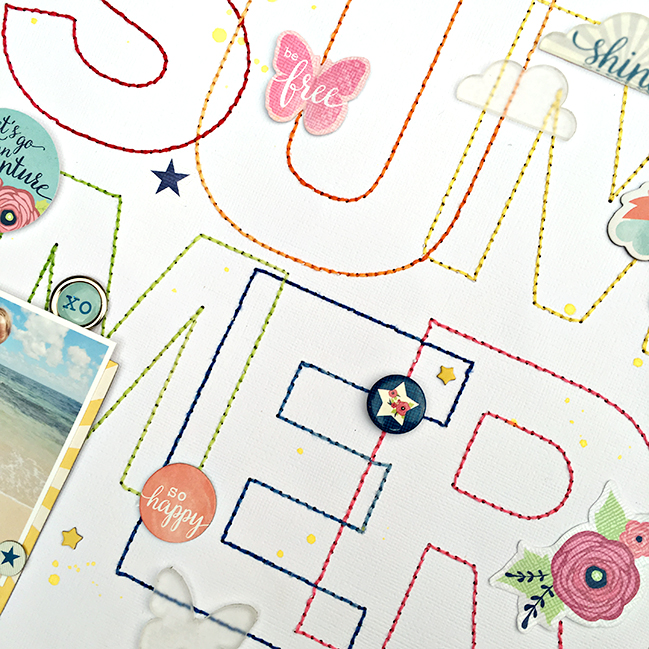
When I think of summer, the things that come to mind are bright cheerful colors and sandy beaches so naturally, I made that the focus of my layout. I didn’t just want to include a nod to summer, I wanted to scream SUMMER! I knew I had to go with a big, bold title so I went to my trusting die cutting tool and pulled out 6 bold colors that coordinated with Shimelle’s Starshine collection and went to work.

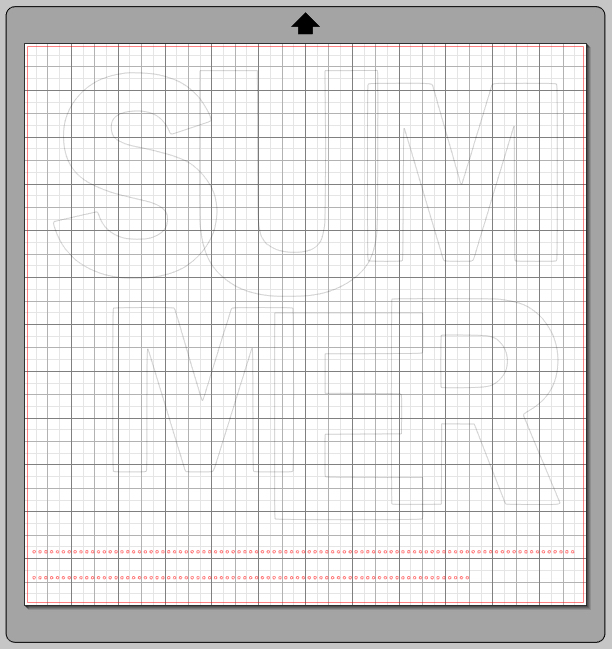
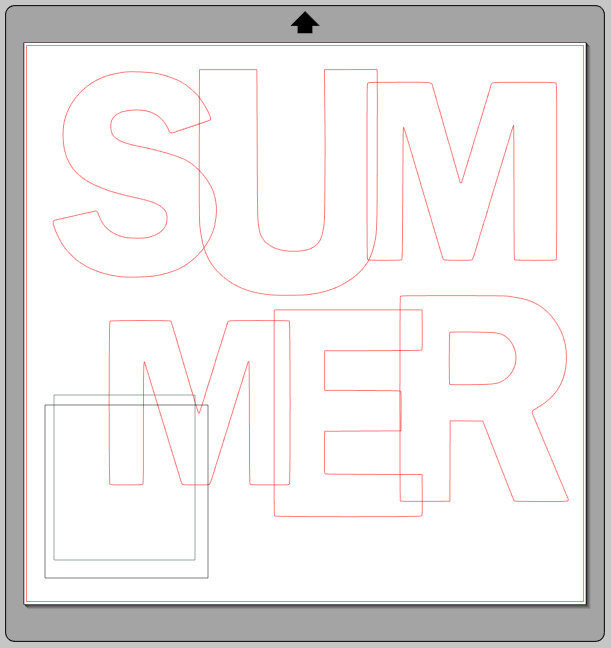
To get started, I created the entire design for my layout in the CAMEO software, including my photo and layering around my photo. I created the letters using Franklin Gothic font in varying sizes between 460 – 525. I simply enlarged the letters, overlapped them and scaled them up and down until I liked the look.

For this next step you have many options for practically perfect holes for stitching but I’m going to talk about two of my favorites. The first one is to draw the design onto your paper using your CAMEO and sketch pens, then poking the holes yourself. The second option is a little more complicated but well worth it if you ask me. Take a look at how I added dots onto my letters in the image below.

Using the Silhouette to stitch a scrapbook title// scrapbook page by Heather Leopard

Usually when I want to stitch a cut file, I skip steps 1 – 3 but you have to do steps 1 – 3 this time because you can’t add text to text. So 1st step is to create a png or jpeg of each of your letters. Separate your letters and use your favorite snipping to to do a screen capture.

Import the png or jpeg back into your Silhouette designer. This turns it into a “shape” instead of editable text.
Trace each letter and release the compound path / ungroup them.

Using the Silhouette to stitch a scrapbook title // scrapbook page by Heather Leopard

4. This is where you’d normally start if you were using a cut file. Using a text box and Times New Roman or some similar font, type in dot after dot after dot until you’ve filled up an entire row or two of dots. I prefer using a period for my dots but others use an “o”. The actual number doesn’t matter because you can add more dots to an image in step 6.

5. Change the font size to 24 or 36.

Using the Silhouette to stitch a scrapbook title // scrapbook page by Heather Leopard

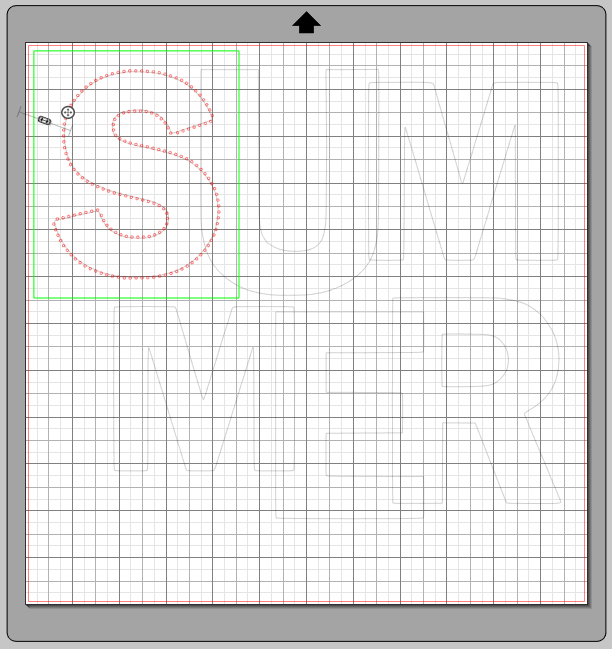
6. Click the “Select” Arrow in Silhouette and then double click the text box.

Using the Silhouette to stitch a scrapbook title // scrapbook page by Heather Leopard

7. The text box turns to a green outline and you will see circle with a plus sign inside. Click the circle and hold it down while dragging it to the cut file. In my case, that’s the “S”.

Using the Silhouette to stitch a scrapbook title // scrapbook page by Heather Leopard

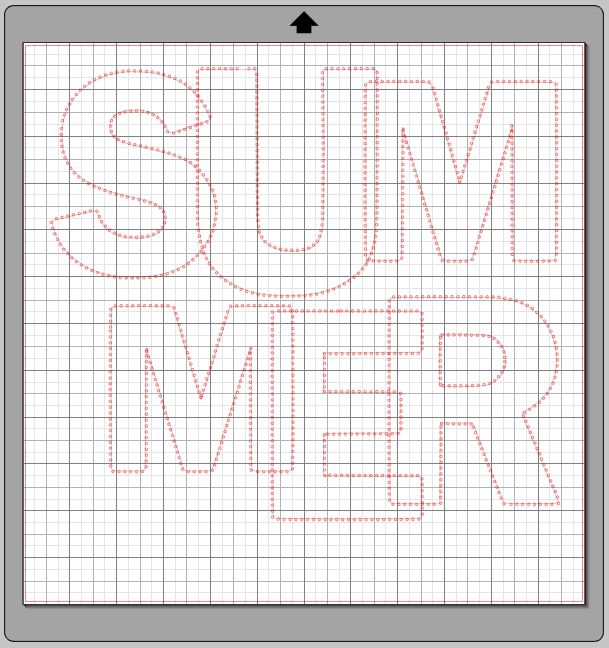
8. Your image will look similar to this. If there aren’t enough dots to cover the entire image, just click in the text box and add more. It’s as easy as that.

]Using the Silhouette to stitch a scrapbook title // scrapbook page by Heather Leopard

9. Repeat until everything you want to stitch has dots for holes.

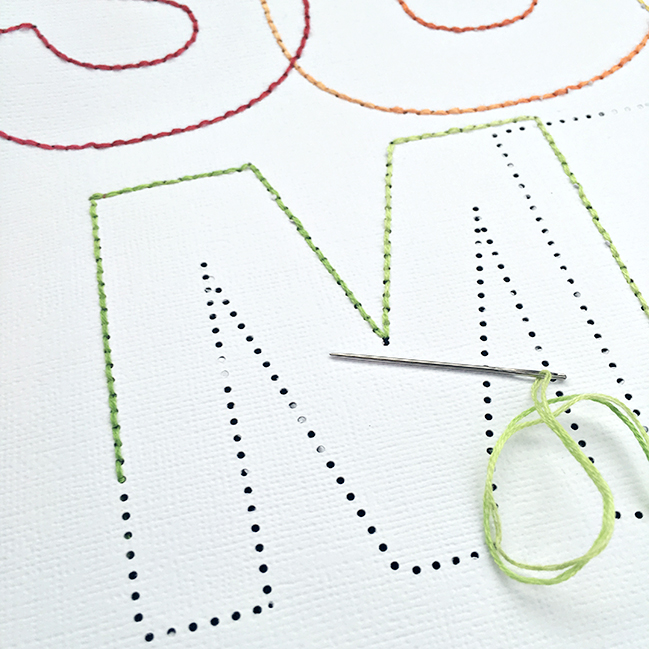
10. Cut your files as you normally would. A few of my holes were just barely hanging on so I’ll be using the double cut option next time and recommend you do that as well.

Using the Silhouette to stitch a scrapbook title // scrapbook page by Heather Leopard

11. Put a good movie on and stitch away!

Using the Silhouette to stitch a scrapbook title // scrapbook page by Heather Leopard