paper: pretty paper. true stories. {and scrapbooking classes with cupcakes.}

lovely to meet you Twitter Facebook Pinterest YouTube

Take a Scrapbooking Class

online scrapbooking classes

Shop Shimelle Products

scrapbook.com simon says stamp shimelle scrapbooking products @ amazon.com shimelle scrapbooking products @ amazon.co.uk

Reading Material

travel

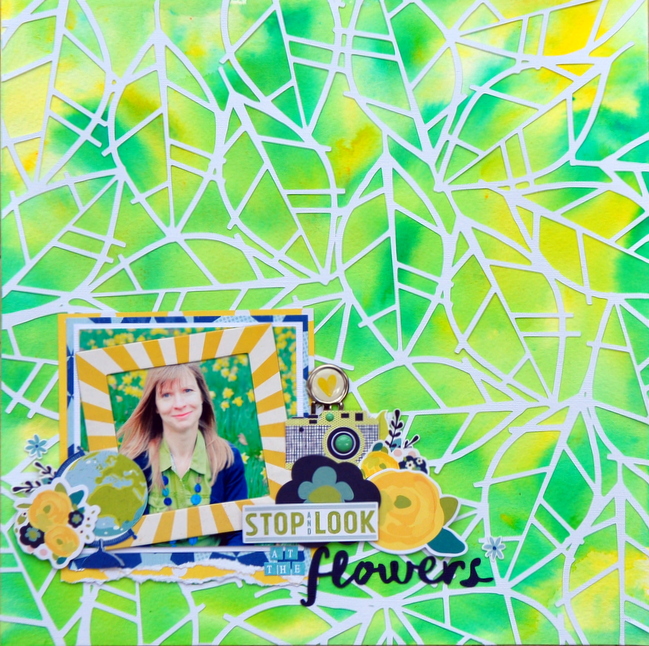
Go a bit messy with the background of a scrapbook page

Go a bit messy with the background  // scrapbook page by Sheena Rowlands

For our next challenge, please welcome contributing designer Sheena Rowlands her very inky fingers!

I would generally say I was a clean scrapper and even when I try to be messy and use ink or mists on my pages, they still have a clean feel somehow.

So for National Scrapbooking Day I challenge you to create a “messy” background for a layout using ink, mist, paint or any other medium you have.

Go a bit messy with the background  // scrapbook page by Sheena Rowlands

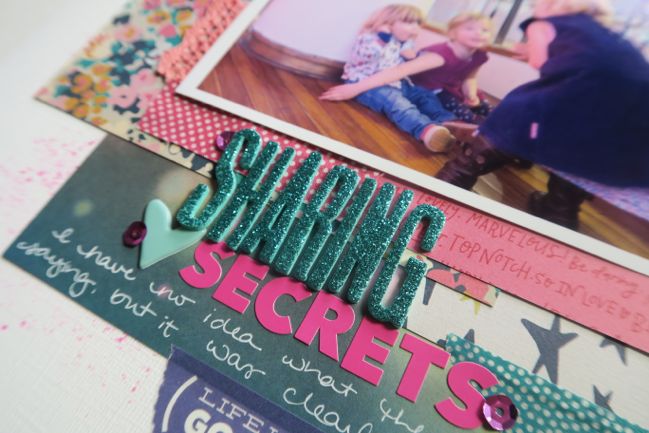
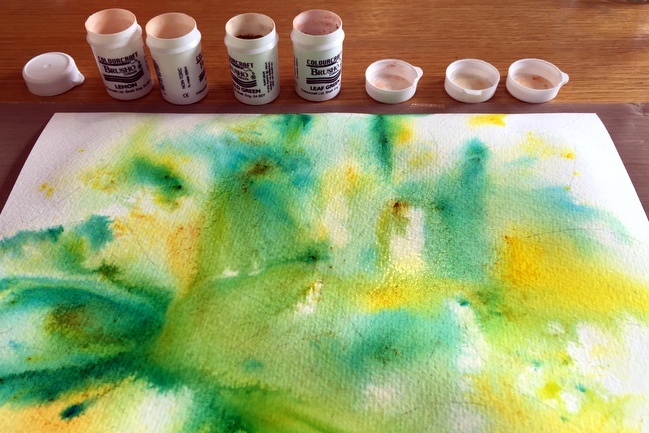
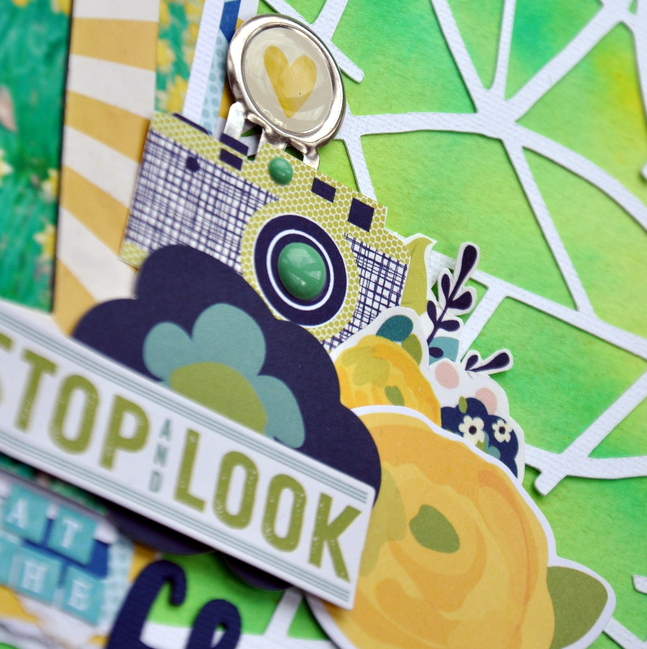
For my background I sprinkled watercolour paint powder on to wet paper allowing it to run, mix, and blend. I left it to dry for the rest of the day and flattened it under some heavy books overnight before adding the Just Nick cut file over the top.

I then added the photo with lots of layers behind plus embellishments from both the Starshine and True Stories collections. I love the finished result of my background and look forward to seeing what you create too.

Your challenge is to create a messy background for your next scrapbook page, but that might be watercolour, ink, mist, acrylic paint or something else that comes to your mind! You’re free to take this challenge in any direction you like.

Go a bit messy with the background  // scrapbook page by Sheena Rowlands


Use 3x4 cards on a 12x12 scrapbook page

Use 3x4 cards on a 12x12 scrapbook page // page by Shimelle Laine

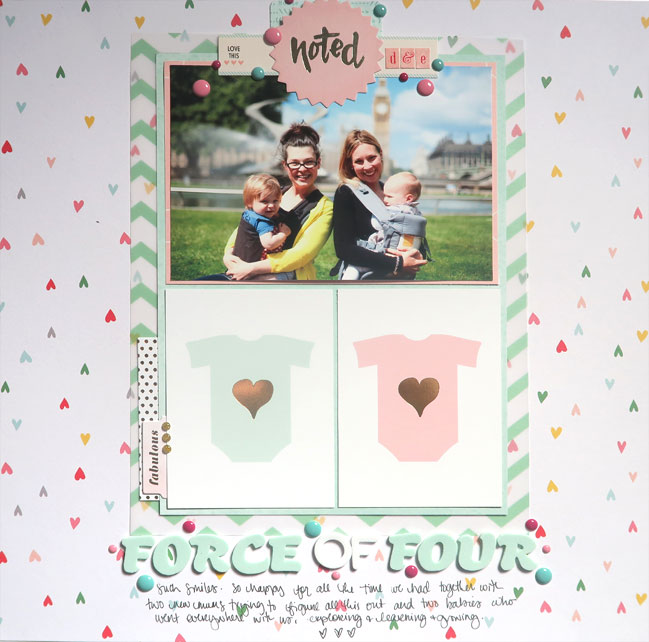
Ready for another NSD challenge? Raise your hand if you buy 3×4 cards even though pocket scrapping is not really your bread and butter. My hands are both up, I think! But I love those cards on a 12×12 page, especially with two 3×4 cards balancing one 4×6 card. Such a simple but striking way to put a page together.

Use 3x4 cards on a 12x12 scrapbook page // page by Shimelle Laine

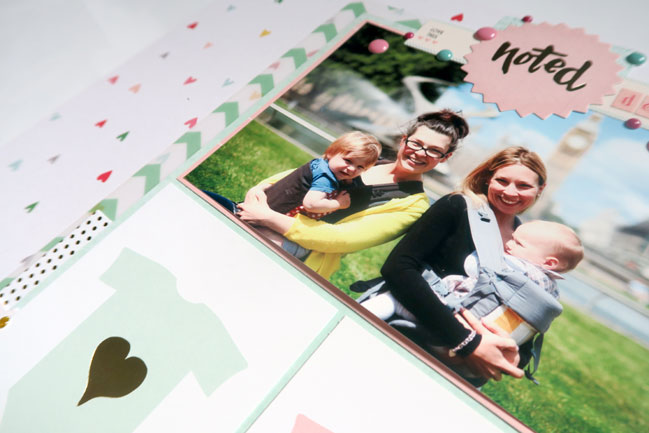
That background paper is from PinkFresh Studio and I love all those little hearts. They are a similar shape to the hearts I add to my journaling on many pages so just a perfect match for me. The 3×4 cards are from a Studio Calico baby-themed set, but the set includes two of each design so I still have those cards to use elsewhere in Wonder Boy’s baby album but this photo was taken after his first birthday, so it will live in our 2015 family album rather than the baby book. Just in case you’re keeping track!

For more 3×4 card enthusiasm, please welcome guest artist Wendy Antenucci!

Use 3x4 cards on a 12x12 scrapbook page // page by Wendy Antenucci

I love Project Life cards! I cut all of my scraps down to 4×6 and 3×4 pieces because they are an integral part of my creating. I use them for titles, sentiments, journaling, layering, detail cutting embellishments, items in grids… oh, how I could go on!

Use 3x4 cards on a 12x12 scrapbook page // page by Wendy Antenucci

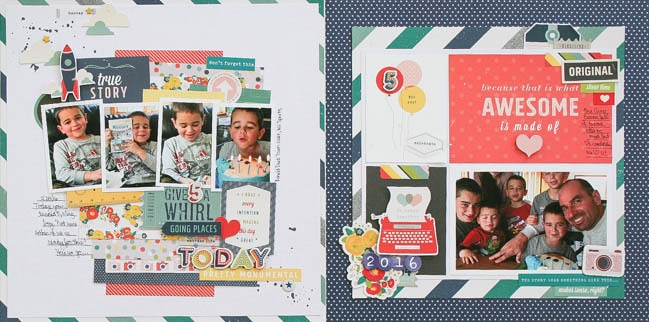
In this page I used the 3×4 cards to layer texture and color around my photo block. I used one full 12×12 page to mat my white cardstock so that it would jump out and lots of little fun embellishments from Shimelle’s True Stories line to finish the page.

Use 3x4 cards on a 12x12 scrapbook page // page by Wendy Antenucci

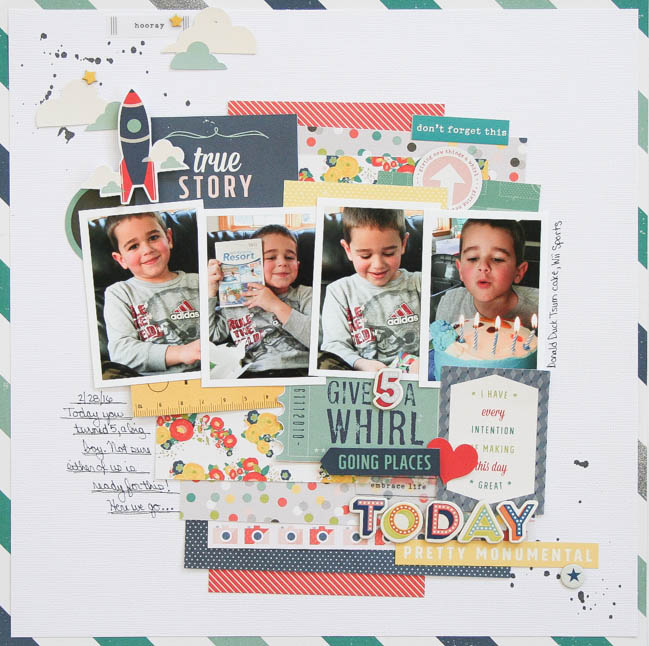
I also created another page to tell the story of my son’s birthday using a grid design with the 3×4 cards, which you can see here on my blog.

Use 3x4 cards on a 12x12 scrapbook page // page by Wendy Antenucci

Your turn! Use 3×4 cards (purchased that way or created yourself!) on a 12×12 page! If you scrap in a different size (like 8.5×11), that’s okay too! It just made for a very number-filled wordy challenge title, so forgive us!


Today’s Guest Artist: Wendy Antenucci loves creating, York Peppermint Patties, and her family. You can find more from Wendy on Instagram, Facebook, Twitter, and her blog.

Repeat a shape on your scrapbook page

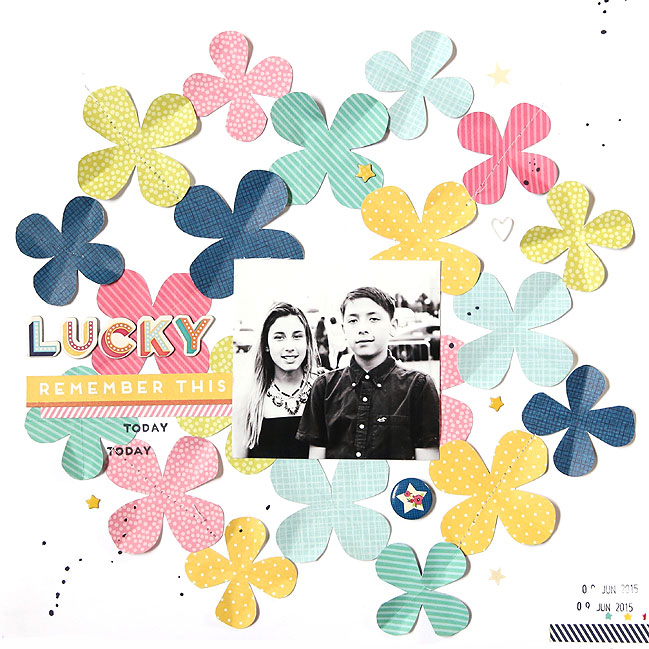
Repeat a shape on your scrapbook page // layout by Gina Lideros

On we go with another NSD challenge! This time it’s contributing designer Gina Lideros here to inspire you to repeat a shape on your page. Enjoy!

Working on my pages back around St Patrick’s day, I’m always a little stuck. It’s nice to be able to scrapbook about the occasion and document the event when there is so much inspiration around at the time. But what if you don’t have photos from that particular holiday? This is the case in my family. My side of the family is Irish, but only by a small percentage, and we never really celebrated the holiday growing up. Then, I married my husband whose family comes from the Phillipines and they do not celebrate the holiday at all. I decided we didn’t need to have a big green celebration for me to still have fun scrapping with all that Saint Patrick’s day crafting that was inspiring me, and I wouldn’t even need to be limited to green, green, and more green. It was easy to translate this theme onto a layout by documenting photos of people in our lives that we feel “lucky” to have. If you have any dates on your calendar that leave you feeling a similar way – inspired by all the pages and projects you see but with no real memories of that theme to scrapbook – see if you can twist it until it’s just right for you!

But don’t worry: you’re not tied to any theme for this challenge. You just need to pick a shape and repeat it many times on your finished layout!
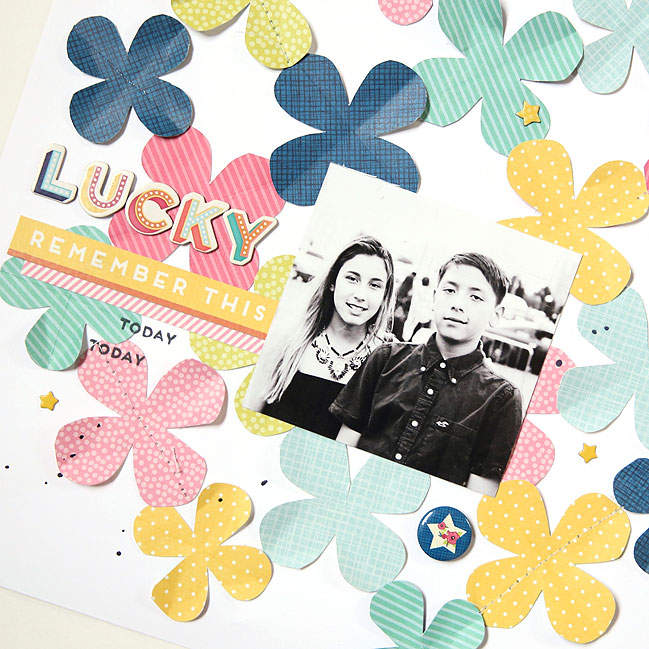
Repeat a shape on your scrapbook page // layout by Gina Lideros

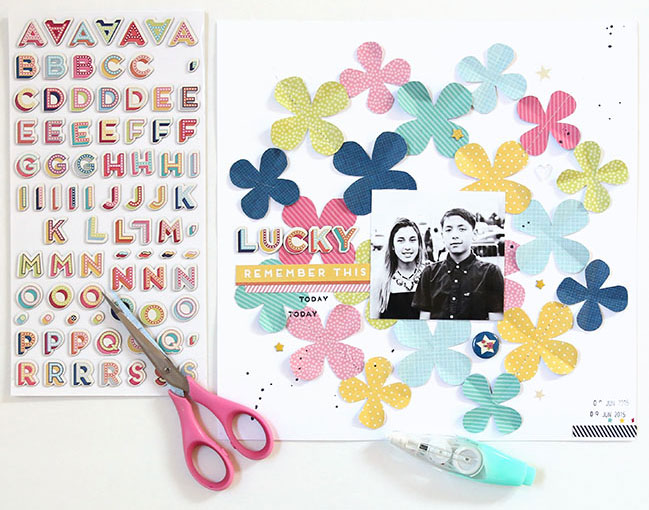
I started off my layout by choosing a lucky four leaf clover design in Silhouette Studio and then I cut the design out of several different patterned papers from the Shimelle Starshine collection.
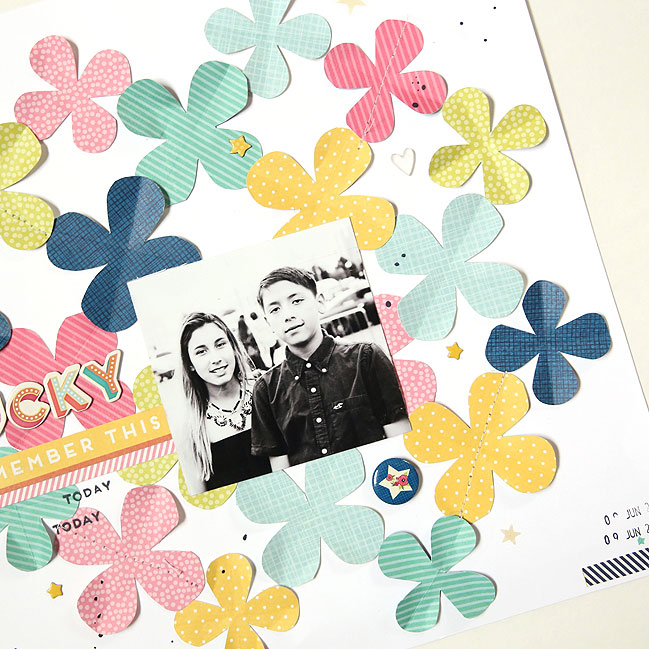
Repeat a shape on your scrapbook page // layout by Gina Lideros

After trimming my four leafed clovers out of different pieces of patterned papers, I used a bone folder to create a crease down the center of each leaf in the design, and then used my fingers to puff each piece of the clover up, creating a 3D design.

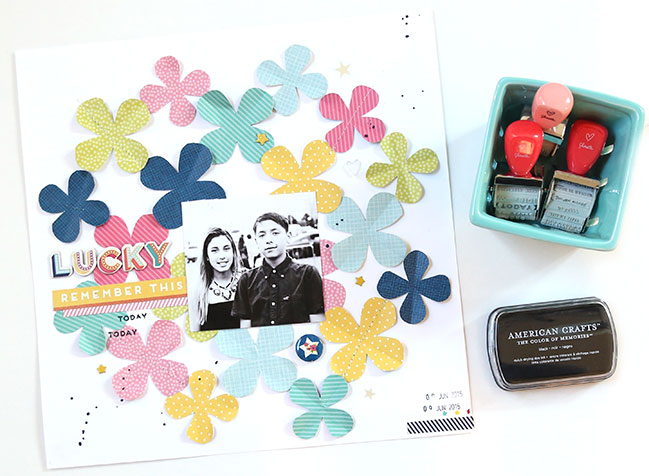
I then placed my four leaf clovers onto a white background into a circular design and then I printed a small black and white photo and adhered it to my page. I used a sewing machine with white thread to adhere a couple of my die cut shapes.
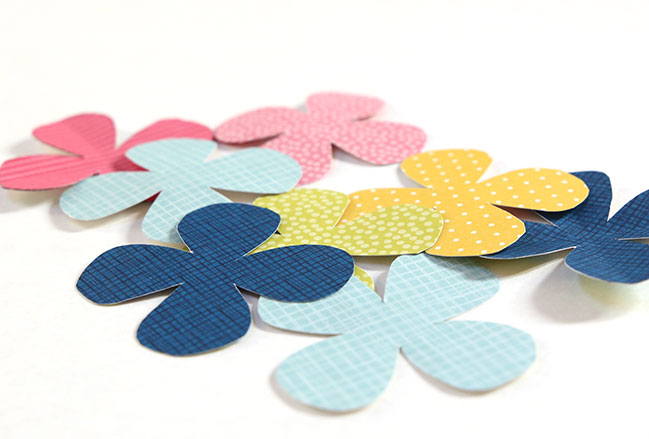
Repeat a shape on your scrapbook page // layout by Gina Lideros

I used Thickers from the collection to spell out “lucky” and I handcut the subtitle “remember this” out of patterned paper and adhered on the left hand side of my page. I sprinkled some navy blue spray mist across my page and then adhered chipboard, acrylic shapes, and flair stickers. I love them all so much that I couldn’t pick just one.
Repeat a shape on your scrapbook page // layout by Gina Lideros

To finish off my page I used the star roller stamp and Shimelle phrase stamp. I have a “thing” for phrase and date stamps and try to use them whenever possible on projects. Even though this page, might not look like I started with Saint Patrick’s Day in mind, it works for me. It showcases the big bold bright colors that I love so much and my children which I feel “lucky” to call mine.
Repeat a shape on your scrapbook page // layout by Gina Lideros

I hope this page has inspired you to create your own page with plenty of repeated shapes. Will you choose hearts, stars, clovers, circles, or something a bit funky like trees, florals, or unicorn silhouettes? Whatever you pick, we’d love to see what you make!
A simple stamping technique for your scrapbook

a simple stamping technique for scrapbook pages // scrapbook page by Shimelle Laine

Time for the next NSD challenge! It requires a stamp or two, but it’s simple as can be!

a simple stamping technique for scrapbook pages // scrapbook page by Shimelle Laine

Select the photos for your scrapbook page and also an image or two to stamp. Stamp your designs onto paper scraps or plain cardstock, fancy them up in any way you like (colouring, embossing, glittering perhaps!), cut them out and embellish your page using these stamped images right on top of your photo!

a simple stamping technique for scrapbook pages // scrapbook page by Shimelle Laine

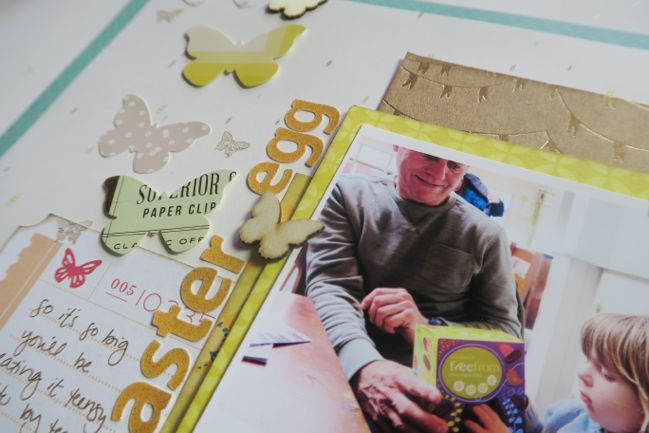
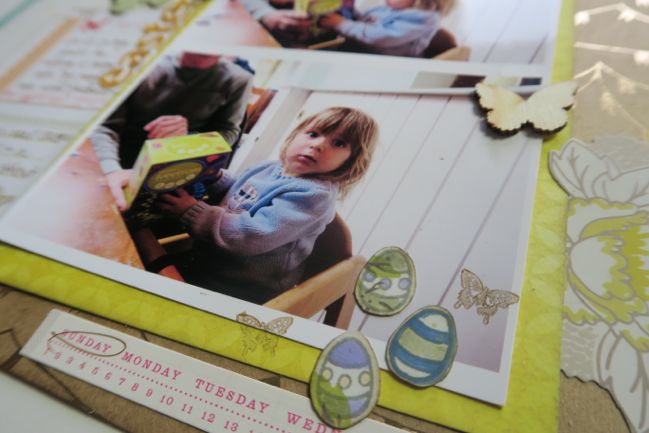
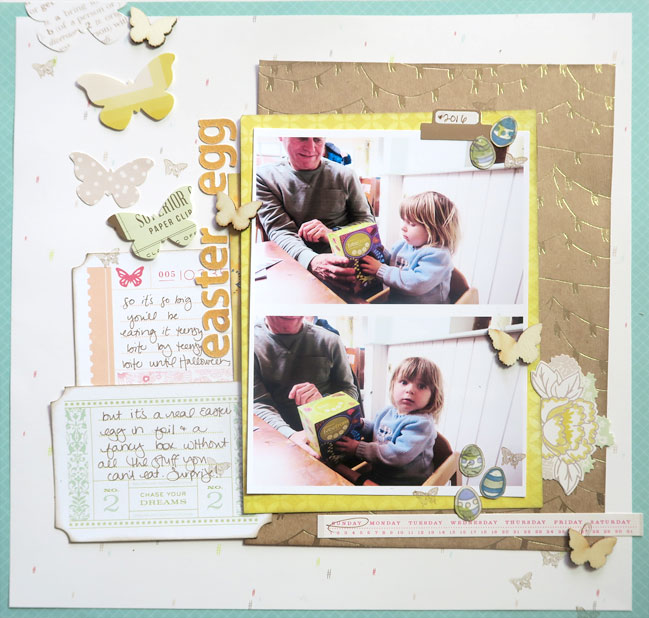
I went for a little scattering of Lawn Fawn Easter eggs for some simple embellishment down the side of the photos. Guest artist Jossie Segura has a super cute twist for this one…

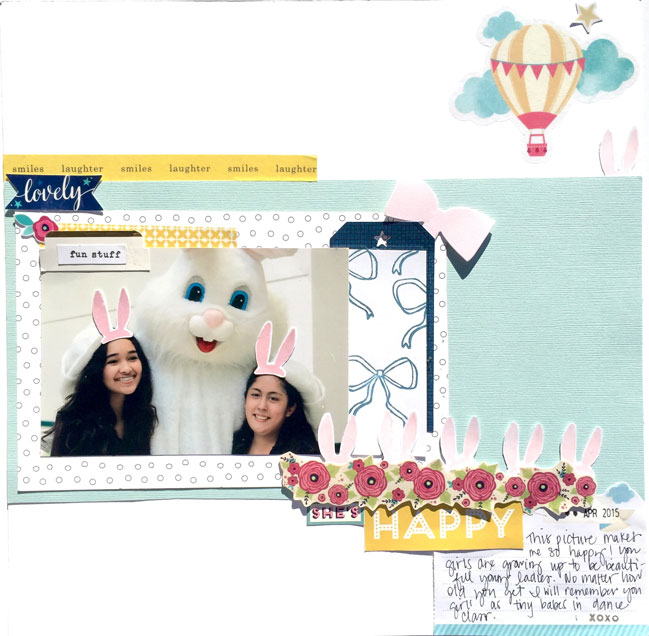
a simple stamping technique for scrapbook pages // scrapbook page by Jossie M. Segura

She stamped hats for the people in her photos!

a simple stamping technique for scrapbook pages // scrapbook page by Jossie M. Segura

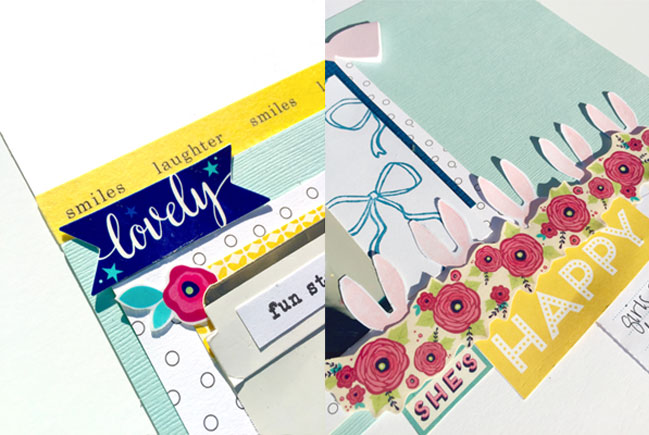
I really loved this picture and knew it had to be used on a layout. This photo is of my daughter and niece. They were inseparable when they were little but are now growing into their own. This photo for me captures them being silly and young at heart. I went a little crazy stamping the bunny ears then cut around them to make it appear as the bunnies were hiding behind that beautiful Starshine washi. I also loved using the Starshine clear stickers. I did my journaling on the adorable notepad that comes with the Starshine rotary phrase stamp.

Your turn! Stamp your favourite image and find a way to pop it on top of a photo. Share your page with us here!


Jossie M. Segura loves cupcakes, bows, and pretty paper. Find more from Jossie on Instagram, Pinterest, and her blog.

Scrapbooking with fabric and lace

Scrapbooking with fabric and lace // scrapbook page by shimelle laine

Happy (inter)National Scrapbooking Day! Time to get started with challenges and sharing new scrapbook pages! First off, we’re looking for texture. Instead of just paper and stickers, throw some fabric or lace into the mix and see how it works for you.

Scrapbooking with fabric and lace // scrapbook page by shimelle laine

Stitch it, pin it, staple it, or just glue it, but see how these textile textures work alongside your favourite papers and photos for a bit of contrast.

Scrapbooking with fabric and lace // scrapbook page by shimelle laine

Fabric pieces on layouts don’t need to be an overwhelming focus. The hot pink dot pattern to the bottom left and right side of this layout are small fabric remnants, and just the small detail of a few loose threads and a softer texture makes for a twist to the layering without creating a page that is sewing-machine-themed from start to finish.

For a second idea to get you started, guest artist Karla Der goes with lace!

Scrapbooking with fabric and lace // scrapbook page by karla der

Scrapbooking with fabric and lace // scrapbook page by karla der

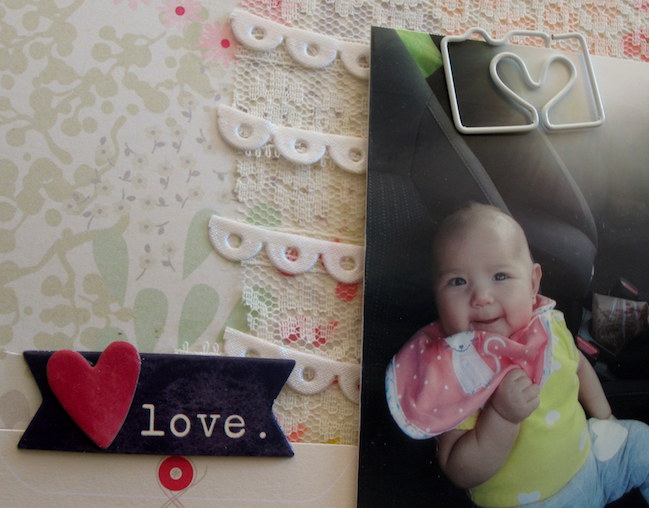
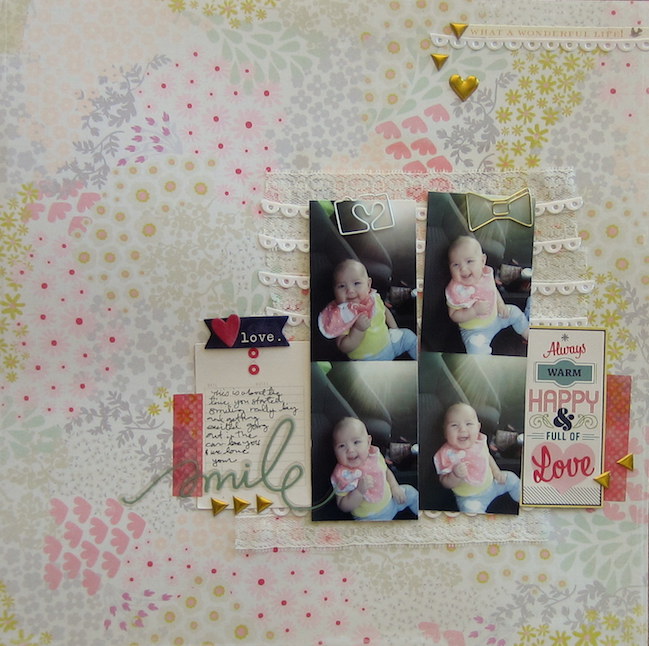
This is a photo of my little girl when she was just a few months old and beginning to give big smiles. I just love how the rays of sunshine worked so perfectly behind her.

Scrapbooking with fabric and lace // scrapbook page by karla der

I printed these photos on a 4×6 print and then cut it down the middle to make it look like a photo strip. I didn’t want a mat around the photo, but I wanted to separate it from the paper and give it a softer look. I used two types of lace trim and layered them behind the photo strips. The paper is from Crate Paper Notes and Things. The embellishments are a mix of Shimelle’s Starshine and True Stories, Evalicious and Maggie Holmes.
-Karla


Today’s Guest Artist: Karla Der loves coffee, her dogs and playing with paper. You can find more from Karla on Instagram, Pinterest, and her blog.

Direct the eye with arrows on a scrapbook page

Direct the eye with arrows // scrapbook page by Leigh Ann Odynski

Happy Friday! It’s nearly time for us to kick off a weekend of scrapbooking fun for NSD, but first one more look at arrows! Contributing designer Leigh Ann Odynski has a beautiful page to share, along with a brilliant technique for combining clean cutting with an etched shape in the cardstock, using the Silhouette cutter. Let’s get to all those points!

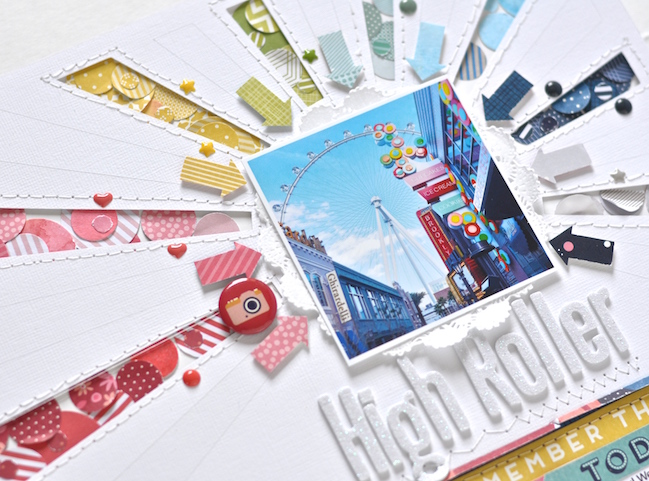
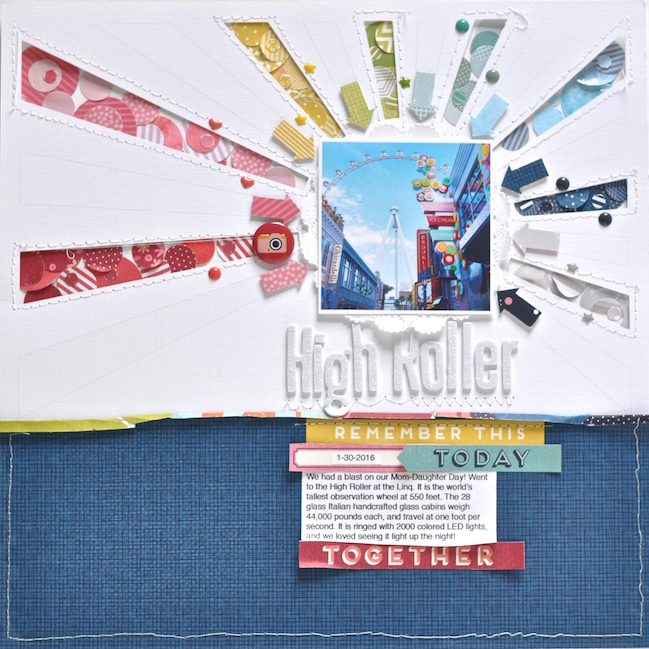
For the Arrow Challenge this week, I wanted to use a photo of our local landmark the High Roller. Looking at the photo, I knew I wanted to try circles as a design element to highlight all the circles in my photo. I found the sunburst background cut file at the Silhouette Design Store and thought the rays mimicked the cables on the wheel. So now, before I even started the page, I had a direction for the layout.

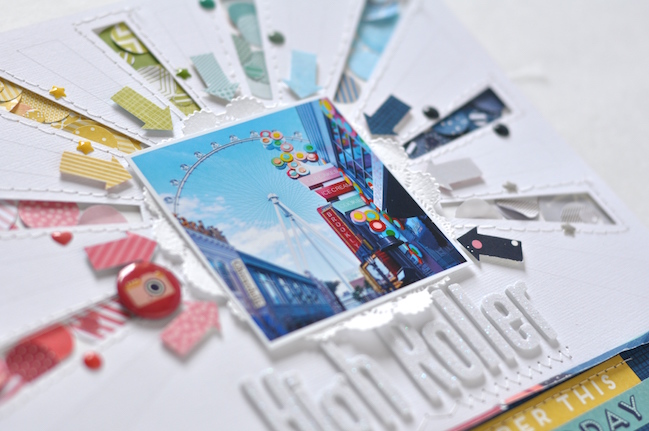
When I cut the pattern on my Silhouette, I forgot to change the depth, and it didn’t cut all the way through my paper. It was a happy accident though, because it led me to use an Exacto knife to cut out every other ray on the design. The other rays are subtly etched into the cardstock for a unique detail. This arrangement gave me fewer rays to fill with punched circles and worked out better as far as how many colors I wanted to showcase. You can use 5 different sized circle punches to punch out different Shimelle Starshine and True Stories papers. It was so fun to pick from the large variety of patterns you get in each color. Arrange them behind each ray and adhere. I used quick dry glue to adhere just a part of each circle and lifted up the edges for added dimension.

Direct the eye with arrows // scrapbook page by Leigh Ann Odynski

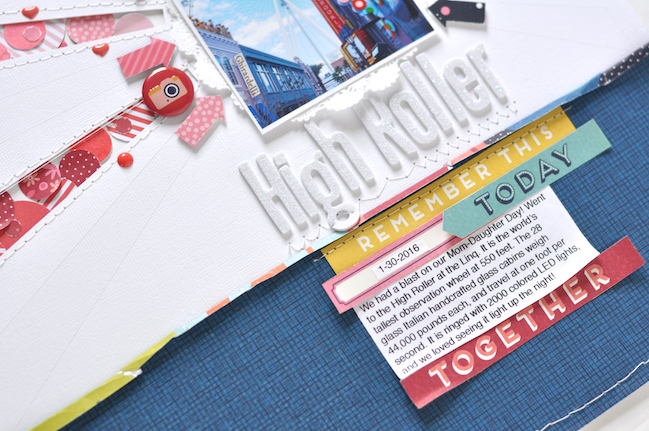
I stitched around each sun ray that was backed with circles, and around the edge of the Starshine Mariner paper. Fold down the top portion of the blue patterned paper and pick cut apart strips to add around your journaling block. The title in white glitter Thickers makes sure that the colors on the layout stand out and adds another texture and sparkle!

Did I forget about the arrows? No, I added arrows to point to the photo on the sun rays without the circles. You can add enamel shapes or any Starshine Embellishments you like in between rays.
I added mine on the edges of the stitching to give more texture and interest to the layout.

Direct the eye with arrows // scrapbook page by Leigh Ann Odynski

Add a doily or other circular paper behind your photo and pop it up on dimensional foam. Then stitch underneath the title, and you have a completed page.

Direct the eye with arrows // scrapbook page by Leigh Ann Odynski

I like to try to think of new ways to use my supplies, and I hope you enjoyed this variation on the sunburst design. What ways can you think of to use cut files other than they were intended?

Happy crafting and I would love to see your pages shared below when you try this challenge out for yourself!

Weekly Challenge :: Scrapbook with Arrows

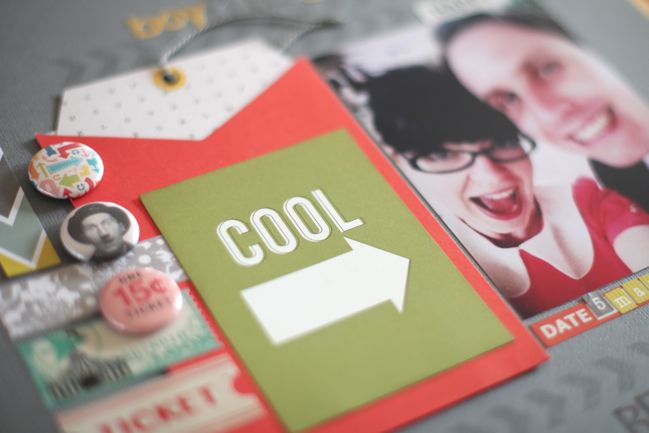
weekly challenge: scrapbook with arrows // older scrapbook page by shimelle laine

The above posted with much irony. I am not feeling very hip or fancy or cool lately! But it doesn’t mean I’m not still having fun. Today I packed a lunch with everything except the broccoli cut into the shape of train cars. That is totally the definition of cool, right? I should scrapbook train shaped sandwiches. That would take it to a whole new level of cool.

But what I’m really meant to draw your attention to is not the ‘cool’ of it all but that big arrow! I challenge you this week to scrapbook with arrows. Arrows with stamps, die cuts, patterned paper, stickers, chipboard, or paperclips, perhaps! Everything else is completely up to you, so you can take your inspiration in any direction you like!

weekly challenge: scrapbook with arrows // older scrapbook page by shimelle laine

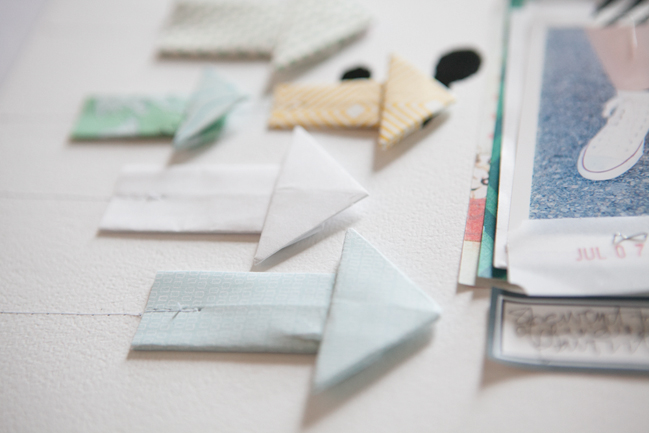
A few years ago, Marcy Penner shared this tutorial for creating arrows from patterned paper scraps, and there’s also this sketch and video in the archives, if that helps you get to the point with your page design. But for brand new inspiration for this week’s challenge, take a look at these examples from contributing designer Heather Leopard and guest artist Mandi Holmes.

weekly challenge: scrapbook using arrows // scrapbook page by Heather Leopard

weekly challenge: scrapbook using arrows // scrapbook page by Heather Leopard

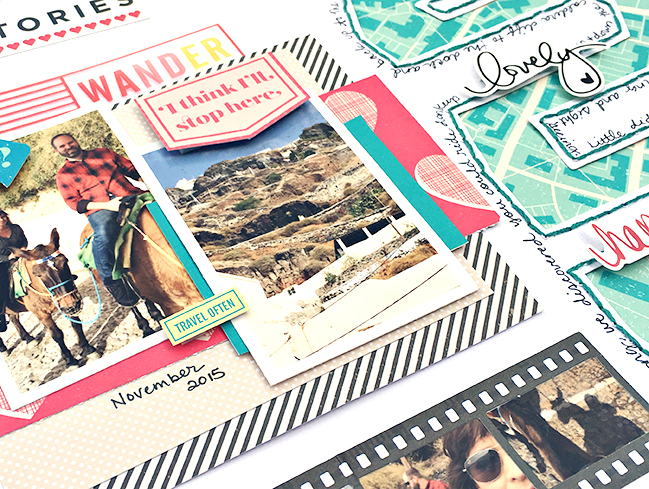
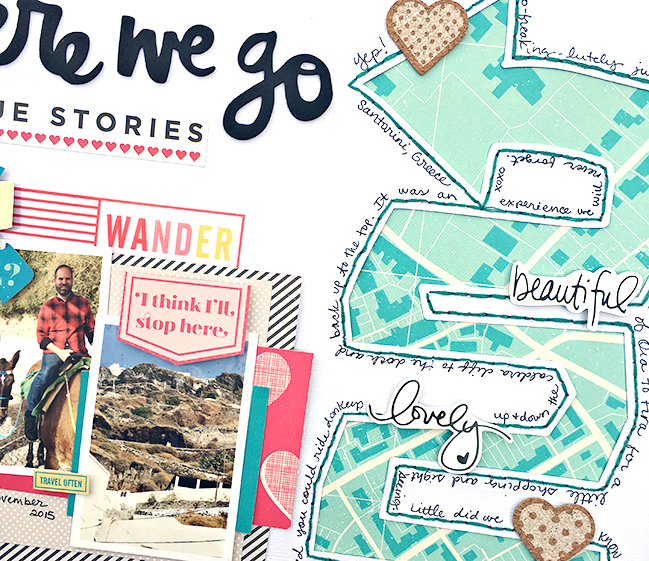
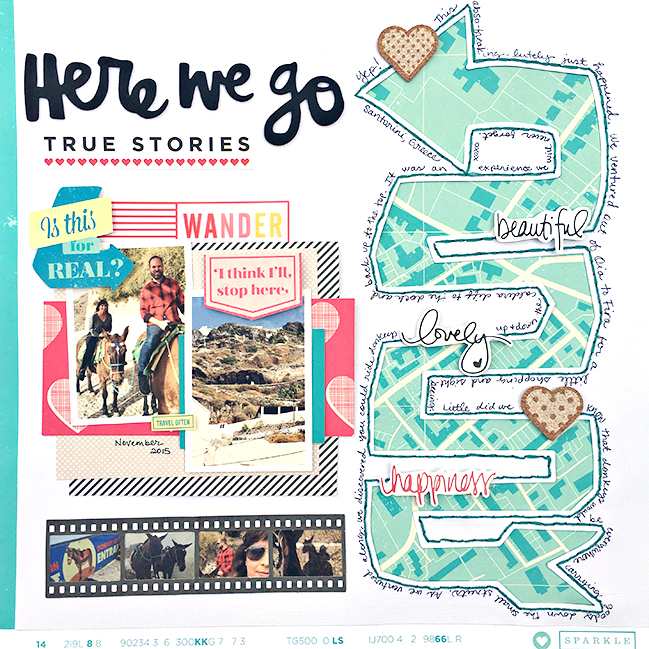
Bryan and I recently went to Santorini, Greece as part of our anniversary trip. One of the most memorable things we did was ride donkeys down the Caldera cliff to the dock and back up again. The cable cars were not operating out so we figured we’d be adventurous. Because it is a very treacherous cliff, it meanders back and forth across the mountain. I thought it would be fun to tell that story not just with the pictures and words but also through the design of my arrow.

weekly challenge: scrapbook using arrows // scrapbook page by Heather Leopard

I designed it so that it leads you back and forth up to the top. I wanted the arrow to lead to the photo and then I included another “Is this for real?” arrow to lead to the photos, then another arrow pointing to the top of the cliff. I rounded it out by including a small film strip of other memorable photos from the ride.
- Heather

weekly challenge: scrapbook using arrows // scrapbook page by Mandi Holmes

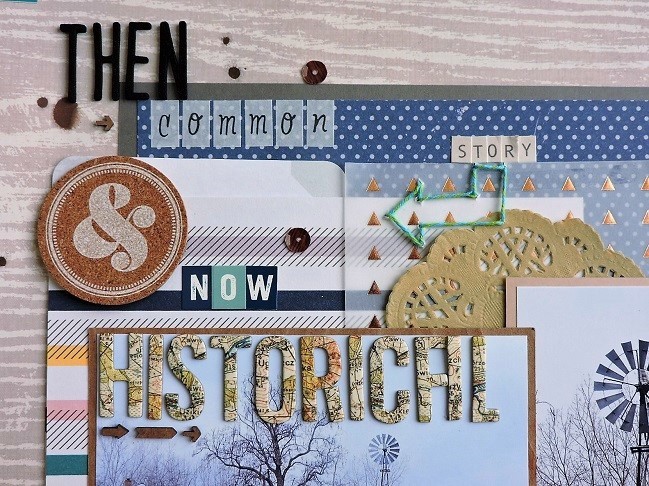
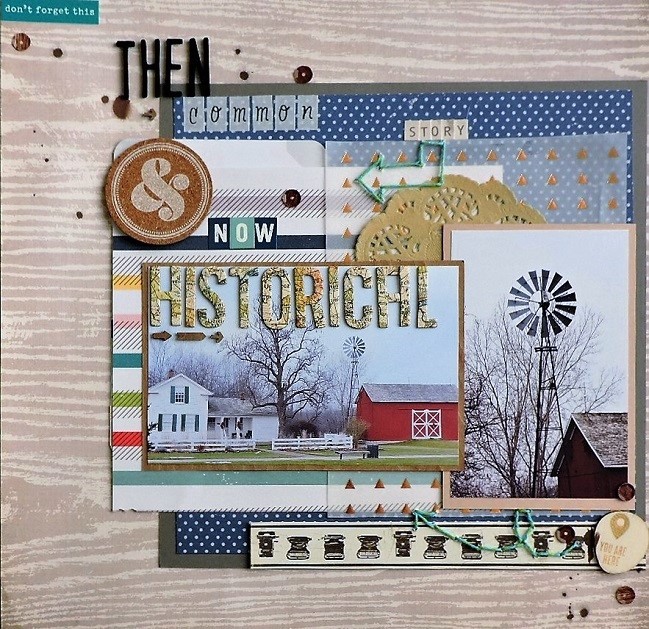
I created this page because I have a love with old buildings and items that were once popular. I love capturing these moments in a scrapbook page because it helps keep their history alive.

weekly challenge: scrapbook using arrows // scrapbook page by Mandi Holmes

For the journaling on this page I wanted to have it hidden since there were a lot of facts about the windmill. That gave me a good place to start with the arrows, and I stitched one to point toward the hidden journaling and make it a bit more obvious so it can be read. Then a second stitched arrow points to another important element on the page – the photographs!
- Mandi


You have a week to complete the challenge and share a link – but of course you’re welcome to set your own time schedule. Whatever keeps you happy and creative!

Today’s Guest Artist: Mandi Holmes loves cooking, doilies, and coffee. You can find more from Mandi on Instagram, Facebook, and her blog.

The Scrapbook Process starts Monday!

A brand new online class starts Monday – The Scrapbook Process! It’s never too late to join in, but this weekend would be a great time to sign up if you want the full live class experience, of course.

You can find the full written details about the class here, and the video above gives that information in a bit more conversational style!

To sign up in US Dollars:
Email Address for Class:

To sign up in UK Pounds:


Email Address for Class:


In other announcement type news: we’re just one week away from National Scrapbooking Day! Next weekend, there will be a full schedule of challenges here to keep you inspired! Challenges will remain open for the full week and following weekend, so you’ll have about ten days to participate if you like! Hope to see you then too.