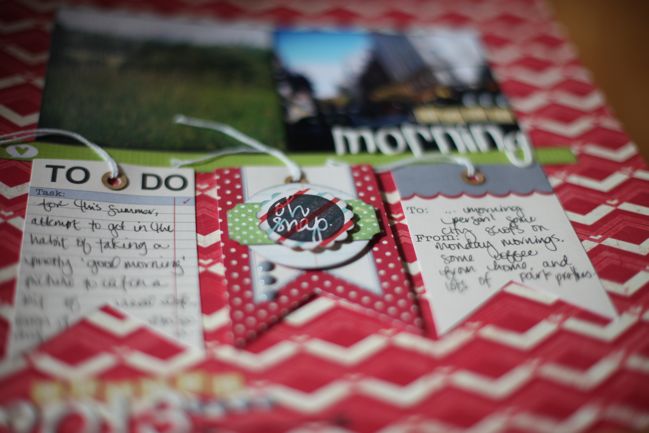
Scrapbooking with a stack of punched pieces

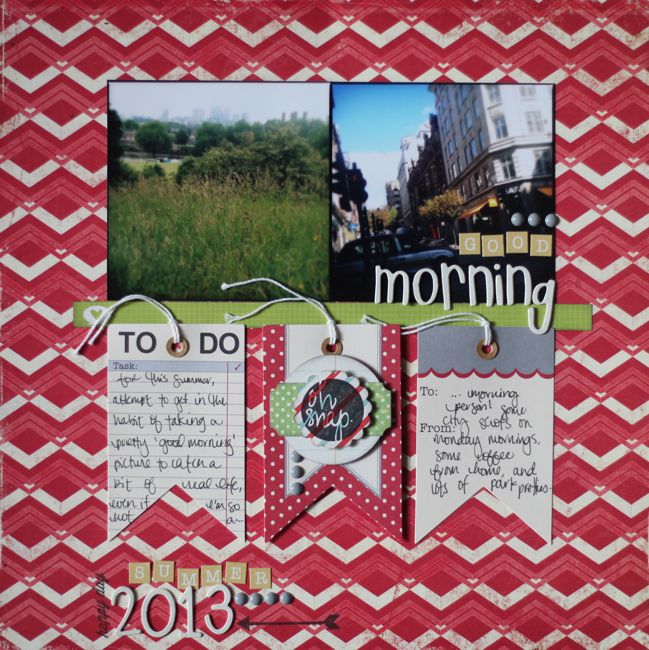
Returning to the July kit, I said my masterplan was to make embellishments with punches, so it’s time to start doing that! Starting with two photos and three die-cut tags, a horizontal strip across the middle creates a shelf that holds up the photos (like books on a shelf) and lets the tags hang below, a bit like a very orderly length of bunting. Printed branding strips on papers and the narrow strips that come from cutting a paper down to 11.75” square both work really well for the shelf, so I tend to leave quite a few by my trimmer and there almost always ends up being something there that will work. Of course, sometimes I just wind up with a giant pile of narrow paper strips on the floor, if I’m not careful, but I suppose that risk just comes with the territory.

There’s one thing here that can really help you spot your style: see the bit with the date at the bottom left corner? Look at the page as it is, and imagine that little space empty so it’s just the red patterned paper. Which looks better to your mind? Some will find the date and just that little bit of embellishment balances the title on the right photo; others will find this is too much or the date feels like it’s floating since everything else is so grounded to that central green strip. All three answers are perfectly valid in terms of general design concepts, where there are often multiple ways to interpret the same guidelines – and those interpretations are what we see as personal styles! Being able to look at a design and identify in your mind if you would make a change is a huge step toward developing your own ideal style.
But let’s start with something simpler than that for this challenge. I challenge you to take a few punches (or dies, if you prefer) and use them to create a stacked embellishment like the one in the centre of this page. Take a few different shapes and layer them from largest to smallest. It helps to have one element that isn’t a circle if all the other layers are circular in shape, so I used a label, but I’ve also brought in butterflies, snowflakes, and leaves for the same effect on other pages. Stack up whatever punched pieces you like, and when you’re finished with your project, upload it to your blog or a scrapbook page gallery and share a link with us!
![]() Read more about: best-of-both-worlds-kit
Read more about: best-of-both-worlds-kit
Next post: Sketch to Scrapbook Page :: A gathering in 3x4
Previous post: Scrapbooking on the vertical


