Glitter Girl on creating depth with embellishments (scrapbooking video)

 series content ©twopeasinabucket.com.
This week Glitter Girl can be found under a giant pile of layered embellishments, with pop dots stuck to her fingers, face and hair! She answered this question about adding depth to the embellishment on scrapbook pages and then used it as an excuse to add more than a little embellishment to a new layout – the title page of an album filled with pictures from the Harry Potter film studio tour.
All the supplies for this project can be found here – just scroll down to the bottom of the page to find the shopping section. That includes both heights of pop dots as mentioned in the video. I regularly use two brands so I can have two different levels of things that are raised up off the page. A pack lasts quite a long while, and they aren’t very expensive to start, so if you’re looking to add dimension to flat embellishments like stickers and die-cuts, then they will definitely be your new best friend.
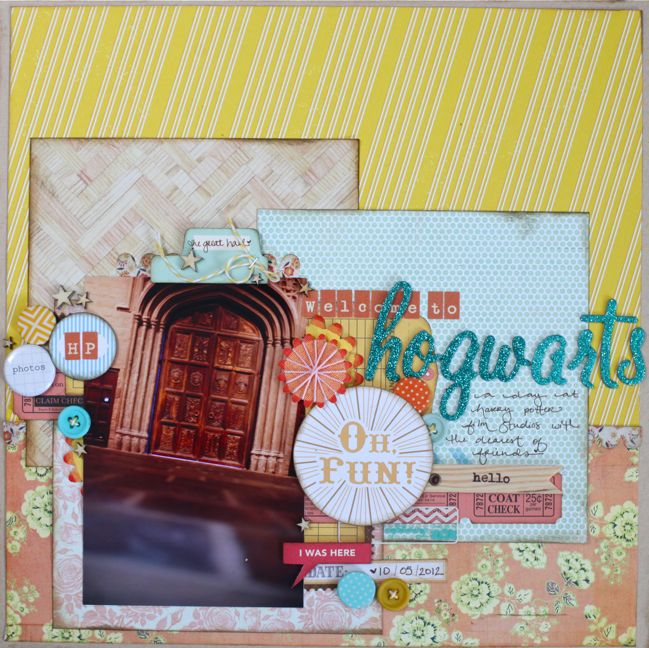
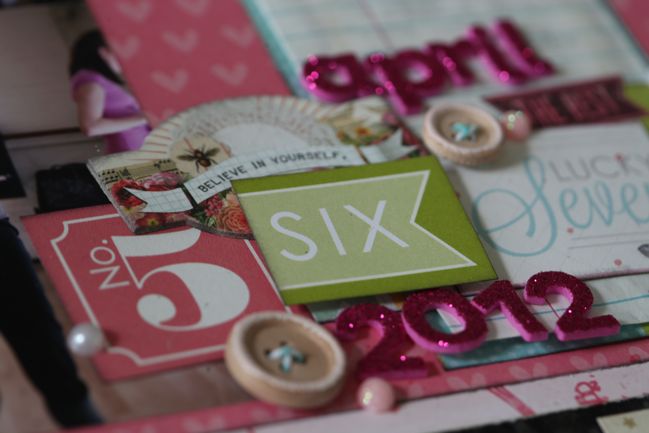
Aside from that, there are plenty of things you’re likely to already have on hand that are great for adding depth. Buttons, brads, chipboard, fabric, thread and badges are all things that add depth instantly. Three-dimensional layered stickers and bold letter stickers like Thickers add depth easily since all you have to do is peel and stick. But don’t ignore the background! If you really want to great depth, you need to build something flat first, so look at stamp designs you can use for many themes and don’t be afraid to cover up much of the stamped design or a paper element. By adding that extra detail to the flat background, your raised elements will create even more depth.
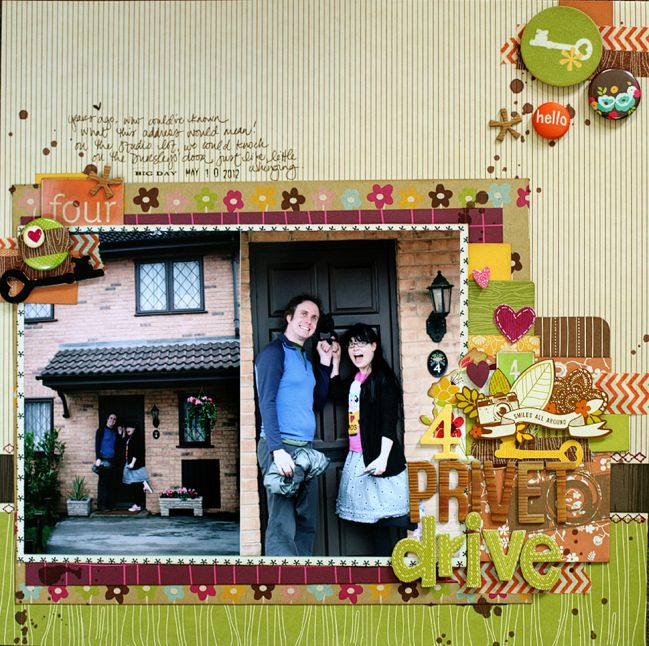
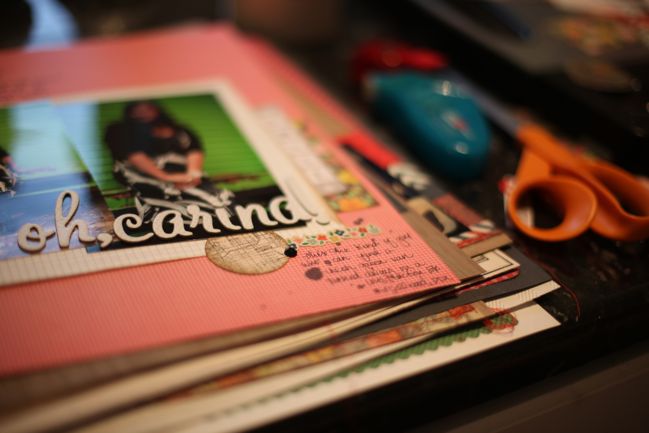
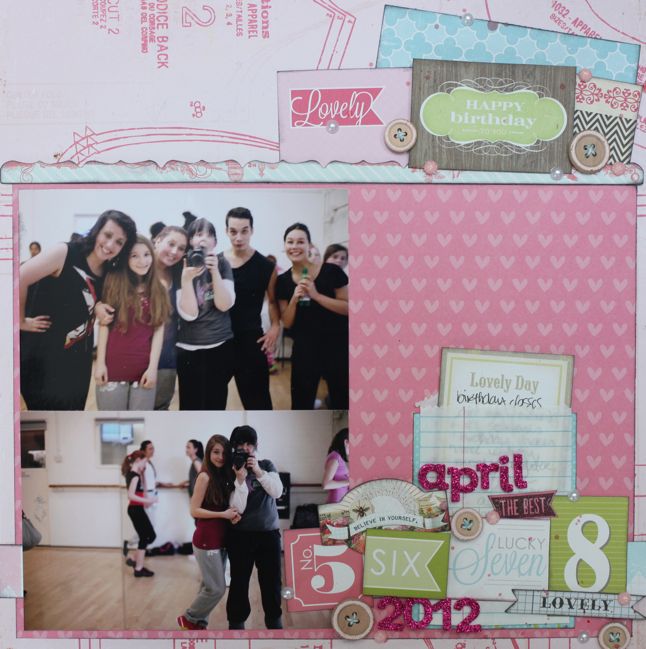
This isn’t a Glitter Girl layout, but I thought this was as good a time to share it as any! My Harry Potter album has just three layouts at the moment – the ‘Welcome to Hogwarts’ title page, the ’5 girls 1 enchanted car’ page here and this one with us knocking on the Dursleys’ door on Privet Drive. The layering on this one is different but follows the same principles – build up the flat layers first (in this case it’s with ink splatters and washi tape), then build up with various dimensional items (papers on pop-dots, dimensional stickers, Thickers letters, badges and brads) and don’t be afraid to make sure everything is overlapping and close together. I think that is probably the thing that tends to go wrong with layering from time to time – for fear of covering up the things we like, the embellishments get spread too far apart and then they don’t read as one united element but rather lots of different things. If your layers aren’t making you as happy as you would like, try pushing them closer together and see if that’s the solution. (Supplies for this page are all by American Crafts – find them here.)
This week, Glitter Girl challenges you to build depth in the embellishment of your project, then share the results in the gallery! You can also leave a link in the comments here if you like.
Onward, covered in glitter, my dear scrapbookers!
The Adventures of Glitter Girl is a weekly series on Two Peas in a Bucket, and goes live every Wednesday. I’ll share each adventure here shortly after that. I hope you enjoy her quests for crafting happiness, and if you ever have a scrapbooking dilemma yourself, you can always call her to action on the message board.
![]() Comment [18]
Comment [18]


