Starting to get crafty :: Making the cover

Thank you so much for all your sweet comments yesterday — both your reassurance about my video worries and your amazing answers to the big question of why you scrapbook had me elated and so excited for what’s to come in this project. Today is just one tiny part of the adventure!
So after all that thinking yesterday, today I’m getting started with putting this onto paper, and I’m starting with the cover. You can follow along if you want, but you’ll probably want to take some ideas and twist them to your own style. Don’t get too ahead of yourself before you find out all the contest details tomorrow night — because you have until the end of the month to figure out how to make your project just perfectly you. Plus I’ll let you in on a little secret: I always like everyone else’s projects better than mine! So I have to go first or I’ll never stop changing things around once I see all the fabulous things you lovelies will start posting… so today, this is my cover.
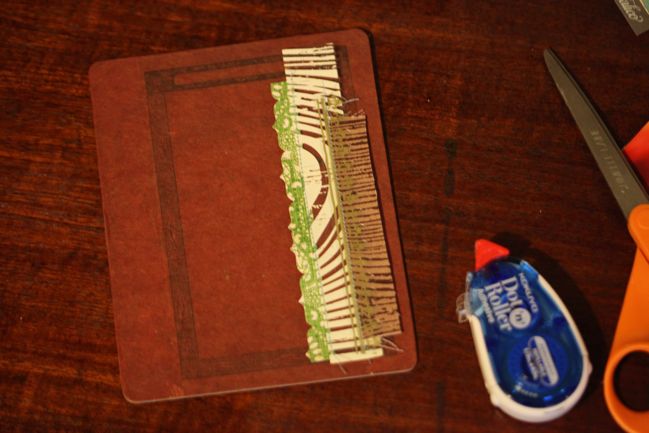
I’m using 7gypsies Vintage Book Covers and I love them — they are totally the kind of item I gloss over when I’m shopping, but when I saw Sande’s minibook, I knew they were going to be fabulous! (Also, they are one of the most affordable ways to make a mini with a thick, solid cover, which is always a plus.) It doesn’t come with holes, so you can punch your own with a Bind-It-All, Cropadile or Binderie punch.
The embellishment starts with four strips: part of a Hambly woodgrain transparency, some BasicGrey patterned paper with one edge punched to add a bit of variety, a scrap of fabric and part of a border sticker. These are all glued together first, then stitched together on the sewing machine. Stitching is definitely worthwhile for cover embellishments, as it makes all those little layers more secure.
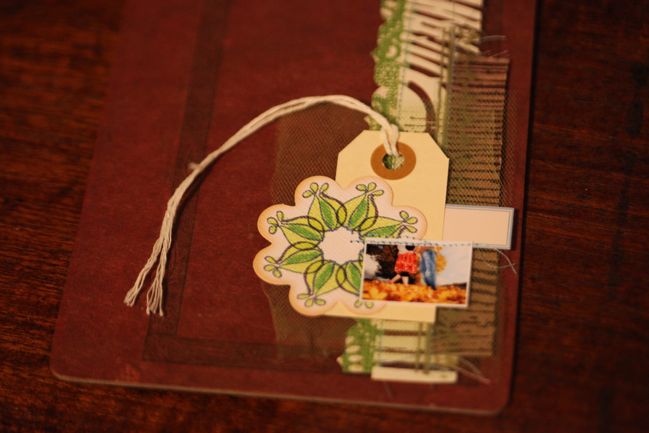
Then a small cluster stitched togther to layer over the strips. There’s a tag, a label sticker, a flower die cut plus a tiny photo, printed as part of a contact sheet. All of that was glued together, then I used double-sided tape to attach two squares of tulle behind the tag, then stitched all that together on the sewing machine. All of that gets stuck to the cover with the strongest double-sided tape to make sure it doesn’t move.
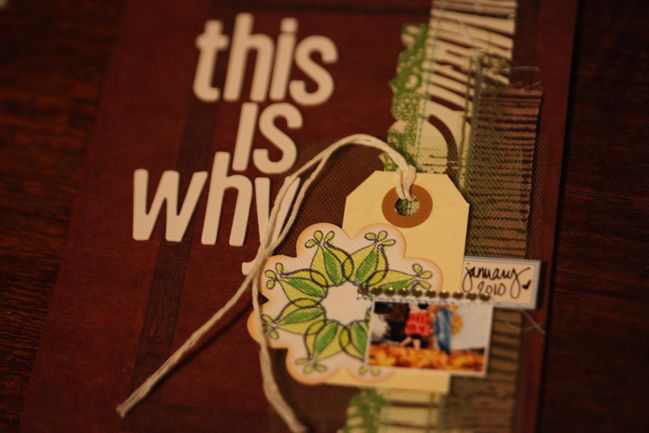
Some Thickers letters for the title and a bit of bling just to safe!
That’s my cover finished, but I also want something to go around the book and hold it closed, and I want to make that to match up with the embellishment on the cover, so they work togther… or at least not against one another!
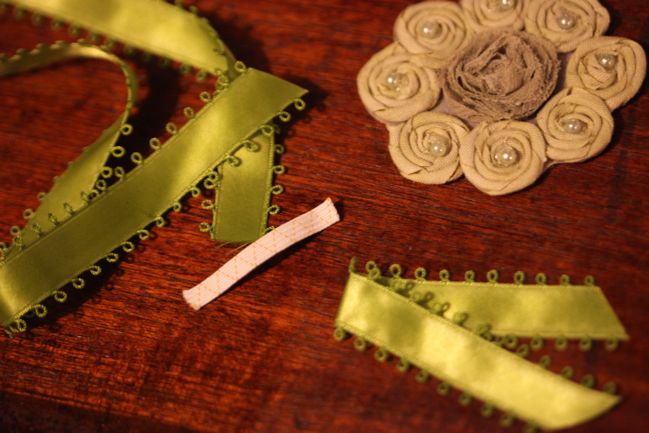
Here’s everything that goes into that: a length of ribbon that will be long enough to go around the entire book (with all the pages), a pretty fabric flower, a piece of elastic that won’t be wider than the flower when it’s stretched and a separate piece of ribbon to fold in half at a aesthetically pleasing angle! (You can use fraycheck on your ribbon ends or hem them if you like, but I actually like the way it looks when it gets a bit ruffled so I just leave it as a raw edge.)
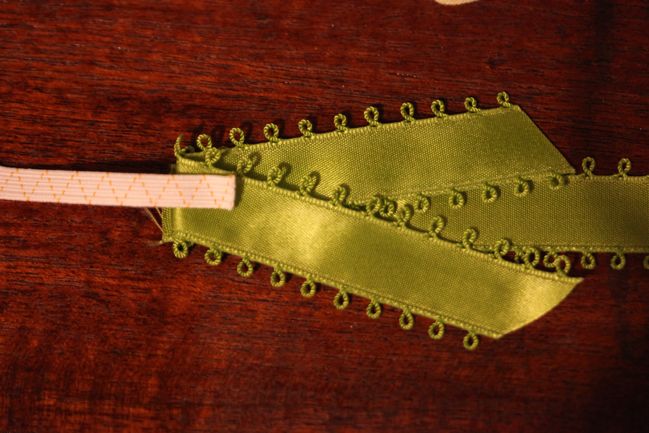
Make a stack like the picture: long ribbon on the bottom, folded ribbon in the middle and elastic on the top — with the elastic heading in the other direction. Sew through all three layers so it’s definitely going to stay in place. Elastic loves to jump under the presser foot, so you may want to pin this or hand sew it if you prefer. It’s not going to show so it’s okay if it’s messy! Better to be strong and messy than weak but pretty in this case.
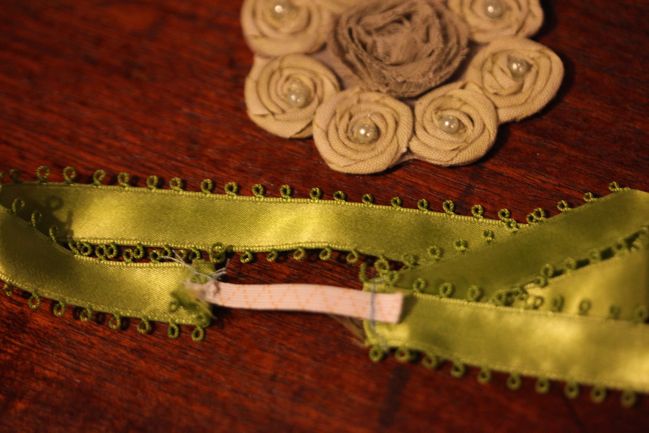
Loop the long ribbon around and sew it to the other end of the elastic. Here you can see — definitely not the tidiest of stitches, but I’ve stretched and stretched it and it’s not going to come loose!
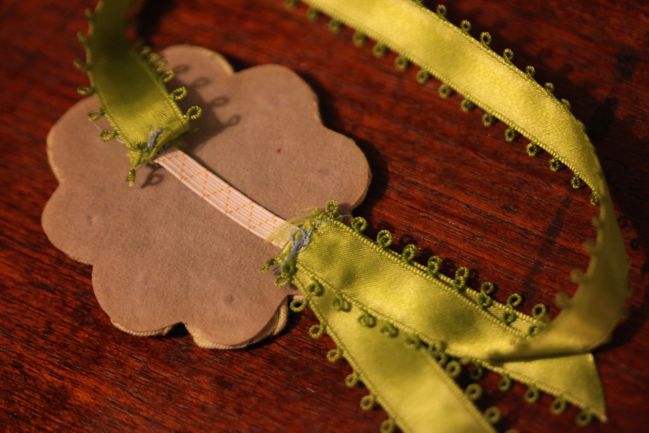
Now attach the ribbon to the flower in just one place, so the elastic will still be able to stretch. You can attach the flower with velcro or hot glue or by carefully handsewing through the backing felt — whatever works seems easiest.
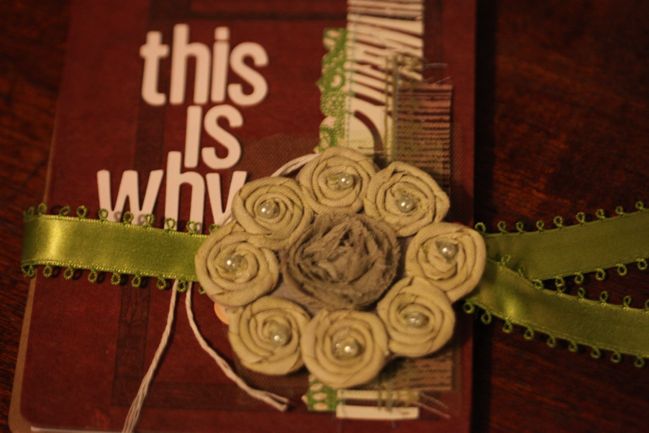
And here’s the bit that I love — the flower covers up all the details on the cover, so it’s a bit like having two covers in one, with layers that have to be moved to see everything that’s there… and that’s a theme that will run throughout my little book!
Tomorrow night, stop by to see the pages and the exciting part: all the details for joining in and getting a chance to win.
![]() Read more about:
Read more about:
Next post: This is why I scrapbook :: Official Entry Post
Previous post:


