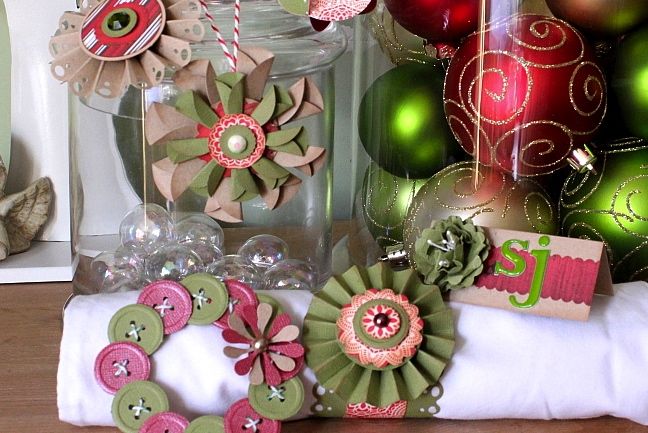
5 ideas for punched decorations
I’ve asked some lovely crafters to share some projects with you now and then over the next few months. I know you will love all their ideas – each one has inspired me as they were created. Today I’m happy to share a super guest post by SJ Dowsett, who will show you how to make your home a crafty Christmas wonderland with paper supplies you already have on hand. I know you’ll give her a warm welcome! Enjoy.
Punches are back in fashion big time, and with the vast array of beautiful shapes around, there is not excuse not to invest in some to make pretty decorations for both scrapbooking and your home. After all – they are a craft stash investment – or so I keep telling my husband!
This time of year most of us are planning our holiday decorations, trawling the stores for something new and pretty to show off how much we love the festive season, but why not trawl your own craft drawers? Pull out some punches, and get creative. An inexpensive way to decorate combined with your hobby. Win!
For me, punches are ideal – they cut out a perfect shape every time and whilst I do love hand cutting every now and then, there is nothing quite like the perfection when it comes to a punched butterfly or leaves or perfectly round circles!
So today, join me in making some decorations. First up, gather all your punches (or your friend’s punches) and a selection of paper that you think would work well when punched. You may like smaller prints or solid colours.
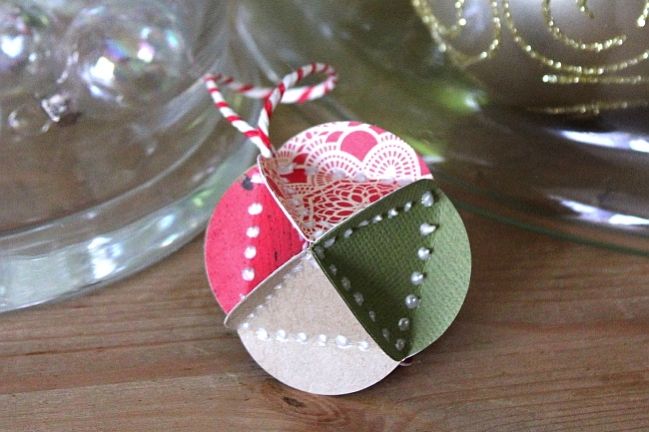
This bauble can hang from the tree or a garland and it’s made with just a circle punch. The steps are easy. Start by punching eight circles, all the same size.
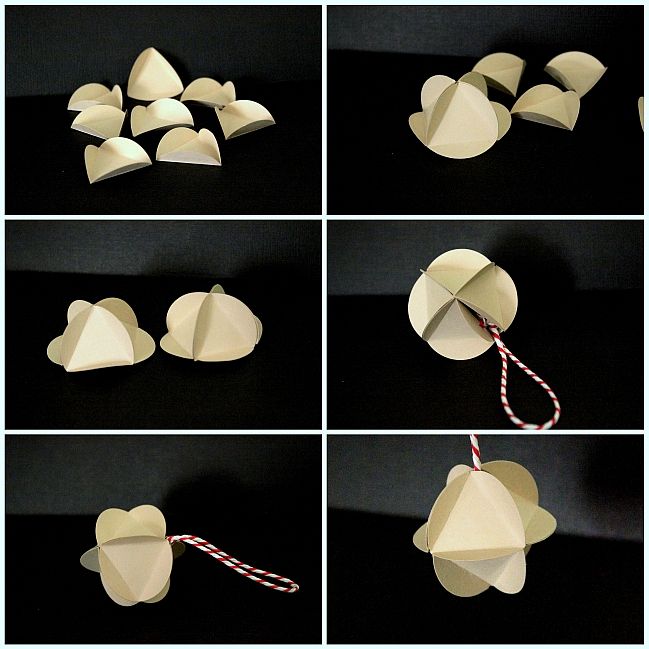
1: Fold each of the eight circles three times, creating a triangle space in the centre.
2: Take four circles, and glue together.
3: Repeat this stage for the bottom half.
4: Add in some pretty hanging twine, tucked inside between the two halves.
5: Glue the two halves together.
6: Add dimension paints or bling to decorate if desired.
If you buy coordinated paper sets, like a collection pack or a 6×6 paper stack, these look great with a mix of patterns all in the same collection.
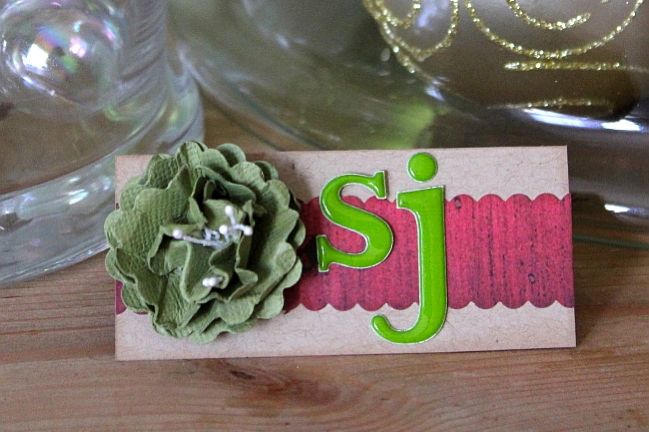
This place card couldn’t be easier. You will need a brad (small metal one would be best). if you have no brads, a needle and thread would work just as well to secure the centre.
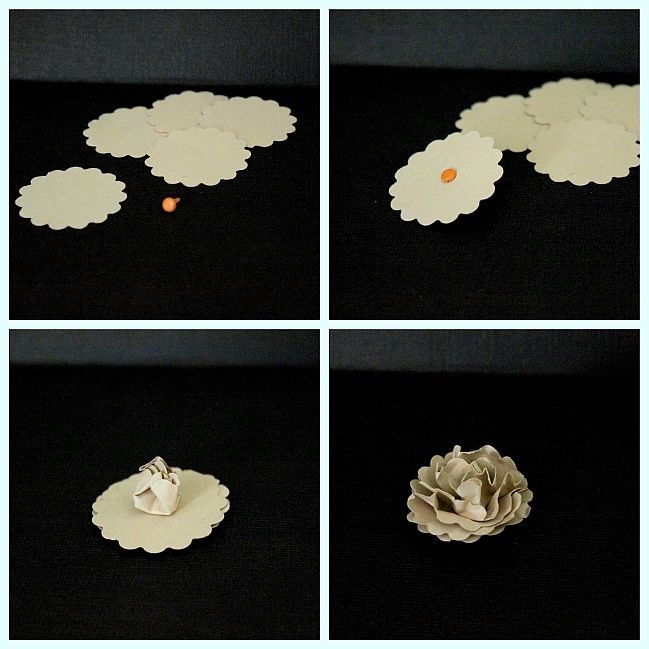
1: I used a cute scallop circle punch, and punched out five circles. You could use other shapes for a different look.
2: Take your brad or needle, and poke a hold through each later
3: Gather the layers – and connect with the brad or cotton.
4: Crumple the top flower up round the brad
5: Repeat this step for each layer till the flower has all its layers gathered.
6: I added some flower centres in – but you could add glitter or even leave it plain.
You can attach it to a place name card with a glue dot, then just add the names and quickly make your table go from ordinary to something extra special.
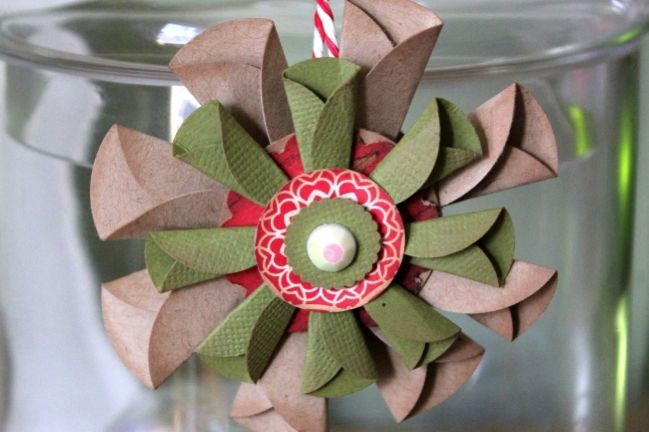
This folded flower is another ornament made with just plain circle punches. Circles are so versatile when you start layering and folding!
You will need eight medium punched circles and eight smaller punched circles (to create into cones), plus two medium circles and one medium circle put aside to act as a base and a top.
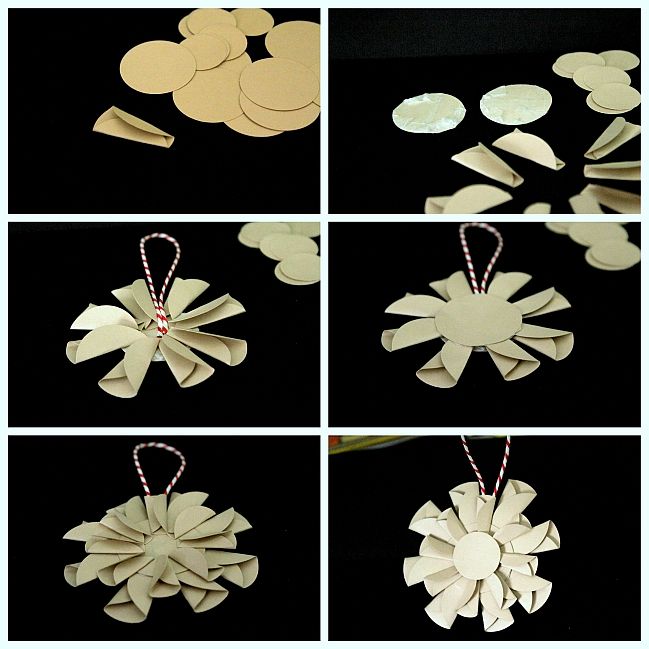
1: Fold eight medium circles, and eight smaller circles into cone shapes:
2: Cover the two plain left over circles in double sided tape.
3: Stick down the eight larger cones – and add some wet glue for extra strength. (add some hanging string at this stage too)
4: Adhere the second plain circle on top.
5: Take the smaller cones – add some tape or glue to their back and glue down. – use the last circle shape you have punched to glue on top to seal.
6: Decorate with mini punches, hand cut shapes or bling.
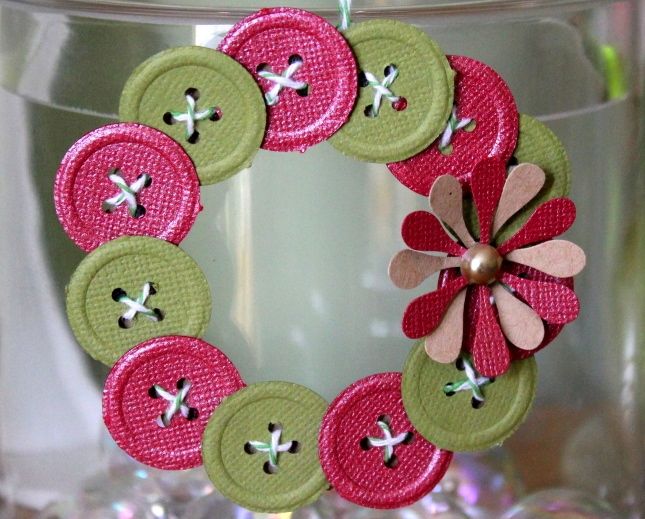
This button wreath is perfect for the tree or for making gift tags for a crafty friend. I used the Martha Stewart button punch for this, plus a flower.
1: Punch out 12 buttons.
2: To create a back plate, I punched a large circle, and using scissors, cut out the middle to form a ring of card.
3: Using a foam dot, stick each button down to the paper ring (make sure you don’t cover the button holes) – as you stick them down, over lap the buttons.
4: Sew the buttons to the ring of card using twin, like bakers twine.
5: Add some detail, with perhaps holly or like I have done, a double punched flower.
6: Add some bling for detail.
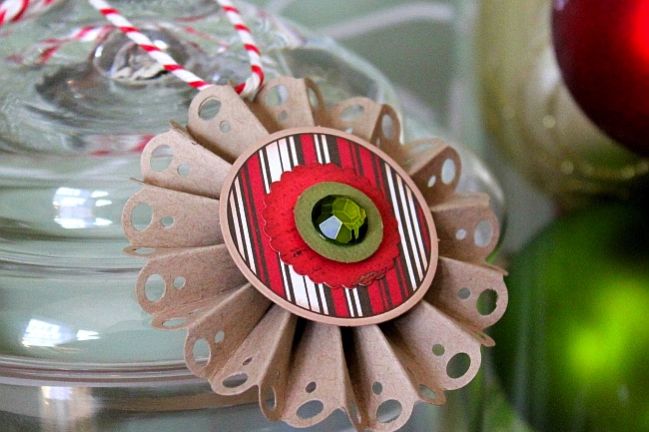
This paper rosette is made with border punches and a circle punch.
To see a great way to make these, check out Shimelle’s recent video where she shows you in great detail how to create the perfect concertina.
(Let me tell you right now that SJ taught me how to make a rosette like that – I had always made them a messier way with squares instead of a long strip. I like SJ’s method! – Shim)
1: Using your favourite border punch, punch down the edge of a piece of 12×12 and then trim to form a 2” strip.
2: Concertina fold this strip of paper – neatly and with fairly thin folds for the length of the strip.
3: Take two punched circles, and cover in double sided tape – set to one side, you will need these handy!
4: Attach tape to one end of the concertina strip, and then adhere the two ends together.
5: Gather the concertina ring of card at one end with your finger tips, and with the aid of a flat surface, push down to “flatten” the concertina to form a rosette.
6: Grab your pre taped circles and stick one on top, and one on the bottom to secure.
Tip: Before I stick the top one down – I always add a good blob of wet glue for that added strength.
Now decorate the top with various nesting punches or bling – go wild!
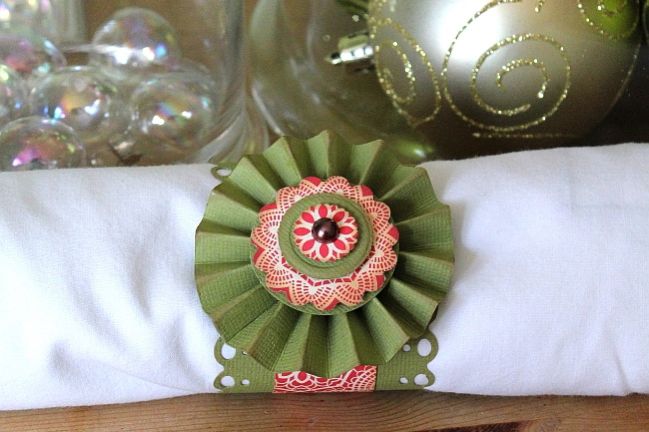
If you wanted to add this to a napkin ring instead, just attach it to a wide strip of card that you have border punched either side of, and roll round your napkins (trim to desired length once you know how thick your napkin will be.
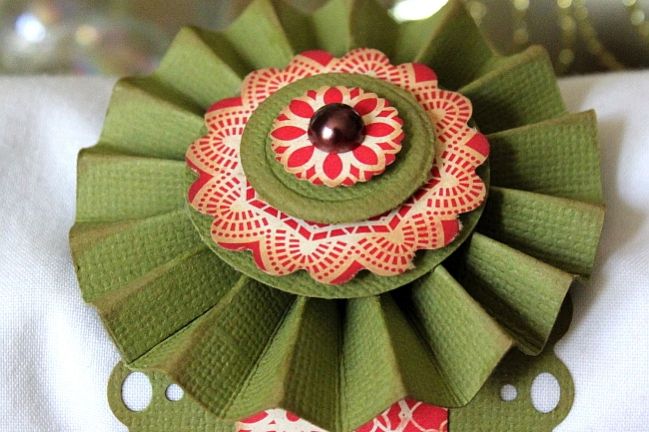
I hope you have enjoyed this post – I loved making them, and love even more how they look around my home at the moment. I’d love to see what you make to decorate your home with your scrapping supplies!
Thanks so much for sharing your beautiful projects, SJ!
| SJ Dowsett is the illustrator behind Little Musings digital images, clear stamps and custom portraits. She lives in Bexhill on the Sussex seaside with her darling husband and son. Never to be found without a pencil, camera or scrapping stuff in hand, she spends her days with her little boy and a brain full of nonsense, which I puts down on paper whenever she can. |
 |
![]() Read more about:
Read more about:
Next post: scrapbooking inspiration :: orla kiely pattern
Previous post: Christmas Tag Garland


