A Pocket Page to Coordinate

For as much as love single pages with single photos and more room to write, more room for pattern, more room to embellish without it feeling too crowded, I also have a big stack of photos I want to scrapbook. In fact, ‘big stack’ is laughable, because there is no way anyone could just put my 4×6 photos in one big stack. I keep them across four drawers and tend to deal with a little bit of overspill all the time. (Right now it’s those wedding photos from last May that have a special box all their own rather than fit into the drawer just yet.) Suffice to say, when I hear ‘but I have too many photos to just put one on a page’, I hear you.
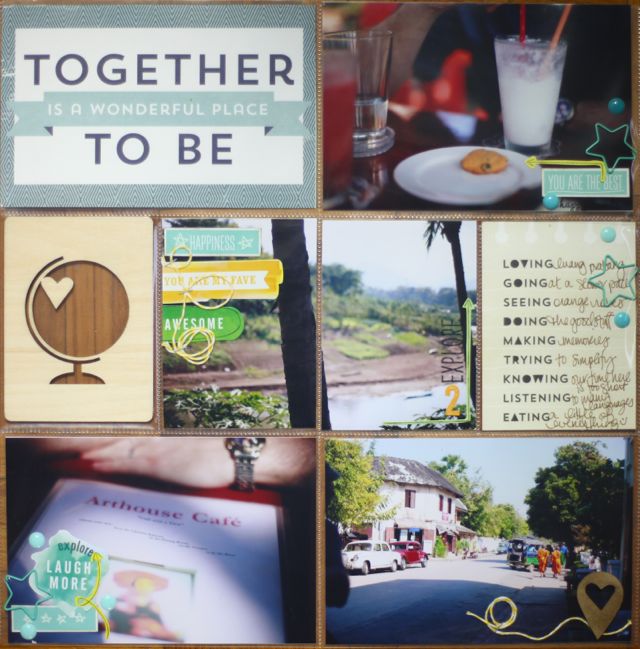
I think the difference is just that one photo on a page doesn’t bother me, and then I include other pages that make up for it with plenty of photos. To go opposite that last page I shared, I made a pocket page with four 4×6 photos, while still having room for a 4×6 title card, a 3×4 journaling card, and a 3×4 wood veneer card just for fun. I also challenged myself to just turn on the camera and film while I scrapped rather than my normal process of scrapping upside down and explaining as I go, so today I have a short video to share with you to show how this pocket page came together.
This page uses supplies remaining in my August Best of Both Worlds kit, plus a divided page protector. (For those keeping tabs, I have one more 12×12 page from that kit to share with you, then I’m moving on to the next set of supplies.)

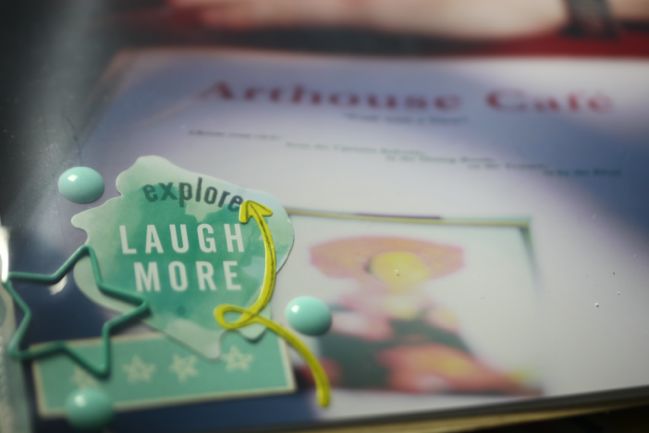
This finished page sits to the left in my album where the ‘midday milkshakes’ layout sits on the right. All the photos here are taken from where I would sit there on our little middle of the day break, with a view of the river, the menu, and the street. Since the story of all this is explained on the facing page, the pocketed page protector is there just as a very easy way to include more photographs that bring back the memory of this place, but it’s the one I put on its own that brought the story to mind, so I singled that one out and grouped all the rest here.
For now, the back of that page protector won’t have anything showing. As I work on photos in that section of the album (my albums go in chronological order, even within a special event album like this) I will decide to either fill the reverse with photos and journaling cards as well, or to cut a 12×12 patterned paper to the right sized boxes to fill the spaces. Because the wood veneer card looks best without anything behind it, I think I will opt for the first option, and I’ll figure out at some point what photos are best there. But it doesn’t bother me at all to see the backs of the photos and the papers right now when I flip through the album – won’t be the first or last time that happens, so I just embrace it.
Thanks so much for stopping by today. For those who haven’t seen it yet, Two Peas announced their education and inspiration programme for 2014 earlier this week. Glitter Girl videos are still on Wednesday. They are changing just a little bit and I’ll share more about that once this week’s is live. You can see the whole schedule here, and it’s a schedule I’m very excited to have in front of me. We’ve been working on a lot of projects behind the scenes for Two Peas’ fifteenth year, and there is much inspiration coming your way. I hope you enjoy!
![]() Read more about: best-of-both-worlds-kit scrapbooking-videos
Read more about: best-of-both-worlds-kit scrapbooking-videos
Next post: The Tissue Paper Effect:: A Scrapbooking Tutorial by Jina Jean
Previous post: Sketch to Scrapbook Page :: Working with two smaller photos


