Crafting with Alice:: Envelope Cushion Tutorial
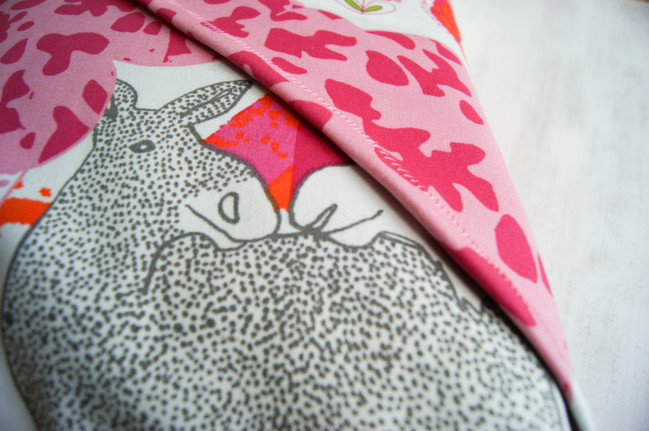
It’s Saturday again which mean its time for another project from me! This week I’ve gone for a more technical tutorial, which means my beloved sewing machine gets some use! I got my first and only sewing machine when I was sixteen and told no one about it as it wasn’t the ‘hip’ thing to have. However, now I can definitely say I am proud to own a sewing machine and I hope you all feel the same about yours! So, let’s put them to good use with a comforting, retro looking envelope cushion.
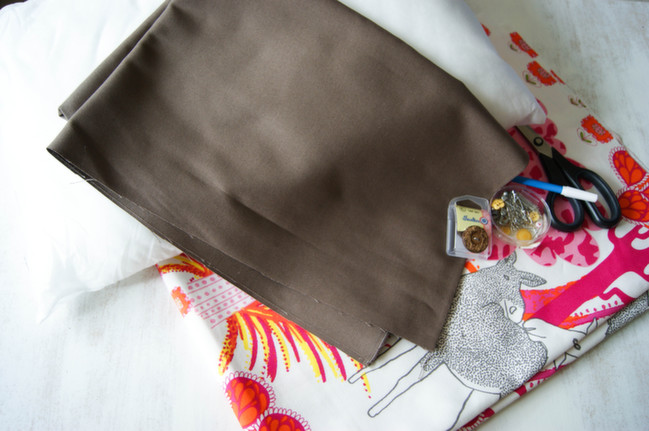
For this project you shall need two different fabrics measuring one metre each, paper to make your template, one button, ribbon if prefered and the standard sewing essentials (pins, ruler, fabric pen, scissors, etc.). Oh, and the all important cushion! My cushion size is 40cm (L) X 60cm (W). One fabric shall be the outer cushion, the other for your lining inside.
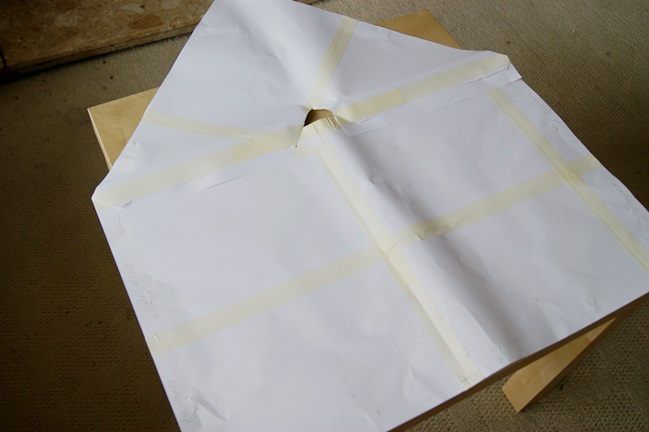
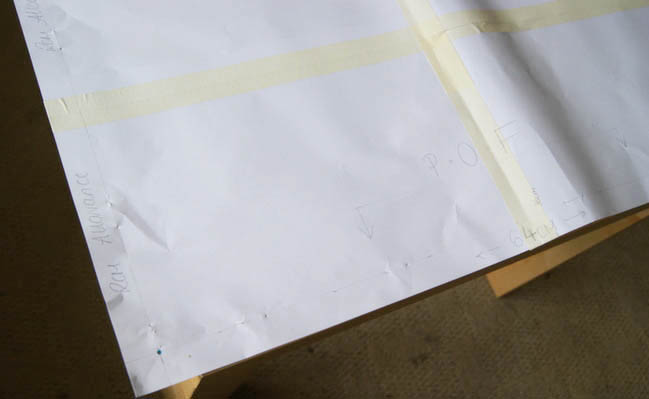
To make this template, I simply stuck pieces of paper together until they measured 42cm X 64cm. You need to make sure you have a 2cm seam allowance, hence why the dimensions are bigger than the cushion. I drew in the seam allowance and made sure to write any little notes down that would be useful, such as the P.O.F (place on fold).
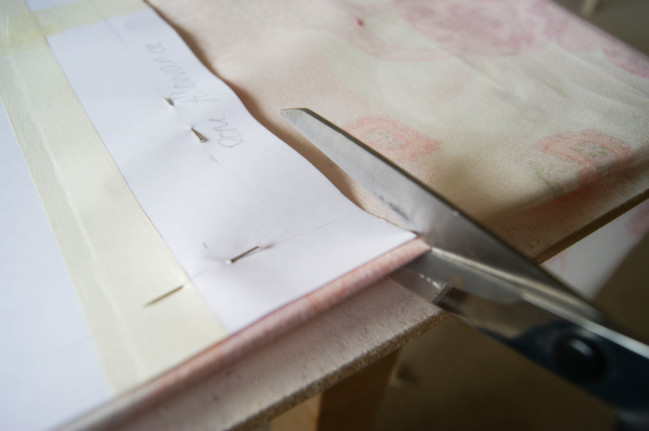
Place your template on each fabric, one at a time. Pin in place and cut. Fabric scissors are much better to use as you get a straighter, neater cut. Separate scissors for scrapping and fabric are a good idea!
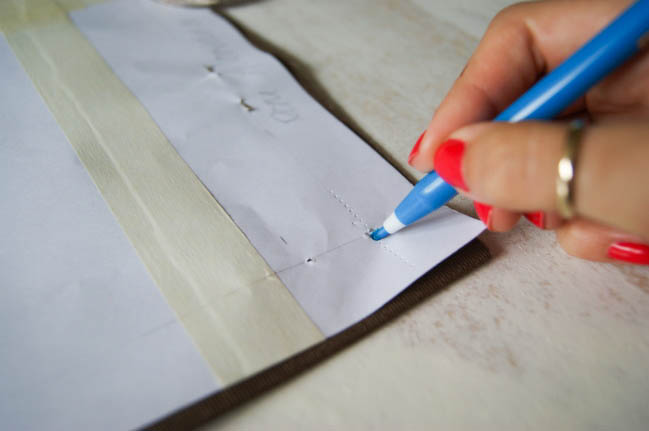
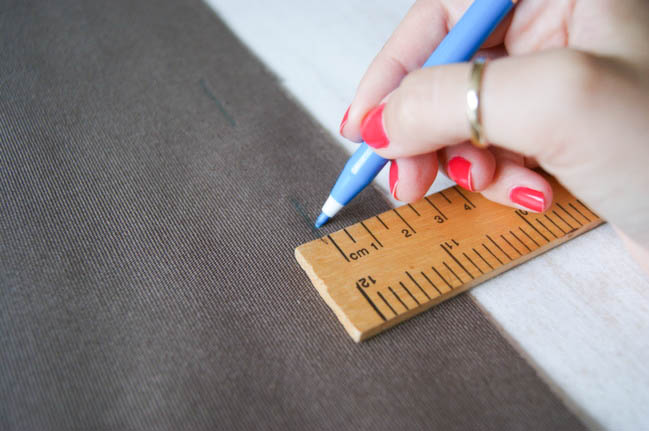
You shall only need to put in a seam allowance for the lining fabric as this is what you shall see whilst sewing the fabrics together. Before removing the template, pin holes through the template which will help you join up the seam allowance and simply mark with the fabric pen.
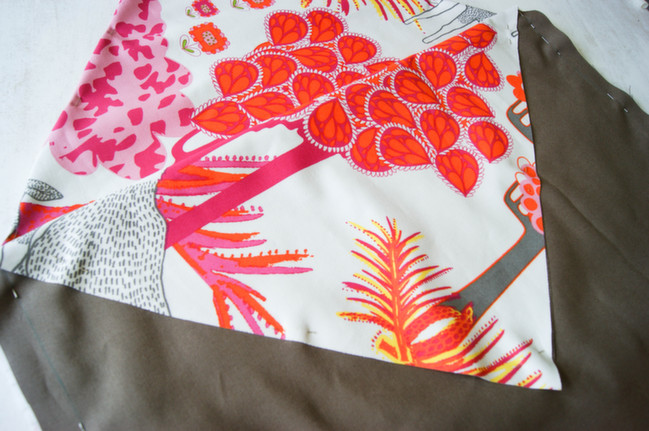
Now to put your pieces together! Basically, you want your outer fabric inside your lining. If your outer fabric is patterned, then you need to make sure the right sides are facing together so it looks like its inside out (as shown). You will have two pointy triangles, fold one of them down as shown, as this will go inside. This gives the inside edge a neat look. With me so far? I hope so! Pin in place on your seam allowance marks and you should now be ready to start sewing!
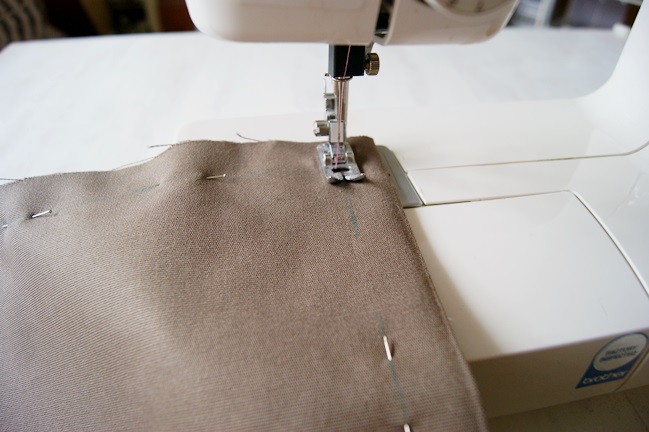
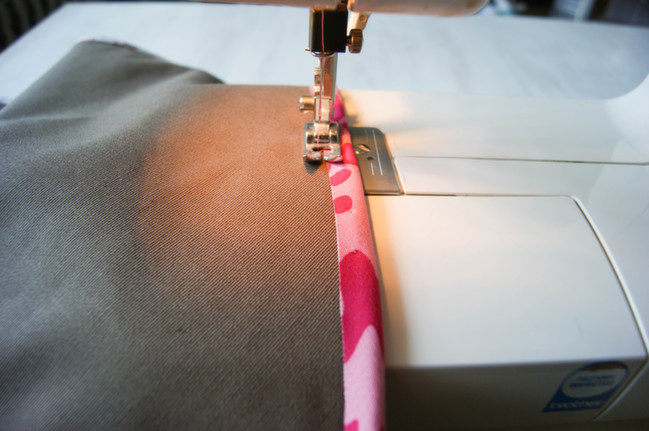
I used a zig zag stitch with the tension set at number two. Once you’ve sewn around the square shape (not the triangle) Snip off the corners. This will give you nicer corners once folded the right way out.
Fold the triangle edges in at about 1cm & sew all the way round still using the zig zag stitch.
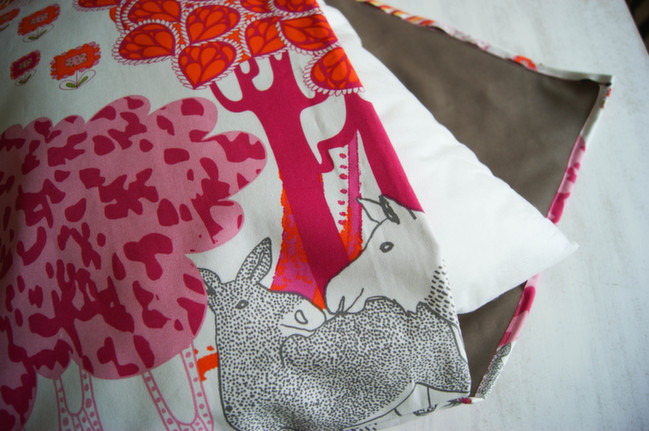
Now all the stitching is out of the way, you can fold it the right way out! And if all went well, your lining should now be inside! Place your cushion in, check your happy with the fit and close it like an envelope! Next part is the button hole.
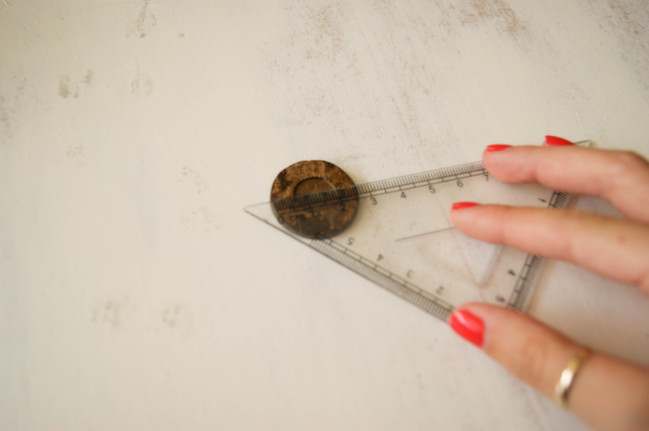
Measure your buttons diameter as this will determine how big your buttonhole needs to be. In my case, it was about 2.7cm so I rounded it up to 3cm.
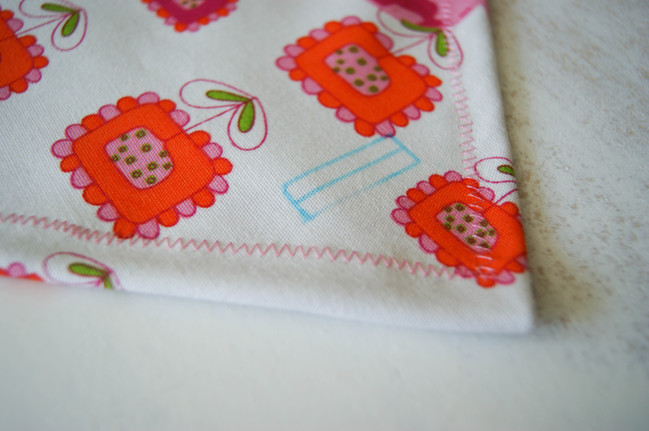
Draw up your buttonhole. The middle line is where your button shall slip through. The lines on the side measure 1cm and you shall need to join it altogether. Unfortunately, it wasn’t until I got to this stage I remembered you needed a buttonhole zipper foot for your sewing machine (which, annoyingly, I don’t own) so it went to plan b – hand sewing!
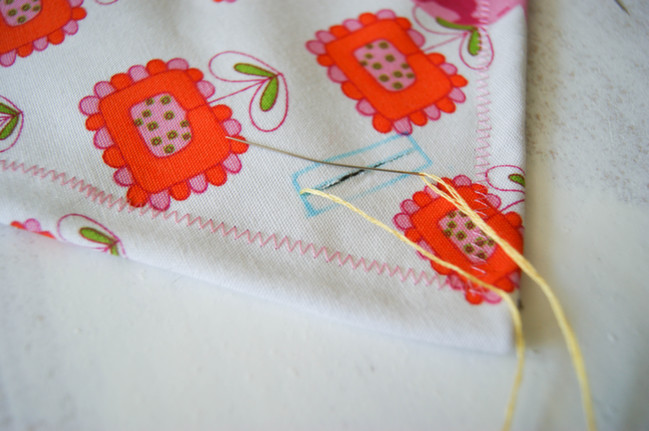
Cut the middle line to make a an open slit. The stitch I did for this was a blanket stitch. I made sure the stitches were close together making it much more secure.
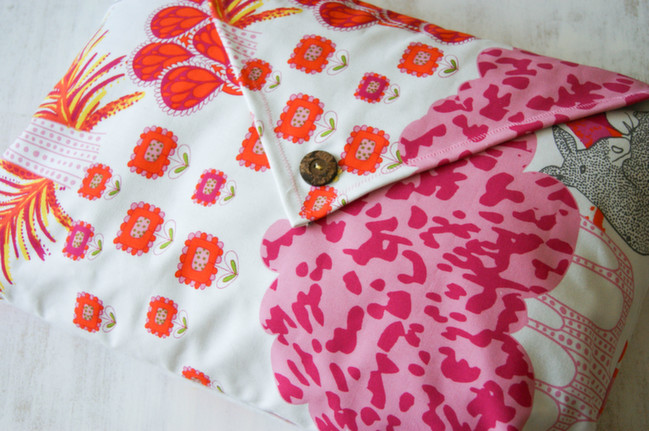
Sew your button underneath and hurrah: a retro, beautiful and refreshing cushion! I hope you have enjoyed this more technical tutorial this week and have managed to make some wonderful creations and I would most love to see your homemade cushions!
| Alice Partridge is a young designer-maker from southeast England. She hopes to make a living doing what she loves, and spends most of her free time reading blogs, drinking tea, or stitching with a needle in her hand. In addition to working behind the scenes at shimelle.com, her recent work includes Kirsty Neale’s recent craft book, Hoop-La: 100 Things to do with Embroidery Hoops. She blogs when she can on Alices Homemade Studio and you can follow her on pinterest. |  |
![]() Read more about:
Read more about:
Next post: Best of Both Worlds: My Scrapbooking Product Picks for March 2014
Previous post: Five Ideas from May Flaum with the February 2014 Best of Both Worlds Kit


