Sketch to Scrapbook Page :: Adding a Sunburst to your page

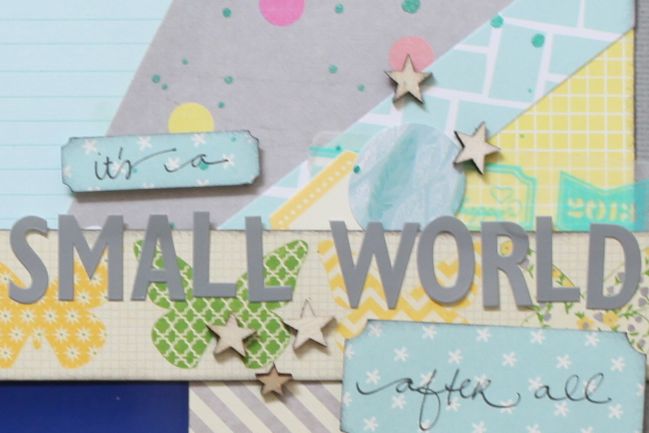
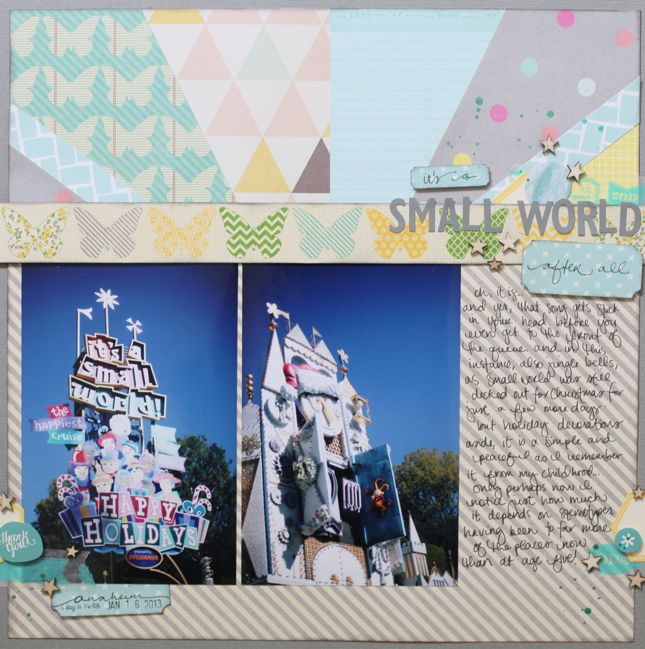
Lately on my table, things are getting very sketchy. And I’ve been trying to decide if it’s okay to scrapbook pictures from a Christmassy It’s a Small World ride without using the vaguest bit of Christmas embellishment or colour. I’ve decided yes, it’s okay.

Yes, I am shamefully behind on sketches, as you can tell from the date. Yes, I am trying to do something about that! Starting now. But moving on…
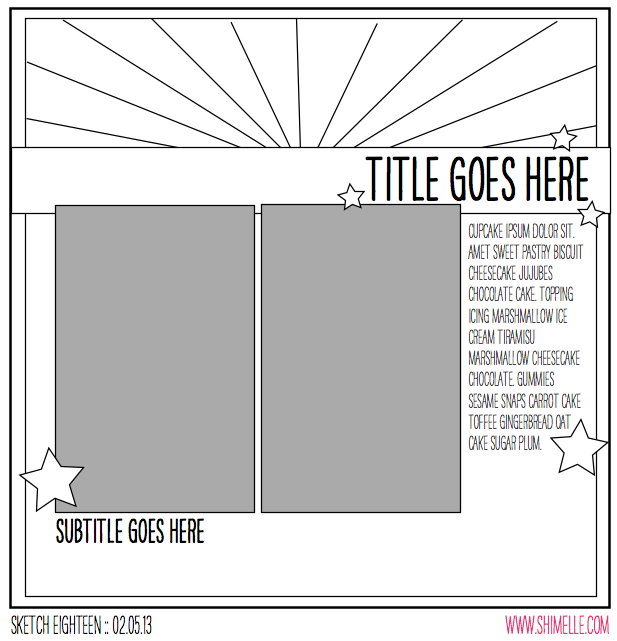
This sketch features two portrait photos in a standard print size (I used 4×6 prints), plus one large block of patterned paper and a smaller block made up of a sunburst of various patterned papers. For a step-by-step tutorial on putting a sunburst together, check out this post from a few weeks back.
All the supplies were from my May Best of Both Worlds list, and though in the video I mentioned that I might use other paper scraps in the sunburst, I didn’t in the end. I think the only extras I added were the 12×12 sheet of grey cardstock for the background, a bit of washi tape from the June shopping list, and the Heidi Swapp Color Shine mist.

You may be surprised to see I actually didn’t put the two prints completely next to each other! Shocking, I know. But in this case I preferred them with the margin. I also tucked the tops under the butterfly border rather than placing them on top like the sketch, because I felt you could still read the photos well but the butterflies lost their delicate look with the heaviness of another layer like the photos.

Today I’m delighted to share with you a second interpretation of this sketch, trading all that colour and pattern in the background for beautiful textures and white cardstock, with this page by Marcy Penner.
I love using sketches, but truth be told, I don’t often think of it. By the time I can sneak in any amount of time in my studio I just have to get cracking! So, working with this sketch was a real treat.
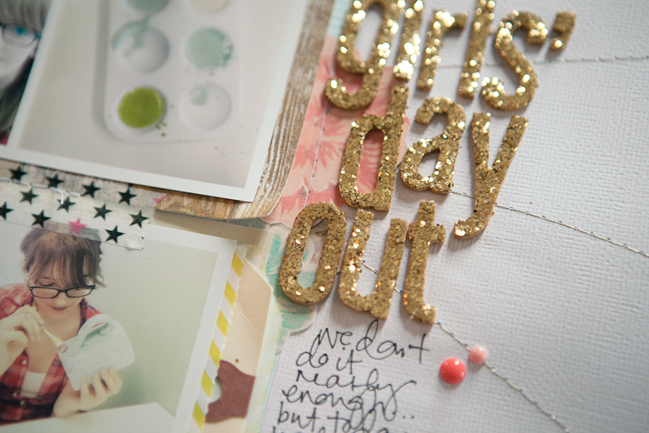
I started with my photos. I decided on a grid of four small photos that I printed out with my Selphy and substituted those for the two from the sketch. From there I matted each set of photos with patterned paper from the Crate DIY Shop line. I love the subtle colours from that line and thought they went well with our girly afternoon. To add a pop of colour I snuck in a striped lime pocket and a small strip of red and pink polka dot paper from Dear Lizzy. I’ll often throw in a splash of random colour on my pages. So, now that I have my patterned papers positioned and a few major embellishments like the pocket and tag where I want them, I take everything off and prepare to add my first background layer.
Knowing approximately where everything will go, I used pink watercolors to paint a random portion of the paper. Unfortunately this didn’t translate well in the photo, but it’s mostly peeking out beneath the photos and under the journaling. Once my watercolor was dry I added some random paint splatters. Usually I use black, but because this was a more feminine page I decided on gold.

Knowing approximately where everything will go, I used pink watercolors to paint a random portion of the paper. Unfortunately this didn’t translate well in the photo, but it’s mostly peeking out beneath the photos and under the journaling. Once my watercolor was dry I added some random paint splatters. Usually I use black, but because this was a more feminine page I decided on gold.
Now for the sunburst. Knowing approximately where my photos and layers would be, I start sewing random lines with gold thread. I rotated the sunburst from the sketch a quarter turn which is why they’re off to the right. Once that was done I began putting my layout back together.
I adhered my major elements and sewed them down. From there I added my title with gold Thickers to play off of the gold spray paint and thread. At this point I also added in a few embellishments. I compensated for the weight of the gold Thickers by adding an additional pop of colour on the opposite side, this time with a reddish (coral?) Dear Lizzy badge. To make sure that I had a bit of that red colour on the other side I added a couple of My Mind’s Eye enamel dots in the same colour.
A little journaling and some notes and we’re all done.
![]() Read more about: sketch-of-the-week best-of-both-worlds-kit
Read more about: sketch-of-the-week best-of-both-worlds-kit
Next post: Making The Most of Your Digital Product:: A Scrapbook Tutorial by Lea Lawson
Previous post: Five ways to add a Frame to a Project by Wendy Anderson


