Five ways to add a Frame to a Project by Wendy Anderson
Frames; They aren’t just for holding photos on the wall or desk. A frame can be a fun addition to a scrapbook page or card as well. They don’t have to be plain and boring either! Here are five fun ways to create unique frames on your next project.
Washi Tape
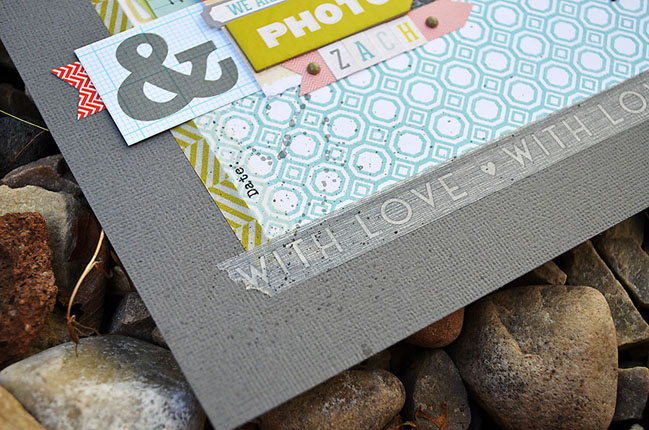
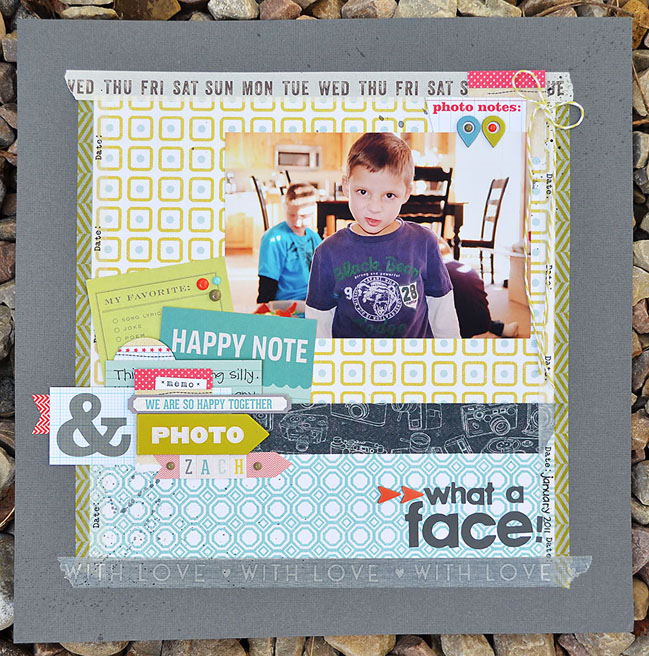
As you may recall, I shared a fun idea for creating a frame from washi tape here previously. Here’s another simple idea for using washi tape to create a frame. I cut a piece of patterned paper slightly smaller than my background cardstock, and adhered it to the center of the page. Next, I simply added strips of washi tape all around the patterned paper. No need to pre-measure or cut with exactness, (unless you want to, of course) just unroll, stick, and tear! I like the look of the overlapped, uneven corners. You could also try the same technique without the patterned paper in the center to create more of a “floating frame” design.
Patterned Paper Strips
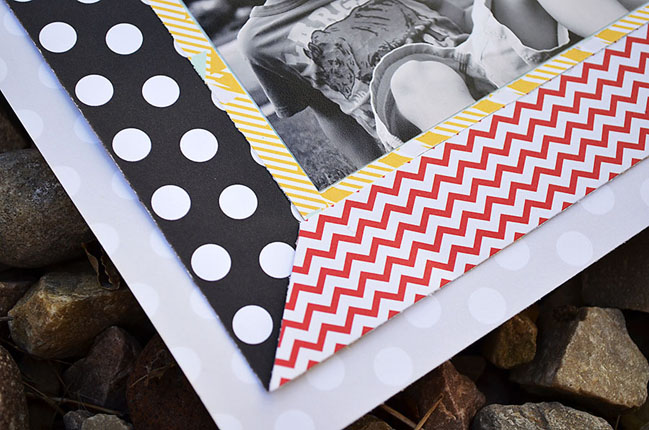
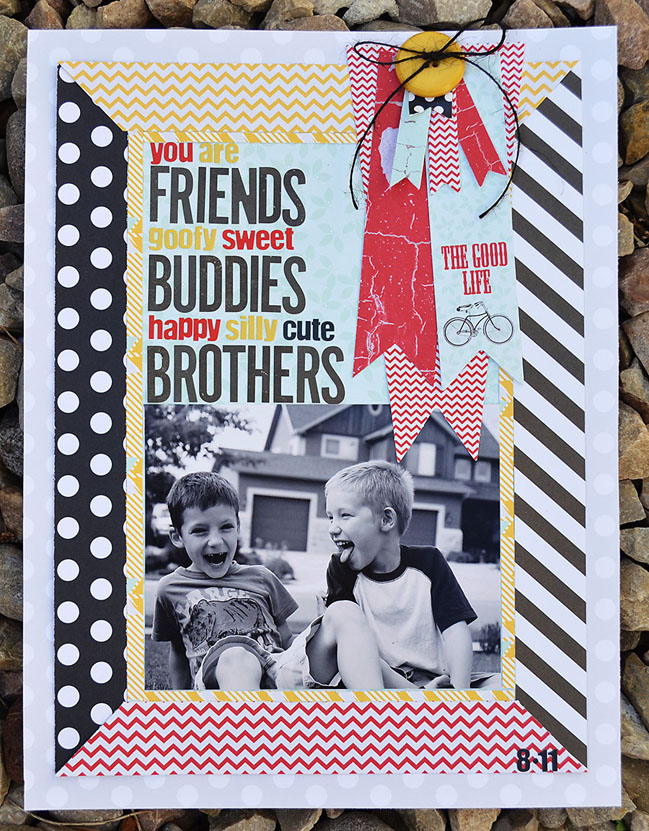
Another fun way to create a frame on a layout is by placing strips of patterned paper around the edges of the background. I love using different patterned papers that coordinate for a whimsical look. One trick is to be sure the strips of paper are equal in width. You can also choose to miter the corners, or simply leave them straight. If you look closely you can see that I also created an inner frame with narrow strips of patterned paper. For the inner frame, I chose to use only one patterened paper and I didn’t miter the corners.
Machine Stitching
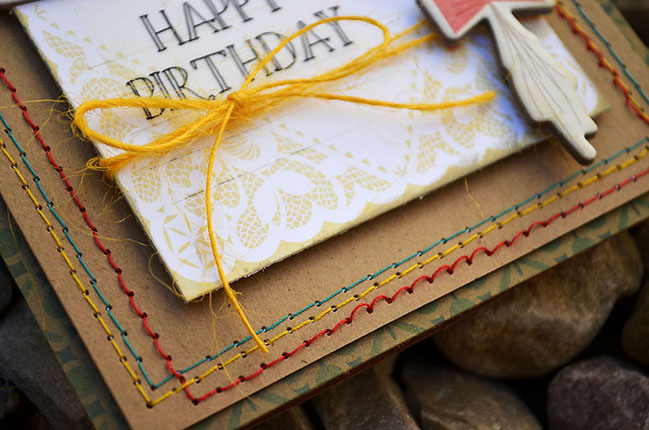
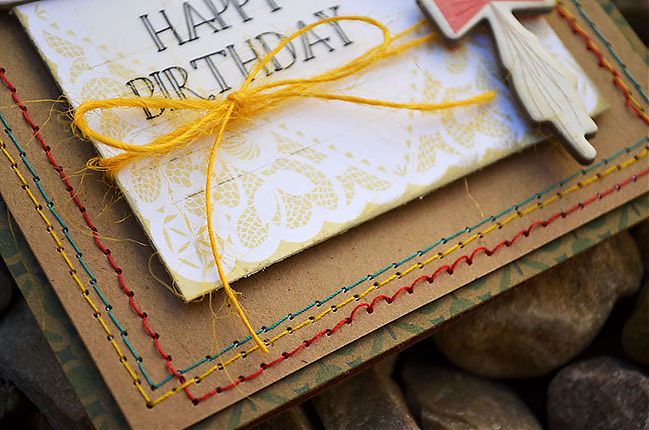
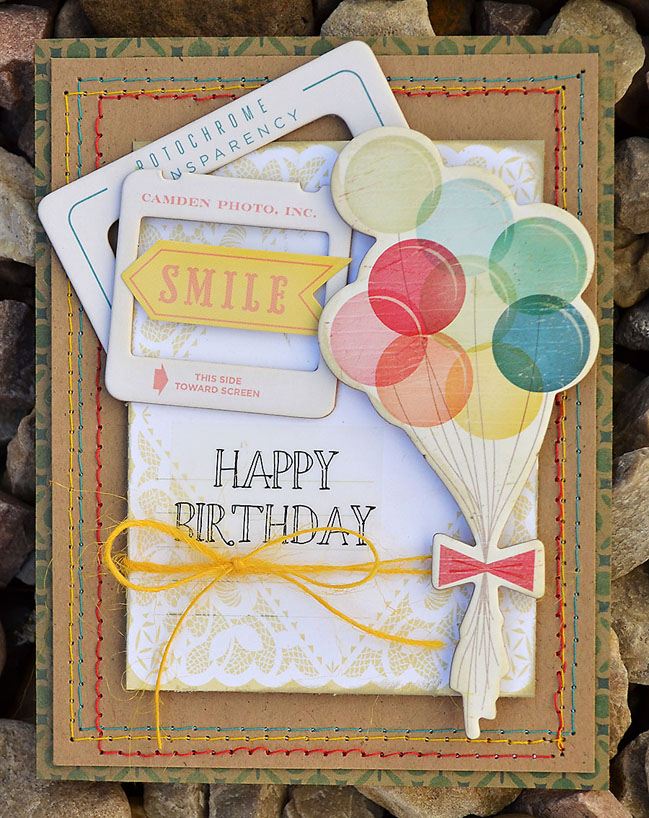
Frames can be a subtle way to add definition and also add a bit of color to a project. On this card I used three different colors of thread to create a triple frame all around the edges of my card. I chose colors that coordinated with the chipboard accent I wanted to use. Another variation on this technique would be to use a needle and thread to hand-stitch the frame – consider using jute, floss, or even baker’s twine instead of regular thread.
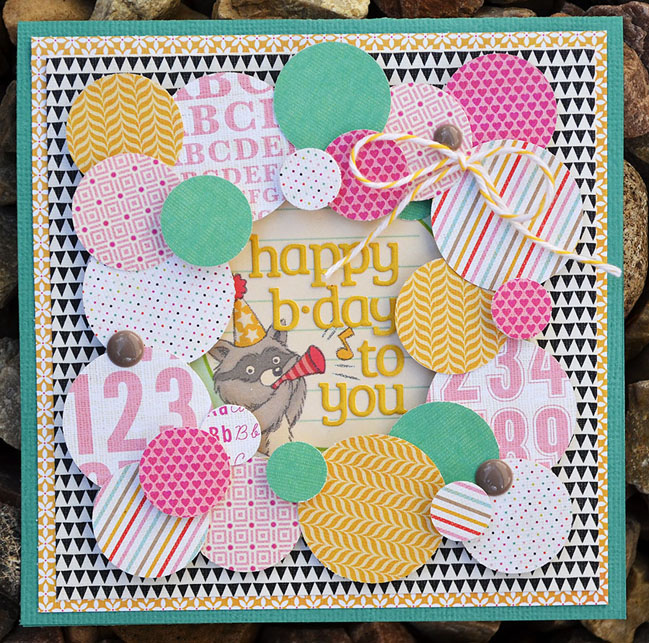
Punched Shapes
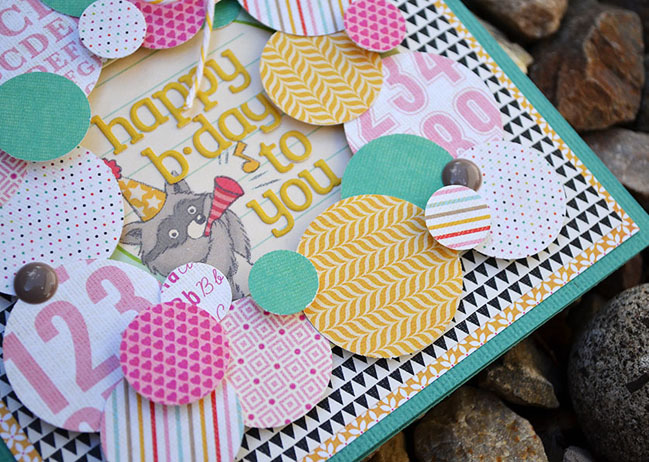
We all have basic shapes in our punch collections – pull them out and use them to create a unique frame on your next card. I punched circles of various sizes from several patterned papers and arranged them to create a frame on this birthday card. Play around the placement until you are happy with the design, then start adhering everything to the card base. You might want to add some pops of dimension by placing foam dots behind some of the punched shapes. Don’t be afraid to try other shapes as well – flags/banners, stars, or hearts would be fun to try!
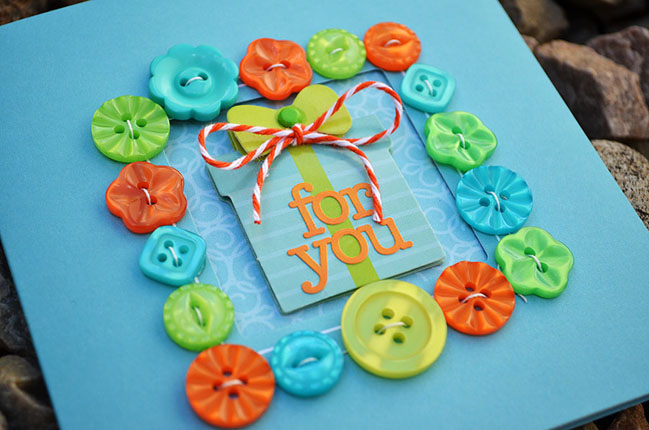
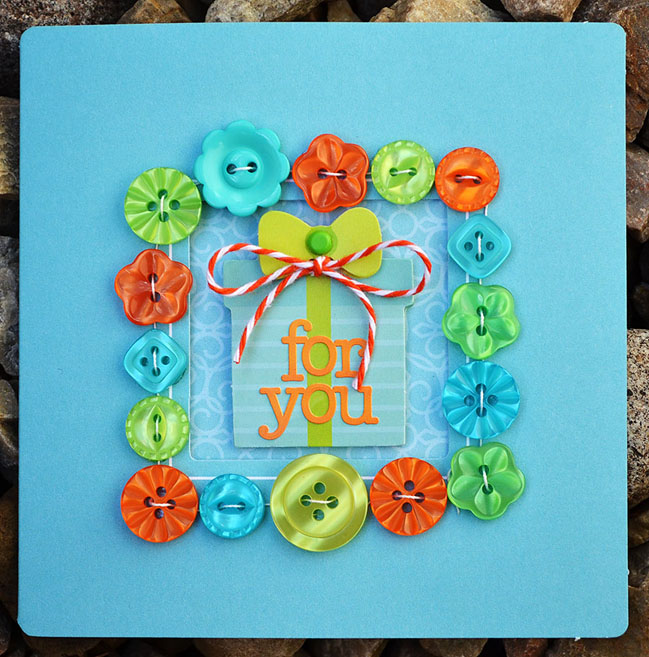
Buttons
Pull out your stash of colorful buttons and line them up to create a frame! You can stitch them down, or just glue them – either way they are an eye-catching addition to any project. Don’t stop at buttons – try some of your other embellishments as well – items such as wood veneer shapes, badges, or brads would make excellent candidates for a frame.
| If you ask Wendy Sue Anderson what her favorite hobby is, she’ll tell you it’s scrapbooking and paper-crafting. But if you ask her what her favorite job is, she won’t hesitate to tell you that it is being a mom to her four awesome kiddos! Although she currently works as a contributing editor for Scrapbook Trends and Create: magazines (which she thoroughly loves), her top priority is always her family; her handsome husband Brad, her two teenagers, Meagan and Josh, and her two little boys, Seth and Zach. Family is always first for her, and spending time with them and having fun together also affords many memory-making opportunities, which is why her next love is capturing and saving those memories on the pages of her scrapbooks! In addition to writing monthly articles for the magazine, Wendy is also lucky enough to design for some of her favorite manufacturers in the scrapbook industry – be sure to stop by her blog to get to know her and to see more of her work! |  |
![]() Read more about:
Read more about:
Next post: Making The Most of Your Digital Product:: A Scrapbook Tutorial by Lea Lawson
Previous post: Scrapbook Starting Points :: Life with the Pink Backpack


