Double Page Layouts made Easy:: A Scrapbook Tutorial by Jinny Newlin
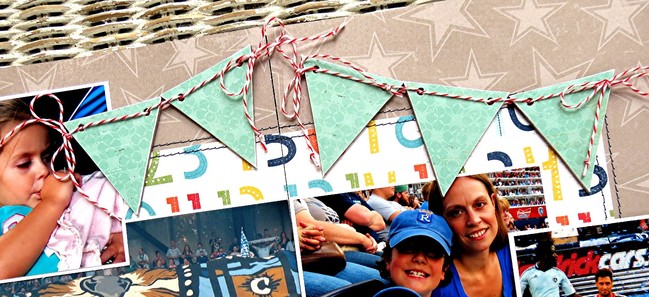
I’ll be the first to admit that I’m a pathological picture taker. It’s nothing for me to take over a hundred pictures on one long weekend getaway. As you can imagine, sometimes a little, 12 × 12 page, to showcase my photos, simply isn’t enough. So, since, to so many of us, two-pagers are a complete mystery, I’m here today to simplify one of my own, as well as to deliver a dozen tips to get you started confidently making them for yourself.
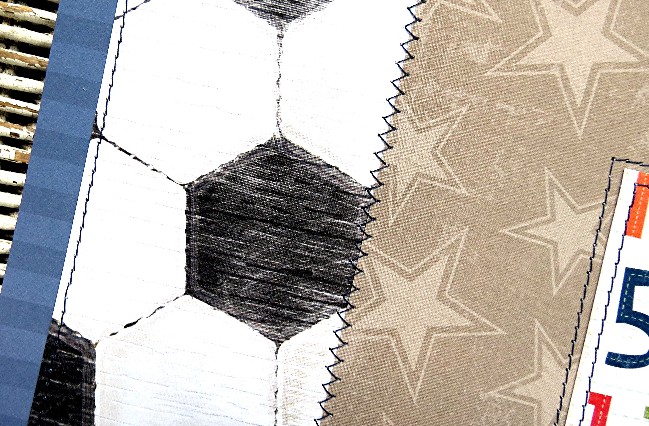
Create base by trimming the center of the layout with a piece of multi-colored, number, patterned paper and each far end with a strip of soccer, patterned paper. Edge the far left end with a strip of navy, stripe, patterned paper; and anchor all pieces with navy-threaded, straight and/or zig-zag, machine stitches.

Mat photographs with Whisper White cardstock, and cluster them near the center of the design. Raising a few with foam tape adds interest and dimension. Cover chipboard pennants with patterned paper and lace them together with Baker’s Twine, tied off, at each end, with bows.
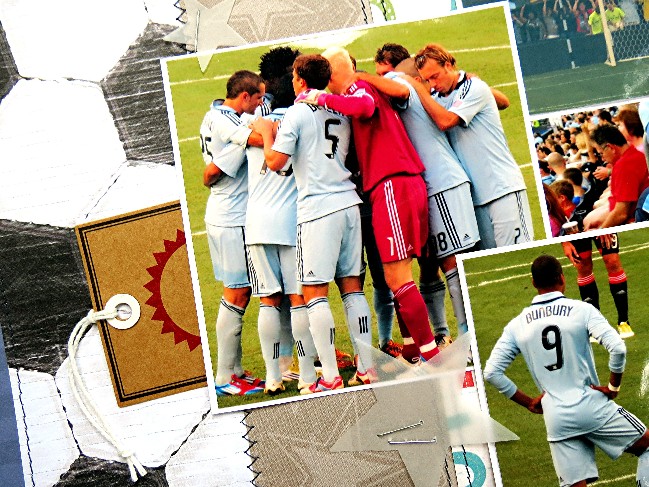
Hone in on individual page details, beginning with the left side of the page. Tuck a kraft tag under far left photograph. Flank that same photograph with a couple of die-cut, vellum stars, secured in place with simple staples.
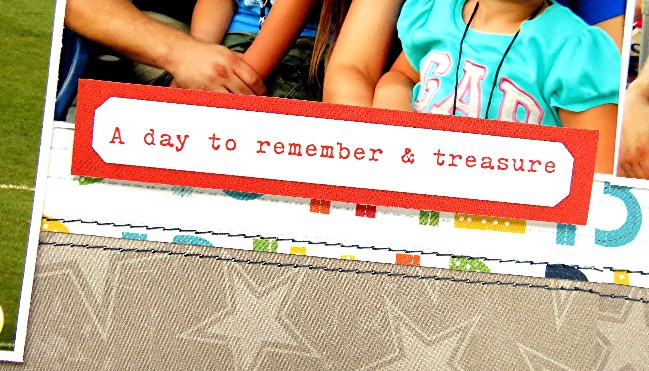
Adhere ‘A day to remember & treasure’ tag, with foam tape, just below bottom right photograph…
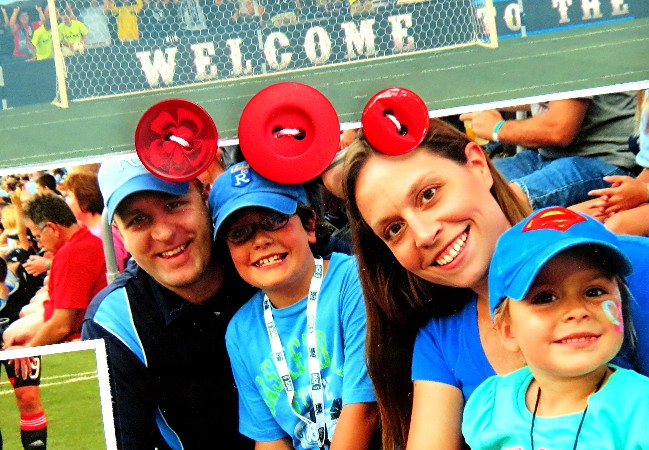
And trim its top edge with red buttons, laced with white string…
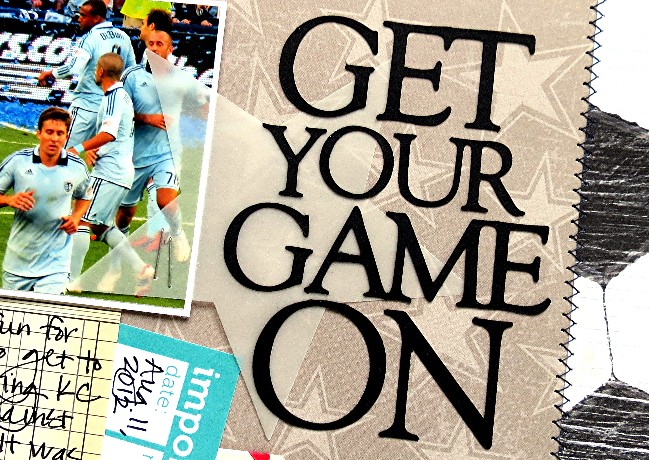
Before turning your attention to the right side of the page. Anchor another die-cut, vellum star with staples and use it to back the Cameo-cut, from Black cardstock, “GET YOUR GAME ON” title.
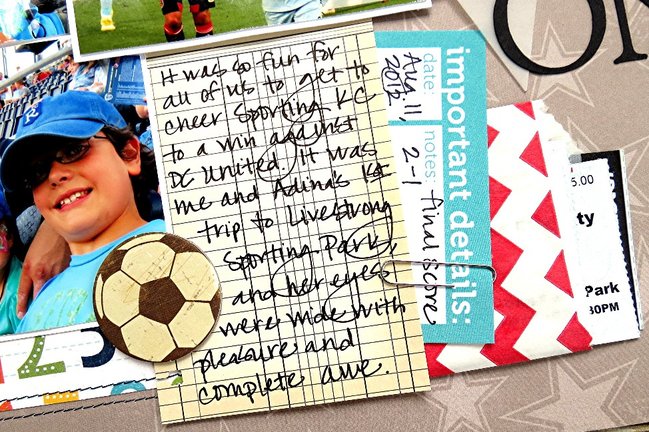
Tuck a vintage, journaling card, which happens to read on this particular page, It was so fun for all of us to get to cheer Sporting KC to a win against DC United. It was me and Adina’s 1st trip to Livestrong Sporting park, and her eyes were wide with pleasure and complete awe, into bottom right corner of photos; and trim its right side with a red, chevron envelope for stuffing old tickets and mementos of the day, as well as an ‘important details’ tag, which I’ve used to journal the Aug. 11, 2012 date, as well as the final score 2-1. Adhere a chipboard soccer ball against the journaling card’s right side, and you’re done.
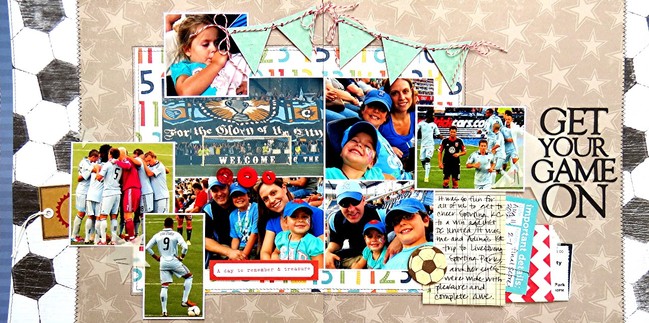
Tips for Two-Pagers…
1. Cluster your themed photographs in the center of your design.
2. Create a grid with your photographs.
3. Carry like embellishments across both pages.
4. Connect your pages with…
journaling,
ribbon,
banners ,
paper strips , or even
Washi Tape.
5. Stamp a design , if you don’t have enough of the same paper.
6. Make your own embellishments to multiply their use on both sides of your layout.
7. Cut your photos to allow them to stretch from one side to the other.
8. Remember that no one will be able to see what’s hidden behind photos. Just make those paper strips, or whatever it may be, appear as though they carry all the way across to the other side, and save the rest for another project.
9. Stitch your papers together.
10. Create your own custom backgrounds.
11. Don’t be afraid to use two completely different patterned papers for your base pages. Then, use the tips above to unite the two into one.
12. And most importantly, remember to have fun and be yourself! Since we’re our own worst critics, if you love your layout, you can consider yourself a huge success.
| Jinny Newlin lives with her family in a small suburb of Kansas City, Kansas, just over an hour and a half north of where she grew up. She is a former, kindergarten teacher turned adoring wife to BJ and stay-at-home, homeschool mom to a smart, spunky, almost ten-year-old Ezekiel and vocal, tenacious, four-year-old Adina. When she’s not taking care of or playing with her family, you can find her cooking, baking, gardening, camping, sewing, taking pictures, and of course, paper-crafting. Her love for the latter started, over twelve years ago, at a Stampin’ Up workshop; but she has been creating with any and every form of crafting media, that she could get her hands on, since she was old enough to hold a crayon. She’s been honored to have had a number of published works of art, mostly in CARDS and PaperCrafts magazines, as well as to get to design for some of her most favorite manufacturers and challenge blogs, which currently includes Wplus9 Design , The Craft’s Meow , Sketches in Thyme , and Color Combos Galore , and hopes she can inspire you all to get creating. |  |
![]() Read more about:
Read more about:
Next post: Sketch to Scrapbook Page :: Adding a Sunburst to your page
Previous post: Best of Both Worlds :: My scrapbooking product picks for June 2013


