Simple Sunburst:: A Scrapbook Tutorial by Michelle Deleon
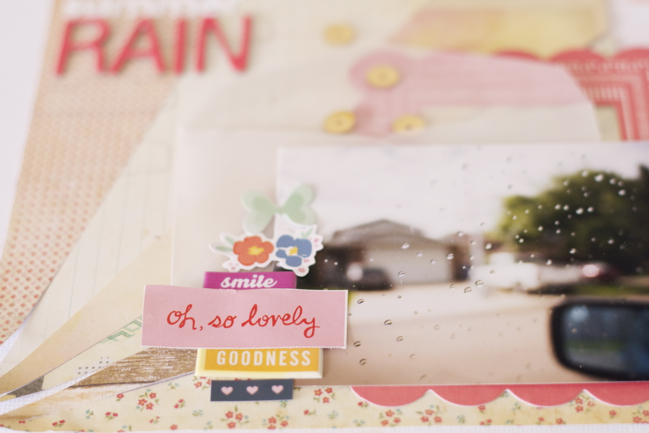
A technique that reminds of of spring and summer is the sunburst. Most of the time, I enjoy layering on my layouts, so using a large sunburst as the main element is a fun way to change things up. This tutorial will show you an easy way to incorporate the sunburst into your layouts.
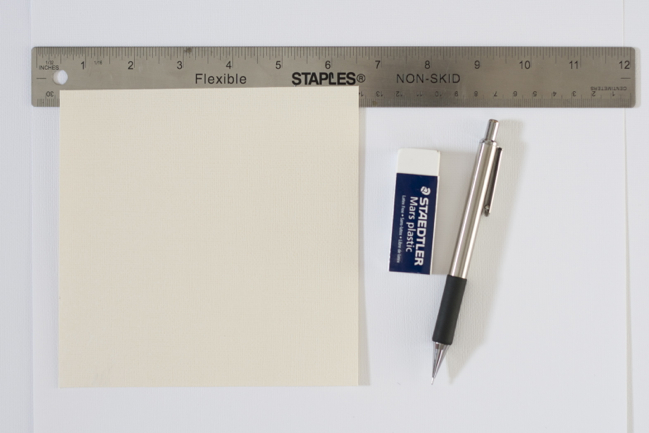
The first step is deciding what size to make the sunburst. Since I wanted to use a 6×6 pad for my patterned paper, any size 6×6 or smaller would work. I knew that I wanted the sunburst to be the main design element on the page, so I went with a 6×6 size. You can use any scrap piece of paper or cardstock for this step as it will only serve as the template.
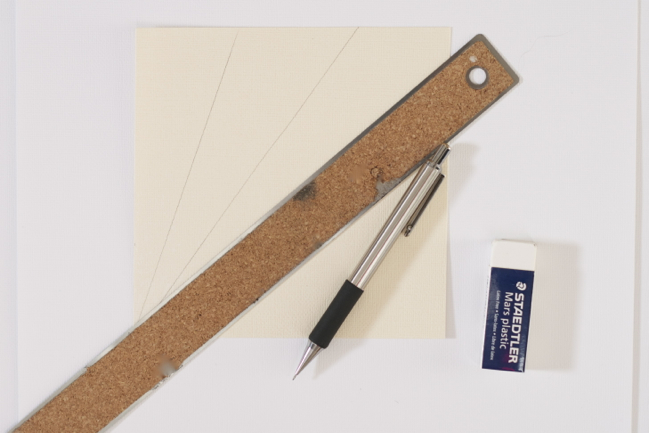
To create the rays, use a ruler and a pencil to draw straight lines starting from the same point. For ease, I like to have this starting point be a corner of the page. I am not very concerned about having exactly the same angle for each ray, so I just eyeball how large I want each section to be. I wanted the base of the sunburst to meet at the bottom left corner, so that is the point where I drew each line from (please excuse the sad state of my ruler in the photo!).
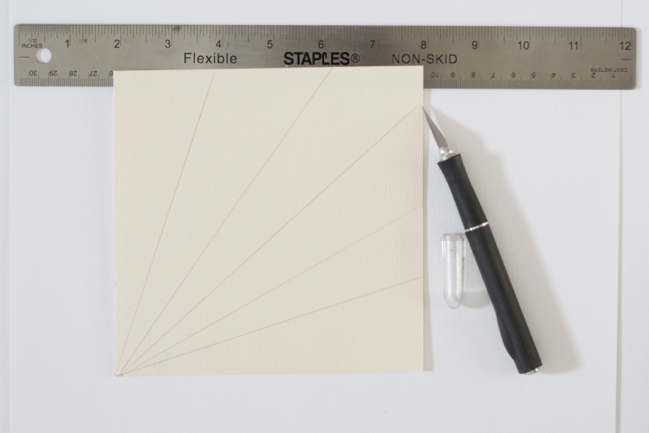
Next, use a ruler and a craft knife (or your desired cutting tool) to cut out each ray. Before starting to cut the rays out, I would recommend numbering them so that it’s easier to piece everything back together afterwards.
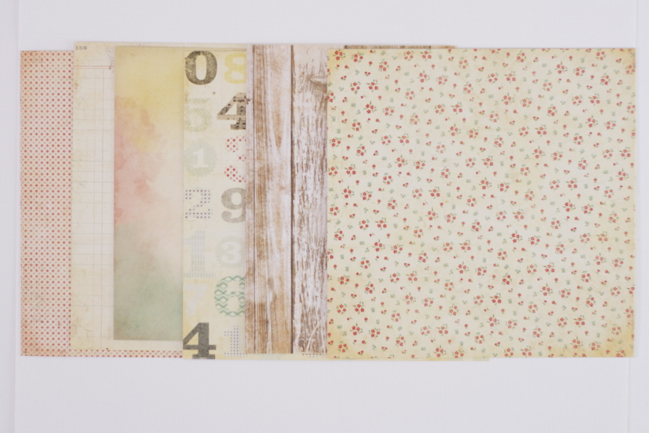
Now it’s time to select your patterned paper. This step takes me the longest because I like to shuffle the sheets around to see which patterns and colors look best next to each other. For this page, I decided that I wanted the sunburst to be subdued and muted. I chose papers from Crate Paper DIY since the collection has a lot of neutrals with distressed details. If you want your sunburst to stand out more, you can select brighter, bolder colors and patterns. I would recommend mixing up the patterns with some less busy prints so that the papers do not compete with each other.
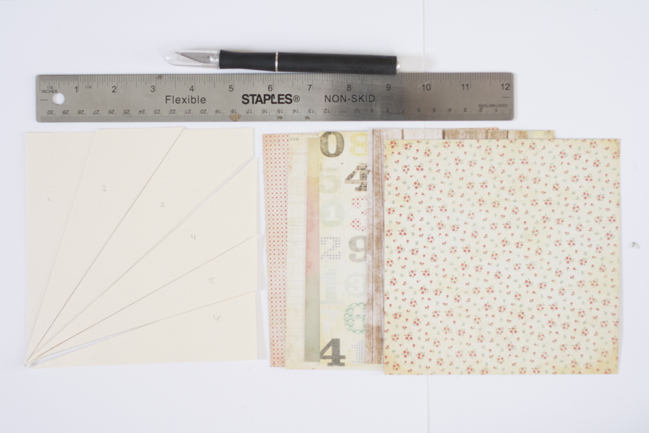
After you selected your papers, you simply match each template ray to the patterned papers. Again, I would recommend numbering the rays. I usually use pencil so I that can easily erase any unwanted markings.

Cut each patterned paper out using the template rays.
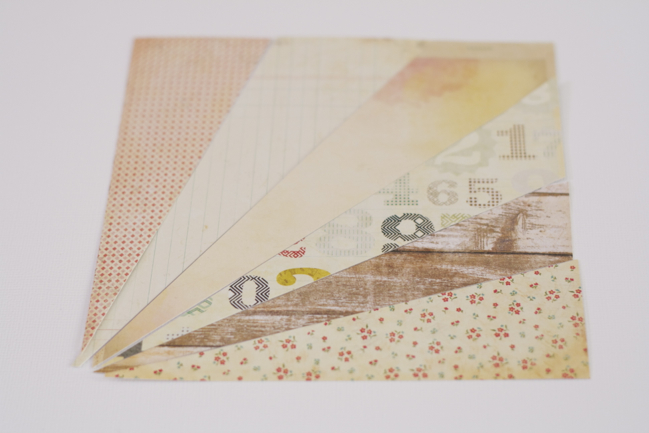
Piece together your completed sunburst. If you are not certain where you want to place your sunburst, it’s a good idea to glue the sunburst down on a scrap piece of paper and cut away the edges. This way, you do not have to move each individual ray every time you shift it around your page.
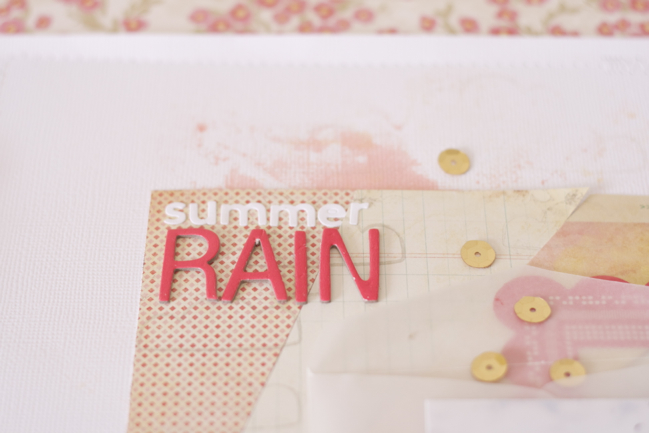
Finish off your layout with your desired embellishments. For this page, I didn’t want to add too many layers to cover the sunburst, so I used a small vellum envelope and a bright coral frame. I wanted to emphasize the round rain drops, so I added gold sequins falling out of the top of the envelope. To balance the bright pop of coral from the frame, I used bright pink/coral thickers on the opposite side for my title. I also added some splashes of mist and backed the cardstock on a pink patterned paper.
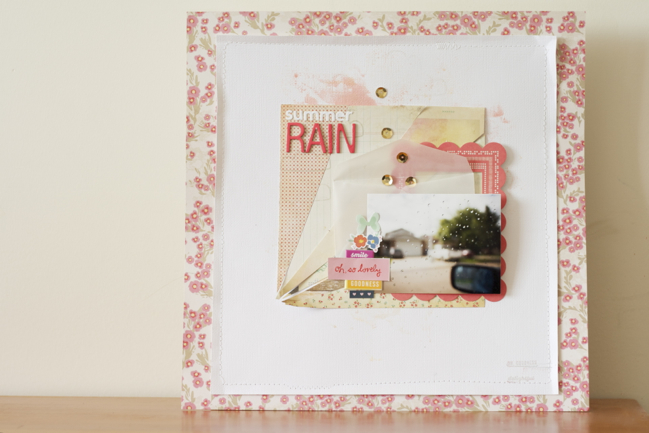
If you do not want the sunburst to be the main focus, you can always make it smaller to be more of an accent on your page . Another way to tone down the sunburst is to use the template rays to cut out vellum to overlay the patterned paper. Large or small, I hope this tutorial inspires you to give the sunburst a try!
| Michelle De Leon is a university student from Alberta, Canada. When she is not busy with school or work, she can be found volunteering, catching up on movies, and enjoying quality time with friends and family. Having discovered the scrapbooking world last May, Michelle is happy to have found a hobby that acts as a creative outlet while documenting everyday moments. She shares her scrapbooking creations on her blog at The Scrapbooking Chronicles of Portable Michelle |  |
![]() Read more about:
Read more about:
Next post: Best of Both Worlds :: My scrapbooking product picks for May 2013
Previous post: 5 Ways Other than Journaling to Incorporate Pen Work in Your Scrapbooking by Ashli Oliver


