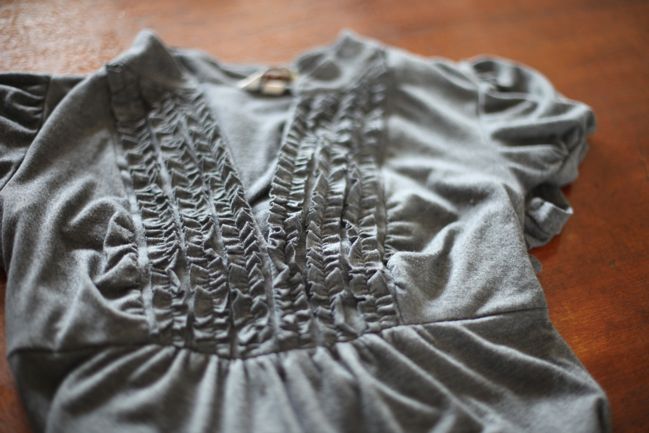
About two years ago, I found this dress in a sale somewhere ridiculously cheap and bought it. Then wore it approximately every third day. I love everything about it – it’s jersey, it’s not too short but not too long, it has ruffles and puckered sleeves, it works with long sleeves underneath or a cardigan over the top and it never needs ironing. I worried that I might wear it until it fell to pieces, but just around that time, I started to find it turning up on sale racks in other colours. So I also have this dress in black. And purple. And hot pink. And one that is not too far off in a dark turquoise. With all the ruffles on so many things in the shops right now, the little rows of ruffles here are still my favourite.
But while I have many empire-waisted jersey ruffle dresses in my wardrobe, I only have one white cardigan. It is a much loved light-weight cardigan and frankly, it’s looking a bit rough around the edges. Its days are numbered. So with an afternoon to work on something crafty, I took a little over an hour and made a new cardigan out of a t-shirt… all inspired by my favourite ruffle dress. So I just thought I’d share.
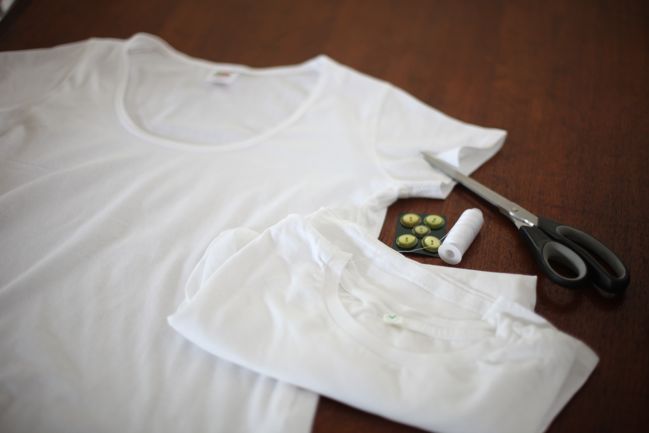
To create a ruffle cardigan, you need a shirt that will be the base of the cardi – I started with a light-weight white t-shirt to make something for summer, but you can just start with long sleeves or a heavier shirt for something warmer. (Or in fact, you could just add ruffles to an existing cardigan, but that is a whole other idea and I have no spare cardigans hanging about… but I do have some extra plain white t-shirts.) Then you’ll also need fabric for the ruffles themselves. I had another white t-shirt that I used for this – it just happened to be in my bag of offcuts because it had a big snag in it that really made it pretty useless as a shirt. So you can use a second shirt or you can use anything else you would like – plain jersey fabric or something more colourful if you prefer. If you want the cardigan to close, you’ll need a button (or a hook and eye or some ribbon to tie). And you’ll need fabric scissors, thread to match your fabric and your sewing machine. Pretty basic, so even if you bought two brand new t-shirts, this can be well under £10, assuming you already have your tools.
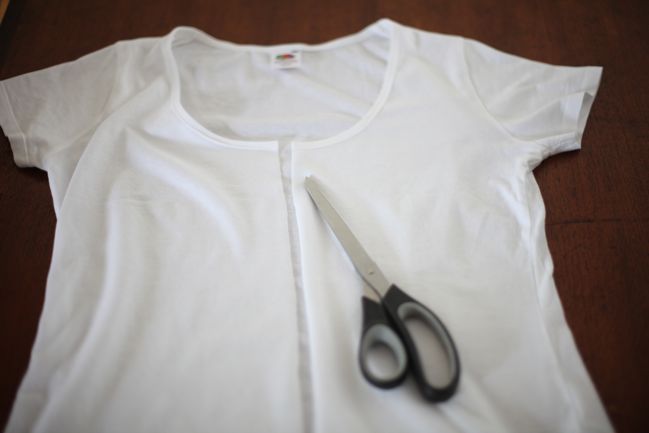
Straight away you get to be brave: cut right through the t-shirt. You can measure to the middle if you like, but jersey is really forgiving, so I just folded in half to make a crease in the centre, then cut along the crease. You can even try it on at this point to get an idea of how it will drape with the neckline and hem of the t-shirt.
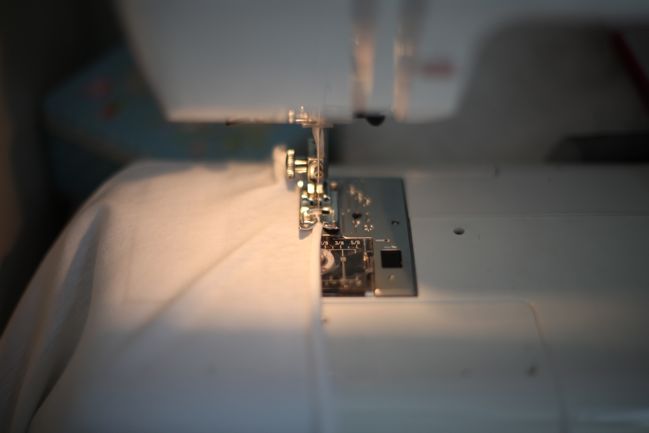
Hem the raw edges you just created at the front. If you have an overlocker, you can serge those edges and feel amazingly cool! I don’t have an overlocker. So I just roll the fabric back a bit and run a straight stitch along the length. Either will work.
IF you want to add a button to the top of the cardigan, do that NOW. Before the ruffles. I didn’t think that through, so you’ll see all of this from here on out with the ruffles and no button. But when I got to sewing the button hole, the ruffles were in the way and causing a nightmare and I had to unpick a whole ruffle to make room for the buttonhole foot. You are smarter and more prepared. You will add your button and buttonhole now, before you do anything with ruffles. Oh yes you will.
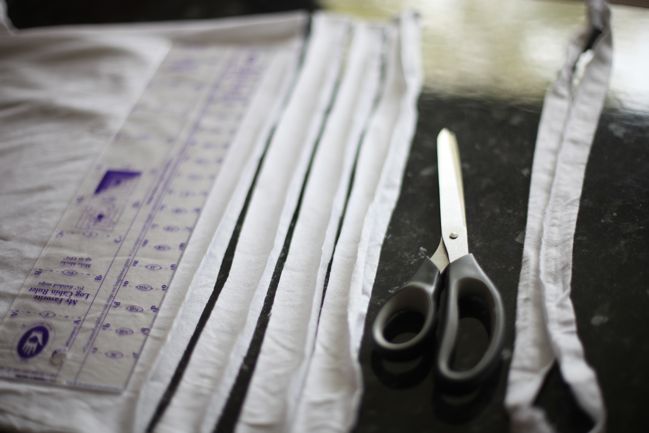
To make the ruffles, you need six lengths of fabric about an inch wide. I cut these from the bottom of the second t-shirt, and I first cut away the bottom hem and sat that aside (we’ll come back to that later). Then I cut three strips from the bottom of the shirt, so I had three hoops of fabric – each about an inch wide.
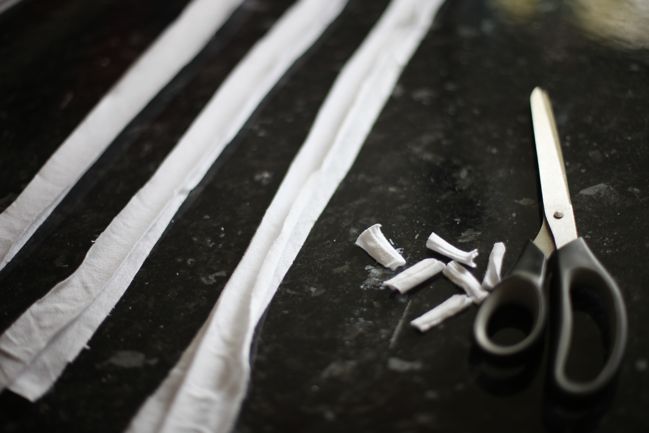
Cut the side seams from the three hoops – which should leave you with six strips. You don’t need the seam pieces.
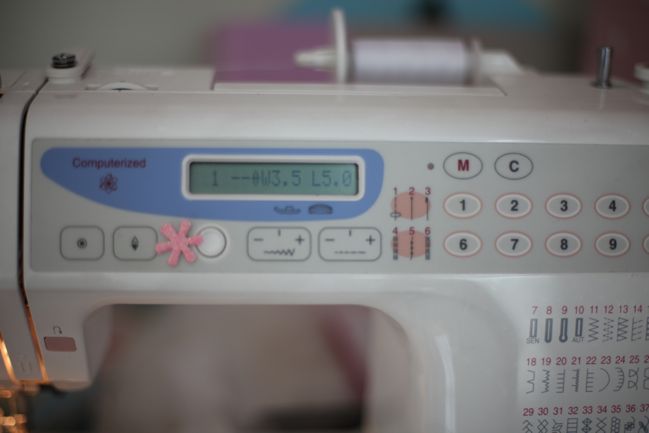
To make a ruffle from each strip, you need to sew a running stitch down the middle of each piece – but you want a long stitch length. Every machine looks different, but there should be something to change the length of the stitch – mine is that plus and minus below the screen, to the right. The longest stitch setting for my machine is 5.0 and that works just fine.
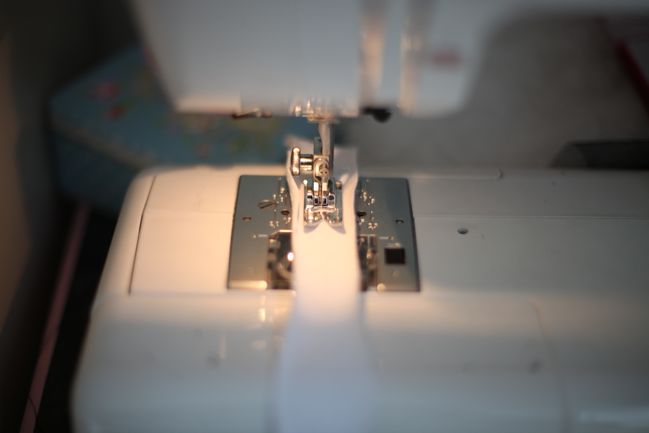
Then you just want to stitch right down the middle of each piece. Leave plenty of thread at both ends. Jersey has a natural curl to it, and I find it easiest to sew straight if I stitch so the curl is going up around the presser foot rather than the other way, as that tends to twist too much.
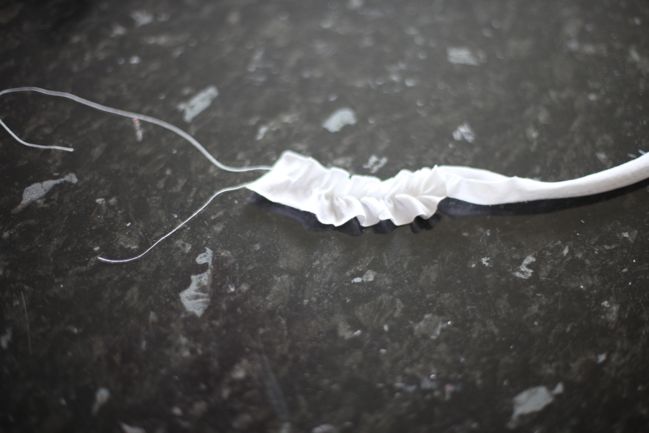
Now take your stitched strip and separate the two threads at one end. Pull one thread and push the fabric down the thread to gather it. Hey presto – a ruffle!
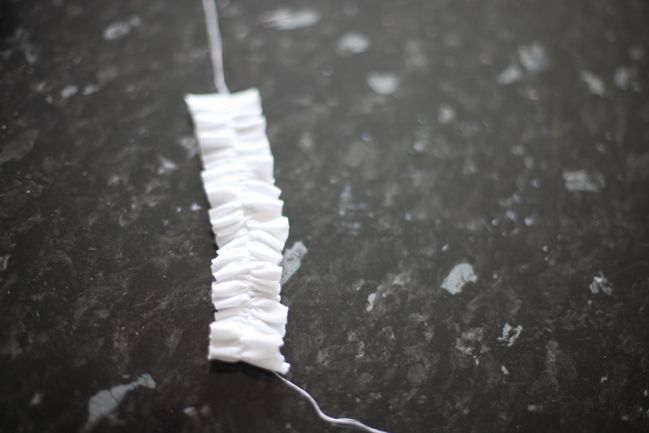
Continue until everything is pretty and as even as ruffles can be. It will look something like this.
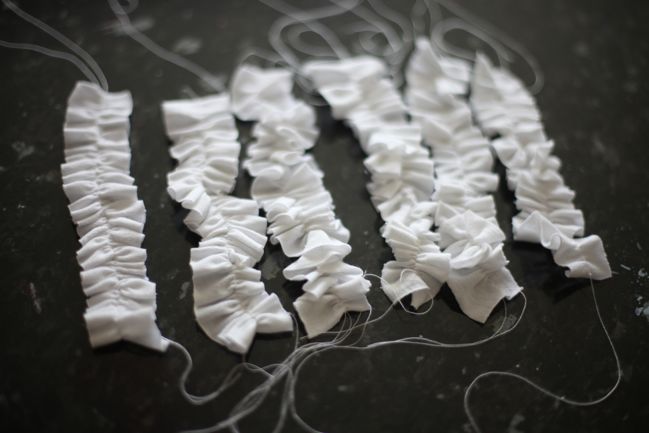
Do that for all six strips so you have six ruffles, all the same length. I leave all the threads in place until the end so the ruffles don’t come undone. If you have ends that want to relax as soon as you let go, you can tie or twist the threads at the end to hold the ruffle.
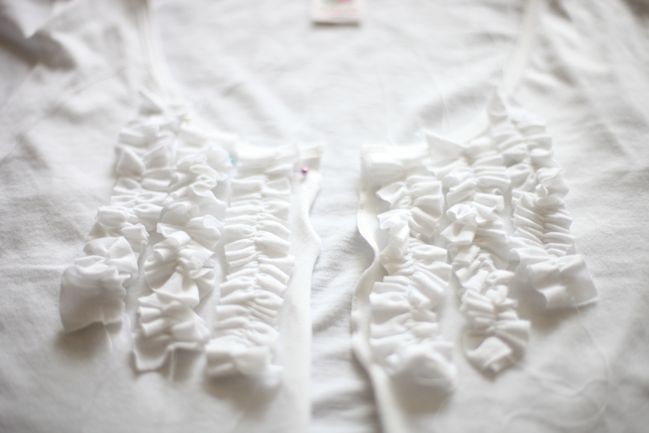
Now place them on your shirt. The shirt to which you have already added a button and buttonhole, if you’re going to do that. Right.
Now all the ruffles are the same length but the neckline is angled or curved rather than being straight and square, so as you line up the ruffles with the neckline, they will appear to be different lengths. Pin the ruffles at the top and bottom, as it’s hard to see what’s straight on the cardigan while you’re sewing it. Much easier to see it on the table.
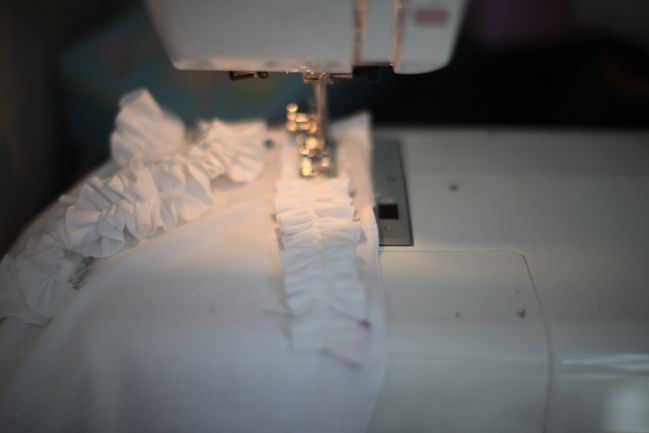
Then put your stitch length back to something normal and you’re going to stitch right over the centre of each ruffle to attach it to the cardigan. I started each ruffle by tucking it under against the trim that was already on the collar – or you could take it right to the edge of the shirt if you prefer. If the other ruffles get in the way of your sewing line, unpin them for now but go back to laying the shirt flat and pinning each one before to sew it on. I’m really not overly fond of sewing with pins, but I found them pretty necessary here.
After you sew the first three, it’s also worthwhile to fold the cardigan in half and see if the other side is still going to line up right, in case anything moved from the original pinning. Easier to adjust now then after you have sewn all six.
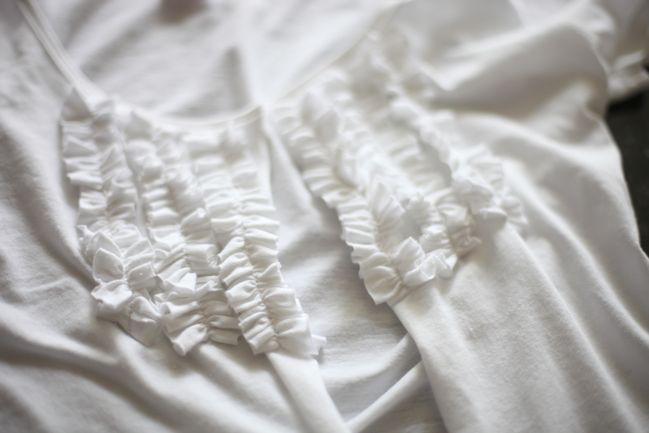
And hey there: now you have a ruffle cardigan! You can add more to it if you want ribbons to close it or beads in the ruffles or anything fancy like that… or just leave it plain.
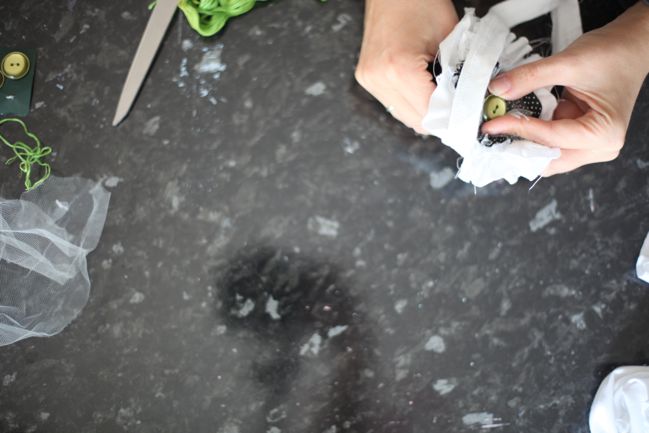
I had some scraps left over so I cut one more ruffle from the spare t-shirt fabric and a ruffle from some black polka dot fabric, then rolled them into a circle and secured with lots of (messy) stitching. Then added some tulle and a button on top. And stitched that to the discarded hem of the t-shirt…
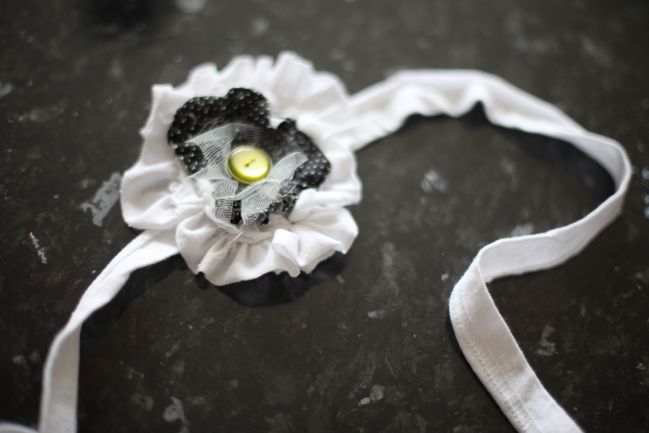
to make something to tie in my hair.
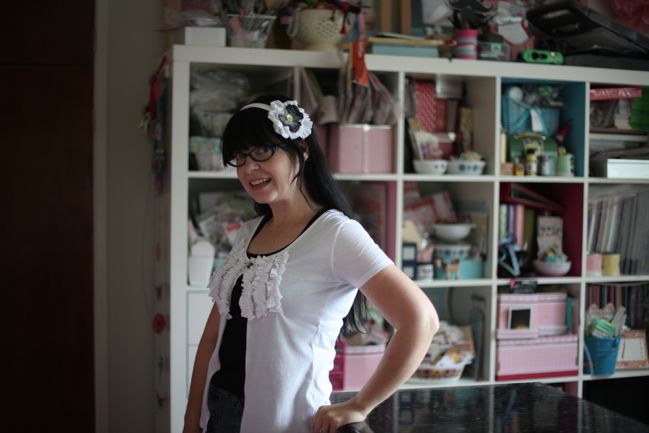
And here is a cheesy picture of me wearing both. I’m not sure I would wear them both together, because it may make me look a little like I’m twelve. Maybe, maybe not. But awww, new cardigan and new penny blossom made with just stuff wasting space in my wardrobe? That is not cheesy at all. I kinda love that.
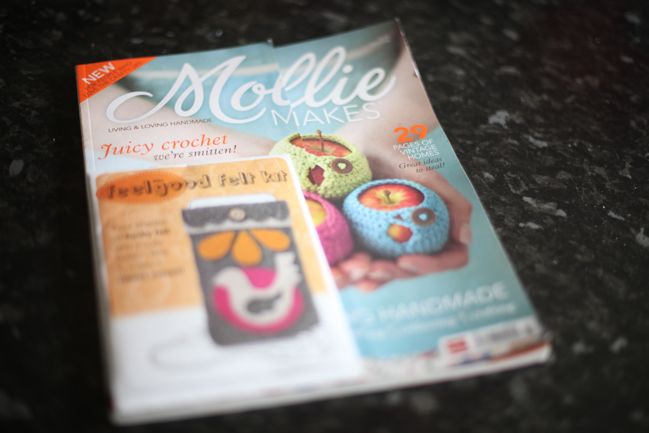
I also kinda love the new magazine Mollie Makes. More than kinda, really.
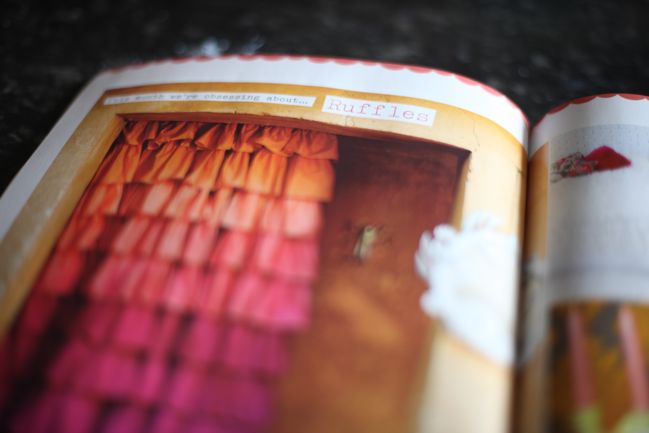
And Mollie Makes loves ruffles. There’s a whole article about it in their first issue.
If you haven’t checked it out yet – you should totally take a look. Very pretty, very crafty and very stylish. It’s not my project or anything – it’s edited by Jane Toft, who did all the prettiness of the idea book series I worked on last year, so I’ve been excited to see her newest work. If you like handmade, vintage and lovely design, you may very well love it too. It just came out in UK stores last week and hits US stores in June, I think. (If you’re in the UK, you can get a three issues for £5 deal at the moment, which is cool too.)
Now… which colour of ruffle dress to wear tomorrow? Decisions, decisions…
xlovesx
PS: The owl giveaway is still open until midnight tonight and all the Scrapbooking Day challenges close tonight too, so you have a few hours left to enter and win!


![]() Comment [90]
Comment [90]


