Five ideas with die-cut papers

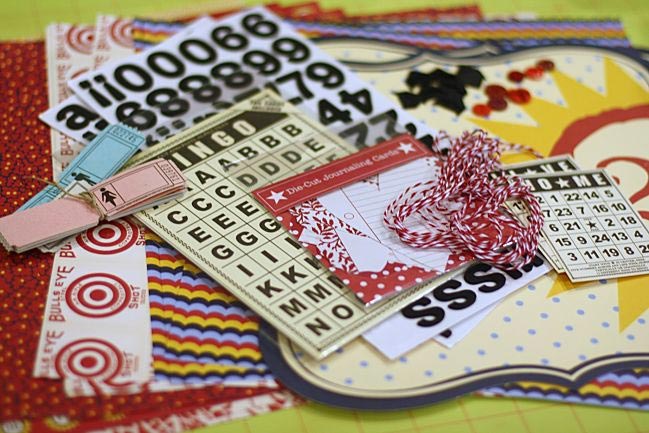
This Friday, please join me in welcoming a new face with five ideas – this time for diecut label papers. It’s Connie Mercer, and I think you’ll love her pages!
Hi everyone. I’m so happy to be a guest blogger for Shimelle and hope to make many new friends through this venture. The girl is so busy she deserves a break. I was inspired to create five layouts, five different ways, all with die cut paper! This would be no problem for me. I love die cut paper and since all I had was Jenni Bowlin Studio papers (the Play Date collection), I thought Shimelle will love this.
She did. Ready or not girls, here we go….

Cut photos to fit the diecut paper’s shape
The first layout, “The Boyz Sharing”, uses the diecut paper whole. By cutting my photos the shape of the die cut paper I kept the paper shape intact. The first thing you will see in the layout, by doing it this way, is the shape. I love that! Most all of the embellishments are from Jenni Bowlin Studios. The lettering is from American Crafts and Making Memories. Finish it off with some buttons and a car shaped piece of chipboard.
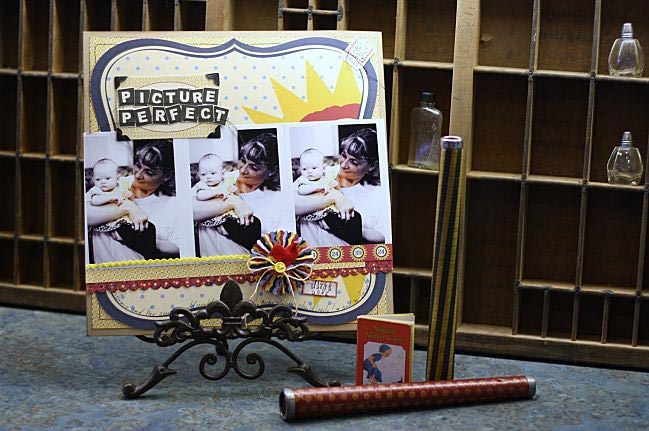
Use the entire diecut paper as a background layer
The second layout, “Picture Perfect”, is again using the diecut paper whole. I printed out three images of the same photo and put them across the diecut paper, letting them trail off the edge. I placed the layout on the paper cutter and removed the overhang . I love this look! It reminds me of the old film strip photo booth type pictures. To add a little yellow color to the layout, I put some pattern paper behind the diecut. Once again, with the exception of a few buttons, trim and vintage photocorners, all product is from Jenni Bowlin Studios.
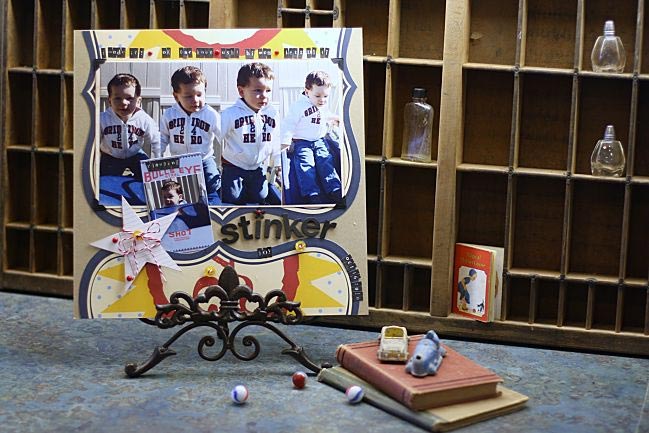
Slice and invert the diecut paper
The third layout, “Stinker Boy”, uses all of the diecut paper, but it is cut and reversed. Cutting about a quarter of the diecut paper off and adding it to the bottom of the layout created a new shape. This then gave me a great space for my photos. I chose four 2 1/2” x 6” photos and matted them on Bazzill cardstock. Lettering is by Making Memories and American Crafts. Finishing off the layout were Kaiser pearls, baker’s twine and buttons. I don’t think I can do a layout without adding buttons, an all time favorite of mine – right up there with JBS.
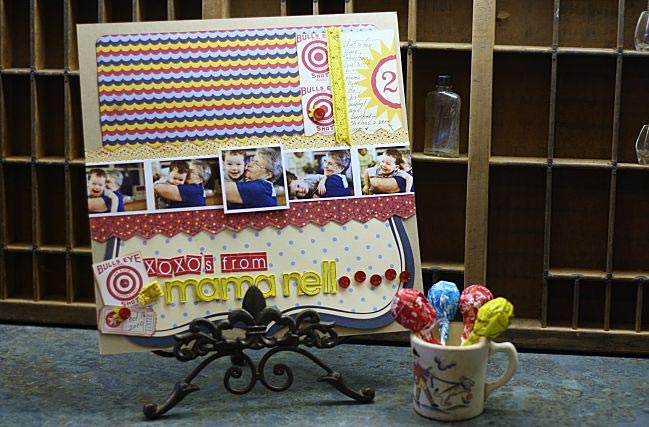
Use just half the diecut sheet
The fourth layout, “XOXO’s from Mama-Nell”, uses the diecut paper cut in half, leaving two pieces. I used one piece for this layout, saving the other side for layout five. I added some pattern paper and pop-dotted my focal photo. The 2” x 3” photos were placed in a strip and together they more than cover the full 12” background from side to side. Then I just used my paper cutter to trim off the overhang. The embellishments are by JBS with the exception of a few buttons and trim. The trim is from Creative Imaginations, and the yellow lettering is by American Crafts.
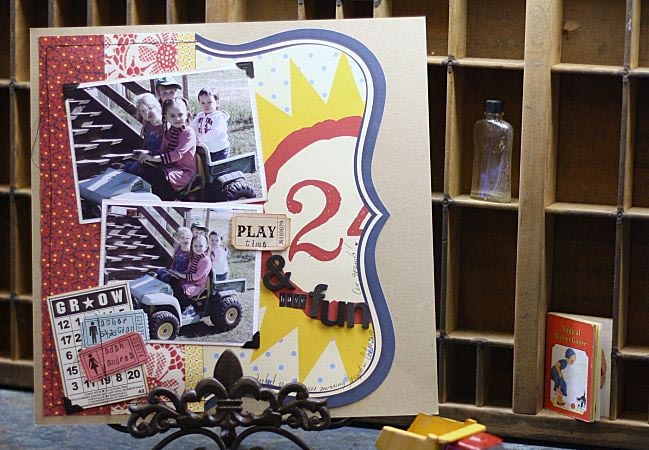
Turn the other half on its side
The fifth layout, “Grow, Play & have Fun”, uses the other half of the diecut paper from layout four. Now how cool is that ~ two layouts using one diecut paper. I love getting that value from a special sheet of paper! On this scrapbook page, I machine sewed the pattern paper on the kraft cardstock, leaving the threads to dangle. I double matted the photos and used the “vintage” black corners. Anyone remember those? The embellishments are mostly JB Studios except for the play ticket by Tim Holtz. The lettering is by American Crafts and Making Memories.
If by now you still want even more, I have two more examples on my blog and I’d love for you to stop by and say hi. I had a great time!! Thank you, Shimelle!
| Connie Mercer is a wife, mom and a “nini” to five beautiful “grands”. She has been paper crafting for over ten years. She lives in Texas, on a ranch, with her husband, cows, deer, and armadillos ~ just to name a few. Living on a ranch enables her to capture unique photos and share them through her art. If you would like to see more of her art, please check out her blog, Crafty Goodies. |
 |
![]() Read more about:
Read more about:
Next post: 4x6 Photo Love Scrapbooking Class :: January 2011
Previous post: Scrapbooking giveaway winner


