TTV Photography for Scrapbookers
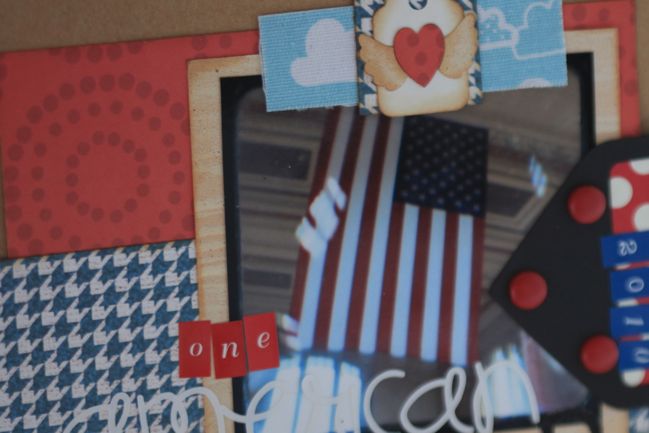
No matter how much I fall in love with new technologies and improvements in digital photography, my nostalgic heart loves imperfect imagery just as much. Give me photos with colour casts, grain, hot spots and scratches and all I see is character rather than mistakes. I love having a selection of pictures in my scrapbooks, from the crystal clear images I can get from my digital camera to film photos from vintage cameras. TTV photography puts both to use by using your digital camera to capture an image through the viewfinder of a vintage camera, complete with scratches and distortion. Admittedly, it may not be a look that everyone loves, but if you fancy something that looks a bit like the older photos in your collection, this can be such a fun technique to try.
What is TTV?
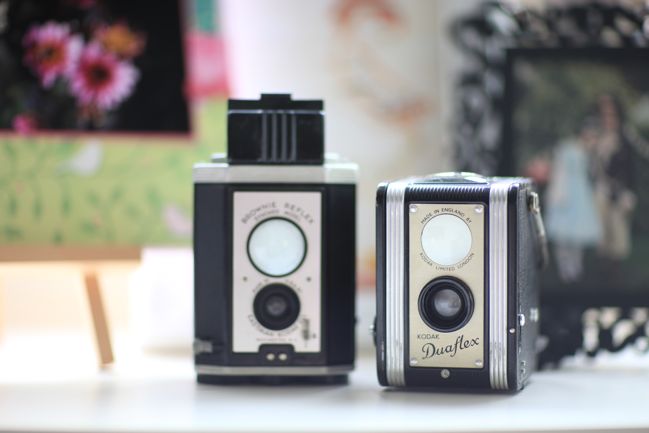
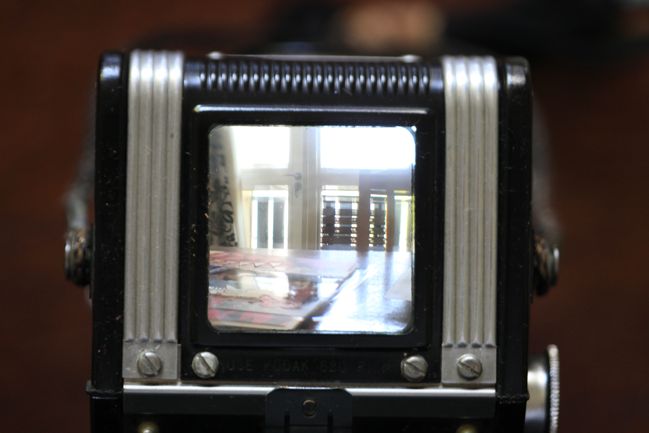
TTV stands for Through the Viewfinder, because the basic idea is to capture an image of just what you see through the viewfinder of another camera. The viewfinders on modern cameras are quite tiny, but they were considerably bigger on older cameras that weren’t designed to be held right up to your eye. Twin Lens Reflex cameras typically have a large viewfinder on the top of the camera, that you can see even when the camera is held at arm’s length.
A variety of Twin Lens Reflex (TLR) cameras are available today — some are such collector’s items that they are far too pricey to try on just a whim, but others are widely available on Ebay, on market stalls and at boot sales (garage sales for those of you on the other side of the Atlantic). You’ll find a variety at both ends of the price scale on Etsy to give you an idea of all the types available. There are also brand new versions of these cameras, such as the Blackbird Fly from Japan. I use a Kodak Duaflex that I found for less than a fiver from the camera stall at nearby Greenwich Market.
If you find a Twin Lens Reflex camera in good condition, you can actually still use it with film. Most of them take medium format 120 film (some take 127), which you can buy at a camera shop and you can have developed at most photo processors — just know that they will likely send it away to be processed rather than developing it in the same way that they do 35mm on the hour. Most developers take a week to ten days to process it, including the time for sending it to and from the shop. Just something to keep in mind if you are curious about the film option when looking for a vintage TLR camera – but definitely not required for TTV photography. You don’t even need it to be in working order as long as you can see an image in the viewfinder!
How to take TTV images
The basic premise of TTV photography is simple: use a vintage camera to compose your shot, then use your digital camera to photograph the actual viewfinder of the older camera. That can be as simple as setting the vintage camera on the table, then holding your digital camera as you would normally and focusing on the top of the vintage camera. The resulting image would look something like this:
Once you have loaded this image onto your computer, you can crop it into a square to eliminate the rest of the camera and the table. (It’s okay if your image wasn’t perfectly straight, as you can straighten it at this point too.) That brings us to a picture like this:
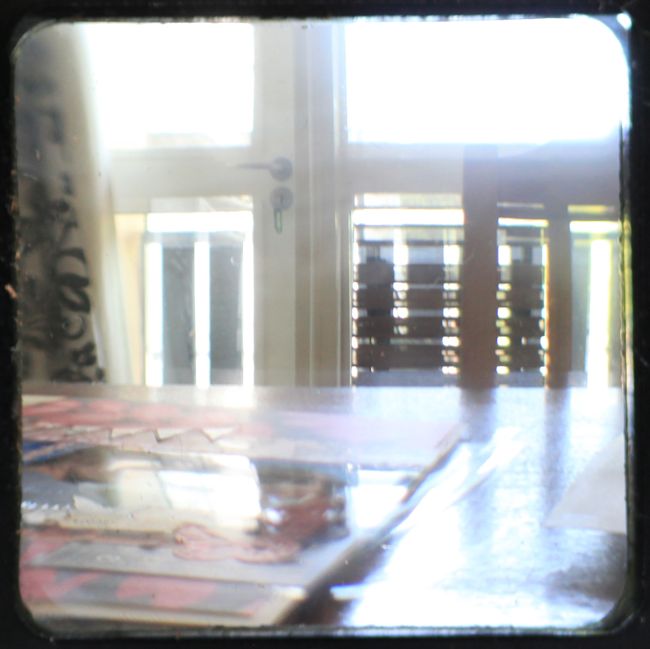
But we can make improvements on this by controlling the light a bit more. Right now, the image is filled with light because the same light source is coming into the picture twice – once into the TLR camera to make the image appear in the viewfinder, but then again into the lens of my digital camera because there is plenty of light available in the room between where I’m holding the camera and where I’m focusing. Eliminating that light will create a more accurate image. And everything you need can be found in your scrapbooking stash: black cardstock and adhesive! Roll the cardstock into a tube that will fit around the lens of your digital camera, making sure the other end of the tube will fit around the top of your vintage camera. There’s no exact science to this — it’s just a case of rolling the cardstock until it fits your set up, then taping it in place when you get a good fit. You can attach it to either camera – whichever you prefer – with a rubber band and then the cardstock tube will stay in place for as long as you want to take pictures but it won’t be any trouble to remove either.
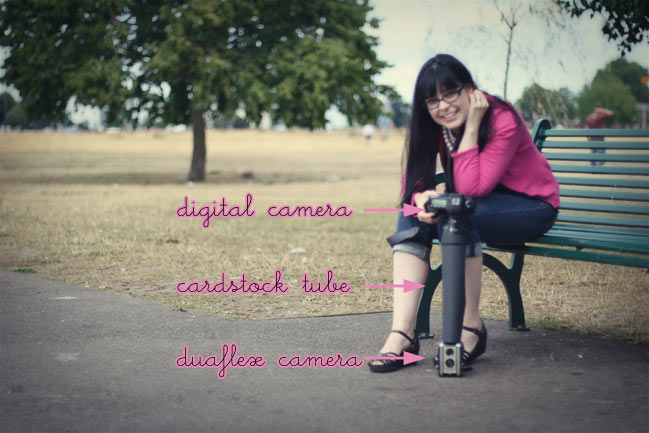
You can do this with any digital camera, including a point and shoot. If your point and shoot has a macro or flower mode, that may give you the best focus on the viewfinder. If you are using a DSLR and have a range of lenses to choose from, you’ll want to choose something that will give you the best macro focus while also having a distance range that makes it easy enough to focus on the the older camera — you don’t want something that requires you be several feet away from the camera, because the further away you have to be, the longer you’ll need to make that black cardstock tube! I use the Canon EF 100mm f/2.8 Macro USM Lens but please don’t feel that you have to have that lens to try this technique. Use whatever camera or lens you have available and adjust your cardstock tube to be shorter or longer as needed.
Adding the black tube to your set up will prevent excess light and also eliminate any reflections that appear on the glass of the viewfinder. This is especially useful when taking photos outside with overhead sun. You can see the difference in these two images taken in the same conditions but with and without the black cardstock tube.
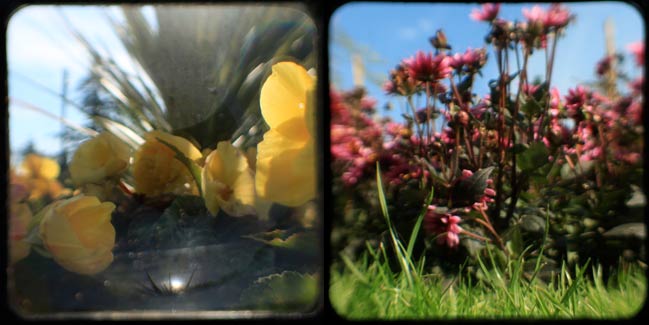
The image on the left was taken without the tube, so you can see reflections, glare and a great deal of light on the picture. The image on the right was taken with the black cardstock tube, eliminating the reflections and allowing for much brighter colours to appear.
All you need to do in post-processing is possibly straighten the image if it’s not perfect and then crop it into a square. You can do that with pretty much any basic photo software. I do that in iPhoto, and it’s also possible in Picasa, online with Picnik or with Photoshop/Photoshop Elements too of course.
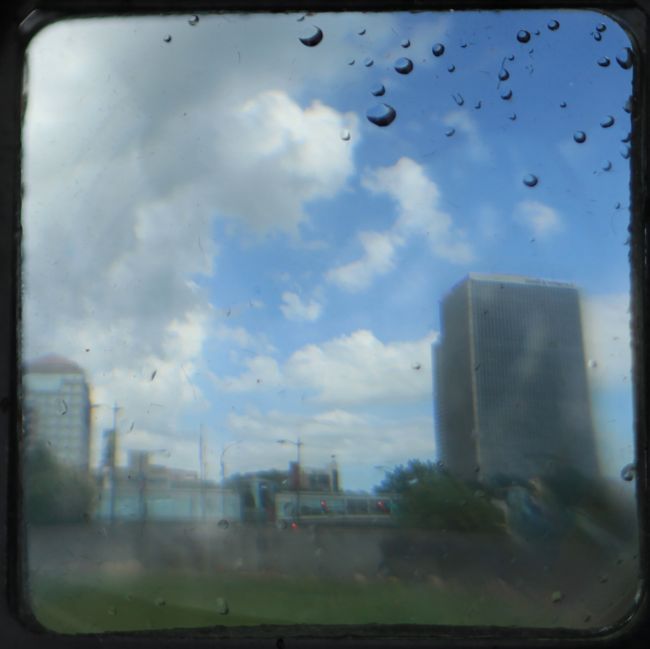
You can also try getting a little creative by adding a little something right on top of the viewfinder. I got a bit too close to a fountain and the end result of these water droplets on the glass is quite cool! Of course I’m a little fond of sprinkling some glitter on the viewfinder for something festive!
By the way, you can also take some interesting images with the black tube and your digital camera without the vintage camera. That’s how I captured this picture (see it on a scrapbook page here) and it’s something I fancy trying a bit more for the unique look.
How to fake TTV images
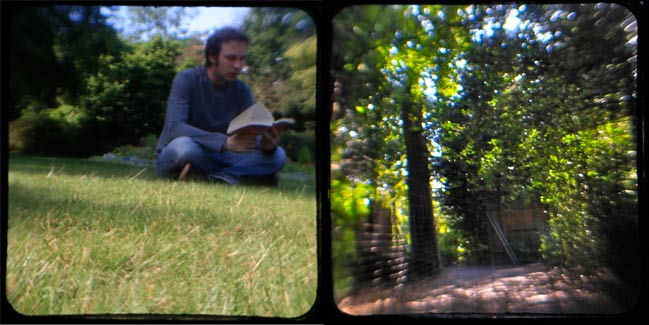
If you like the look of TTV but the DIY aspect just doesn’t sound fun for you, you can fake the look of a TTV image by taking any digital photo and adding an overlay with the square black frame and scratches. You can find some of these made specifically for scrapbookers, like these toy camera frames by Tia Bennett, and you can also find a selection of frames on Flickr, where photographers have taken a picture of something neutral to leave you with just the black frame, which you can copy and paste over another image.
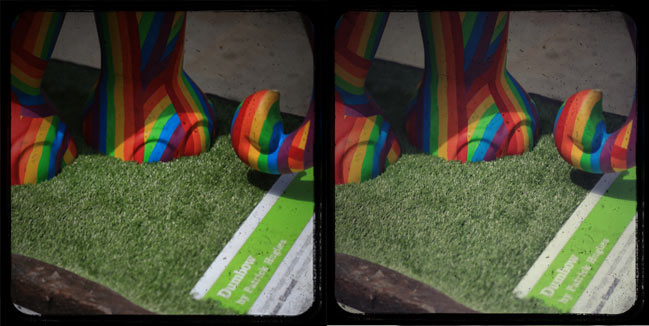
For these pictures, I pasted this frame by Flickr member Toke Nygaard over a digital photo. On the left, I kept the original colour from the digital picture, while I added a filter layer on the right to soften the image a bit for a more vintage feel. For both, I pasted the frame over the image in Photoshop, then set the frame layer to multiply mode so the photo would show through the frame.
Faking TTV images by pasting a frame is easy but it is limited to just adding the frame and scratches — it won’t skew the focus of your image like you get by using an actual vintage camera. It’s just a choice of how much degradation you want to your image.
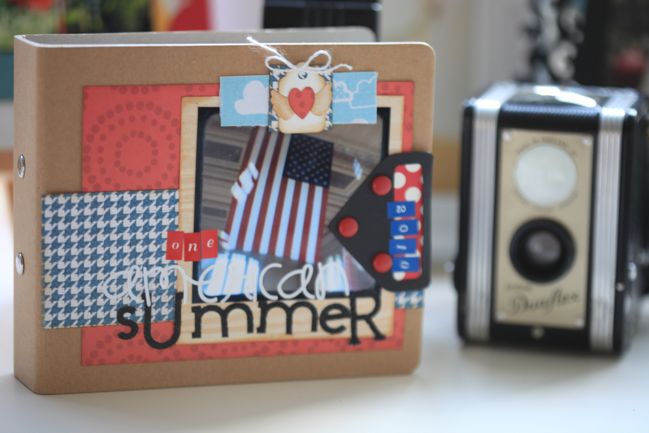
Scrapbooking and papercrafting with TTV images
Printing TTV images follows the same process we covered for printing Hipstamatic photos as it’s just a case of printing square images. You can achieve that on your home printer or with an online printer, so just pick whichever you prefer.
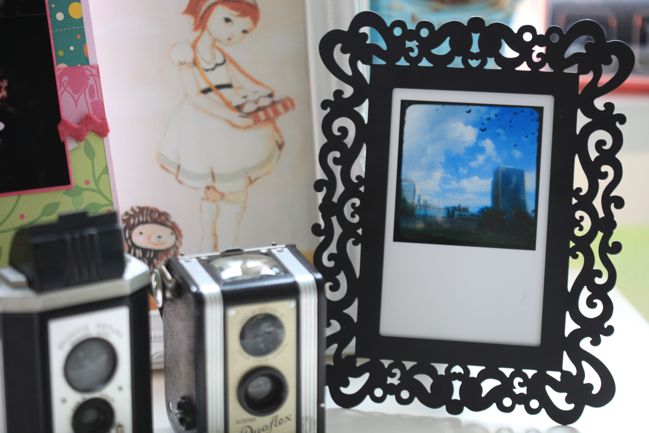
Unlike your Hipstamatic images, you can print these at any size that would be appropriate to your digital camera, so if you could normally print your digital images at 8×10 or larger, you can do that with your TTV photos too. They are great for framing and popping on the wall — see examples here and here.
Last year, I printed one photo with a TTV frame at 8×8 for each day of my Christmas Journal. For each day of the holidays, my album had one 8×8 scrapbook page with an 8×8 photo print opposite and I loved the mix. I printed the first few at home until I knew I was happy with the settings and such, then I saved up the rest of the images in a folder and printed them all at once just after Christmas so I could save money by printing them online. (Especially since I could take advantage of the after-Christmas sales! Bonus.)
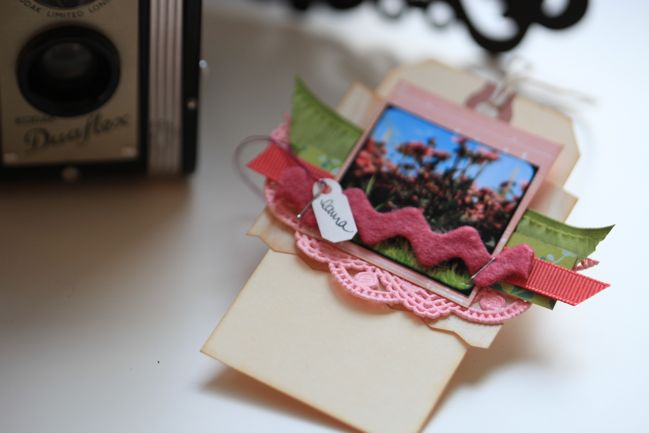
They can also be printed at teeny-tiny sizes perfect for adding to cards and gift tags. These will definitely be making an appearance on my holiday wrapping later this year, but it is far too early to be talking so much about Christmas, I do believe! Until then, it’s a great way to personalise your gifts and cards by using a TTV image of something the recipient loves or even an image of the actual person. They also make great place cards for a party.
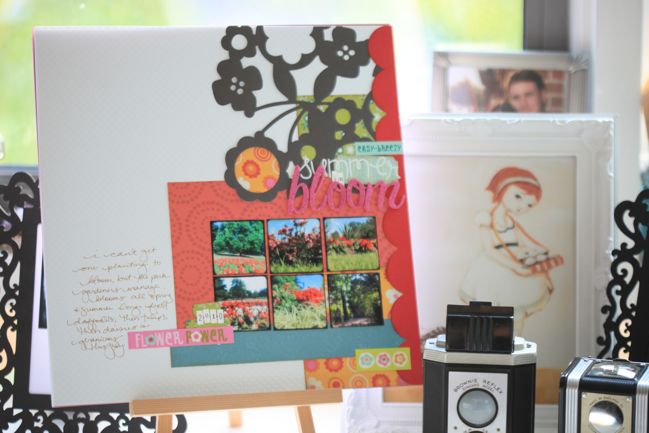
Of course, squares make grid-based scrapbook pages a flash, so that’s a natural design choice for scrapbooking a group of TTV images. While many of the TTV photos I’ve taken this summer are of flowers, there’s no reason why you couldn’t use TTV photography with things that are a bit more traditional scrapbook material. I think it would add a beautiful twist on some summer photo opportunities with children, like blowing bubbles in the garden or visiting a local fair or carnival.
If you give TTV photography a try, be sure to link up your images in the comments here — I’d love to see what you’ve been snapping with any old camera you find!
xlovesx
![]() Read more about: photography
Read more about: photography
Next post: Loving the retro scrapbook supplies
Previous post: Stamped titles for scrapbook pages :: heat embossing


