Using Paint to Highlight a Photo

Need more inspiration for this week’s paint challenge No problem! Contributing designer Gina Lideros shares her steps for using paint to highlight the photo on your next scrapbook page.
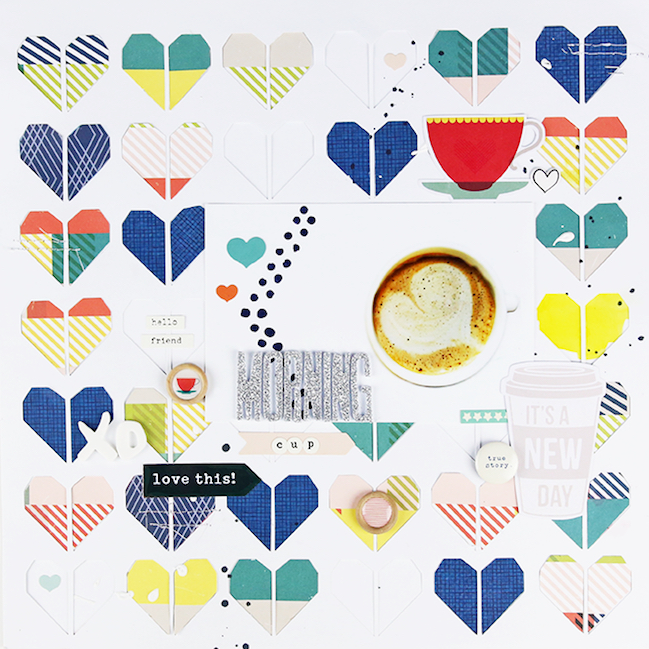
My routine every morning is to get up early and enjoy a nice cup of coffee before the rest of the house awakes. There is something about having that quiet time each day that sets the tone for the rest of the day. It’s kind of like a meditation of sorts to me, plus caffeine. The best of both worlds! I chose to document my morning routine for this week’s post.

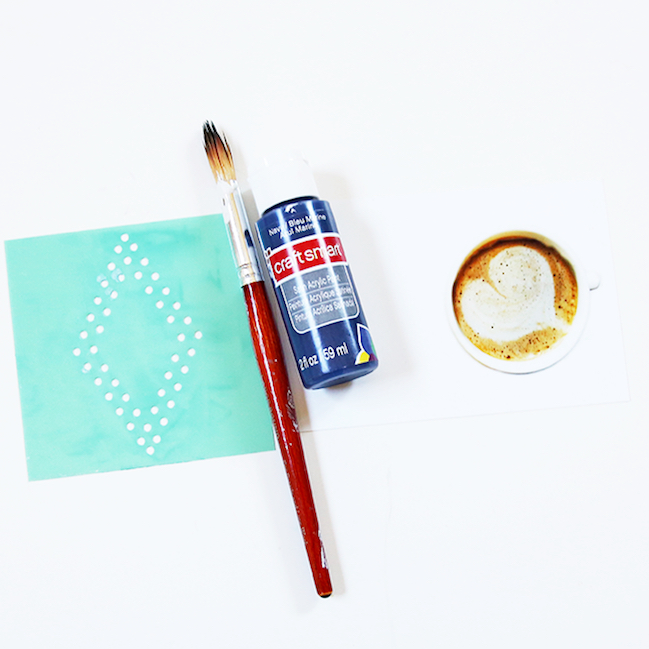
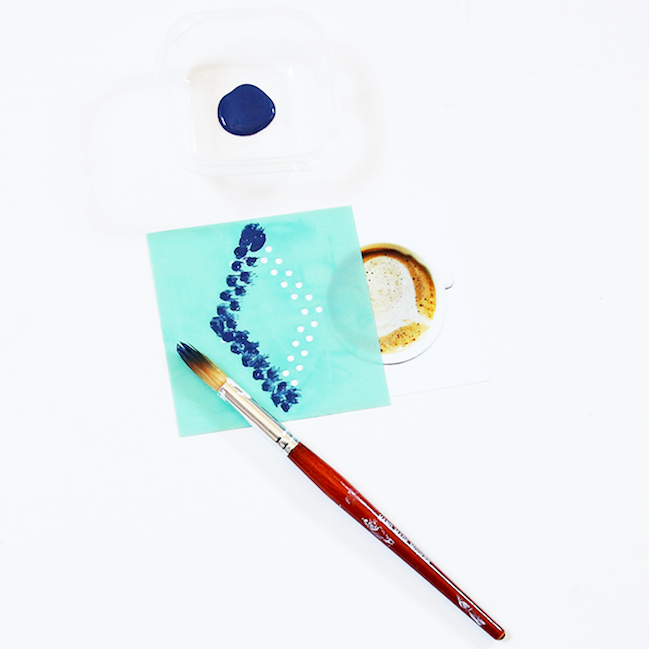
To get started, I chose a favorite photo, a stencil from Heidi Swapp and Craft Smart Navy blue acrylic paint. I specifically chose a photo that had a lot of negative space. I placed my stencil over the left side of my photo. I carefully applied my paint to the left side of the stencil, leaving the right side open. By only painting one side of the diamond shape, my design became a chevron. After applying paint I was careful to lift my stencil up in slow motion (to not smear the design). Next, I used a heat gun over my design to speed up the drying process.

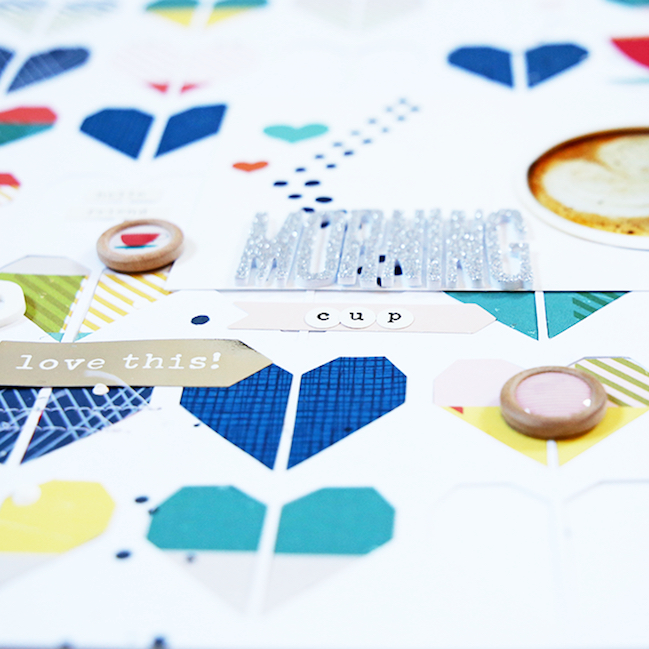
While my photo was drying, I created my background for my layout. I used the Half Hearted cut file from The Cut Shoppe to cut my background out of white cardstock paper. I then chose a selection of favorite patterned papers from Shimelle’s True Stories and Starshine collections.

Lots of fun embellishments such as buttons, stickers, Thickers, and stickers helped finish up my page. I even added some paint splatters and machine stitching for a more homemade feel.
![]() Read more about:
Read more about:
Next post: Stamping with Watercolours
Previous post: Weekly Challenge :: Paint the Edge of the Page


