Scrapbooking Starting Point :: Stormy New Zealand Seas


A lovely Monday to you, and a new starting point to jumpstart your scrapbooking this week! The last few days I’ve been pulled back to travel photos for some pages, so the kraft cardstock has been out on my desk again.

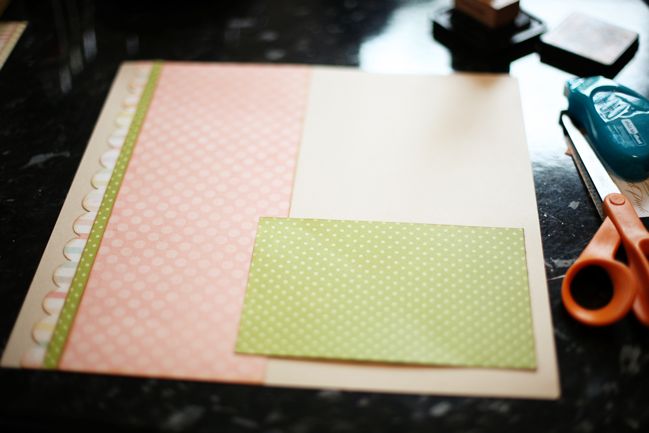
I’m working my way through the Pieces of Me kit at the moment. This is the second layout to come from my kit, since Glitter Girl stole her favourites last week to make this page. But I’m aiming to use everything she left me! For this starting point, I added a sheet of kraft cardstock for my background, but the papers are from the kit, including a 4.5×12 vertical strip, two small strips for that vertical border (one punched with a large scallop) and one 4.5×6.5 box. Those two sizes give you some flexibility in where the photos will go. Does your eye go to a photo on the green box? Or photos on the pink strip? Or both? So potentially you could include three 4×6 prints here, or any number of smaller images of course.

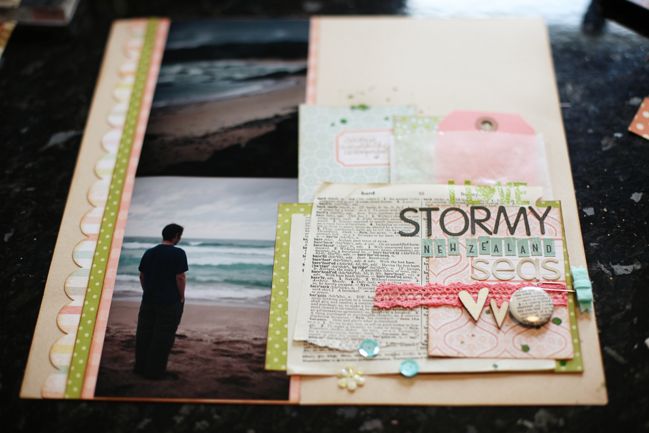
I went with two portrait 4×6 prints, then used the space at the right for my title, writing and more embellishment. Aside from the supplies, this layout has quite a few things in common with Glitter Girl’s page: two 4×6 photos, writing on a tag held in place in a paper pocket, and a triangle of accents in a contrast colour. Glitter Girl used that pop of red, but I went with aqua this time, creating a little triangle on the right side of the page between the aqua paper block, the aqua bow on the paperclip and the aqua sequins at the bottom of the page. If you like scattered embellishments but have trouble finding just the right spot for them to balance, that might be something you want to try.
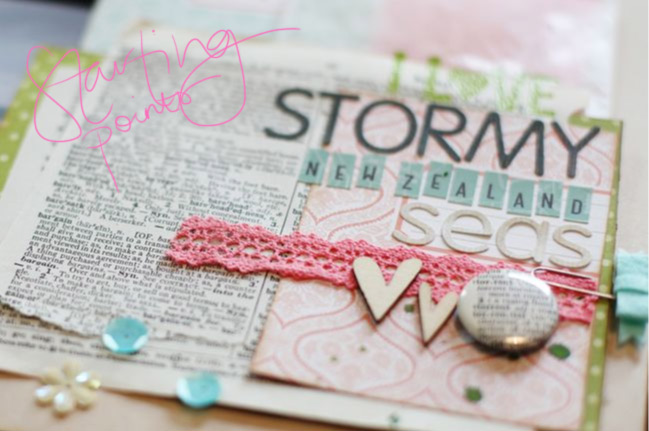
I love that I could get such a varied title for this page without adding anything else to the kit. The large letter sticker sheet includes two colours in both upper and lower case, so they work as two different alpha styles here, plus the small tile letter stickers and the lettering in the stamp set. This time I stamped with Versamark ink and heat embossed with Zing powder in leaf green. (If you’re keeping track, the only things I added to the kit for this page were the kraft background cardstock, the ink and embossing powder and the coordinating leaf green Mister Huey spray.)

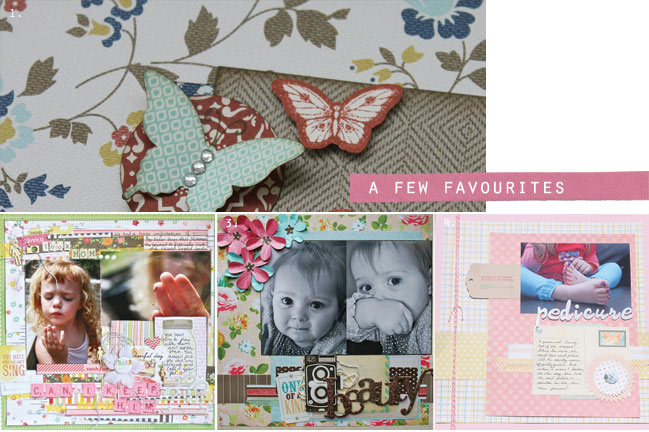
Last week’s starting point inspired a range of looks from one to three photos on a single page. Check out these pages and say hello to the scrappers who created them: one, two, three and four.
![]() Read more about: scrapbook-starting-points
Read more about: scrapbook-starting-points
Next post: Gardeners' Digest scrapbooking blog hop (June 2012)
Previous post: Scrapbooking Sketch of the Week :: Scrapbooking with Transparencies


