DIY Jubilee Party Dress

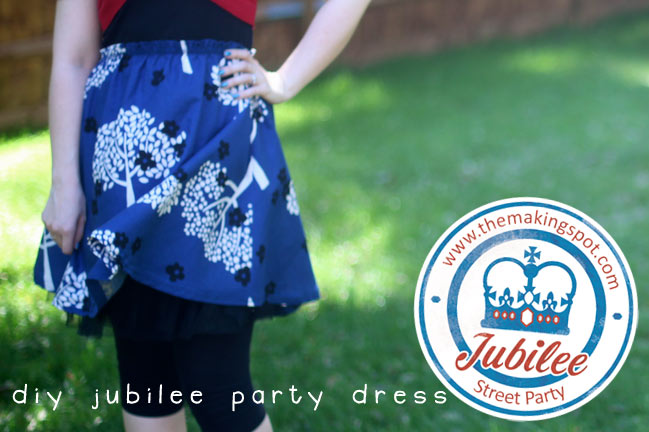
Oh, this glorious sunshine may have done crazy things to my head. Like how when someone said ‘I challenge you to DIY a special Jubilee party dress with only things you have on hand’, because I immediately thought oh yes, why of course! Then immediately wondered what on earth I would have on hand that could make something so very jubilant indeed. Sadly I didn’t have a giant supply of old union flags on hand, which might have been a more obvious choice, but it does mean you will be spared any sort of Spice Girls influence in patriotic dress sense. Instead, a bit of blue, red and black to make something for the Jubilee Street Party at The Making Spot. And to be worn on Jubilee weekend, of course, whilst the entire country tries to set a new world record for simultaneous barbecue cooking.
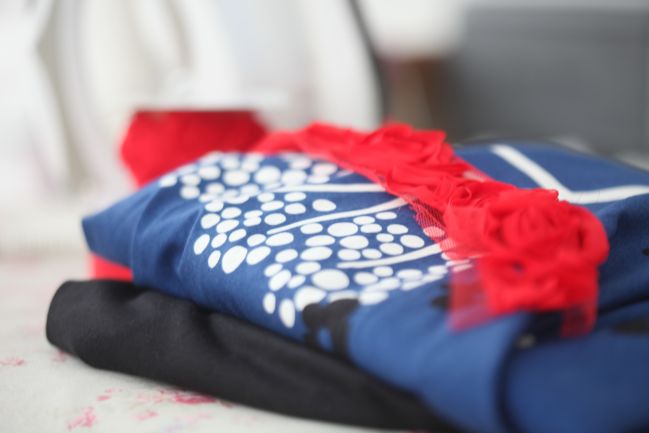
In terms of supplies, I rummaged up one failed dress attempt, which had been added back to my fabric stash, still half-finished, plus one plain black t-shirt from my wardrobe. That, plus thread and elastic, made the dress – no buttons, zips or facings. But all that had zero red involved, so the red cardi came from my wardrobe and I’m thinking that by just adding red in the accessories, it’s a dress I can wear in a non-patriotic way too.
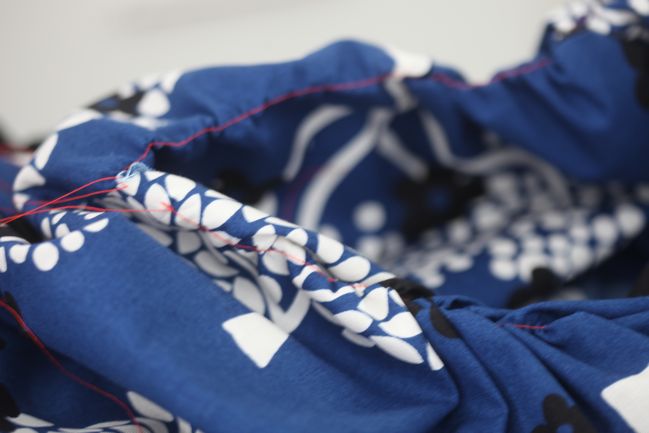
It’s hard to tell from a photo, but it’s a dress rather than a skirt and top. But I started with a process of making the skirt, salvaging something between an a-line and a circle skirt from the original pieces of the abandoned sewing project from years ago. Using a running stitch on the longest setting, I basted a trial waistline and gathered the thread to see how it would look… and this sort of make-do-and-try-it-on is pretty much how I sew. It’s a little different to following directions, but I find I understand what I’m doing a bit better and therefore get less frustrated than when I follow a pattern with something not completely obvious. This stitch is just to see how the pleats and gathers will work, so I usually sew it in a contrasting colour to make it a bit easier to work with – and easier to find when I take it out later! Once the trial gathers were working just about right, I pressed the top edge back to get a clean crease at the top, then swapped out the thread in the bobbin for elasticated thread and stitched all the way around the gathered skirt three times, holding that top hem in place with the same stitches that secured all the gathering. The result is a simple skirt with a bit of flare to the length and a super stretchy waist.
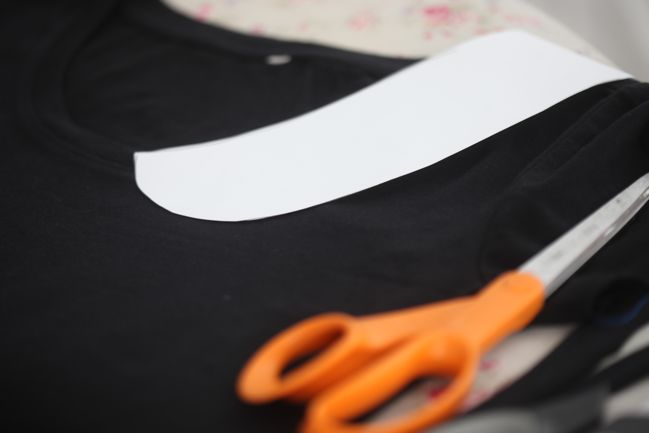
The top part of the dress started as just a plain t-shirt , but the cut was far too boxy to suit a dress, so I took it in with three darts – one on each side to taper in the waist and another at the back of the neck, as the neckline didn’t hang very well, which was how it ended up in my pile of ‘cut this up and sew it into something else’ clothes. And everything is both better and more 1952 with a peter pan collar, so presto! There are lots of templates and tutorials for adding a collar to a top, and some make it look complicated and others don’t. I had a look at them and then decided I mostly needed to make a template that would be the right length from the front of the collar to the centre point at the back. As the collar is made from a non-stretchy material sewn to a stretchy jersey t-shirt, the collar needs to be two pieces, so it’s still possible to get it over one’s head. (I hate it when I don’t think of those things and I make something that can’t physically be worn. I am particularly ace at knitting hats that look really cute on the needles but have one or two rows of intarsia so tight you can’t stretch it over your head. It’s a talent, I tell you.) So anyway: paper template to find the right length from the front to the back on one side, then a bit of playing to get the rounded part right.
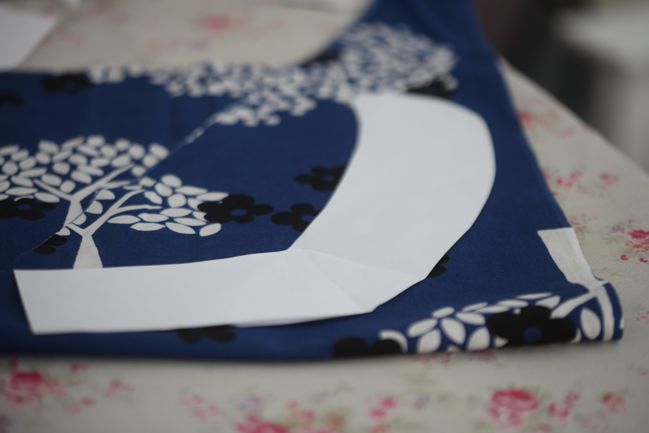
Folding the fabric up so two sides are pattern up and two sides are pattern down, then it’s just a case of cutting all four layers at once to make four identically shaped collar pieces.
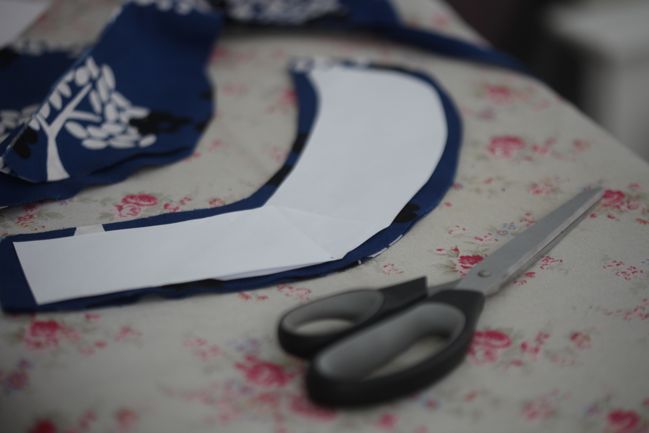
I cut outside the pattern to create a seam allowance. It turned out I didn’t need to do this really and my collar is a bit on the extreme size. So keep that in mind, I think: collars could do with being slightly smaller than one might expect.
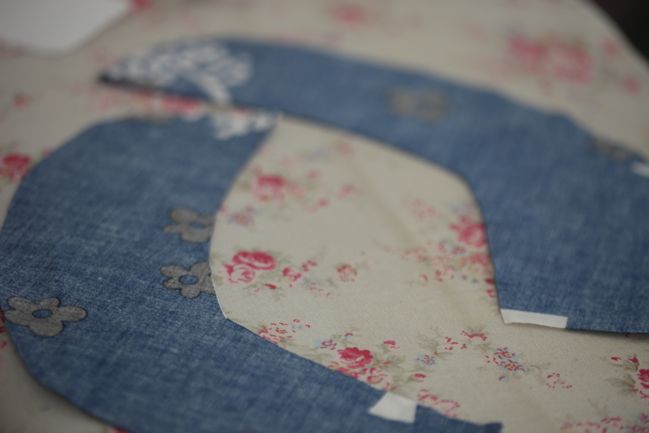
Pair the pieces, with right sides facing in. Cut a few little slices at the very edges of the curves so it won’t pucker. Sew almost around all the edges – leave a spot on the short straight edge open so they can be turned inside out. Then press them out, including folding in that unstitched spot, and top stitch around all the collar edges.
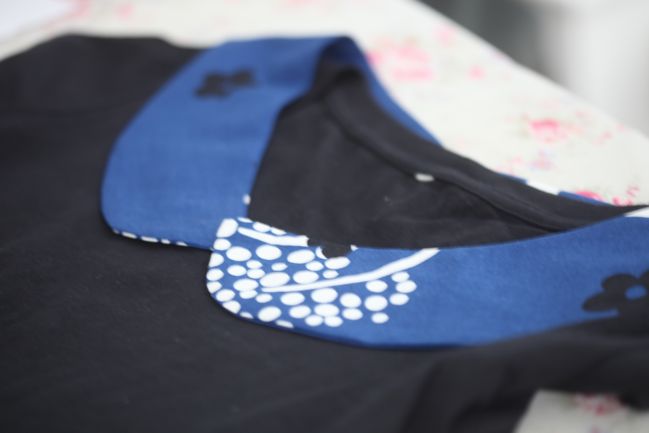
Then stitch it to the edge of the t-shirt – easy as that. Try the shirt on with the skirt and mark where you want the two to meet. I started out thinking the skirt should sit at a natural waist line, but in the end it looked more like a party dress with the waistline raised a bit. It’s not quite empire height, but it’s a couple inches higher than my actual waist. Oh – and that top edge of the skirt! Because there are no zips or buttons, the gathers create a quite bulky top edge, so I stitched it to the outside of the top rather than putting the two right sides together and stitching around. Either would be easy enough, but this has a cute texture with that top edge of the skirt, I think!
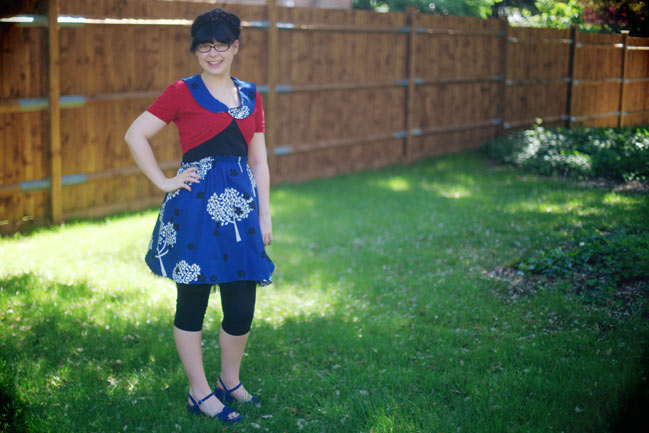
But of course it was still very blue and black at this point, so some red to accessorise for all things jubilee! I was going to wear red shoes as well but remembered I bought this pair of blue platform sandals at the end of last summer for a big day out and then it absolutely bucketed with rain that day so I couldn’t bring myself to wear them and ruin them, of course! Bonus of brand new shoes just waiting for this summer then – and they match perfectly. Plus every party dress needs a petticoat, right? At least in honour of 1952. I don’t have a red petticoat. I do have black, white and pink. That’s perfectly acceptable in 2012, right?
Fancy some more jubilee-themed fun? The Making Spot are hosting a street party right on the interwebs, so check out this post for plenty more projects! They also have a special offer of half off crafting patterns this weekend as part of the celebration, if you fancy something to knit or stitch. (I quite like this to pop in a frame above my sewing machine, but I haven’t the slightest idea when I would get it finished!) Or you might find a little jubilee inspiration here with this ridiculously easy bunting tutorial or five ideas with bunting including gift wrap, cakes, party decor and papercrafts!
Have a beautiful weekend and thanks for stopping by!
![]() Read more about: with-a-needle-thread
Read more about: with-a-needle-thread
Next post: Scrapbooking Giveaway Day
Previous post: Glitter Girl's tips for scrapbooking about yourself


