Glitter Girl and the sewing machine solution (scrapbooking video)

 Class content ©twopeasinabucket.com.
This week, Glitter Girl is out to find a sewing machine solution! If you have a sewing machine, there’s no reason not to use it on paper, so don’t worry that paper can mess things up. There are a few things worth knowing though…
…Paper dulls needs faster than fabric (same goes for scissors, which is why it’s useful to have separate fabric shears if you do much sewing at all), so be sure to keep extra needles on hand. But you don’t need anything special – just the standard needle size for your machine.
…Adhesive is the only thing that can be problematic. It’s not a big problem, but if you’ve ever tried to clean adhesive off a table or other surface, you’ll be familiar with those stages of stickiness and residue and how it can see almost impossible to get right back to square one. Well… sewing through lots of adhesive will get all that residue on your needle and eventually it can transfer to the other working parts of the machine that surround the needle… or it can end up on the presser foot (the bit that clamps the paper/fabric down) or the feed dogs (the bits that move the paper/fabric along as you sew) and then you can wind up with glue on your next sewing project… which might be paper. Or it might be a wedding dress. Oh goodness. So less is totally more with adhesive on layouts you will stitch. You’re going to stitch things into place, so all you need is a little bit to hold things in the right spot while you sew.
…The tension might be different on your machine for paper versus fabric. Because paper is thinner and rigid, which could cause your stitches to look wonky on one side (or both) even when they look fine on fabric. No big worry: just adjust and try again on a scrap of paper. Or don’t stress and if it looks fine on the front but messy on the back, just don’t worry about it since that part won’t show anyway. Which is one nice thing about sewing on paper!
Anyway, time for a video adventure! It starts with some beginner sewing info then goes through three scrapbook pages, so if you already know how to use your machine and just want to skip to the layouts, zoom over the first six minutes and you should be on track.
If you think your sewing machine is broken, do yourself a favour and stop before you do anything else and change the needle. Needles are weird. They might look the same and you’ll swear it’s still sharp if you stick your finger with it, but it may be slightly bent, bowed or blunt. Any of those things can make your stitches a total mess or even make your machine stop sewing or show error messages. Yes, sewing machines need to be serviced now and then and sometimes they need actual repairs. But sometimes a new needle fixes all woes, and that only costs thirty pence. So try that first, okay? (Then if it still doesn’t work, head to an expert. A service will make your machine run like new again and it’s not all that expensive for most machines.)
Local friends, if you have never stitched and want to try before you commit to the idea of buying a machine, there are regular workshops at The Make Lounge and you can use their machines to get an idea of the experience. That’s for sewing on fabric, of course, but you’ll come away with a finished project like a patchworked pillow or a dress, so lots of good things in a couple hours in Islington.

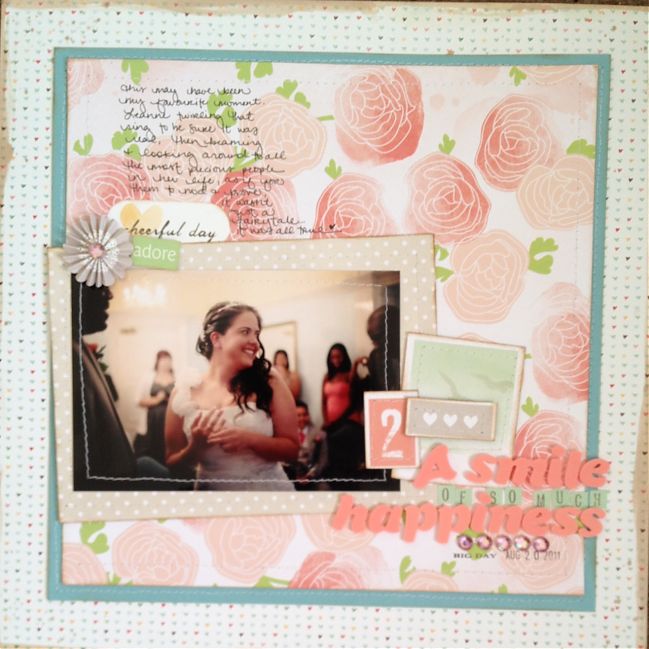
For getting started, sewing each layer separately and then gluing it together like any other layout works well. If you’re worried that something will go wrong, you’re only working with one piece at a time – so the worst that could happen is you need to replace that single piece rather than fix a layout that’s nearly finished. Not that you’ll have any trouble with the stitching! But just in case you’re nervous. For this page, everything is stitched separately then adhered like anything else. Plus you can combine stitches and pop dots with this technique – and I do not recommend sewing through pop dots. I may have tried that out for experience in the past. It’s not the wisest move.

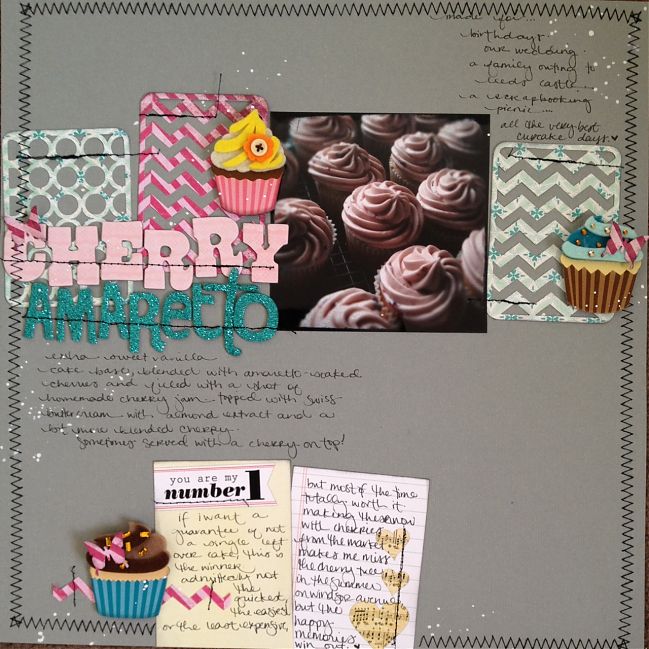
If you love layers, you can add stitching to each layer as you go. This is the same technique I used on this minibook cover and it works really well on cards too. That repeated stitching can transform a stack of scraps into something extra special.

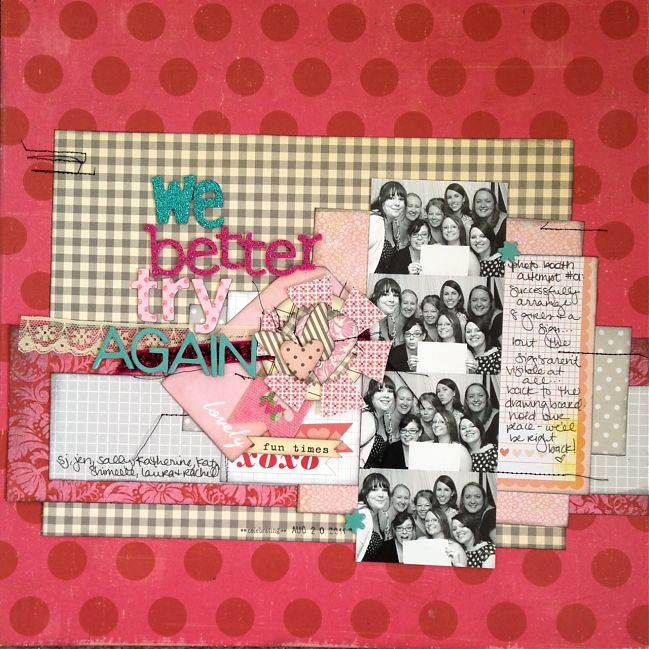
Sometimes stitching is a great finishing touch to a layout that is just lacking a bit of something. In this case, I started with everything here except the stitching, but the lack of contrast made the page fall flat. The stitched frame and details in the high-contrast black thread help take it from in between to definitely finished.
(Also, don’t freak out but that is two weeks in a row that I have used themed supplies for their theme. Bicycles last week and cupcakes this week. Whatever will happen next?)
If you’re interested in more projects and information about using your sewing machine on your scrapbook pages, check out the Sew Happy Scrappy workshop at Two Peas – it’s self-paced, available any time and it’s just five bucks. (It’s taught by Jen Johner and you’ll find it listed with all the other supplies if you scroll down past the video here.)
This week Glitter Girl challenges you to sew on a project of your own! Upload it to Two Peas and check the box for the Glitter Girl challenge in step four of the upload process to share it with us all – and you’re also welcome to share a link in the comments here if you fancy!
Onward, covered in glitter, my dear scrapbookers!
The Adventures of Glitter Girl is a weekly series on Two Peas in a Bucket, and goes live every Wednesday. I’ll share each adventure here shortly after that. I hope you enjoy her quests for crafting happiness, and if you ever have a scrapbooking dilemma yourself, you can always call her to action on the message board. She’s currently looking for a topic for next week. What should it be?
![]() Read more about: adventures-of-glitter-girl two-peas-in-a-bucket
Read more about: adventures-of-glitter-girl two-peas-in-a-bucket
Next post: American Crafts & Scor-Pal Scrapbooking Blog Hop
Previous post: 10 Things :: March 2012


