Choosing a size for a Christmas Journal


Let me say to start, there are those who love to prepare most of their Christmas album early and there are those who prefer to make something each day with little to no planning in advance. If this is your first year considering such a project, know right from the very beginning: either option can work. Over the years, I’ve tried various amounts of preparation, from making my pages completely in advance and just filling in the words each day to making each page from scratch at the end of each evening. Personally, I found my happiest method is right in between, and that means I prepare some embellishments – but not complete pages – in advance. I’ll share more about that specific process throughout this weekend. But the big decision comes in the size of your album.
My first Christmas journal was my smallest – a 5×5 inch spiral book with watercolour pages. In other years, I’ve created full 12×12 pages, 8.5×11 pages, pages in a mix of sizes, 5×7 pages and 8×8 pages. In fact, I’ve made three 8×8 albums and two of them are my favourites, and I have happily declared this as my favourite size. This year, I’m returning to 8×8 and I’ll be using a fabric-covered ring-binder in leaf green with plenty of 8×8 page protectors.
When choosing the size of your album, think about a few key factors:
…how many photos you will want to include,
…your preferred size for printing those photos,
…if you want to write a great deal or just a bit, and
…how much time you want to spend on your entry each day.
The more photos or the larger you want your photos, the bigger your pages will need to be. The more you writing you want on display, the bigger your pages will need to be. But in general, smaller pages can take far less time! So there’s a balance for you to choose. If you’re working in a digital format, you can narrow your options slightly by choosing if you will go for square or rectangle! If you opt for square pages, you can choose the size later when you print the book. (Just be sure to create the pages at the bigger size as you can print something smaller but if you try to blow up the image larger, it will loose a great deal of the quality.)
But really, you can go in absolutely any direction with this project. You can grab a notebook and doodle and write and paste things on the pages. You can get an album with page protectors – regular page protectors or fancy pages with pockets and different sizes. You can go extra-special and create a drawer full of library cards or fill a recipe box or a photo spinner! A journal doesn’t necessarily have to be in book form. And using what you have is fabulous. All different sizes and shapes will work!
Once you have chosen your album, there is one thing I do suggest doing no matter how much preparation you choose to do before December begins, and that is cut at least some paper to size so you have pages ready and waiting. You know how you prefer to create: with solid cardstock or patterned backgrounds; brights, neutrals or muted tones. Go with what you like in your general crafting! If you cut at least a small stack of pages to start, that’s one less thing you will need to think about on a daily basis – if you decide to create an entry every day. Remember, that is just one way to follow the project, and there’s no need to feel you’re not creating something worthwhile if you only create a page when your schedule allows. Cutting your page backgrounds in advance also lets you see exactly which off-cuts you have to work with as embellishment on other pages. If you know your largest page size is smaller than 12×12, you can also cut any other papers you’ve selected to that size, as you won’t need a full 12×12 sheet in an 8×8 album, of course! This is particularly helpful if you need to take your project with you throughout the month or pack it into a small space (or if you need a little extra encouragement to use your paper rather than keep putting it back on the shelf).
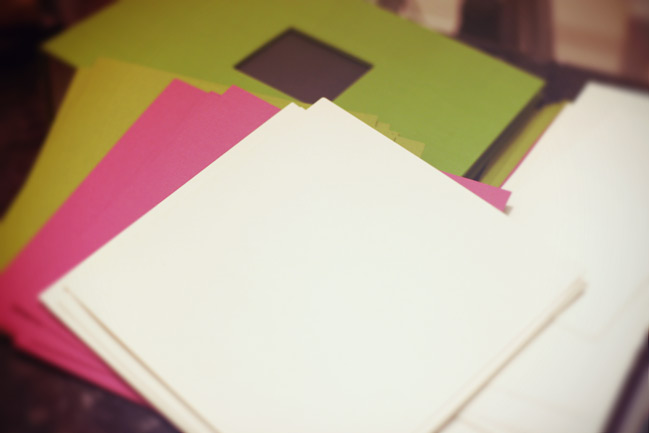
I’m creating 8×8 pages this year, and I’ve cut forty background sheets. I’m using just three colours of cardstock this year – olive green, berry pink and vanilla, to go with all the patterned paper I’m using from this selection of supplies and have since popped the background pages into the page protectors. All ready to go! And now it’s your turn…
Your challenge: choose your album and cut at least some of your background papers (if your album doesn’t come with pages already, of course). Take a picture and post about this part of your process on your blog or in a scrapbook gallery. Link it up with the little gadget below, and one randomly selected entry will win a $10 gift certificate to Two Peas! Entries close at the end of next Sunday, the 20th of November.
PS: UK friends, if you don’t have your album yet, there is a post for you tomorrow that might involve a bargain. You know… if you are still searching.
![]() Read more about: online-scrapbooking-weekend
Read more about: online-scrapbooking-weekend
Next post: Scrapbooking with the early birds!
Previous post: Christmas Crafting Weekend - let's start with a giveaway!


