Tulle Headband Tutorial

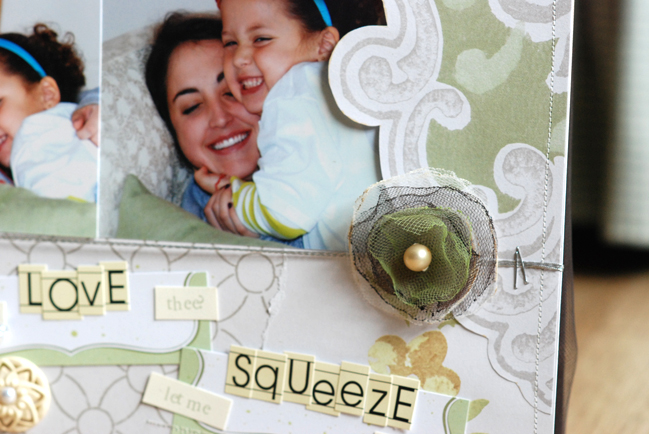
Today I’m happy to welcome Betsy Sammarco to the blog to share her technique for tulle flowers. They are perfect for wearing in your hair or adding to a layout! I hope you enjoy – let us know if you give this technique a try!
I was so happy when Shimelle asked if I’d share a technique with her blog readers. I was browsing around a handmade gift store where I saw little tulle flower barrettes. It looked like the edges were melted and I tried to recreate the effect myself.
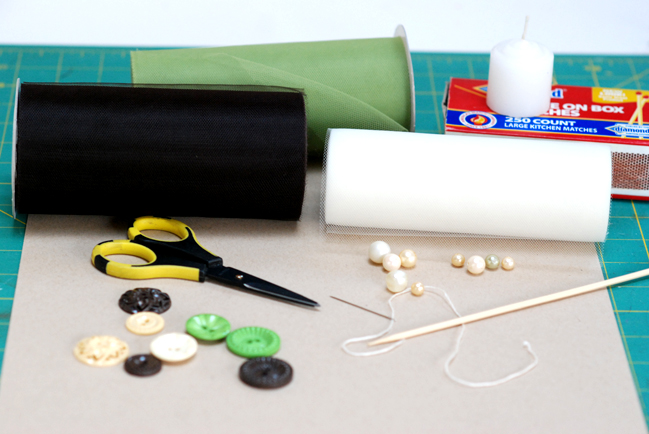
Supplies: 3 rolls of tulle in coordinating colors, buttons and pearls for the flower centers, scissors, needle and thread, barbecue skewer, and small candle. I’m using tulle from Celebrate It, buttons from Jenni Bowlin Studio, and pearls from grandma.
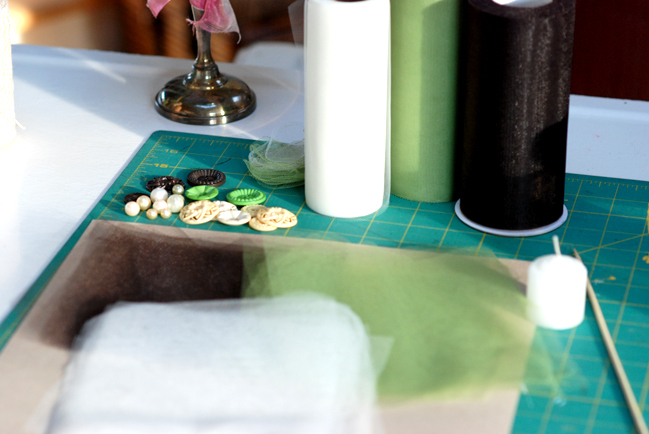
1. Cut the tulle into pieces about 6 inches square.
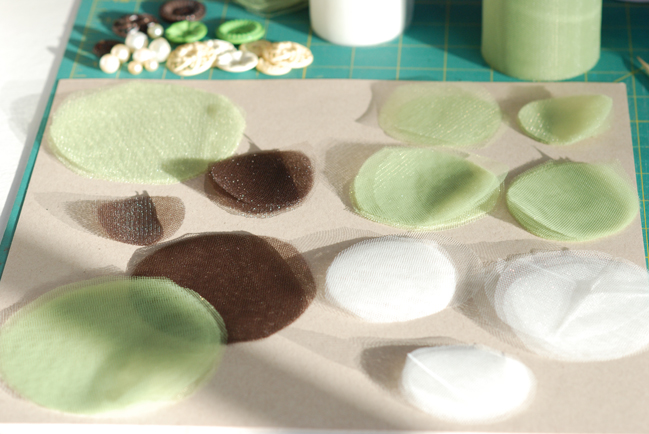
2. Cut various sized circles from the tulle. To do this quicker, cut a couple pieces of tulle at one time.
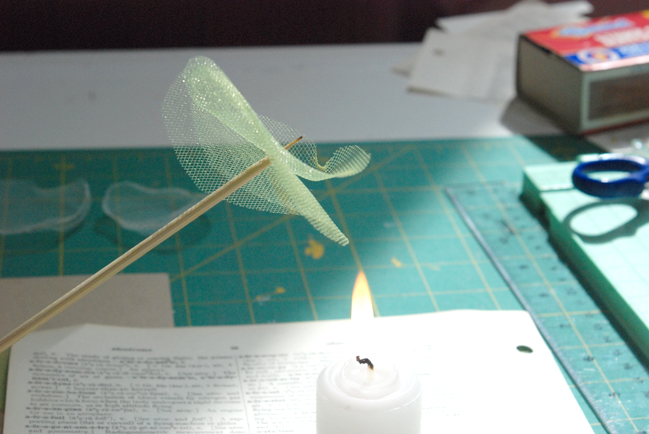
3. Stick 2 or 3 circular pieces onto the end of a barbecue skewer. Hold the tulle close, but not directly into, the candle flame.
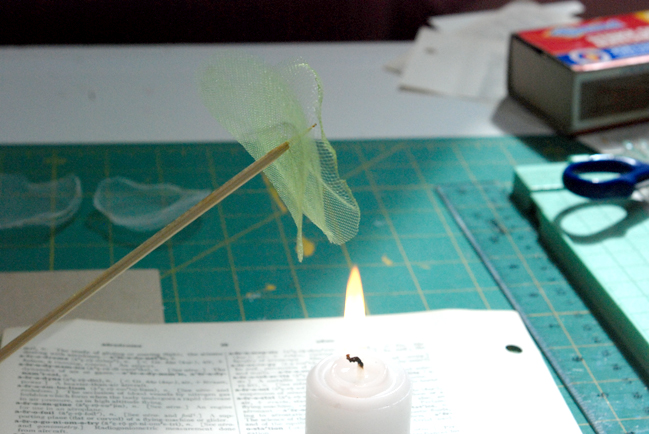
4. Turn the skewer so the edges of the tulle start to melt and the circle starts to curl up.
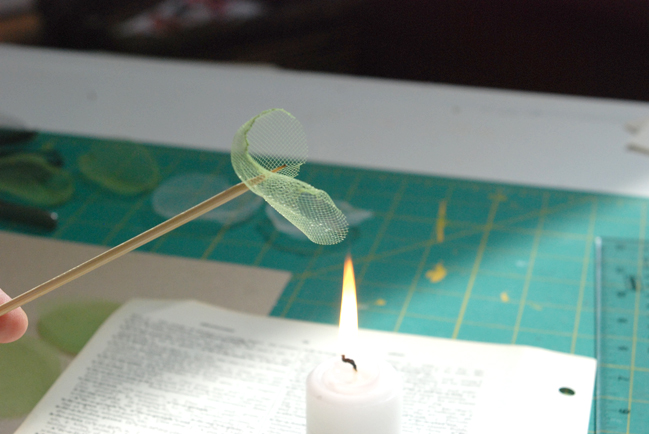
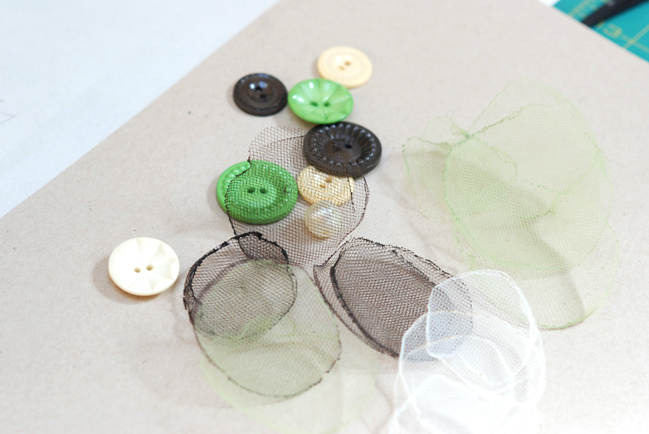
5. When you are done, you will have a bunch of tulle circles whose edges are now melted and more defined.
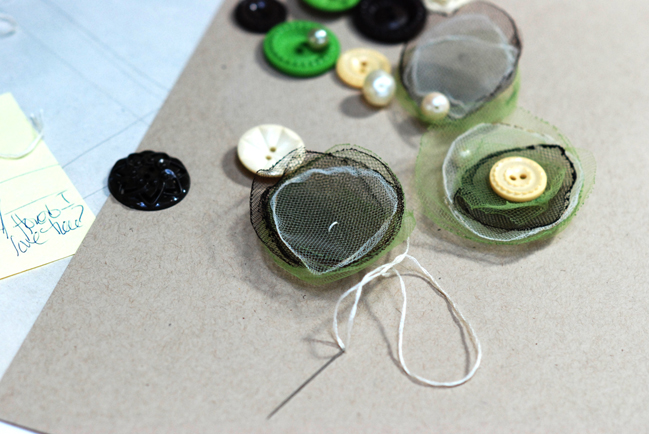
6. Layer your tulle circles until you get a look you like. Place a single stitch in the middle of the bunch to keep the layers together.
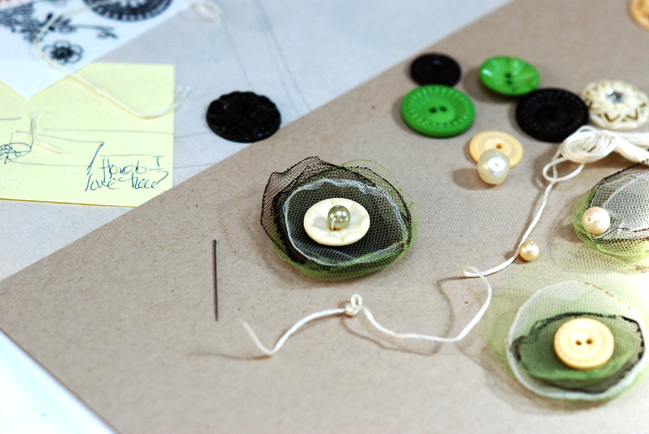
7. Stitch a button, pearl, or both into the center as your flower center.
I used one of these flowers as a sweet embellishment for a layout:
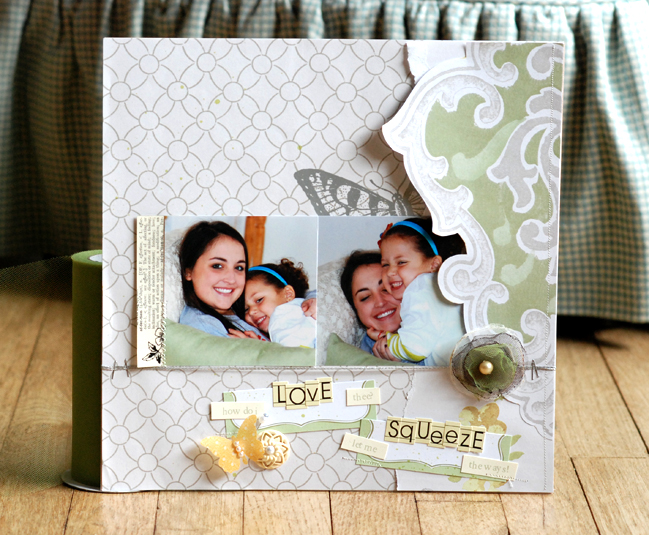
Other supplies: Jenni Bowlin Studio patterned paper, alpha stickers, rubons, button, journaling card, stick pin, and butterfly embellishment.
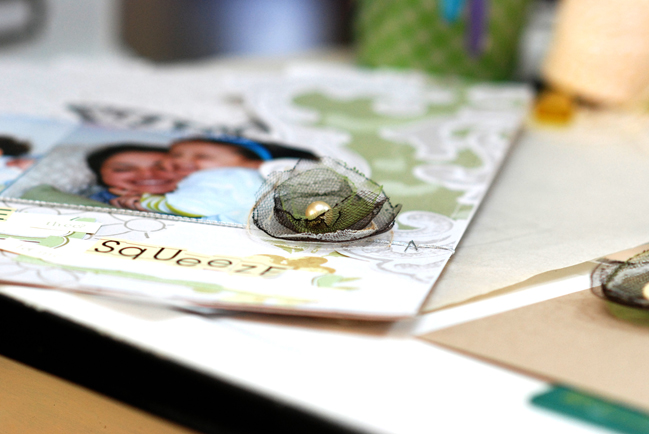
I love the dimension and definition this technique gives to tulle!
Betsy Sammarco is a Connecticut-based pharmacist with two sons and a love of papercrafts! She designs for Jenni Bowlin Studio and Jen Martakis Digital Designs. Read more about Betsy on her blog, Just a Pharmgirl.
![]() Read more about:
Read more about:


