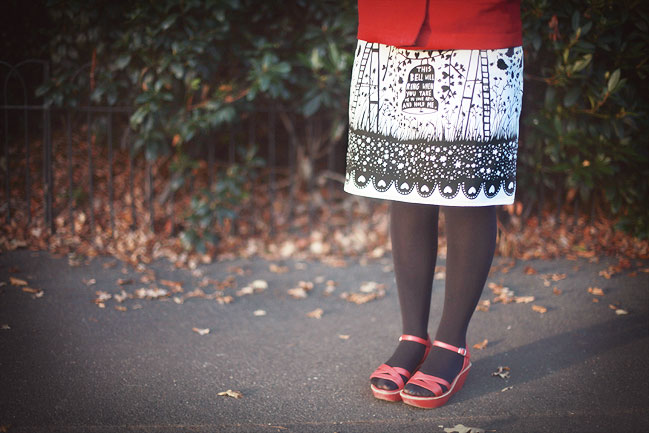
Making a Rob Ryan Skirt with Clothkits
Rob Ryan’s designs never fail to inspire me. A little bit of paper-cutting style not unlike the wondrous Lotte Reiniger with an East London edge and phrasings that teeter from romantic to eerie. Some day maybe we’ll have an actual Rob Ryan papercutting on our wall. For now we have a greeting card version. But then those crafty mavens at Clothkits made it possible to wear Rob Ryan. And sew it yourself for the perfect fit. Oh where do I sign up for such a fabulous thing? So today, I made a Rob Ryan skirt, and it was tremendously easy, I promise.
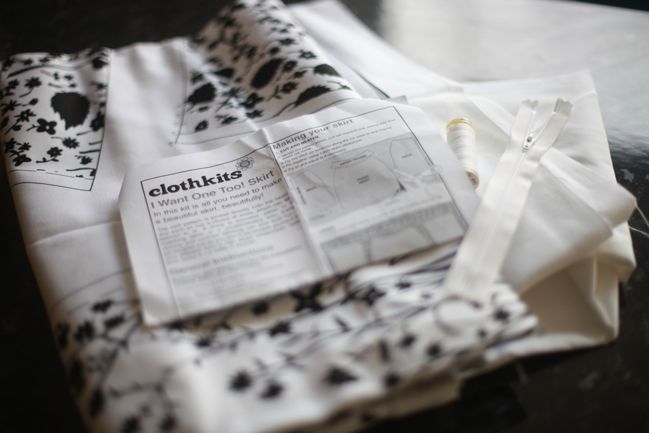
Clothkits designs include everything you need except the tools: the fabric printed with the design and dress pattern, the lining fabric, the zipper and a spool of thread, plus an instruction sheet. Add to that your own pins, scissors, iron and sewing machine and that’s all you need. I also used some adhesive for tacking the zip – but that’s just my special kind of crazy so totally optional.
The full process is seven steps from start to finish, and it took me about an hour and forty minutes… which does make me feel a bit guilty since I bought this back in March! It’s okay: I don’t love it any less now than when I spotted it last spring. Good thing!
Here’s the seven steps for making the skirt, in case you fancy giving it a go…
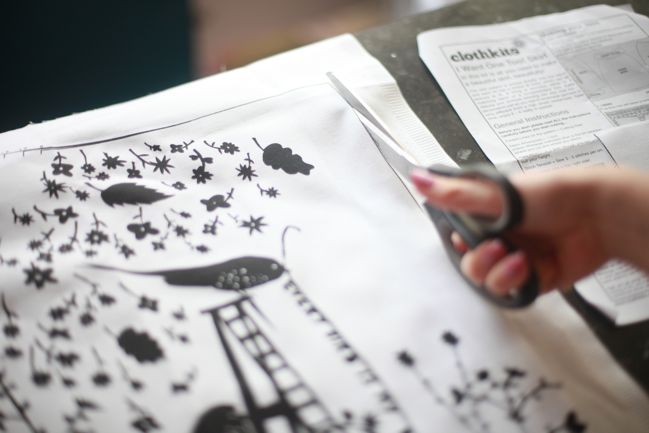
Instead of pinning a paper pattern to your fabric and worrying about getting the print in just the right place, all you have to do is cut along the lines. Clothkits come with the design printed right onto the fabric (in this case, a heavy white cotton twill, but they also do this pattern on a red corduroy). All the sizes for the pattern are printed right on the same piece of fabric – this one was UK size 8 to 16, but according to the Clothkits website, they have now revised the printing so it’s sizes 8 to 20. (To give an idea in American sizes, a UK size 8 is roughly a US size 4.) You can easily make the skirt smaller, but as the screen print ends at the largest size, you wouldn’t be able to size it any larger. I am always nervous about pattern sizes, since dress patterns follow their own magical world of sizing that has no resemblance to what you might buy in a store, so I actually cut the largest size on the pattern first so I could pin it together and try it on in case it didn’t run true to size, but I’m happy report the size was the same I would get in the store, so no magical mystery size chart in the slightest.
There are six pattern pieces: the front of the skirt and two panels that make the back of the skirt, and a facing piece for each of those pieces, that sits inside the waistband of the skirt.
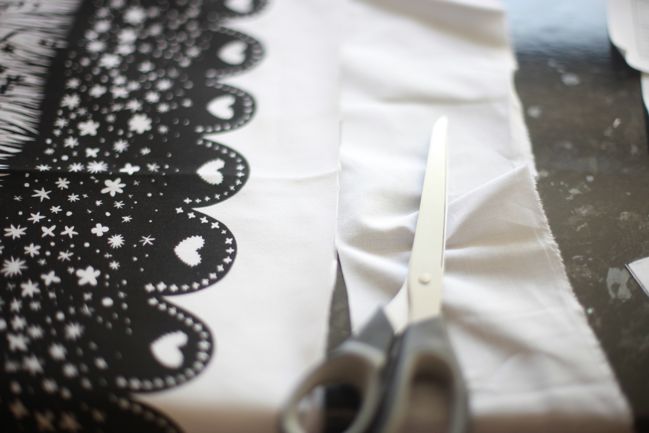
The lining fabric is a solid, plain cotton – lighter weight than the printed fabric. Line it up with the three main pattern pieces and cut a piece of lining to match each piece. My cuts were really wobbly and it didn’t matter at all, so don’t worry too much about the trace cutting being perfect.
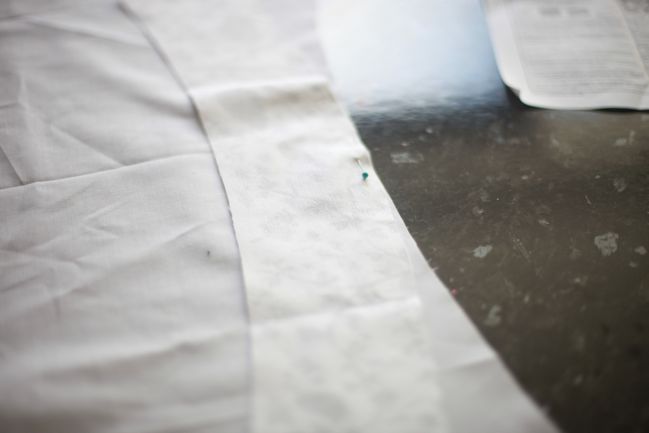
Sewing the facing to the lining is the only confusing part of the process – it’s not really confusing at all once you think about it, but there was a drawing in the instructions that contradicted the words on the same instruction sheet. I checked their website and the same issue had been addressed, and there’s a mention that they might change the drawing so this might be nice and clear now, I’m not sure. Anyway, the trick is that if you place the facing and the lining so the angles match up… then it will not work. So don’t sew them that way – the curves that don’t match up will work perfectly. It’s hard to pin but easy to sew, so I’ll admit I usually just hold them in place and don’t pin the whole piece, especially with cotton since the fabric isn’t slippery.
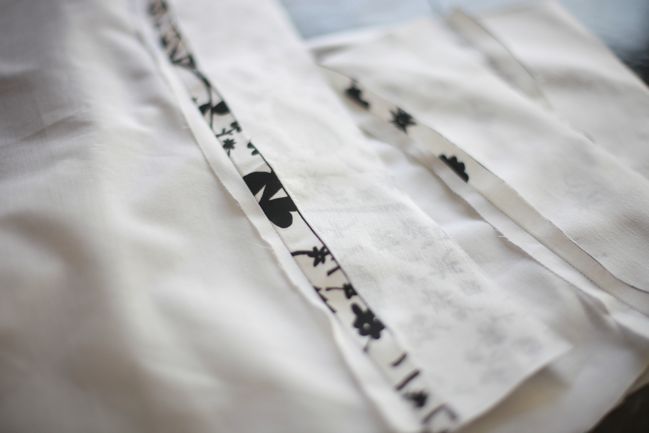
Now for making the skirt come together. Sew the two smaller panels together to form the back, leaving the top free to add the zipper in just a bit. Then sew to the front panel and check the sizing to make sure everything is still looking right. Do the same thing with the lining pieces. Press the seams apart as you sew the pieces together – definitely worthwhile later as everything will sit nice and flat rather than puckering at the seams.
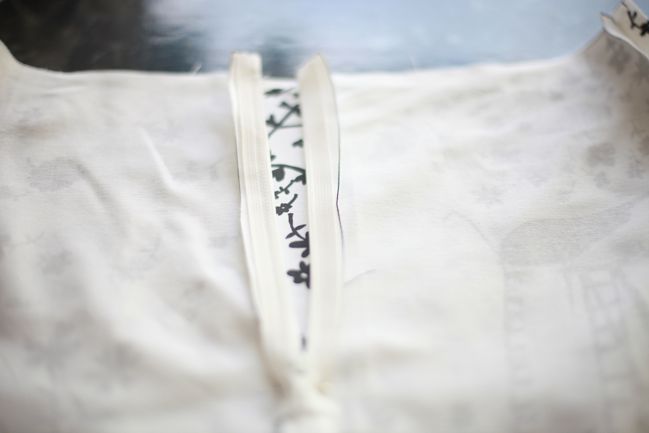
Adding the zipper is next – before you sew the lining into the skirt. Sewing zippers is one of those things I think you have to try a few times and get a system that works right for you. I know so many people who swear by basting them in, but I don’t have much luck with that and get all twisted. I actually glue the edges of the zipper in place and then stitch with the zipper foot of my sewing machine. This tutorial is pretty close to how I add a zipper.
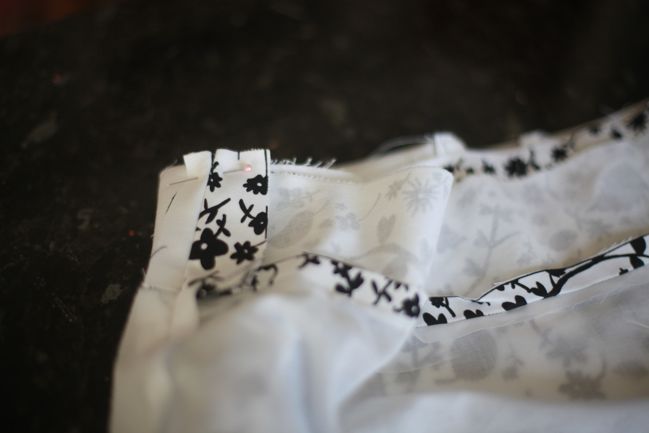
Stitch the facing + lining into the waist of the skirt. This is where you’ll be glad you pressed all those seams! Essentially this is just one line of stitching all around the top of the skirt, then fold it all the right way along and go back to the ironing board and press the waist of the skirt so the lining stays inside and the top edge is nice and neat. Then run another line of stitching to hold it in place.
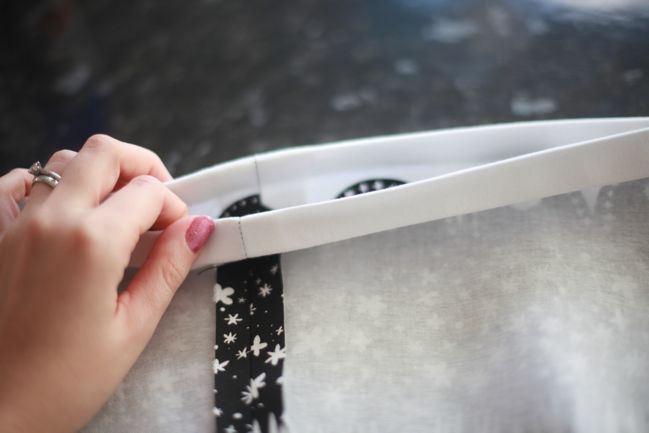
And then fold and iron to hem the bottom edge. This fabric hemmed really easily – and I am often rubbish with skirt hems, so easy-to-hem fabrics make me happy. Do make sure you try it on before you hem the lining layer — less work to cut it shorter before you hem than to put it on later and realise the lining is hanging lower than the skirt. (Does it sound like I have made these types of mistakes on skirts before? Because there might be a reason for that.)
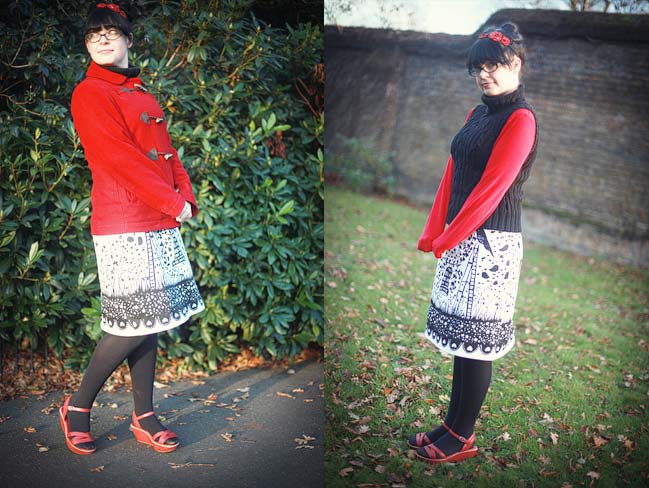
And then get so excited to wear your lovely new skirt that you ignore the temperature in single-digits and think your red shoes will be the perfect answer, despite being summer sandals. I suppose that step is optional.
Now, no laughing if you see me any time in the next month and I’m wearing this, because I’ll probably want to wear it every day for a while. But maybe with more seasonally appropriate footwear.
xlovesx
PS: If you would like a Christmas scrapbooking kit, be sure to stop by tomorrow for details for UK addresses, or check out the week long holiday sale at Two Peas – it starts today and includes free US shipping for all orders over $25.
![]() Read more about:
Read more about:
Next post:
Previous post: Crafty Christmas :: Advent Calendar


