pretty paper. true stories. {and scrapbooking classes with cupcakes.}

lovely to meet you Twitter Facebook Pinterest YouTube

Take a Scrapbooking Class

online scrapbooking classes

Shop Shimelle Products

scrapbook.com simon says stamp shimelle scrapbooking products @ amazon.com shimelle scrapbooking products @ amazon.co.uk

Reading Material

travel

Scrapbooking giveaway winner

scrapbooking giveaway winner We have TWO winners for you today.
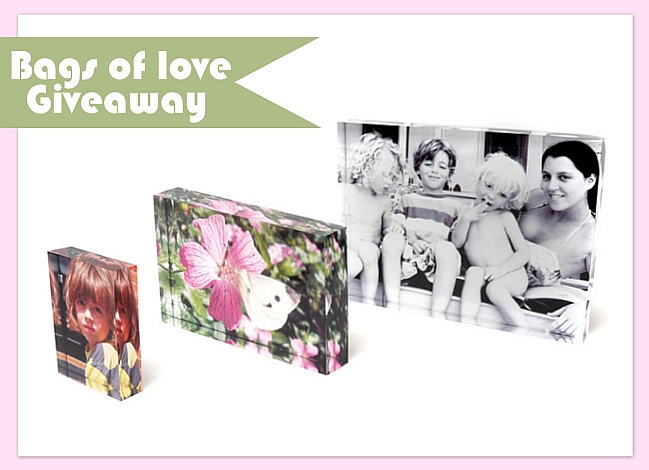
The first up is Abigail Rose, who wins the Acrylic Photo Block from Bags of Love.
scrapbooking giveaway winner

AND our second winner is Be(e) who wins the butterfly goodies from Jenni Bowlin.
Scrapbook giveaway winner
Congratulations! Please email me (shimelle at gmail dot com) with your address!

There’s a new giveaway every Friday night, so check back next week for another chance to win just by leaving a comment.

Have a great week!

xlovesx

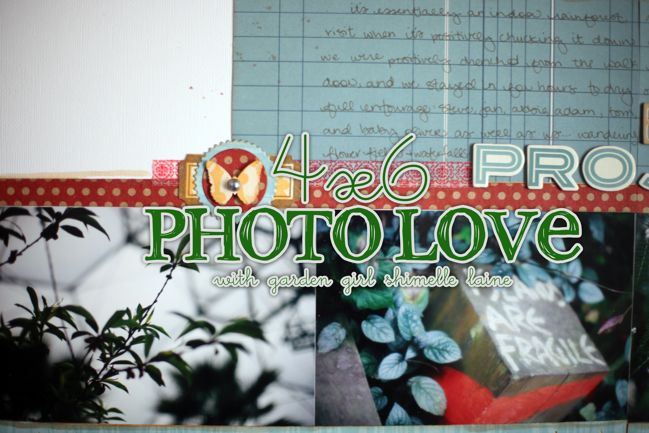
4x6 Photo Love :: May 2011

4x6 Photo Love - May 2011 :: free online scrapbooking class
free online scrapbooking class :: 4x6 photo love All class content ©twopeasinabucket.com. Click here for supplies and here for this month’s message board thread.

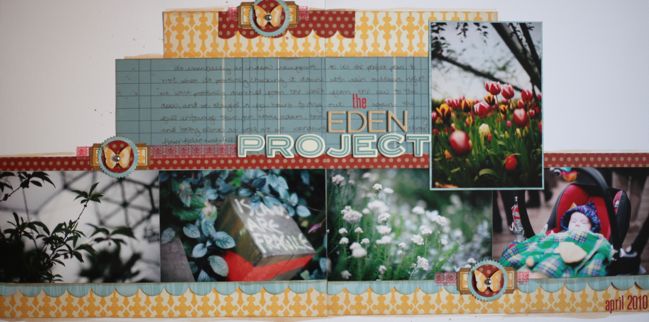
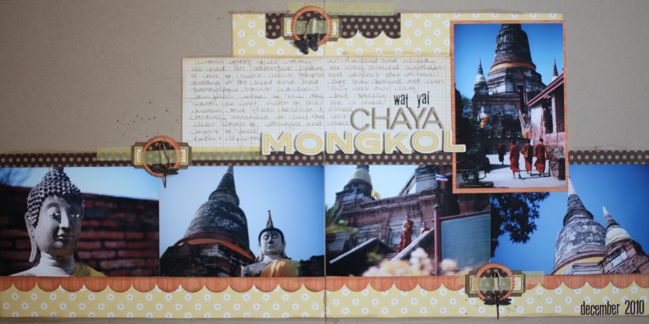
It’s the 30th of the month, which means a new edition of 4×6 Photo Love, a free online scrapbooking class I’m teaching all year at Two Peas in a Bucket. As it’s the fifth month of the year, we’re scrapping five 4×6 photos. This month’s design is… gasp… a double page! So something a little different than the four prompts so far. It’s not all doubles from here on out though – some of the pages later in the year pile on a surprising number of 4×6 prints on a single 12×12! But this month, I’m hoping you’ll give the double page layout a try.

free online scrapbooking class
The design concept this month includes four of the photos as landscape, so they can create a straight line all across the double page. Then borders go above and below the photos, and a fifth photo is added above the line. That picture can be either portrait or landscape, and it’s a great way to give a bit of special treatment to a single photo.

free online scrapbooking class
These two layouts follow the same principles, and it’s this second layout that I create step by step in this month’s video. Grab the beverage of your choice and have a watch! And don’t laugh too much when I start dropping things on the floor. (Live television presenters: how do you not fall to pieces on an hourly basis, I ask?!)


Click here for a printable PDF, full list of supplies and more details on the class page at Two Peas!

free online scrapbooking class
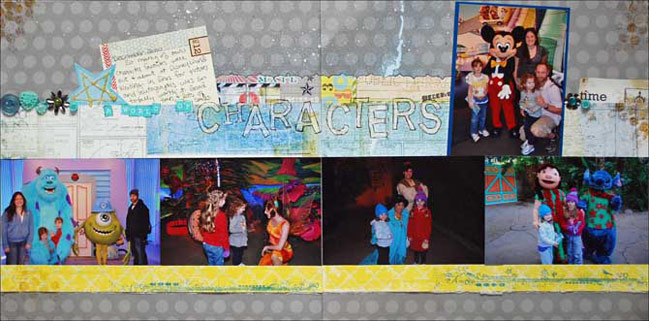
This month I have two special guests playing along with the class. This first page comes from May Flaum, who you might remember from her five ideas post not too long ago! May opted for embellishing the middle border, all the way across the page. Perfect for lots of little bits and bringing in plenty of colour and texture! Check out May’s page and supply list here at Two Peas and if you like her style, be sure to check out her blog and Etsy shop too.

free online scrapbooking class
My second guest is Melissa Stinson, often better known as the Scrappy Jedi. I love how she added her embellishment to the top left corner of the layout, so that’s a third option while still using the same basic outline for your two page layout. Click here to see Melissa’s supplies and to add her page to your Two Peas bookmarks.

Every month, there are two ways to win a prize for participating in 4×6 Photo Love! The first is at Two Peas: create your page and upload it to the gallery. Be sure to tick the box for this challenge in step four of the upload process. One participant will win a gift certificate to Two Peas to go shopping for whatever you like. But there’s a second chance to win right here: on this post, leave a comment with a link to your page (in the gallery at Two Peas or on your blog, whatever you prefer) and one of those links will win Two Peas shopping money too! The deadline for both is the 29th of June.

And it’s time to catch up with some winners while I’m on that subject! I’m happy to announce Jen, Charity and Lisa all have 4×6 Photo Love prizes coming their way!

Will you be next? Just choose five 4×6 photos to scrap and follow along with this month’s class prompt. I hope you enjoy a bit of double-page fun!

xlovesx

PS: Feel free to grab the button there on the left for your blog or to share this class with a friend – since it’s free, the more the merrier! And you’re welcome to use any supplies and any photos, so there’s no boundaries to your scrapping with this year-long project.

Afternoon Craft Project :: Skirt from a T-Shirt

afternoon craft project :: skirt from a t-shirt
super easy sewing tutorial :: skirt from a t-shirt
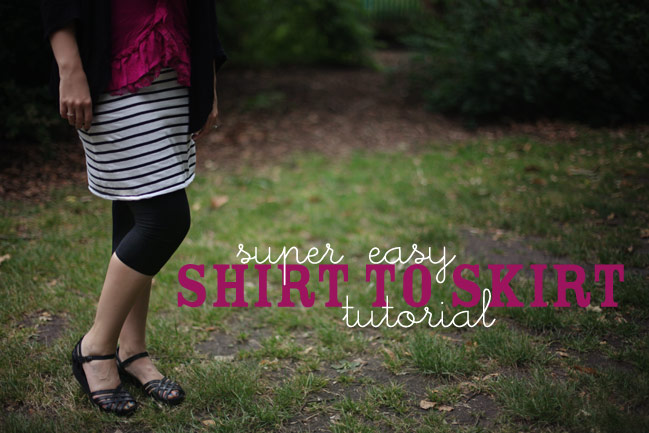
In school, the biggest sewing project I had to complete was a set of pockets designed to hold a reading book, notepad and pen on the edge of a bed by tucking a long tail of the pocket beneath the mattress. A nifty idea, perhaps, but it was ironing rectangles of fabric and sewing them together, and I can’t say I’d ever sat in bed really searching for a place to keep my reading book. So when a reader emailed me recently to say her daughter wanted to learn to sew things for herself but was finding her school sewing lessons a bit less than inspiring, I totally understood. She is thirteen and just getting to grips with the sewing machine, so I thought this might be a good starting project, as turning an old t-shirt into a new skirt is super easy, and you don’t even need elastic or a zipper. All you need is the shirt, plus scissors, thread, iron and sewing machine (or needle and patience). Plus an optional second piece of fabric for the waist of the skirt, if you prefer a contrast trim. In case it’s useful for you or someone you know, I’m posting it here too!

A few Sunday reminders: There are two giveaways that close tonight: the butterfly prize pack from Jenni Bowlin and the Acrylic Photo Block from your own picture. Today is also the last day to enter to win prizes for April’s 4×6 Photo Love challenge both here and at Two Peas. And you can vote or play along with Scrap Factor over at UKScrappers. Who knew it was such a busy day in the crafty world?! And now, on to the ridiculously easy skirt!
super easy sewing tutorial :: skirt from a t-shirt
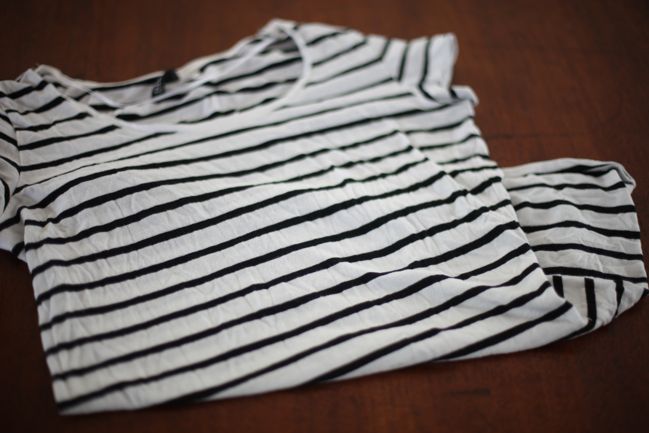
You’ll need a t-shirt to start. I had this shirt that has been bothering me – the very first time I wore it, tiny holes started to appear in the fabric. Clearly I fell for a bargain price that wasn’t actually a bargain. But all the holes were at the very top of the shirt, so it seemed something could be done from the rest of the fabric. Make do and mend, as it were! Start by making sure the work surface is clean (which seems obvious, but I can’t be the only person in the world you might have inked or misted on the same surface where they lay out their fabric? Oh. Maybe it is just me.) and iron the shirt to make it easier to cut and sew.
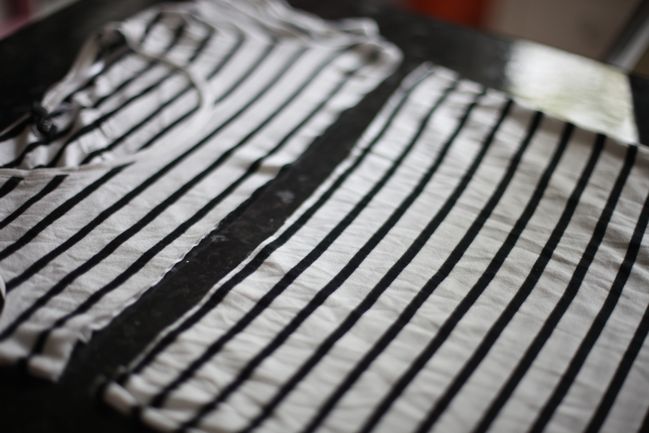
super easy sewing tutorial :: skirt from a t-shirt
Cut straight across the shirt, right under the arms, so now you have a tube with an unfinished top edge. Go try it on. The bigger the shirt, the looser the skirt will be, of course. Unless you’re sewing this for someone quite young, you’ll probably find the top edge of the skirt is way too loose for the waist, even if it fits at the hips. Make a note of roughly how much you need to take in by pulling the fabric at the sides and marking the spot that would make it fit.

super easy sewing tutorial :: skirt from a t-shirt
Then take the skirt off, turn it inside out and sew a diagonal line on both side seams that will take it in to a good size for the waist. You don’t want to make this too tight, since you’ll need to get the skirt on and off without a zipper (we’re going to add a tie to keep it snug while it’s on). Try it on again to see if it’s a good fit. If not, rip out those stitches and sew again. When you’re happy with the fit and you’re sure these stitches are secure, go ahead and cut off the excess fabric.
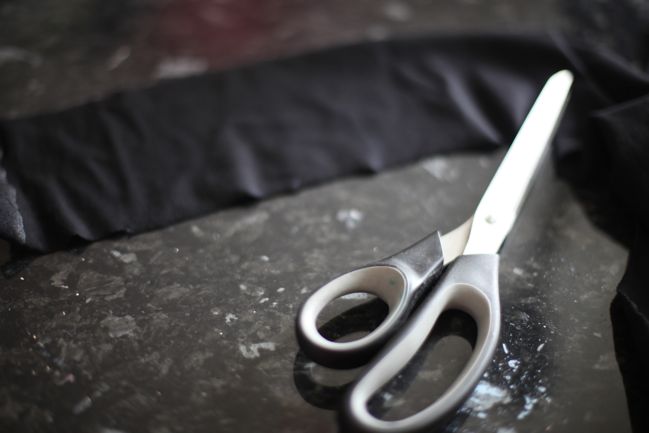
super easy sewing tutorial :: skirt from a t-shirt
Next we’ll add a sash-styled waistband. For this, you can use a piece of contrast fabric or you can use the leftover fabric from the top of the t-shirt. You need a length that will go around your waist and tie. If a measurement will help, grab some string or ribbon and find your own waist + bow measurement! You can also decide how wide to make your waistband. The fabric will be folded in half, so cut a strip that is twice as wide as what you want. If you use a different piece of fabric, you may be able to cut this all in one strip. If you use the t-shirt leftovers or scraps of fabric, you’ll just need to patch and piece it together to make the length you need.
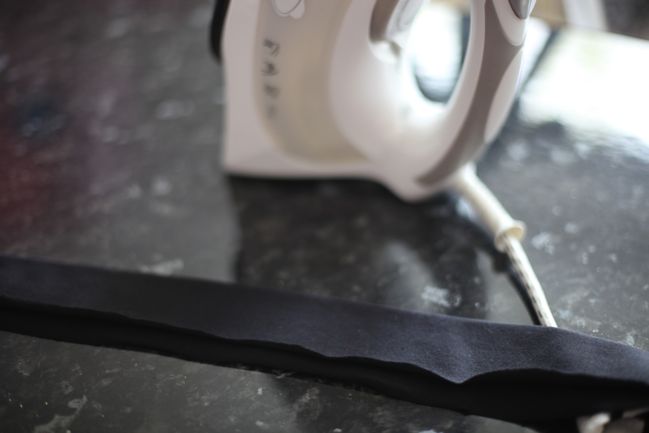
super easy sewing tutorial :: skirt from a t-shirt
Fold the strip in half, right side out, and iron in a crease. You can also hem the very ends if you would like.
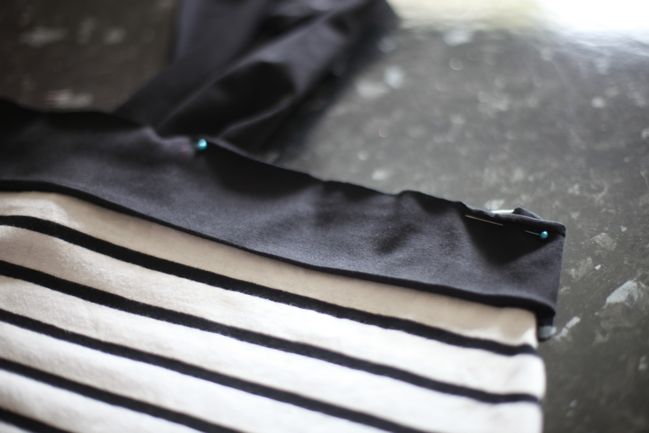
super easy sewing tutorial :: skirt from a t-shirt
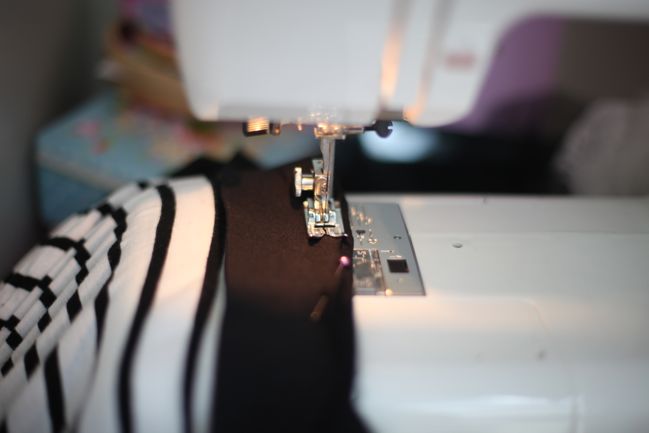
With the skirt and the sash right side out, find the centre of the sash and the front centre of the skirt. Pin the unfinished edges together, then pin around the edge of the skirt if you like. Jersey will curl around the unfinished edge, so either pin or go slowly while you sew to uncurl those edges.
super easy sewing tutorial :: skirt from a t-shirt
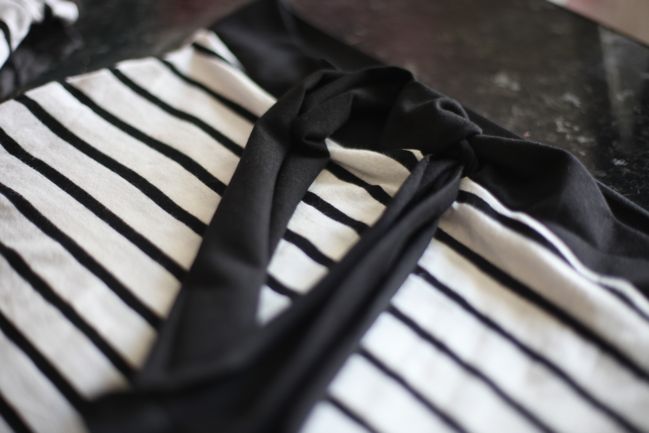
Sew all the way around with a plain running stitch on your sewing machine. You’re sewing the unfinished edges together, right sides facing – the sash is going to fold up from this seam when you’re done. Leave an inch or two unstitched at the back centre of the skirt. That will let you pull in the waist of the skirt when you tie the sash.
super easy sewing tutorial :: skirt from a t-shirt
Trim any loose threads and iron the waistband so the join of the two fabrics are smooth. And that’s the basic skirt done! Of course, you can further customise it with patches, bling, embroidered butterflies… whatever your style may be.
super easy sewing tutorial :: skirt from a t-shirt
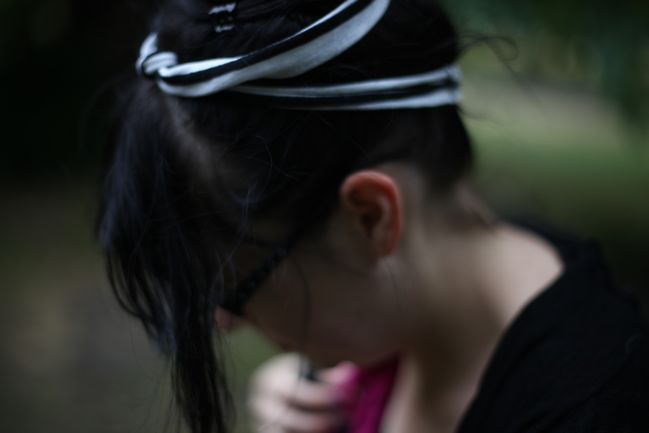
And if you have extra fabric left over from the top of your shirt? You can cut that up to create fabric flowers or an alice band or something else lovely to match your new skirt from your old t-shirt.

…and I’m not sure which is better: super easy projects or projects that work for both youngsters and grown-ups!

So… what have you been making this weekend?

xlovesx

Scrapbooking Giveaway Day

scrapbooking giveaway day
Acrylic Photo Blocks
This weekend, one commenter will win a stunning Acrylic Photo Block from Bags of Love.
Bags of Love is a personalised gifts and photo gifts company based in London, specialising in cute personalised birthday gifts and baby gifts. This custom prize will be made from your very own photo.

To enter, just leave a comment on this post describing what sort of photo you would like to treasure forever in a photo block.

Entries close at midnight Sunday UK time and the winner will be posted Monday evening, so be sure to check back to see if it’s your lucky day!

Good luck!

xlovesx

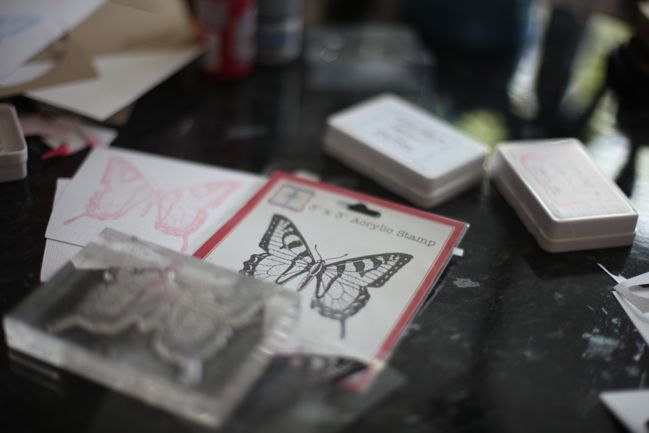
Five ideas with the butterfly stamp from Jenni Bowlin Studio

five ideas with the jenni bowlin butterfly stamp
I may have an unhealthy obsession with butterflies as craft embellishments. I know I use them when they are not really needed or thematically linked to the page at hand. I punch them and stamp them and cut them and glue them, and really if all my closest friends staged a butterfly intervention for me, with a big banner and heartfelt words composed in advanced to let me know that I’ve gone too far down this dangerous butterfly path, the truth is: I would still have a hidden stash of butterflies. They really aren’t going away.

Instead, I’m up for the challenge of taking one very favourite butterfly stamp from Jenni Bowlin Studio and using it for five very different projects. So while I may be an addict, at least I value variety.

(Also, if I were a true addict, I wouldn’t be able to give away butterflies – and that’s just what I’m doing at the end of this post, so don’t miss out.)

stamped butterfly cards
Mix with another stamp for a card
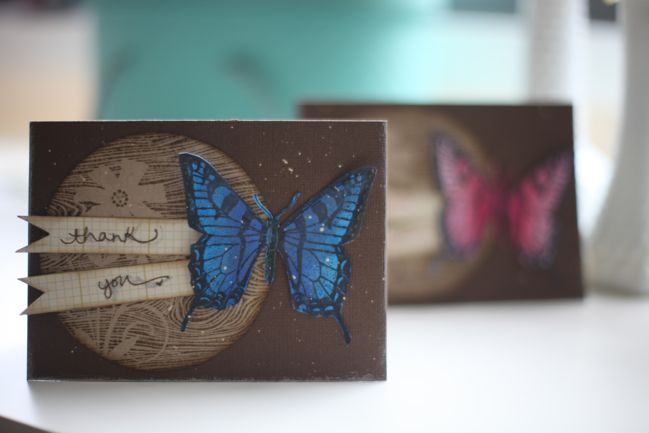
I love how the butterfly stamp is just the right size to make a dramatic flourish for a card, and it’s a similar size to the Flower Wood Background stamp by Hero Arts. For these cards, I stamped the butterfly in black ink on smooth white cardstock and coloured them with Copic markers for lots of rich colour, and spritzed them with Chalkboard Glimmer Mists for some shimmer too.

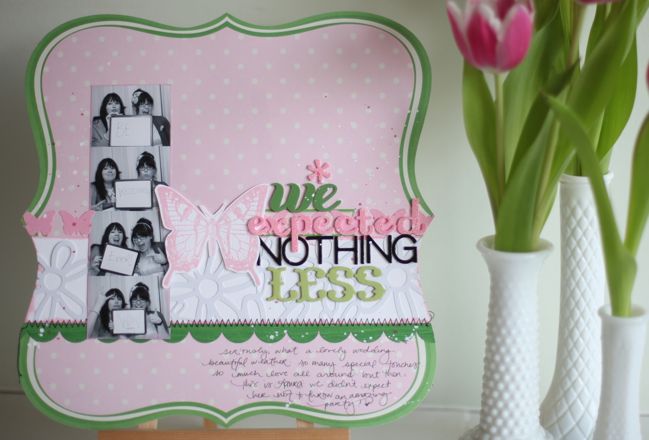
scrapbook page
Embellish a scrapbook page
If you like pages where a bit of embellishment goes a long way, this stamp will be your best friend. I love how it looks when stamped in colour on white cardstock, and it’s easy to cut out with scissors. I thought it would be a ridiculous mess but really it cuts quite simply.

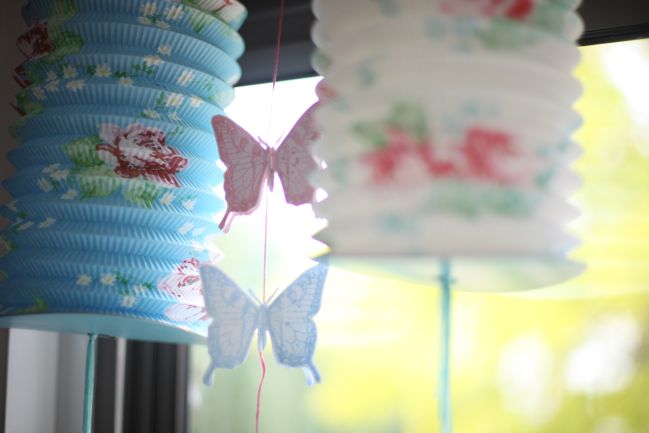
stamped butterfly garland
Make a butterfly garland
If you really fancy cutting out butterflies, try stamping and cutting two for each butterfly in a garland. You only need antennae on one in each pair. Then cut a slit halfway through the body – from the top to the middle on one and from the bottom up to the middle on the other. Then you can slot the two together for a butterfly garland that is both dimensional and delicate. Make several and hang them in a circle if you prefer a mobile to a garland, or make just one and attach it to a card or parcel with some pop dots to hold it in place.

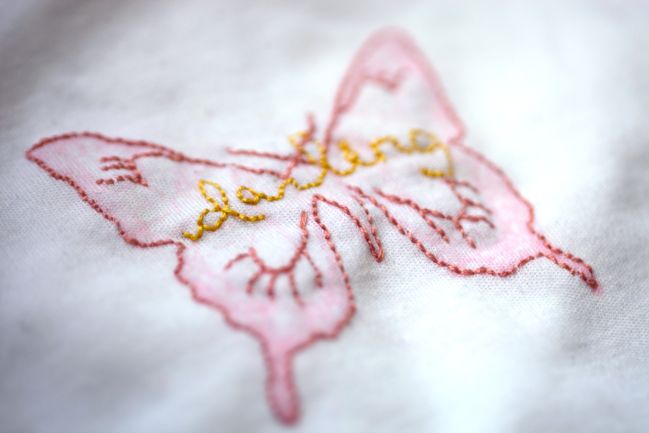
stamp and embroider
Stamp and embroider
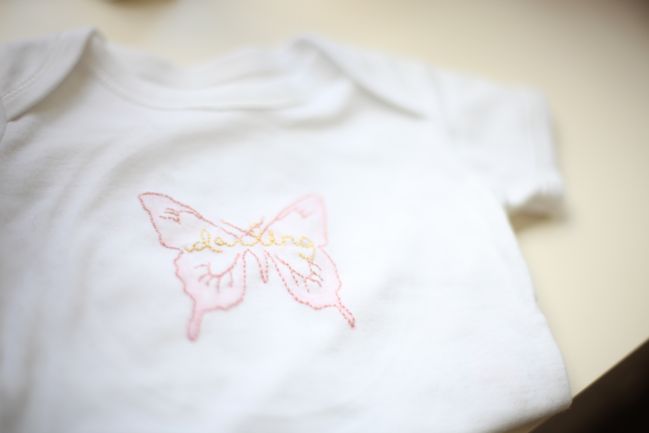
Stamps make perfect embroidery patterns, and it’s easy to customise any bit of fabric by stamping the design then stitching the outline of the design. For this design, I stitched the outline plus a little bit of detail from the butterfly, then filled the centre by pencilling in a word and stitching over that.

embroidered onesie
You can see more notes on this embroidery project here on the Jenni Bowlin blog and you may also want to check out this different take on embroidering another stamp by Kerry Lynn Yeary. It’s lush, even if it’s not a butterfly.

butterfly paper quilt
Stamp, repeat and quilt
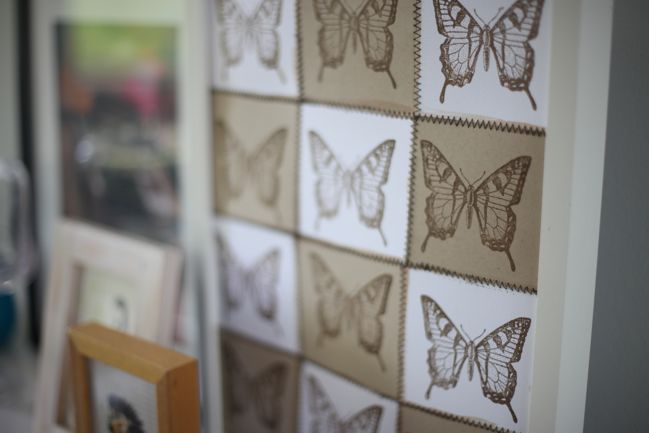
I love stamps that are interesting even when they are stamped simply and even when they are repeated. This project is super simple but makes a great gift. Cut twelve squares of cardstock and stamp a butterfly on each. Ink or paint the edges if you like. Then sew it all together with a zig-zag stitch and pop it in a frame. You can create it in any colour scheme, so it’s a lovely housewarming or new baby gift.

Okay… so here’s the deal: to prove I can let the odd butterfly go, I have a butterfly giveaway today! Just comment on this post to be entered to win a gift pack from Jenni Bowlin Studio that includes this butterfly stamp, butterfly chipboard and some other butterfly goodness that can wing its way to you! (And I’d really appreciate it if you wanted to share this post with anyone you know who is also bordering on butterfly intervention. We need a group, right? Thanks.)

And this isn’t even the regular weekend giveaway – there’s one of those coming tonight too. Goodness gracious, giveaways!

xlovesx

Scrapbooking sketch of the week

Scrapbooking sketch and page ideas
scrapbooking sketch and page ideas
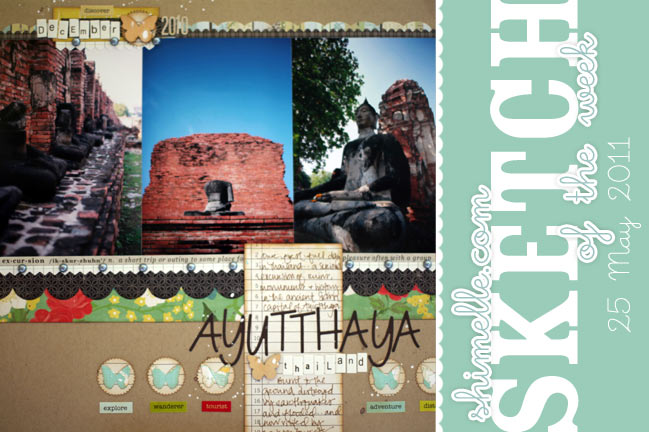
It’s Wednesday, so it must be time for a scrapbooking sketch? And there are three photos on this week’s page, and it’s not all that different from the March edition of 4×6 Photo Love. But with this little added detail across the bottom of the page:

scrapbooking sketch and scrapbook page ideas
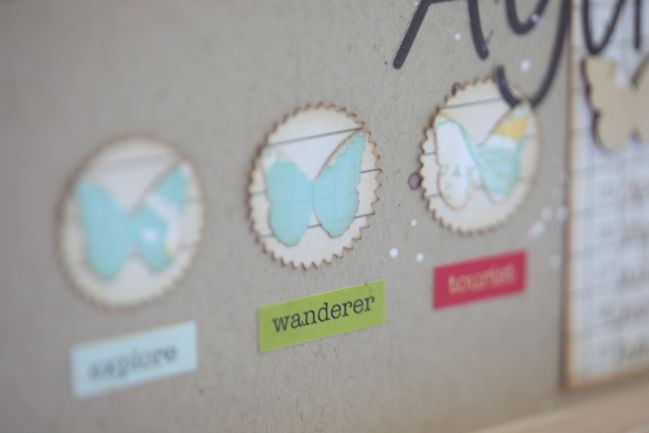
this combination of something circular plus a label or rectangle below is something I’m using here and there throughout this particular album. Word stickers are perfect, but you can also customise your own word strips with your own handwriting, a typewriter or anything you want to print from your computer. Give it a try!

scrapbooking sketch and page ideas
If you prefer smaller photos, you can make this same design hold six or twelve smaller photos in the same space or you could take it back to a single photo layout and use a panorama-style print.

As always, the weekly sketch is no-stress and just for fun! If you use it, I’d love to see, so please leave a link.

scrapbooking sketch and page ideas
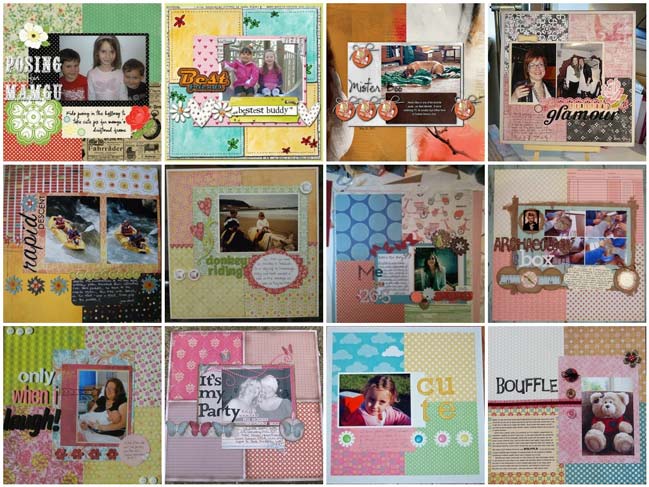
I’m loving the patterned paper explosion from last week with the quadrant design! These are a few of my favourites. Click to see any of these pages in more detail and say hello to these scrapbookers.
Top row, L to R: one, two, three, four.
Middle row, L to R: five, six, seven, eight
Bottom row, L to R: nine, ten, eleven and twelve.

xlovesx

Scrapbooking giveaway winner

scrapbooking giveaway winner
scrapbooking giveaway-winner
This weekend’s winner is Terri-Ann who wins a cute pendant from Cherry Loco.
Please email me (shimelle at gmail dot com) with your address!

There’s a new giveaway every Friday night, so check back next week for another chance to win just by leaving a comment.

Have a great week!

xlovesx

Scrapbooking self-portraits

scrapbooking self-portraits
scrapbook page
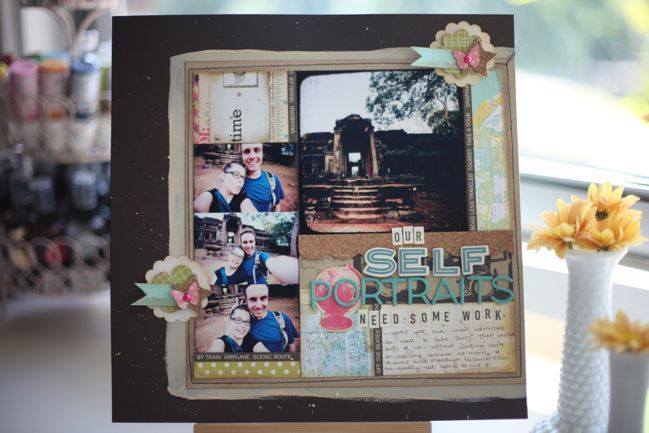
Of those nine thousand pictures I took while we were on the road, I would say around a hundred have either of us in the shot. And probably only ten have both of us.

That’s 0.1% of our pictures actually indicate we were both there, in some foreign place where we’re unlikely to be again.

And that’s pretty pathetic really.

scrapbook page
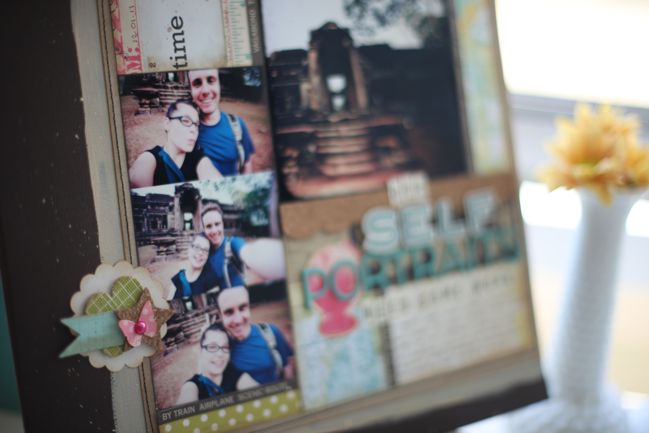
There are quite a few reasons why there aren’t more pictures of both of us. We had two lenses: one was too close to be held at arm’s length and the other was so wide it distorted us like a funhouse mirror. We had a Gorillapod and I’m all for taking pictures with the camera sat on a bench or the ground or whatever is available, but when you’re in tourist land, it’s not always the safest to be out of arm’s reach of your camera. It’s too easy for your most valuable item to end up in the hands of a pickpocket. Or a monkey (true story). Plus there’s also the fact that both of us pretty much crack up when we try to pose for the camera, so we end up with ridiculous expressions and in general: our self portraits really need some work.

I got to sit in on Corinne’s self-portrait workshop at Crop on the Rhine after our trip and as I was listening I found myself thinking how much I wish I had known that before we left. Clever but simple tips on making things look as flattering as possible, then she set everyone loose with their cameras to give it a try. I have much respect for ladies who can hold a heavy camera up in the air with one hand. That may be another reason why my self-portraits need some work. There’s a personal trainer that takes clients out on the heath in front of our flat. She has a sign that says something like What do you want to achieve? but I think she might think I was off my rocker if I said ‘I want to be able to hold my 2kg camera at arm’s length and above my head’. So I guess I’ll just have to get crafty with other solutions.

tips for self-portraits
Last week I downloaded this e-book, The Art of Self-Portraiture, and it is very comprehensive without being boring or technical. It’s not the sort of book you can read and put everything into your very next shot – it discusses what the author learned from taking a self-portrait every day for a year, so there are lots of different things covered, including lighting, using a tripod or holding the camera, using the timer, cropping an image to make it more exciting. Lots of useful stuff and things I’m definitely going to use to try to improve our self-portraits in future. It isn’t free, but it is on an early-bird special this month so if it sounds like something you might like, this week would be the time to check it out.

***
In other news, I am heartbroken by the news in Joplin, Missouri, today. I went to uni in a nearby town and worked in a record store in Joplin while I was a student. It was the place to go for shopping, movies and was just a lovely place. So many of the places I recognise are completely gone and my thoughts are with all of those trying to get through today in such sad circumstances. I really don’t know what else to say – I think I’ve rewritten this paragraph six times already so I’m just going to finish here and hope today’s storms are not so destructive. Stay safe, everybody.

xlovesx