pretty paper. true stories. {and scrapbooking classes with cupcakes.}

lovely to meet you Twitter Facebook Pinterest YouTube

Take a Scrapbooking Class

online scrapbooking classes

Shop Shimelle Products

scrapbook.com simon says stamp shimelle scrapbooking products @ amazon.com shimelle scrapbooking products @ amazon.co.uk

Reading Material

travel

Edwards Wedding photos

edwards wedding - london, uk
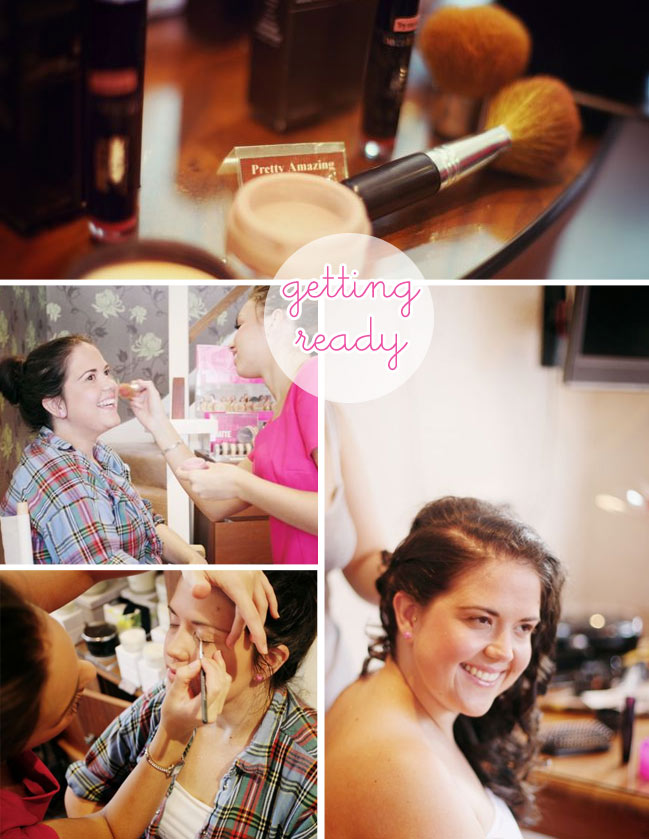
edwards wedding - london, uk - getting ready
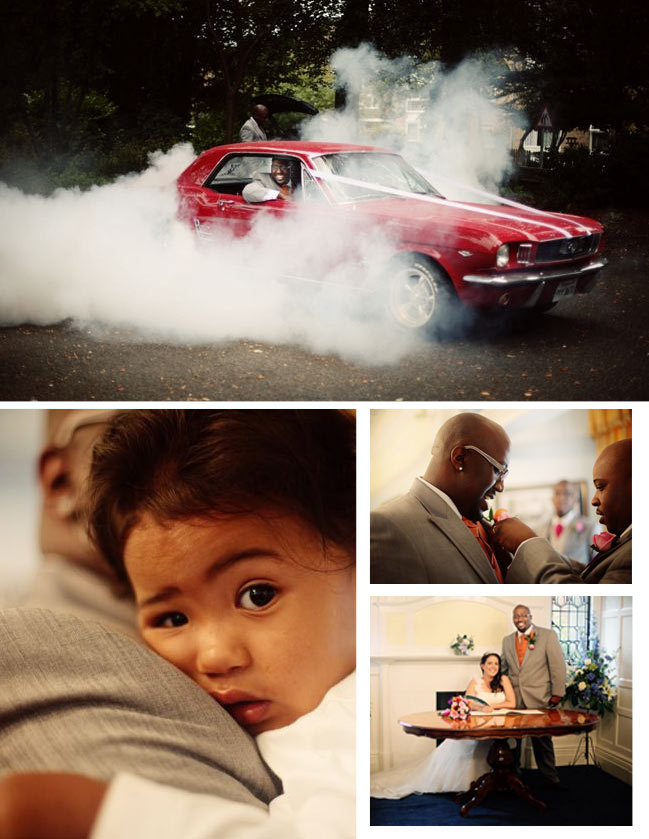
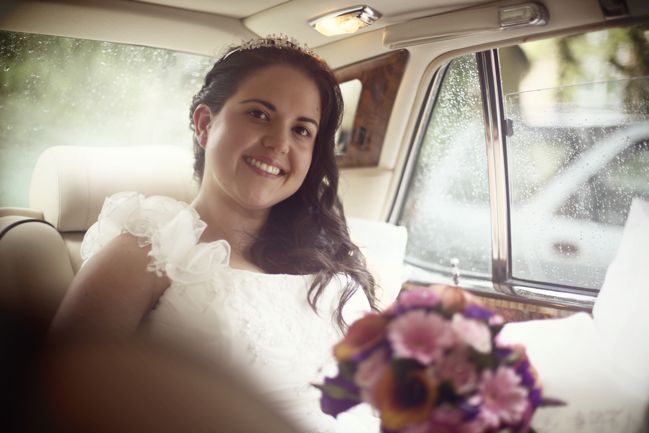
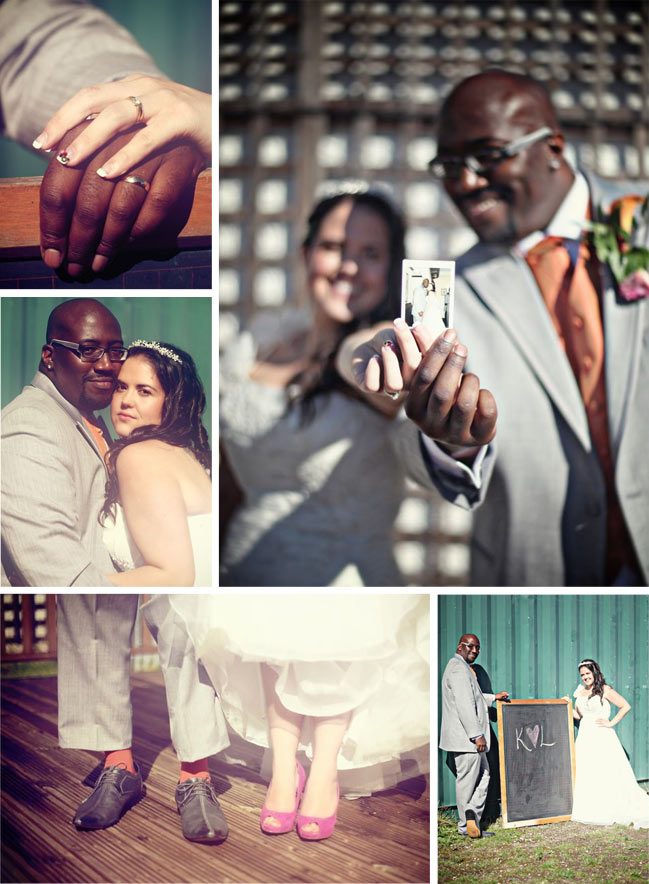
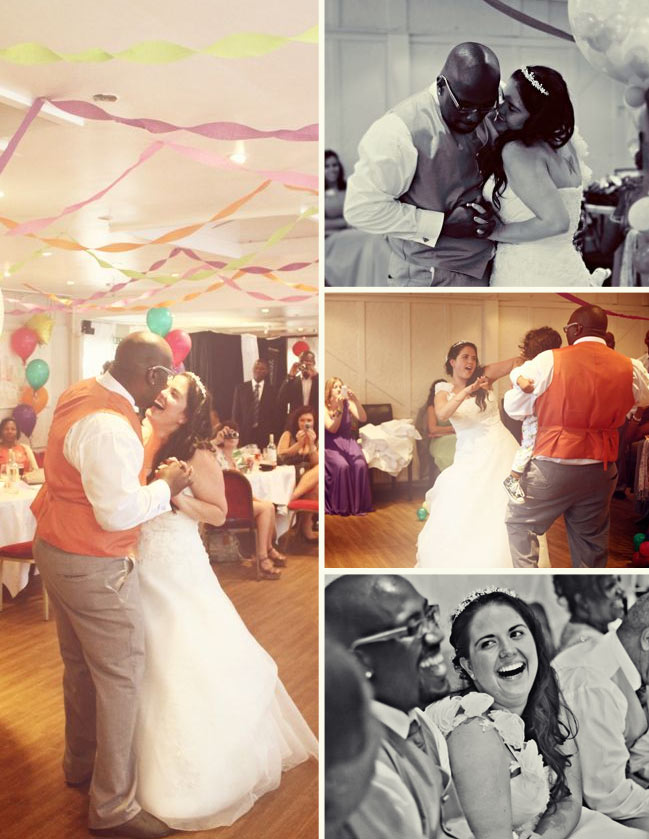
How about a bit of plain old wedding pretty for wedding week? The lovely Leanne and Kevin got married not even two weeks ago in a day filled with bright colours and big character. It started out sunny and right about ceremony time, the heavens opened and left us with a big conundrum of what we could do instead of a confetti shot. I will tell you this: it takes longer than you would think to convince everyone in a lobby that they can stand on a staircase!

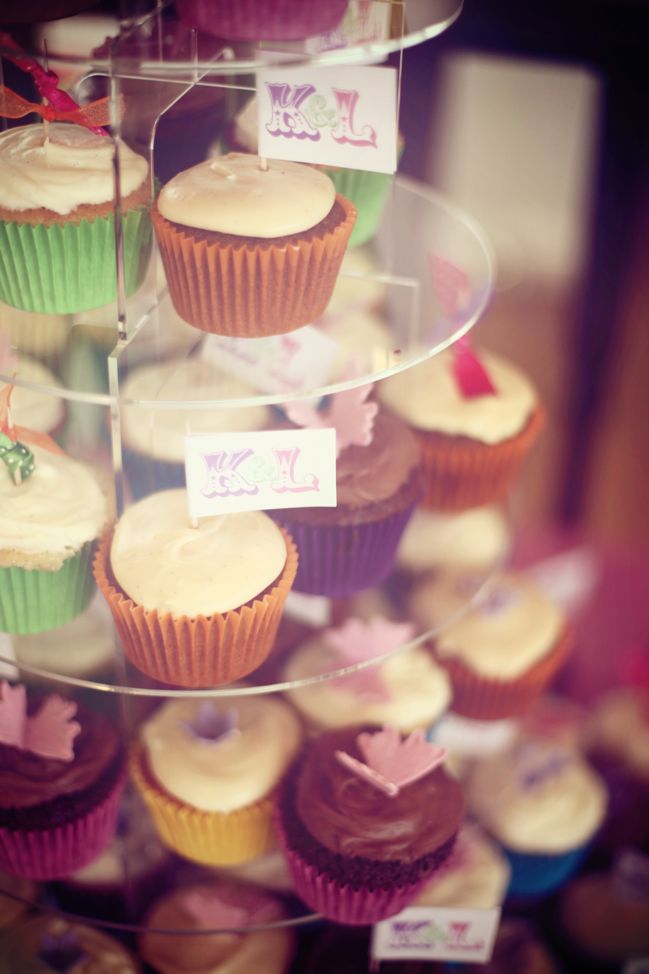
But the rain left right in time for the reception and there was glorious sunshine until the day was done. And other glorious things like cupcakes and pick & mix and a photo booth and gorgeous multi-coloured bouquets. So let me share an enormous amount of happy wedding photos with you!

edwards wedding - london, uk - bridal portraits
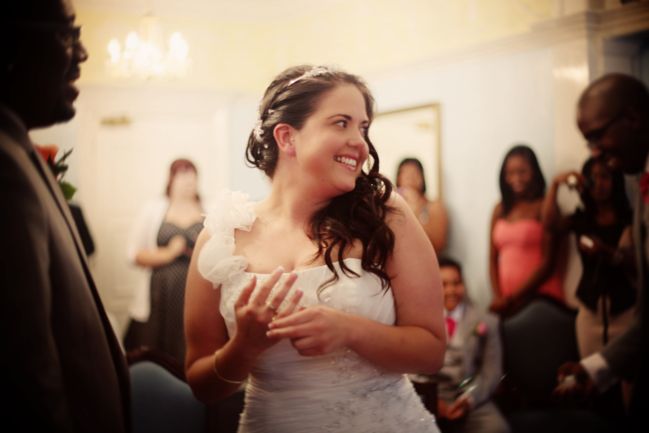
edwards wedding - london, uk - ceremony
edwards wedding - london, uk - group shot
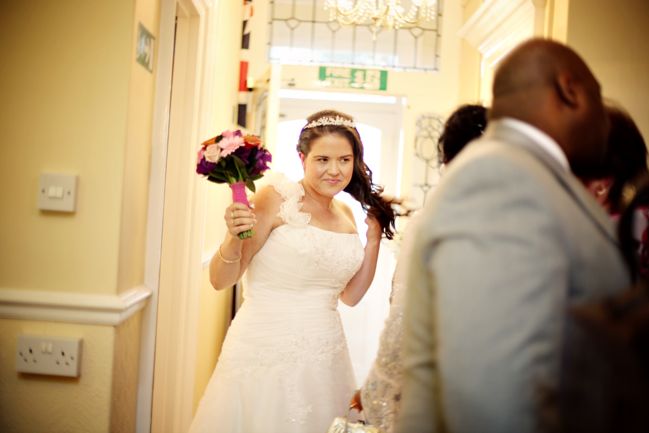
edwards wedding - london, uk - bride
edwards wedding - london, uk - couple portraits
edwards wedding - london, uk - cupcakes
edwards wedding - london, uk - reception

And just in case that was not enough fun for one wedding, there was a…
edwards wedding - london, uk - bouncy castle
Bouncy. Castle.

True story.

Many, many congratulations and well wishes to you, Leanne & Kevin!

xlovesx

Getting your album ready for Learn Something New

Getting ready for a month of Learning Something New
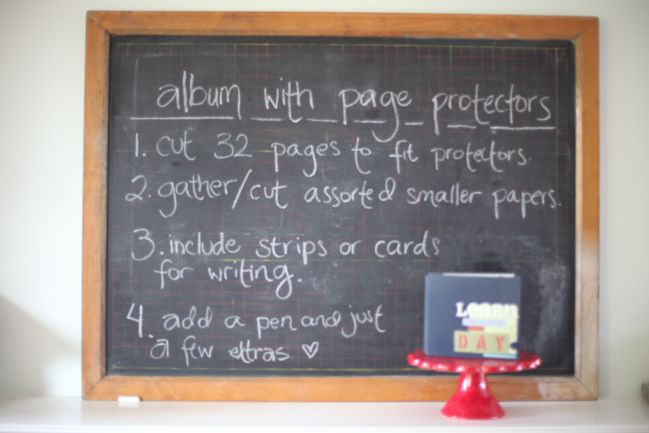

For an album with page protectors, you can start by cutting your paper to size – you’ll need a sheet for each day plus you will probably want a sheet to start and one to finish, so that’s thirty-two pages cut to size. 6×6 is a great album size for this project and allows you to get all that background paper from eight sheets of paper or cardstock.

Once you have your backgrounds cut to size, you can assemble a kit of everything else you want to use. None of them will need to be larger than your page size, so you might as well go ahead and cut any larger pieces to the size of your pages. Scraps and papers cut into small blocks will be much easier to use and make your entries come together quickly. So cut away until you have a variety of small pieces that you would be happy to use together. Grab a bag or a basket to hold all these pieces.

Make sure you have something in the mix that will be good for writing. That might be journaling cards or lighter coloured papers or it might be a bunch of strips of white or kraft cardstock. Just be sure you have a fair amount of paper in your basket that is suitable for writing.

Add everything else you’ll need to complete the project to your basket – pen, adhesive, scissors, any embellishments you might want like a stamp and ink pad or brads, punches or flowers – whatever works with your style. Pop everything in the basket so you have the whole project together and don’t need to look for anything on a daily basis.
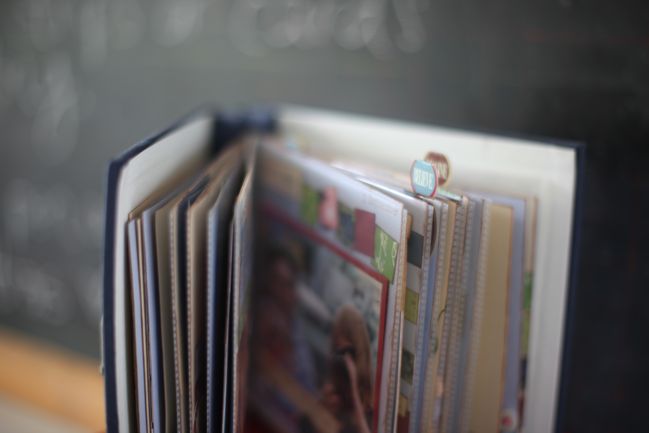

If you’re working with page protectors, you can go ahead and put all the background pages into the book and even scatter the papers throughout the album… or you can just add each completed page as you go. Whichever is best for you!
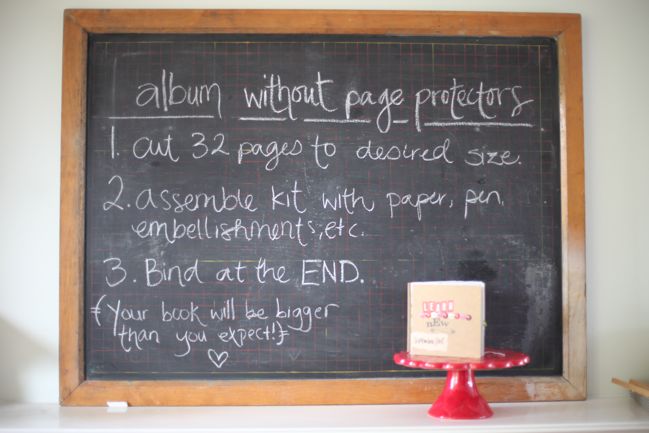

For an album without page protectors, the same stuff applies for cutting your pages to the desired size and gathering your supplies into a central location, but it’s the binding that is key here. If at all possible, plan to bind your book at the end of the project. I know that sounds somewhat unorthodox and even clumsy to have all these individual pages that won’t actually be held together until the end of the project, but the experience from many scrappers participating in this class tells me your finished album will be bigger than you expect. If you bind it at the start, it is very possible that your album will grow too big for the binding and leave you with a real conundrum before the month draws to a close. Binding at the end eliminates that problem.
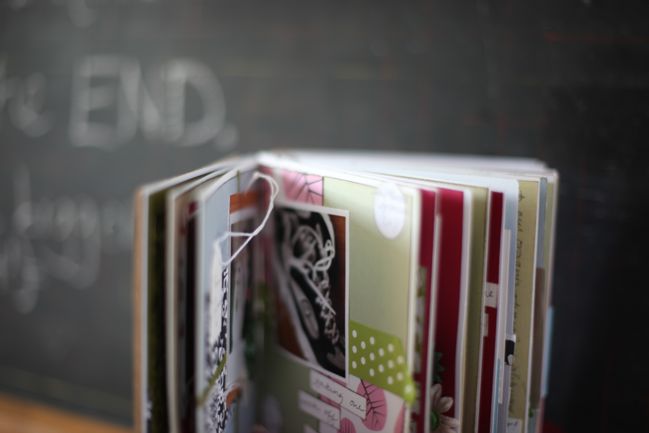

If you do need to bind your album at the beginning, err on the side of as much room as possible and think about flatter embellishments to keep the thickness of the pages under control. It can work! And if your book outgrows its binding, that can work too – it can just be a bit of creative learning when you set about finding a solution. That’s not the end of the world!
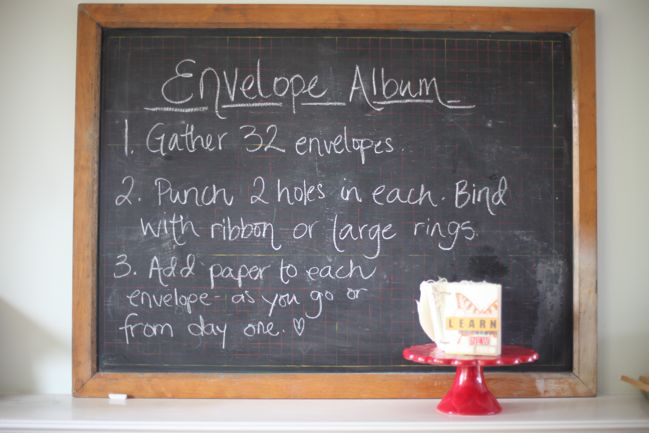

For an envelope album, you’ll need an envelope for each day and possibly two more – one for the start and one for the end of the project. Punch two holes in all of the envelopes (in the same place) and hold them together with ribbon or two large book rings so there’s plenty of room.
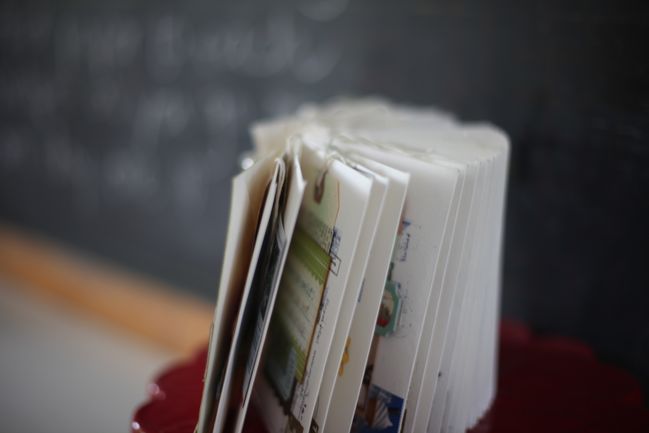

With an envelope album, you’ll add each day’s writing to the envelope, so you can choose to add paper to each envelope at the beginning or you can keep your paper in one place and then add each completed entry to the envelop as you go. As far as the outside of the envelopes, you can attach a photo each day or embellish them. For this envelope album, I made a tag each day and attached it to the front of the envelope with the day’s lesson summarised in one sentence.
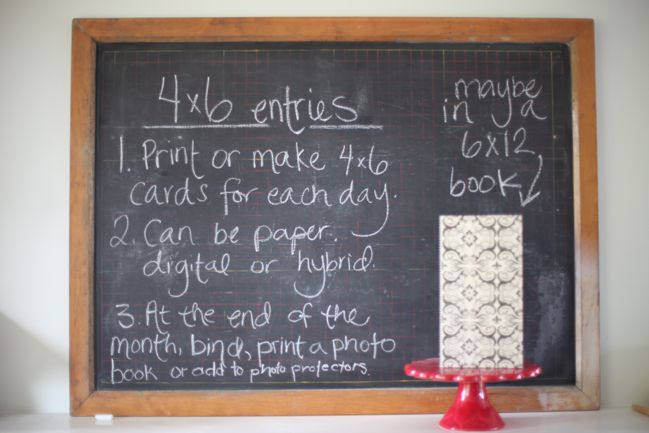

For a 4×6 sized book, you have plenty of options! This year, I’m using a 6×12 album but making my daily entries 4×6 in size. That’s one option for 4×6 entries, but you can also create a book that’s actually 4×6 in size or you can create 4×6 digital pages and print it either at home or as a photo book. 4×6 entries can fit into divided page protectors and then go right into a regular 12×12 album. So many options!

And that is why when class starts, you can download a printable 4×6 set. Just print the pages on your home printer on white cardstock, trim them to size and you can complete your album by writing straight onto the cards. To complete your album, print any corresponding photos at 4×6 and you have everything you need to make it into your own minibook!

Of course you don’t have to use paper and glue to participate in this project. You can write a blog post about your lesson from the day. You can write them in a diary or a notebook. You can call yourself and leave a voice mail each day. You can write it on a blackboard and take a photo of it. You can do whatever works for you. Making it work for you is the ultimate key.

One last reminder: you have to live the day before you can scrapbook it. That means you might be making your entries in the evenings or you might make them in the morning – but about the previous day. Don’t feel like you’re ‘behind’ by lunchtime on day one – you can’t be! If you can write one sentence somewhere – even if it’s just on a scrap of paper – then you are not ‘behind’. And even if you can’t, just keep going. Every day can be a fresh start.

Have an amazing September filled with the very best kind of learning.

Click here to access the forum.
(You will need your username and password to access the class materials and discussions.)

Click here to access this article as an easy-to-print PDF file.

Scrapbooking Sketch of the Week

scrapbooking sketches and scrapbook page ideas
scrapbooking sketch and scrapbook page ideas
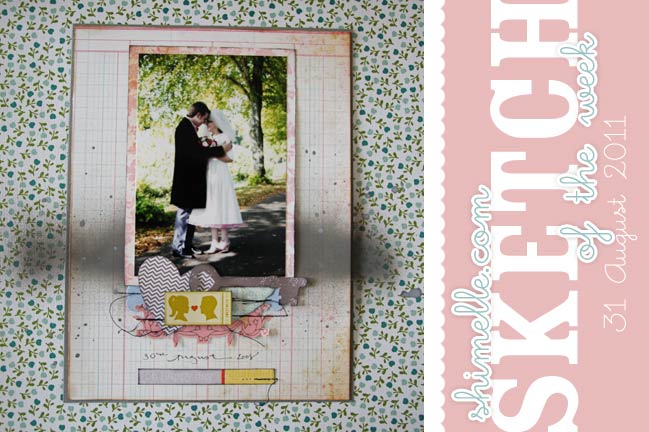
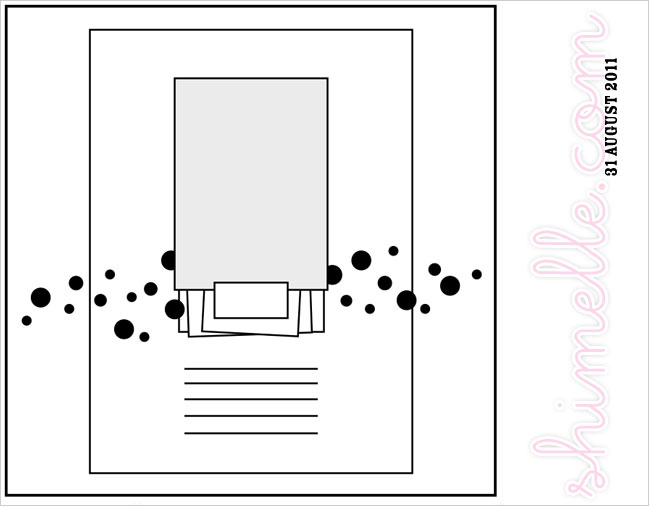
How about a wedding layout for this week’s sketch, since it’s wedding week and everything? But not to worry: you don’t have to create a wedding layout to follow the sketch. This week’s sketch is a way to give a special treatment to any 4×6 photo you might have.

scrapbooking sketch
There are some definite similarities between this week’s sketch and the last sketch. Don’t worry – they won’t all look like this from here on out! But I wanted to show two in this style in a row to illustrate how you can take one sketch and adapt it to work for you. I always find the feedback from different sketches interesting. A few people told me last week’s sketch wasn’t for them because it used too much paper on one layout and a few others said they didn’t like the idea of splashing paint over all those layers once they were in place in case it all went horribly wrong. I totally understand both of those comments, though neither of them worry me too much: there is a huge amount of paper in my scrap bin that should be used rather than just stored, so I don’t mind the extra paper on my pages. If I didn’t have a bunch of paper sitting there staring at me, then I’d most likely think differently about that! And as far as paint or ink messing things up at the end, I will assure you yes, this happens. I have plenty of layouts that just don’t work in the end the way I imagined them at the beginning. I either find a way to fix them (usually by adding more layers) or by salvaging what I can and starting over on a new layout. It’s not the end of the world. So I say err on the side of wild and brave and use your supplies and throw paint as you may.

But also, feel free to look at a sketch and reinterpret to make it work for you. That’s why these two sketches have similarities. Last week, my basket of scrap papers was making me think using a stack of paper would be a good idea. Then I looked at my bowl of die-cuts and had the same feeling, so I added a smaller stack of things to this week’s layout. Last week I added the paint midway through the layout, this time it’s pretty much right at the beginning. That way if it goes wrong, I can just add more paper over the top and no one needs to know anything ever happened. So that sketch became this week’s sketch and you can move things around again to make it work for you – add more photos, give it a title, turn things around. Replace paint splatters with punched shapes, replace a stack of embellishments with one bold motif. Hurrah for a craft that doesn’t rely on following an exact pattern – I love that we each make something unique.


Here’s a look at how this week’s page came together and notes on the supplies I used. Have a watch! (You can subscribe to all the videos here, by the way.)

As always, the weekly sketch is no-stress and just for fun! If you use it, I’d love to see, so please leave a link if you post your page online.

scrapbook page ideas
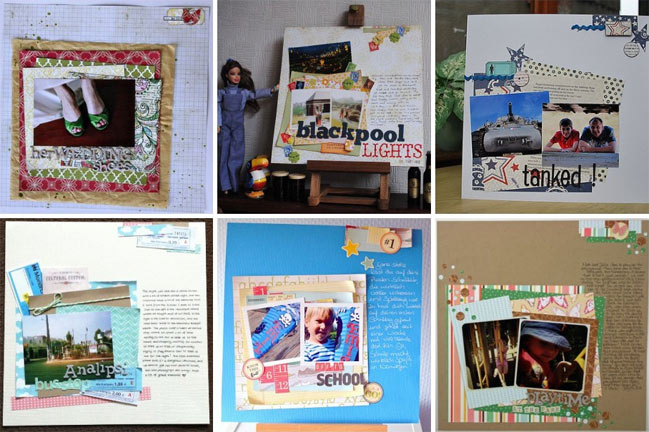
Though last week’s sketch was a different style than the usual, a bunch of scrappers gave it a try and I loved the results. These are six of my favourites.
Click the corresponding link to see any of these layouts in more detail and get to know the scrappers behind the pages.
Top Row, L to R: one, two, three
Bottom row, L to R: four, five and six.
In that last page, Deb replaced the splattered ink with confetti made with circle punches. I love the look it created and it’s something that could be useful for this week’s sketch too.

Now… are you up for some sketchy scrapping this week? What photo will you pick for a bit of special treatment? Give it a go and share it with us!

4x6 Photo Love :: August 2011

Ideas for scrapbooking 4x6 photos
4x6 Photo Love :: free online scrapbooking class Class content ©twopeasinabucket.com. Click here for supplies, a PDF and further details.

The thirtieth of August already? It’s 4×6 Photo Love time! And that means scrapbooking eight 4×6 photos on one layout. Hope you’re ready for a big stack of prints!

scrapbook page
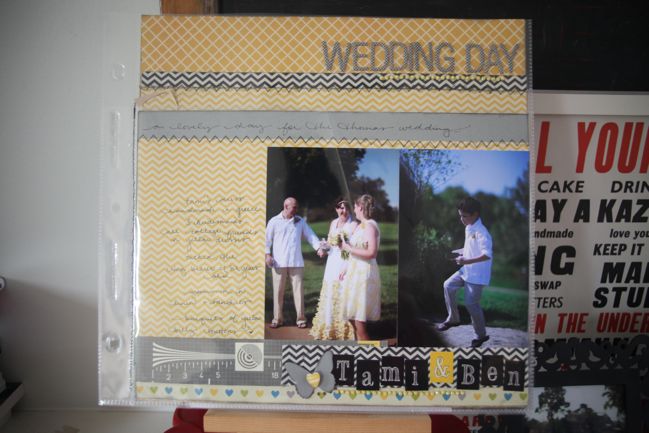
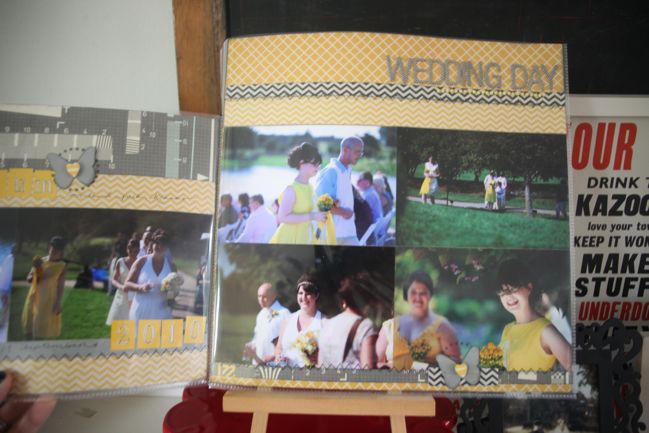
This month’s design concept involves creating a page and a half, more or less. By sewing two page protectors together and cutting a second page to a smaller size, the two pages layer to create one layout with plenty of room for photos. This design is great for a mix of landscape or portrait photos, which I know has been an extra challenge for some of you with the previous editions.

scrapbook page
See? Plenty of space! And with this layout in the mix, I can even say we’re still on-theme for wedding week! The yellow and grey version includes lots of Amy Tangerine for American Crafts plus some Studio Calico paper and Martha Stewart butterflies.

scrapbook page
scrapbook page
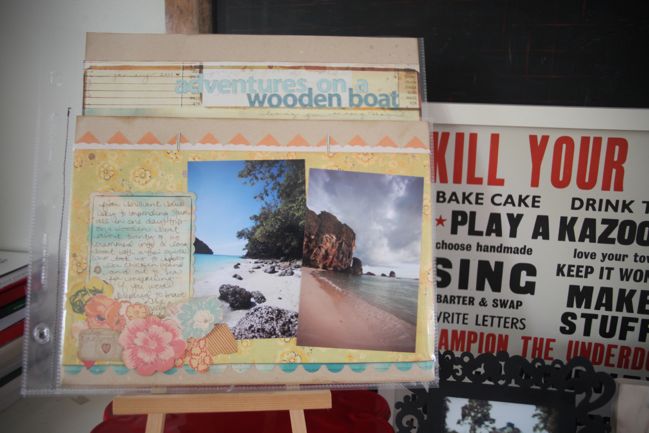
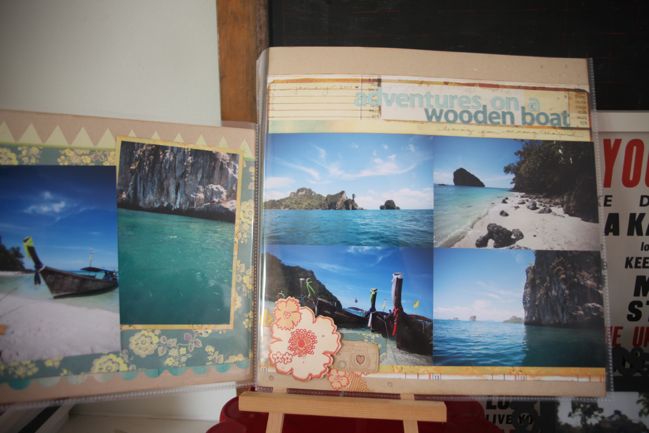
But never fear – there’s a kraft cardstock option too. This is the one I walk you through in the video, and it’s made mostly from the Sunshine Broadcast collection from Sassafras. Speaking of video…


I have to admit the interactive nature of these pages makes them easier to see via video than just these still photos. So go on and press the play button.

scrapbook page by sally danes scrapbook page by sally danes
And I didn’t even mention wedding week to this month’s special guest and she hit it right on the head! The lovely Sally Danes is my special guest this month. She adapted the idea to include eight portrait prints and I love how this came out with the pretty simplicity of the white cardstock background and plenty of Thickers! Check out more scrapping from Sally here on her blog.

Every month, there are two ways to win a prize for participating in 4×6 Photo Love! The first is at Two Peas: create your page and upload it to the gallery. Be sure to tick the box for this challenge in step four of the upload process. One participant will win a gift certificate to Two Peas to go shopping for whatever you like. But there’s a second chance to win right here: on this post, leave a comment with a link to your page (in the gallery at Two Peas or on your blog, whatever you prefer) and one of those links will win Two Peas shopping money too! The deadline for both is the 29th of September.

Congratulations to Talia for winning the draw for last month’s six photo class! (Talia, you will receive your gift certificate by email.) Will you be next? Just choose eight 4×6 photos to scrap and follow along with this month’s class prompt.

xlovesx

PS: Feel free to grab the button there on the left for your blog or to share this class with a friend – since it’s free, the more the merrier! And you’re welcome to use any supplies and any photos, so there’s no boundaries to your scrapping with this year-long project.

Our romantic anniversary plans

our romantic anniversary plans
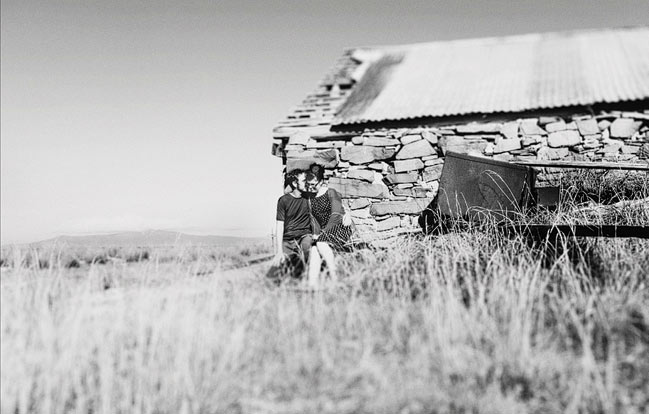
shot by chelsea parsons in tasmania
In celebration of our third wedding anniversary, we have a rather exceptional day on the cards.

It involves The Boy on jury service and the girl waiting in for an electrician because our dishwasher has been recalled and could apparently set itself alight at any moment.

It’s an amazing anniversary plan, right? I’m glad we wait all year for such a special schedule of celebration! I am wondering why we didn’t do this last year, because a cupcake date, a stroll round an art gallery and picking out a new dress is just nothing compared to this year’s plan. Forevermore may we celebrate our wedded bliss with criminal justice and the prevention of kitchen fires.

(But on the plus side, we have dinner reservations at our favourite restaurant. And if you are ever anywhere near Tasmania, go-go-GO have Chelsea Parsons take your picture because she is amazing. And she took that photo at the top of this post. While we were living out of backpacks. Which is somehow more glamorous than waiting in for the electrician, but I digress. Chelsea is awesome, just so you know.)

Have a beautiful day without a single bit of spontaneous combustion in your kitchen. New 4×6 Photo Love later today!

xlovesx

Scrapbook Giveaway Winner

scrapbooking giveaway winner
Heart Pendant

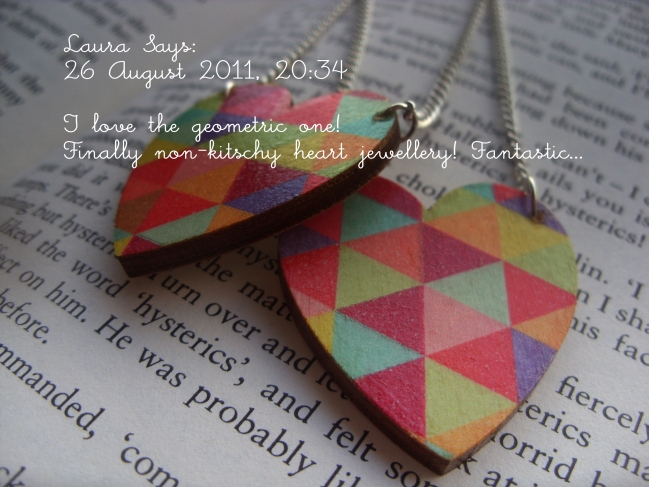
Congratulations to Laura, who wins the pretty geometric heart pendant from Love Cat Creations.

Laura, please email me (shimelle at gmail dot com) with your address.

There’s a new giveaway every Friday night, so check back next week for another chance to win just by leaving a comment.

Have a great week!

xlovesx

Wedding Scrapbook Pages

wedding scrapbook pages
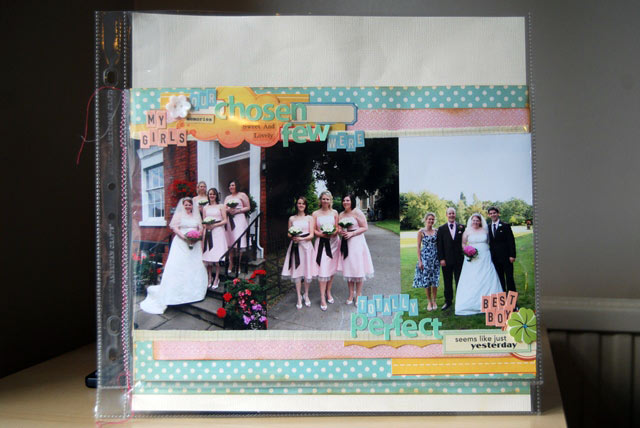
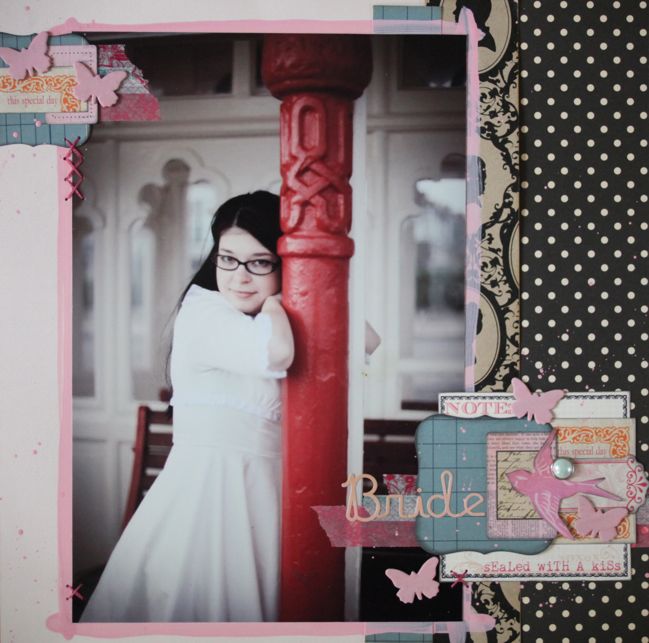
wedding scrapbook page ©twopeasinabucket.com. Click here for supplies and details.

This time last year, I declared it wedding week on my blog and you know what? I’m thinking this should be an annual event. So welcome to Wedding Week 2011! How’s that for spontaneous theming? By now I’ve probably shared way more wedding things from my own wedding than can be exciting to anyone who isn’t me, but rest assured I have actually attended weddings of other people. It’s an amazing concept. So if I add their wedding fun into the mix, I’m pretty sure there’s a whole week of stuff to share. (Plus, there’s a new 4×6 Photo Love class tomorrow, so if you have scrapping time today and haven’t entered the seven photo challenge, hop to it while you still have two chances to win!)

To kick off Wedding Week, here are three scrapbook pages I made for the wedding themed garden at Two Peas this summer. This first page is a real rarity for me – no writing! I really thought about that for a while because pages without any writing really sadden me. When you see just one page at a time in a scrapper’s gallery, it’s easy to assume that one page without any writing is representative of albums filled with pages without writing and I can’t cope with that idea. If we never write on our pages, there is very little to differentiate a beautiful scrapbook page from one of those shoeboxes of old photos in an antique store, with all the pictures of unidentified people doing unidentified things. I really want more than that from my albums.

But I think by now you know that. And sometimes it’s nice to just have a page here or there with just a photo, like a chapter break in a novel. Breathing room. So I added this to my album with no writing. But I assure you, it’s surrounded by pages with plenty of words indeed.

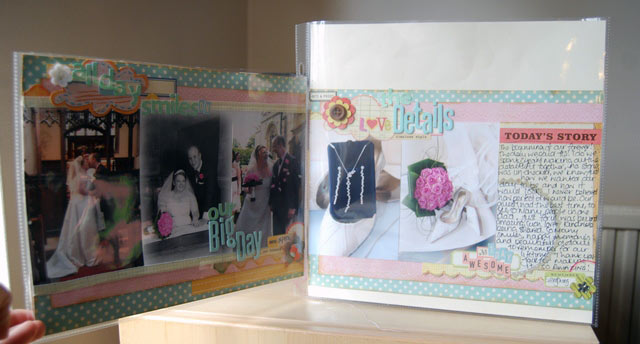
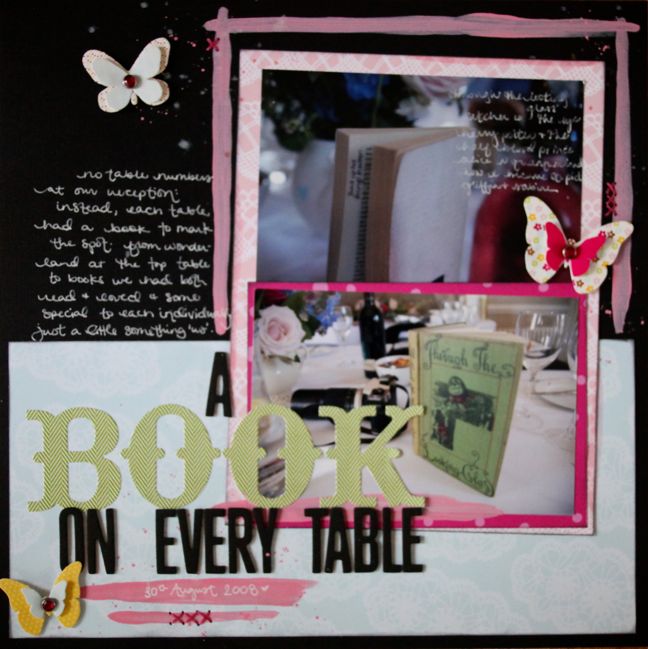
wedding scrapbook page ©twopeasinabucket.com. Click here for supplies and details.

At our reception, we used books instead of numbers to mark the tables. So that needed a little explanation in our wedding album. It was quite funny to see the people on each table try to make a connection to the book chosen to represent them. Sometimes there was a definite link to the guests… other times it was just a book that had some sort of meaning to both of us.

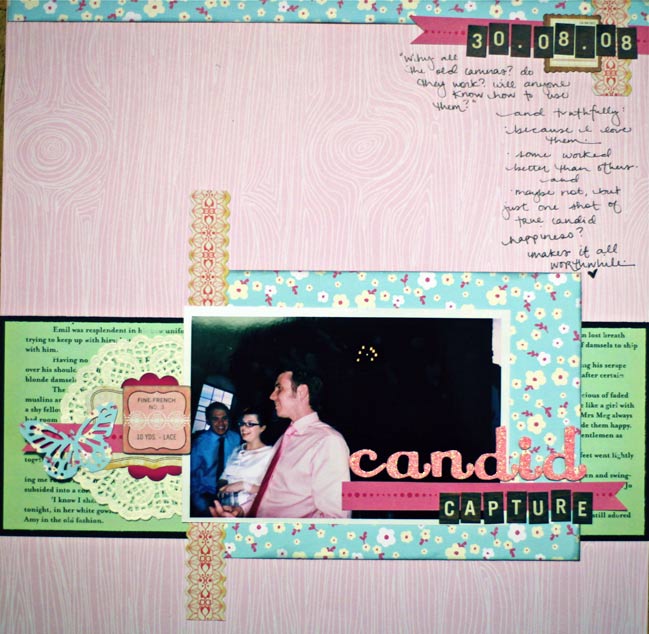
wedding scrapbook page ©twopeasinabucket.com. Click here for supplies and details.

And this page makes a break in the album between the fancier professional photos and the haphazard images that came from the vintage cameras on each table. I wanted to start that section with a bit of explanation as to why the old cameras were there, as several people had mentioned in advance that surely we wouldn’t get any decent photos from these cameras at all. And truly, the vast majority are blurry, under-, over- or double-exposed and of course very grainy as they were all shot indoors without flash. But there were plenty of pictures that made them completely worthwhile – unexpected photos that captured great expressions and different combinations of guests. I love those pictures and am so very glad we had film as well as digital on our wedding day.

So… let’s see what other wedding fun I can find to share this week! And maybe you’ll join me in making a wedding-themed project or two!

xlovesx

Bank Holiday Album Sale

scrapbook album sale
scrapbook albums
Everybody loves a sale for a long weekend, right? I have just a few albums that need a home. I’ve used all of these designs in workshops but have a few left over and now you can grab them at a great price – while supplies last.

6×8 Box Album £15
(includes first class shipping cost of £4.90)
Inside page size of 6×8 inside a sturdy, wrap-around box album. Great for special projects! Includes 6 page protectors – 3 full page and 3 divided for 4×6 photos. Ring binder mechanism means you can add more pages or protectors. Available in red or navy blue canvas or black bonded leather with white stitching.

Red Canvas Cover
SOLD OUT

Blue Canvas Cover


Black Bonded Leather Cover


scrapbook albums
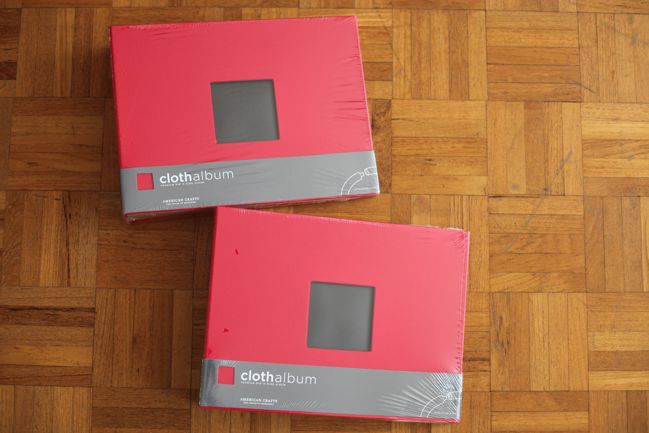
8×8 Ring Binders by American Crafts – Pack of 2 Albums – £22
(includes first class shipping cost of £4.90)
Red fabric cover, perfect for a Christmas album. Keep both for yourself or gift one to a friend.
Each album includes 10 8×8 page protectors inside.
SOLD OUT

scrapbook albums
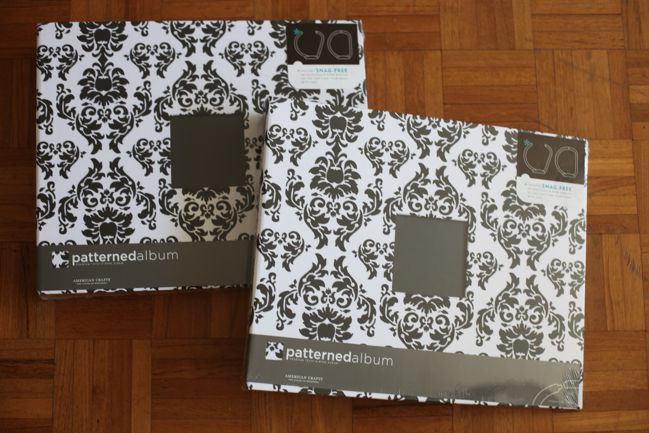
12×12 Ring Binders by American Crafts – Pack of 2 Albums – £48
(includes first class shipping cost of £8.95)
Black and white damask print. Keep both for yourself or gift one to a friend.
Each album includes 10 12×12 page protectors
SOLD OUT

scrapbook albums
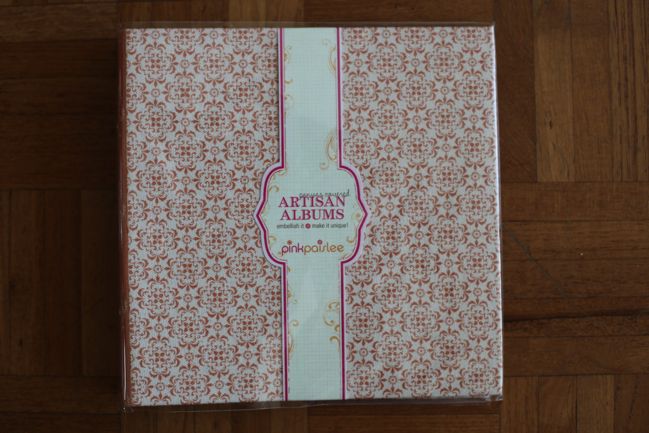
8×8 Ring Binders – Artisan Albums by Pink Paislee – £8
(includes first class shipping cost of £2.48)
Cream canvas cover with orange print.
Includes 6 chipboard pages.
SOLD OUT

All albums are available with UK shipping only and are in very limited stock. Grab a bargain while it lasts!