pretty paper. true stories. {and scrapbooking classes with cupcakes.}

lovely to meet you Twitter Facebook Pinterest YouTube

Take a Scrapbooking Class

online scrapbooking classes

Shop Shimelle Products

scrapbook.com simon says stamp shimelle scrapbooking products @ amazon.com shimelle scrapbooking products @ amazon.co.uk

Reading Material

travel

Wedding DIY Project :: Team Bride & Groom badges

team bride / groom badges - wedding DIY project
team bride badge
There is something you have to understand about Laura. She is so organised. I absolutely love it. I want to be like that when I grow up. She is a real live poster child for the girl guides, I tell you. (No really, she even makes adorable guide patches like this.) But to give you a full picture of Laura’s calm and organised nature, she got married on the fourth of September 2010. A week before that, she realised all the things on her to-do list were well and truly done, and that could only mean there was time to add something extra. So we arranged to spend the first of September trying out charity shop cameras and making a jar full of badges. Just because. Let’s just say that many days before my wedding I was convincing The Boy he really did need to get a suit and a haircut! (He did both, I promise.)

wedding diy project - team bride / groom badges
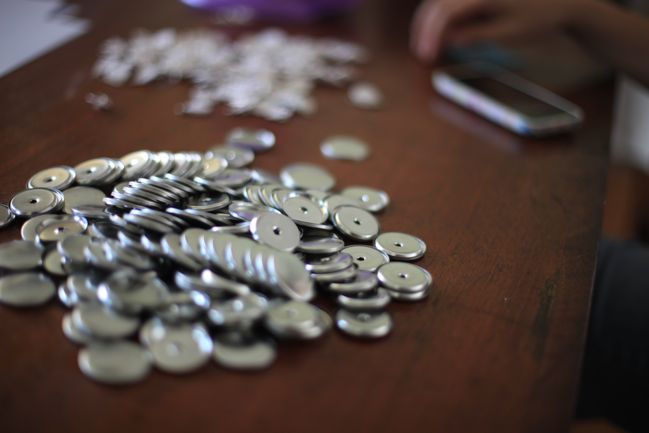
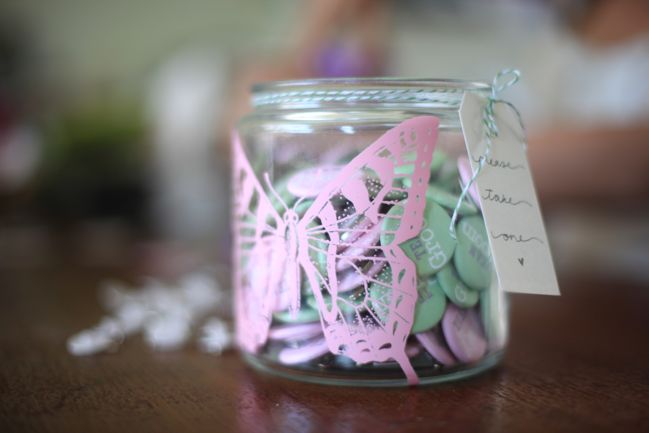
I love this little touch she came up with and I have a badge-maker, so between three of us, this project was done in no time at all really. We used the Badge-It badge-maker and a few packs of refills, plus a simple text design in the colours and fonts of the wedding invitations, which we printed onto white Bazzill cardstock then cut out with scissors and the handy-dandy tracing template that comes with the badge-maker. (I’m thinking now that the nested circle dies might make that job easier, but I didn’t have a set then plus I find chatting and scissoring to be a quite therapeutic activity but die-cutting takes too much elbow grease to be sociable at the same time.) Lots of turns on the badge machine and then a quick job to stick all the backs on and pop them into a jar made extra pretty with a pink butterfly rub-on.

team bride / groom badges - wedding DIY project
The jar lived on the bar during their reception and sure enough, through the evening more and more people were identified with their Team Bride or Team Groom affiliation and the jar emptied. Such a cute wedding DIY project!

Making badges from shimelle on Vimeo.

And so we draw Wedding Week 2011 to a close! And I have a little something up my sleeve starting Monday. But you’ll have to come back then to find out what on earth it could be!

xlovesx

Scrapbook starting points :: Love Birds

scrapbook starting points
scrapbook page
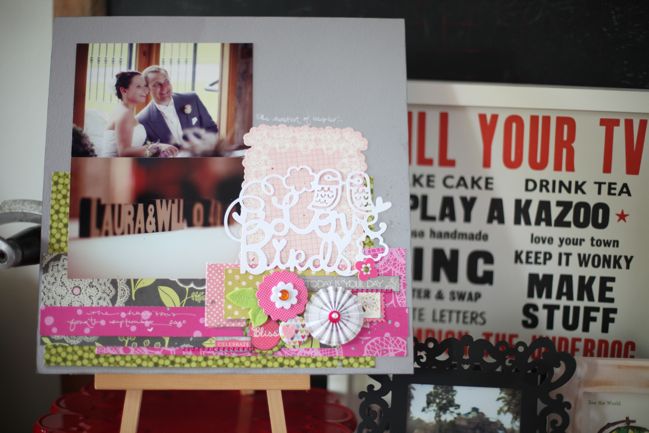
So this became this, just in time to wish this lovely and her mister a very happy first anniversary. There’s an awful lot of swoon packed into wedding week! (By the way, I’m pretty excited about what starts tomorrow to follow wedding week… but I’m not telling until Monday!)

On top of all those rectangles of scrap paper, I added two 4×6 photos and a host of premade embellishments – die-cuts, stickers and a flair badge. I find I now automatically think of their wedding when I use pink and green together, and I still have a stack of prints from their day so why go against what seems to work? I love how the wooden letters they had as a decorative touch will also work well as an introductory page in my album. (I’m sure that’s exactly what they were thinking, right?)

scrapbook page ideas ~Sources: one, two, three, four, five and six.~

Here are six of my favourites from the last starting point. Click the corresponding link to see the page in more detail and get to know the scrapper behind the layout.

Thanks to everyone who took on the first starting point challenge! The current starting point can be found here. Upload your layout by Friday and it could be featured in next Saturday’s post!

xlovesx

Scrapbooking Starting Point

scrapbooking starting points
scrapbook starting point
I’ve been having a few thoughts and discussions about this idea for starting points. Someone pointed out it could be very cool to see what everyone makes if I don’t show the finished layout along with the starting point. I agree. But I also know some scrappers are more inspired by completed pages than partially-finished layouts. So I think I’ve come up with a solution: posting the starting point on Saturday and the finished page on Sunday. I’m going to give that a try!

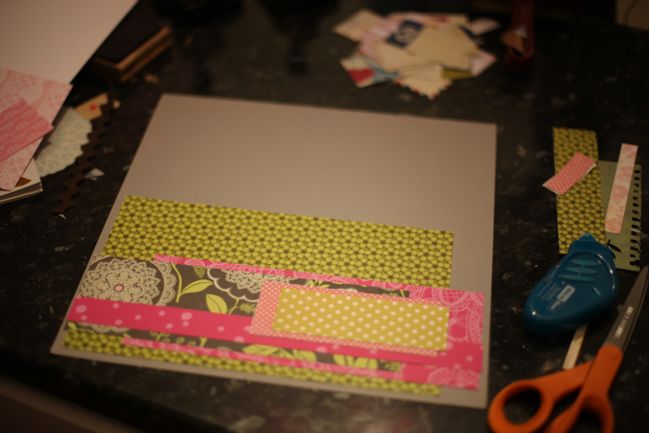
So here’s a starting point for today, and it’s one that comes from a bit of diving through my basket of scraps and off-cuts. I selected several scraps in one colour scheme then rather than cutting them to purposeful sizes, I just took each scrap as it was (mostly in oddball shapes!) and cut it down to whatever rectangle was possible. That left me with some strips, some big boxes and some small boxes. Perfect. Then I just layered them all up at the bottom of the page. The cardstock background is the only full sheet I used and there are a few more scraps from these same papers that I can put to use as I finish the layout. I love layouts from scraps – it feels a bit like getting a bonus page out of all those older supply purchases, and it prevents overthinking when I start cutting the papers to size.

Now it’s your turn: take this starting point and recreate it (or something similar) with your own stash of papers. You can work in any theme or colour scheme. Finish the page from there and share it with us!

Stop by tomorrow to see the finished layout and some of my favourites from the last starting point too!

Scrapbooking Giveaway Day

scrapbooking giveaway day
Julie Kirk Giveaway
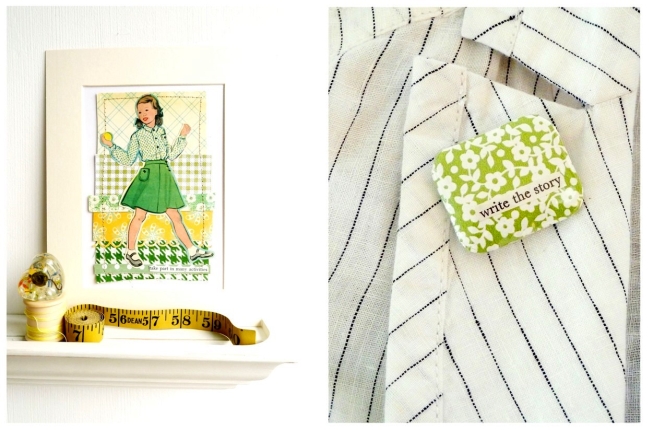
This weekend, one commenter will win this gorgeous prize of a handcrafted Collage and Badge from Julie Kirk.

Julie Kirk & The Carousel Zebra is a shop stocked with collages, badges and greetings cards made from interesting, retro, vintage, re-cycled and found materials. Each unique item is made from a combination of new papers mixed with illustrations and patterns taken from Julie’s collection of old books, magazines, dress-making patterns and fabrics. She says that the words she adds to her work, also cut from vintage sources, are an important element in her attempt to tell new stories using old materials.

Julie is currently working on an online class which will look into combining scrapbooking with the interesting, vintage materials she uses in her work.

You can read more from Julie on her blog or on Twitter.

To enter, just leave a comment on this post telling us what your ‘power animal’ is.. be inventive!

Entries close at midnight Sunday UK time and the winner will be posted Monday evening, so be sure to check back to see if it’s your lucky day!

Good luck!

xlovesx

Learn Something New :: Printable 4x6 Cards

Learn Something New :: Printable 4×6 Cards

Click here to download a zip file with 32 4×6 cards.

Once you download the file, you will need to unzip it to a folder. Most computers will automatically do that by double clicking. Some systems may require an unzipping utility.

In that folder, you will find thirty-two JPG files – just like photographs. The easiest way to print these is to import them to your photo library like you would your regular photographs – like Picasa, iPhoto or any other library you use.

From there, you can print them just like you would print a photo – though you will probably want to print them on cardstock rather than photo paper.

Once you have printed your set of cards, you can add just words to each card or add a mix of words, photos and embellishments, depending on your style and how much time you want to spend on your daily entries.

The cards use a neutral colour scheme so you can add brighter colours if you like or keep it as it is.

Enjoy!

Edwards Wedding photos

edwards wedding - london, uk
edwards wedding - london, uk - getting ready
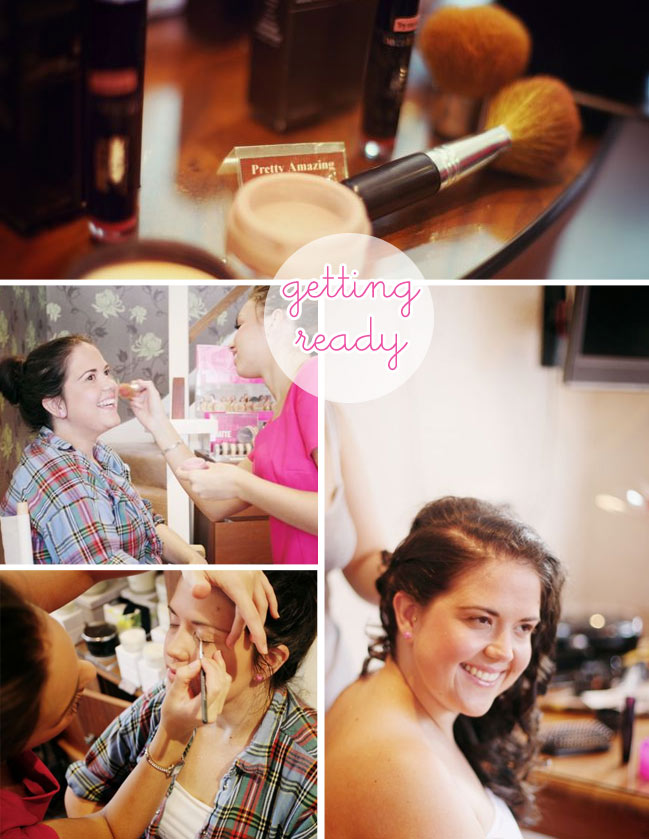
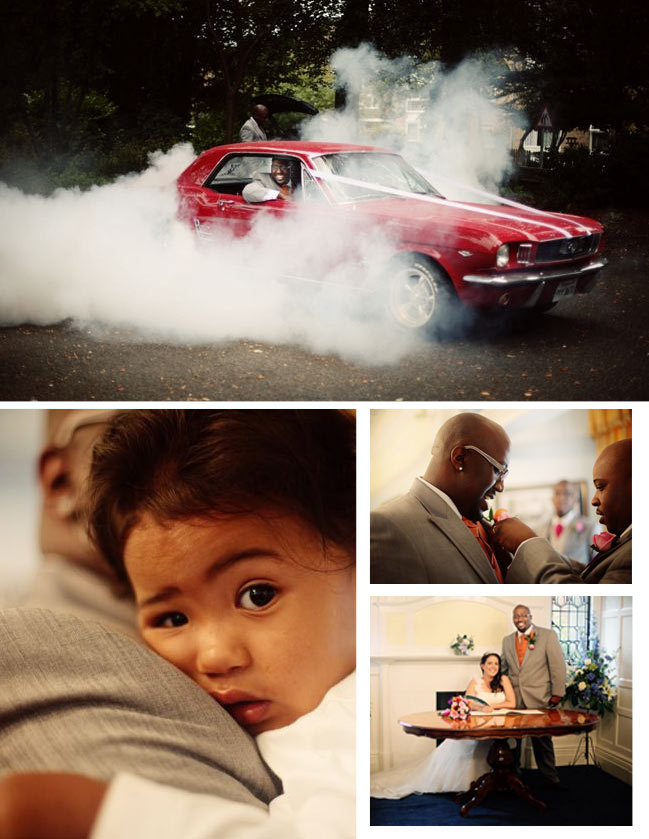
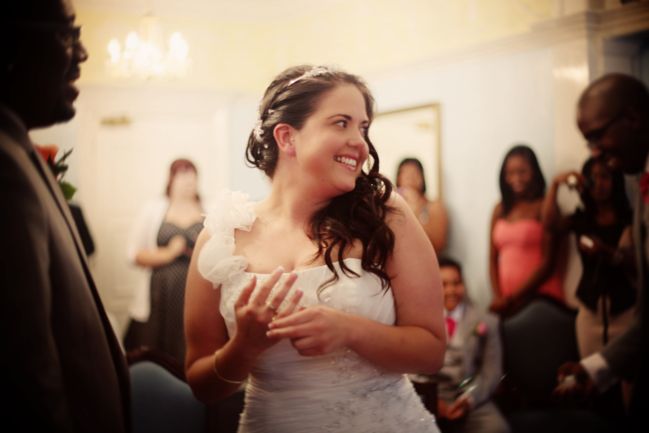
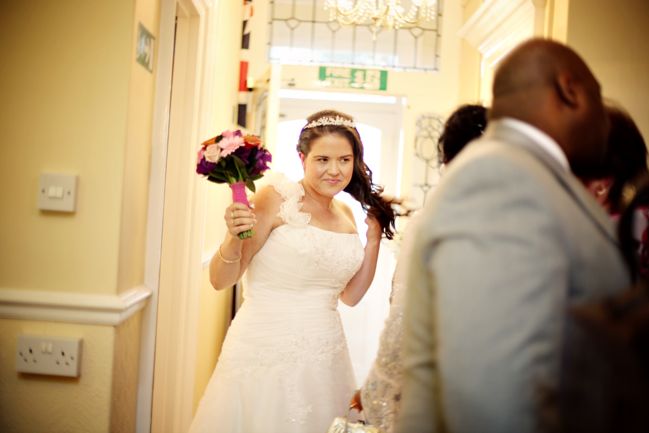
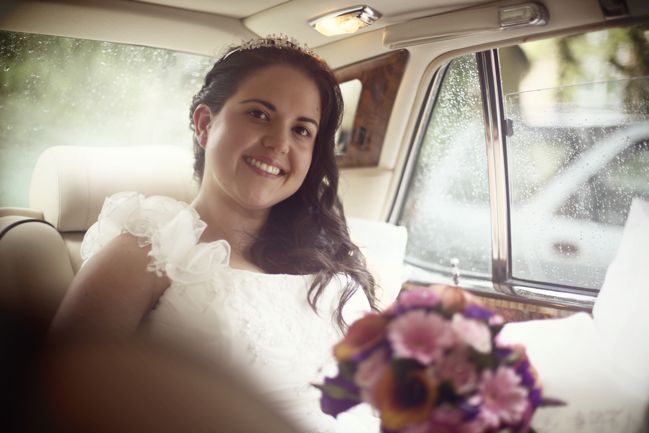
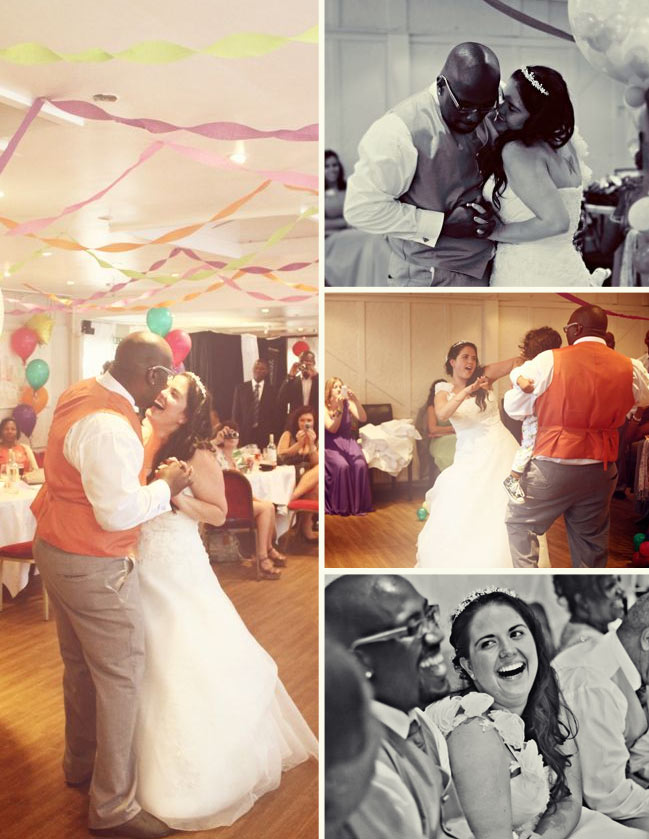
How about a bit of plain old wedding pretty for wedding week? The lovely Leanne and Kevin got married not even two weeks ago in a day filled with bright colours and big character. It started out sunny and right about ceremony time, the heavens opened and left us with a big conundrum of what we could do instead of a confetti shot. I will tell you this: it takes longer than you would think to convince everyone in a lobby that they can stand on a staircase!

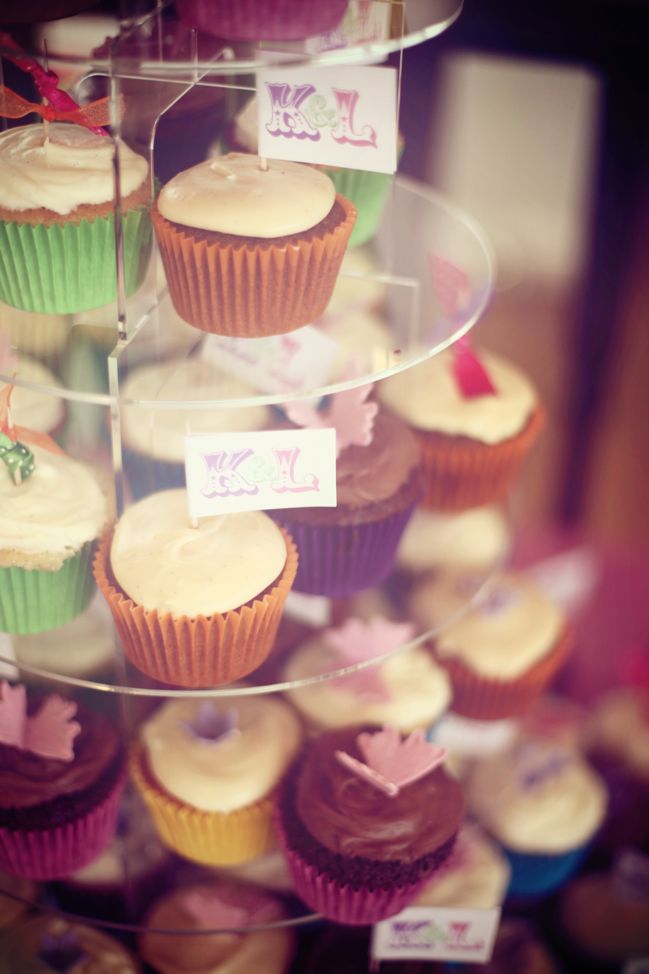
But the rain left right in time for the reception and there was glorious sunshine until the day was done. And other glorious things like cupcakes and pick & mix and a photo booth and gorgeous multi-coloured bouquets. So let me share an enormous amount of happy wedding photos with you!

edwards wedding - london, uk - bridal portraits
edwards wedding - london, uk - ceremony
edwards wedding - london, uk - group shot
edwards wedding - london, uk - bride
edwards wedding - london, uk - couple portraits
edwards wedding - london, uk - cupcakes
edwards wedding - london, uk - reception

And just in case that was not enough fun for one wedding, there was a…
edwards wedding - london, uk - bouncy castle
Bouncy. Castle.

True story.

Many, many congratulations and well wishes to you, Leanne & Kevin!

xlovesx

Getting your album ready for Learn Something New

Getting ready for a month of Learning Something New
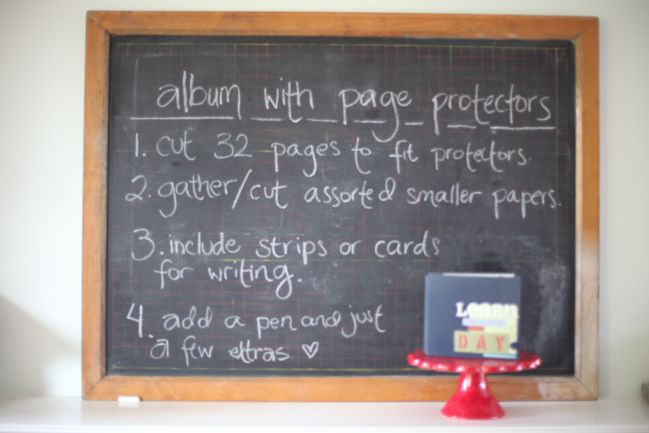

For an album with page protectors, you can start by cutting your paper to size – you’ll need a sheet for each day plus you will probably want a sheet to start and one to finish, so that’s thirty-two pages cut to size. 6×6 is a great album size for this project and allows you to get all that background paper from eight sheets of paper or cardstock.

Once you have your backgrounds cut to size, you can assemble a kit of everything else you want to use. None of them will need to be larger than your page size, so you might as well go ahead and cut any larger pieces to the size of your pages. Scraps and papers cut into small blocks will be much easier to use and make your entries come together quickly. So cut away until you have a variety of small pieces that you would be happy to use together. Grab a bag or a basket to hold all these pieces.

Make sure you have something in the mix that will be good for writing. That might be journaling cards or lighter coloured papers or it might be a bunch of strips of white or kraft cardstock. Just be sure you have a fair amount of paper in your basket that is suitable for writing.

Add everything else you’ll need to complete the project to your basket – pen, adhesive, scissors, any embellishments you might want like a stamp and ink pad or brads, punches or flowers – whatever works with your style. Pop everything in the basket so you have the whole project together and don’t need to look for anything on a daily basis.


If you’re working with page protectors, you can go ahead and put all the background pages into the book and even scatter the papers throughout the album… or you can just add each completed page as you go. Whichever is best for you!
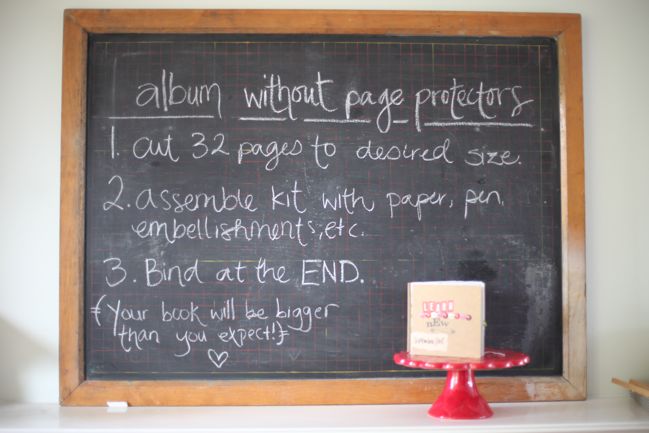

For an album without page protectors, the same stuff applies for cutting your pages to the desired size and gathering your supplies into a central location, but it’s the binding that is key here. If at all possible, plan to bind your book at the end of the project. I know that sounds somewhat unorthodox and even clumsy to have all these individual pages that won’t actually be held together until the end of the project, but the experience from many scrappers participating in this class tells me your finished album will be bigger than you expect. If you bind it at the start, it is very possible that your album will grow too big for the binding and leave you with a real conundrum before the month draws to a close. Binding at the end eliminates that problem.


If you do need to bind your album at the beginning, err on the side of as much room as possible and think about flatter embellishments to keep the thickness of the pages under control. It can work! And if your book outgrows its binding, that can work too – it can just be a bit of creative learning when you set about finding a solution. That’s not the end of the world!


For an envelope album, you’ll need an envelope for each day and possibly two more – one for the start and one for the end of the project. Punch two holes in all of the envelopes (in the same place) and hold them together with ribbon or two large book rings so there’s plenty of room.
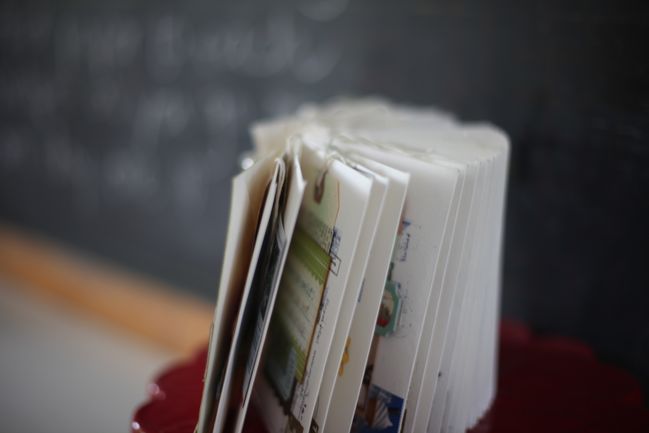

With an envelope album, you’ll add each day’s writing to the envelope, so you can choose to add paper to each envelope at the beginning or you can keep your paper in one place and then add each completed entry to the envelop as you go. As far as the outside of the envelopes, you can attach a photo each day or embellish them. For this envelope album, I made a tag each day and attached it to the front of the envelope with the day’s lesson summarised in one sentence.


For a 4×6 sized book, you have plenty of options! This year, I’m using a 6×12 album but making my daily entries 4×6 in size. That’s one option for 4×6 entries, but you can also create a book that’s actually 4×6 in size or you can create 4×6 digital pages and print it either at home or as a photo book. 4×6 entries can fit into divided page protectors and then go right into a regular 12×12 album. So many options!

And that is why when class starts, you can download a printable 4×6 set. Just print the pages on your home printer on white cardstock, trim them to size and you can complete your album by writing straight onto the cards. To complete your album, print any corresponding photos at 4×6 and you have everything you need to make it into your own minibook!

Of course you don’t have to use paper and glue to participate in this project. You can write a blog post about your lesson from the day. You can write them in a diary or a notebook. You can call yourself and leave a voice mail each day. You can write it on a blackboard and take a photo of it. You can do whatever works for you. Making it work for you is the ultimate key.

One last reminder: you have to live the day before you can scrapbook it. That means you might be making your entries in the evenings or you might make them in the morning – but about the previous day. Don’t feel like you’re ‘behind’ by lunchtime on day one – you can’t be! If you can write one sentence somewhere – even if it’s just on a scrap of paper – then you are not ‘behind’. And even if you can’t, just keep going. Every day can be a fresh start.

Have an amazing September filled with the very best kind of learning.

Click here to access the forum.
(You will need your username and password to access the class materials and discussions.)

Click here to access this article as an easy-to-print PDF file.

Scrapbooking Sketch of the Week

scrapbooking sketches and scrapbook page ideas
scrapbooking sketch and scrapbook page ideas
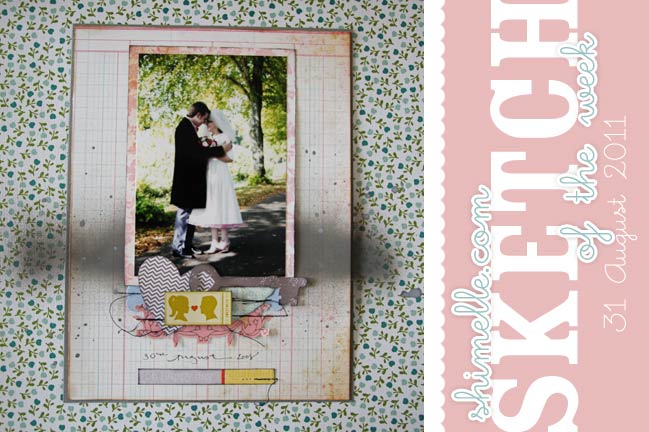
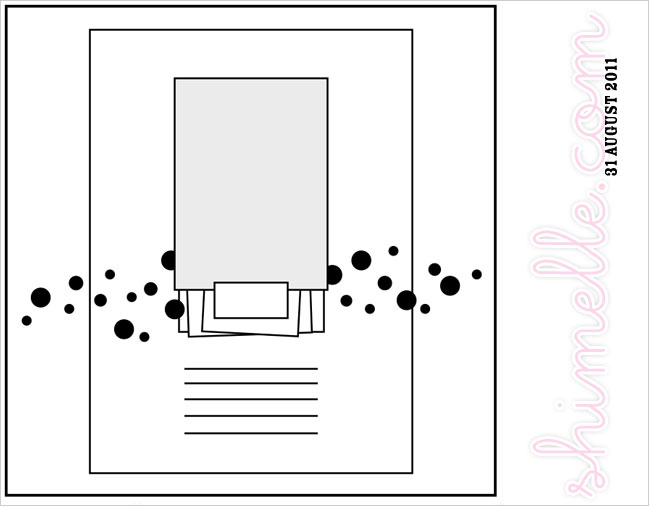
How about a wedding layout for this week’s sketch, since it’s wedding week and everything? But not to worry: you don’t have to create a wedding layout to follow the sketch. This week’s sketch is a way to give a special treatment to any 4×6 photo you might have.

scrapbooking sketch
There are some definite similarities between this week’s sketch and the last sketch. Don’t worry – they won’t all look like this from here on out! But I wanted to show two in this style in a row to illustrate how you can take one sketch and adapt it to work for you. I always find the feedback from different sketches interesting. A few people told me last week’s sketch wasn’t for them because it used too much paper on one layout and a few others said they didn’t like the idea of splashing paint over all those layers once they were in place in case it all went horribly wrong. I totally understand both of those comments, though neither of them worry me too much: there is a huge amount of paper in my scrap bin that should be used rather than just stored, so I don’t mind the extra paper on my pages. If I didn’t have a bunch of paper sitting there staring at me, then I’d most likely think differently about that! And as far as paint or ink messing things up at the end, I will assure you yes, this happens. I have plenty of layouts that just don’t work in the end the way I imagined them at the beginning. I either find a way to fix them (usually by adding more layers) or by salvaging what I can and starting over on a new layout. It’s not the end of the world. So I say err on the side of wild and brave and use your supplies and throw paint as you may.

But also, feel free to look at a sketch and reinterpret to make it work for you. That’s why these two sketches have similarities. Last week, my basket of scrap papers was making me think using a stack of paper would be a good idea. Then I looked at my bowl of die-cuts and had the same feeling, so I added a smaller stack of things to this week’s layout. Last week I added the paint midway through the layout, this time it’s pretty much right at the beginning. That way if it goes wrong, I can just add more paper over the top and no one needs to know anything ever happened. So that sketch became this week’s sketch and you can move things around again to make it work for you – add more photos, give it a title, turn things around. Replace paint splatters with punched shapes, replace a stack of embellishments with one bold motif. Hurrah for a craft that doesn’t rely on following an exact pattern – I love that we each make something unique.


Here’s a look at how this week’s page came together and notes on the supplies I used. Have a watch! (You can subscribe to all the videos here, by the way.)

As always, the weekly sketch is no-stress and just for fun! If you use it, I’d love to see, so please leave a link if you post your page online.

scrapbook page ideas
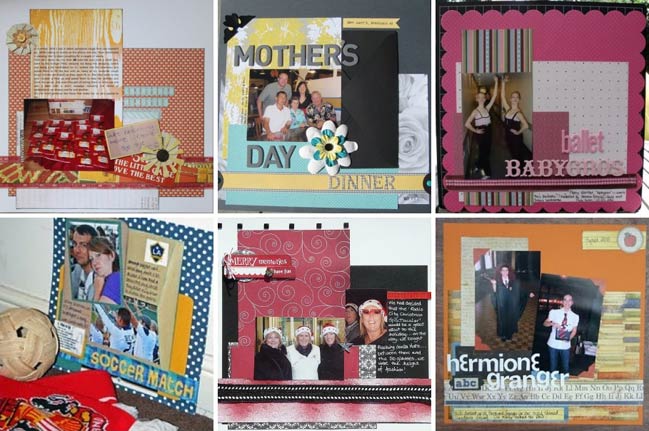
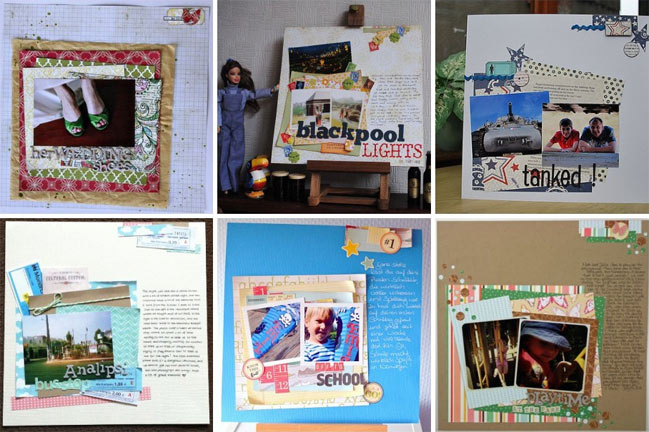
Though last week’s sketch was a different style than the usual, a bunch of scrappers gave it a try and I loved the results. These are six of my favourites.
Click the corresponding link to see any of these layouts in more detail and get to know the scrappers behind the pages.
Top Row, L to R: one, two, three
Bottom row, L to R: four, five and six.
In that last page, Deb replaced the splattered ink with confetti made with circle punches. I love the look it created and it’s something that could be useful for this week’s sketch too.

Now… are you up for some sketchy scrapping this week? What photo will you pick for a bit of special treatment? Give it a go and share it with us!