Papercraft tutorial :: Making a birdcage card

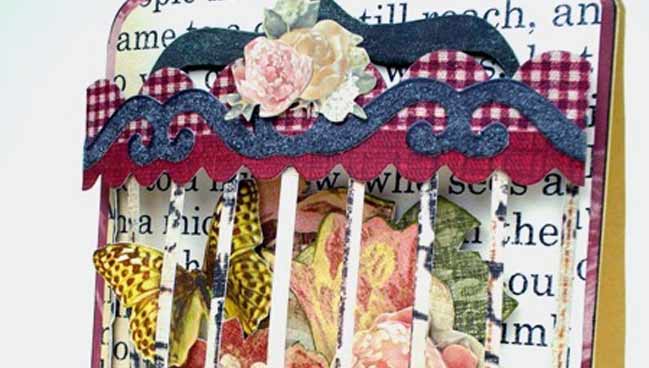
Today I’m happy to introduce Sandy Ang, a scrapper with Singapore with a great idea for making a paper birdcage! I hope you enjoy Sandy’s tutorial.
Sandy here to share my Caged Bouquet card with you.
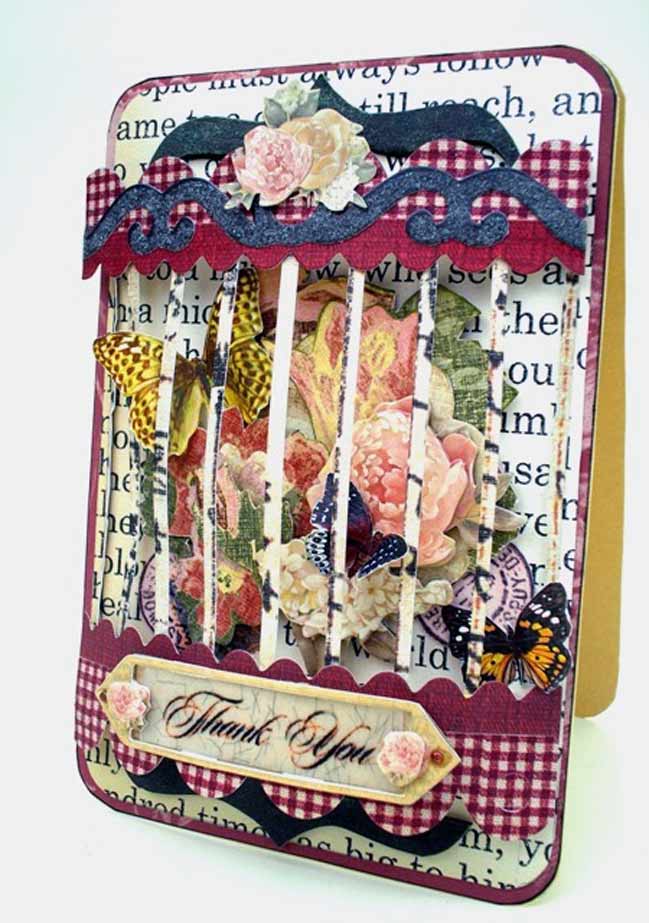
It’s inspired by the popular bird cage trend and is a challenge to myself to recreate the cage’s curvature on a card. It went out to Holly Lefevre who featured me on her blog. She was sweet enough to say it’s on display at her house where she can admire its beauty everyday.
To create this card, I used the following supplies:
Paper – K&Co. Life Journey, Jenny Bowlin Vintage Bookprint Black, g.c.d studios Artsy Urban, yellow cardstock
Embellishments – K&Co English Floral Frames & Stickers, g.c.d studios Artsy Urban die-cut borders
Others – Tattered Angels Glimmer Mist Sweet Clover
You can, of course, use any supplies you fancy to create your own birdcage! Here’s how:
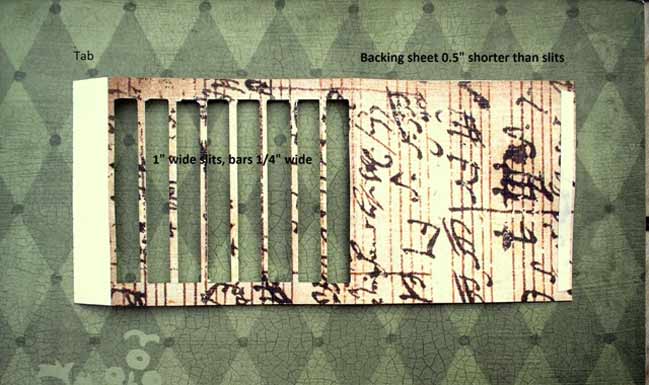
Start with a 8.5“x5” paper. Leave a 1” tab and cut eight 1/2” wide slits, each bar being 1/8” wide.
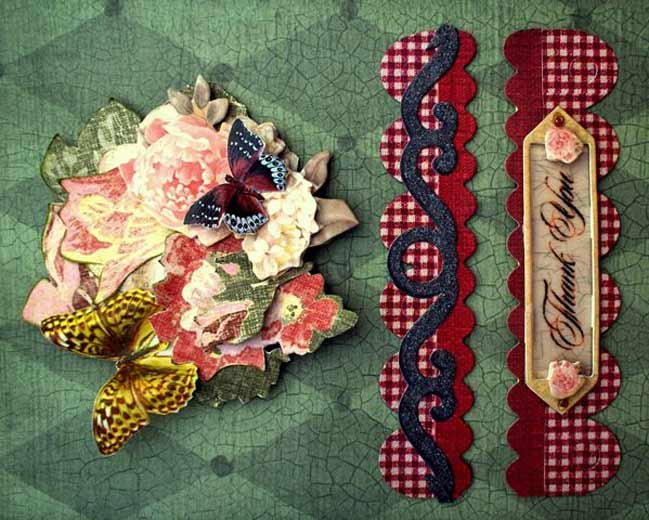
Prepare your bouquet, top trim and bottom trim. I used a mix of paper and stickers, and made the trims with a big scalloped edge.
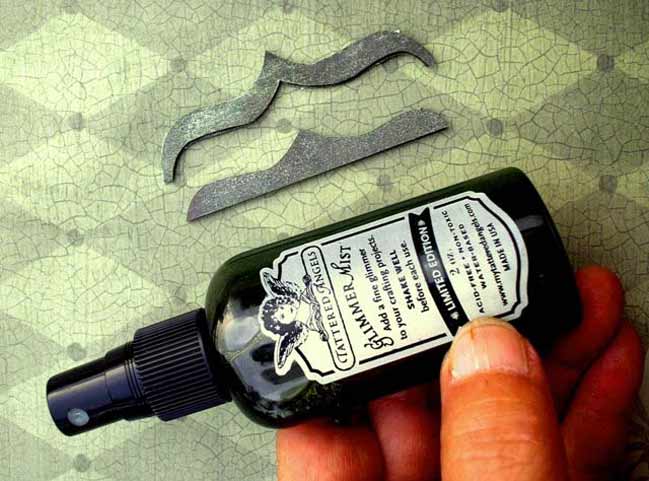
Cut the top and bottom brackets. I’ve misted mine to match the g.c.d studios border.
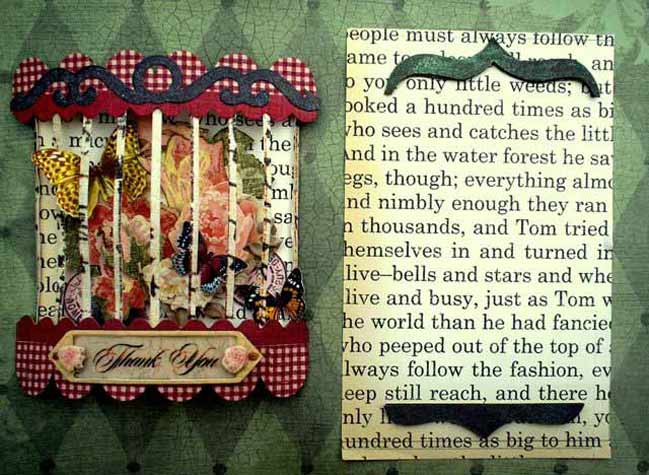
Assemble the birdcage with strong adhesive.
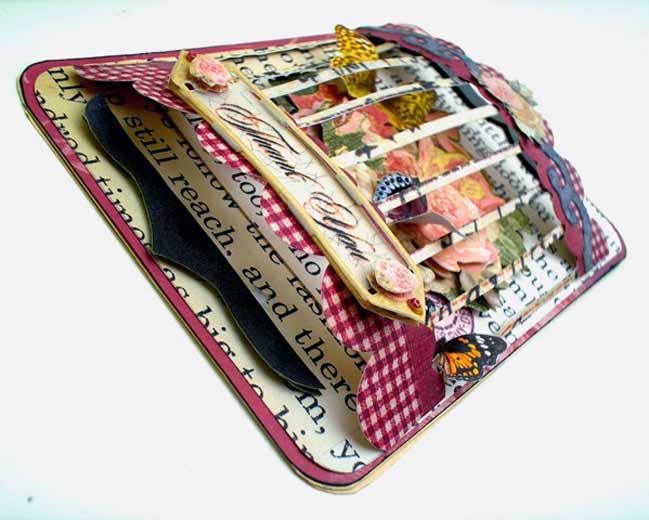
Finally glue onto the yellow cardstock base. The curve is created by wrapping a 4” rectangle over a 3.5” base, best shown in this shot from an unconventional angle.
No birds in my cage, just some blowsy English roses visited by fluttering butterflies.
| Sandy Ang is a crafter from sunny, little Singapore who loves card-making, paper construction and creating altered objects. She is the resident designer for Singaporean brand KCK. You can find more of her work on her blog. |
 |
![]() Read more about:
Read more about:
Next post: Travel Notes from Vientiane, Laos
Previous post: Travel Notes on Sleeper Trains


