Creating Dimension using Paint:: A Scrapbooking Tutorial by Stephanie Bryan
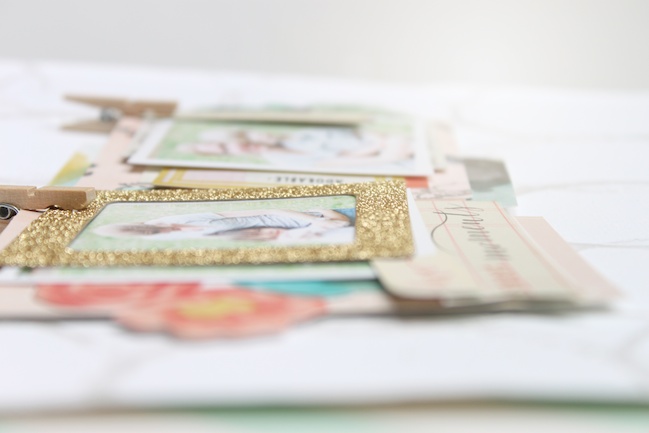
A piece of white card stock is just like a blank canvas to me. I love how it’s ready to be painted, layered, stamped or misted. I love how the smallest little detail shows right up and invites you in!! And today I wanted to share one of my favourite tricks with you!!
Stephanie Bryan here and I’ll be showing you how to use a round lid and some puffy paint to create a wonderful, iridescent background! I will also be showing you two ways to utilize this background to complete two beautiful project!
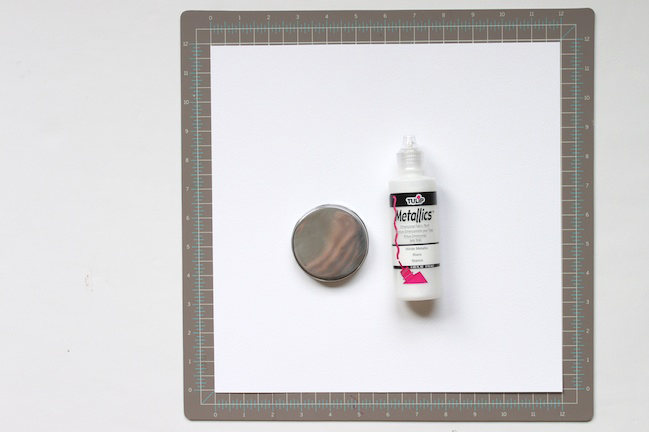
For the first project, you will need a piece of white card stock, a round lid and dimensional paint (think puffy paint). There are a large variety of colour options, but just like my canvas, I love to stick with white. The metallic element creates a pretty, shiny effect on your page. Non-metallic dimensional paint would great too.
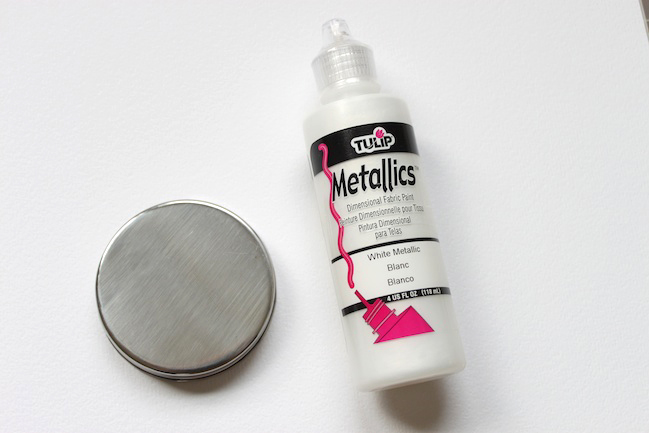
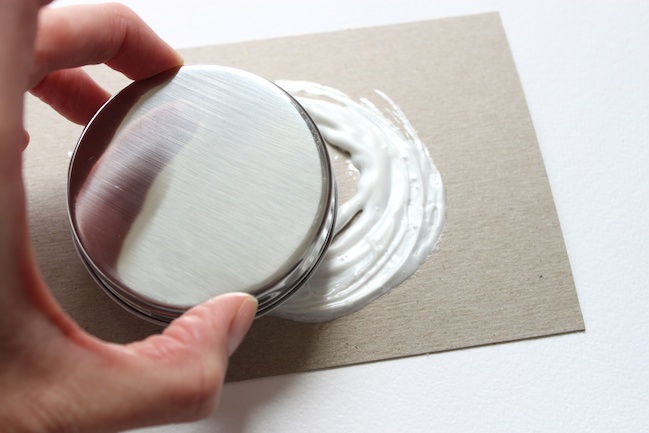
To begin, add some of your puffy paint to a piece of scrap chipboard. I like to eyeball the size of my lid and create a circular shape about the same size. Grab your lid and dip it into your dimensional paint, making sure to coat all the way around your lid.
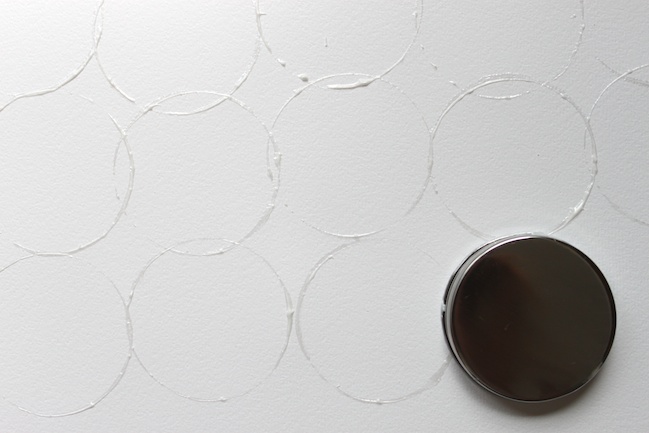
Now, stamp your lid on your card stock. For this first layout, I wanted to create a background of circles so I stamped all over my page, starting with the top left hand corner and working my way down.
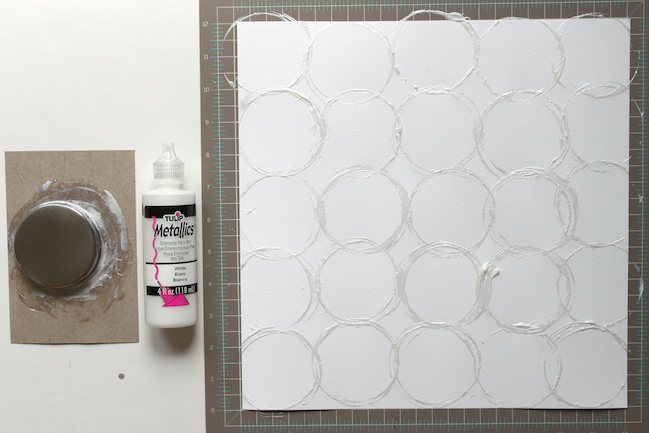
As you can see, I like to overlap my circles a little and I like for the circles around the edge of my paper to be slightly cut off. After you stamp each circle once, go back and stamp over your circles a few more times. This adds depth and dimension to your circles.
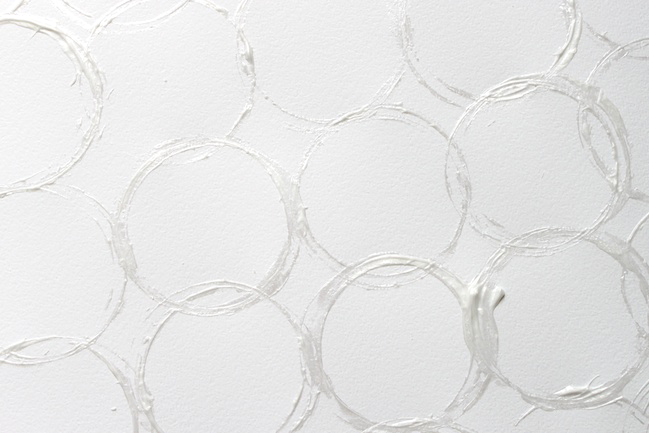
Here is a closer look at a few of the circles. Feel free to play around and get messy here! I think the “non-perfect” look adds to the playfulness of the page.
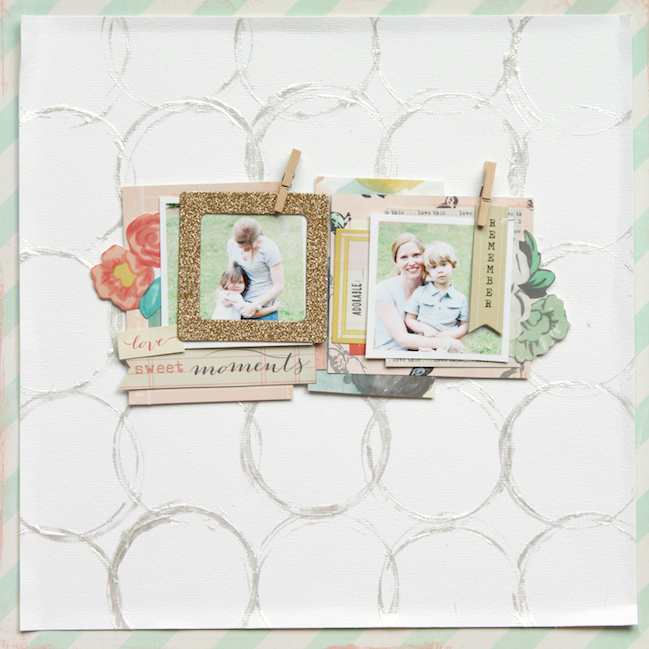
Once my circles were dry, I added two photos, paper layers and embellishments in the center of my page. I also trimmed a little from each side of my background paper and backed my work with a piece of patterned paper for balance.
I love the iridescent effect! And you just have to see it in person! It looks even better!!
Ok! Don’t put your dimensional paint away yet!! I have another fun project to share with you!
While I have the paint out and my fingers are all messy, I like to go ahead and create a few more backgrounds just to have on hand.
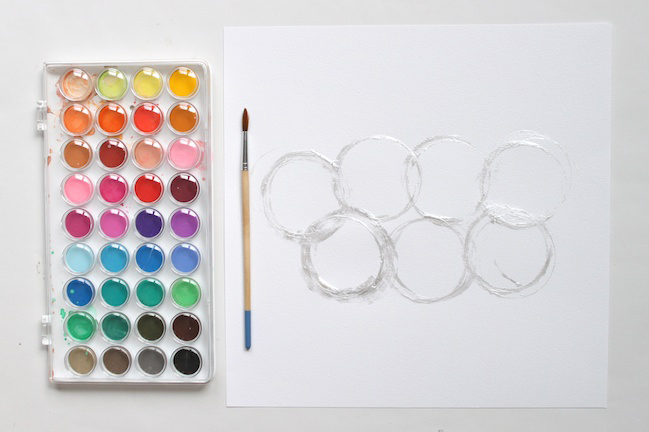
For this second layout, start by stamping circles on the middle of your page in two rows. Be sure to stamp over each circle a few times to create a larger, messier circle. Let it dry.
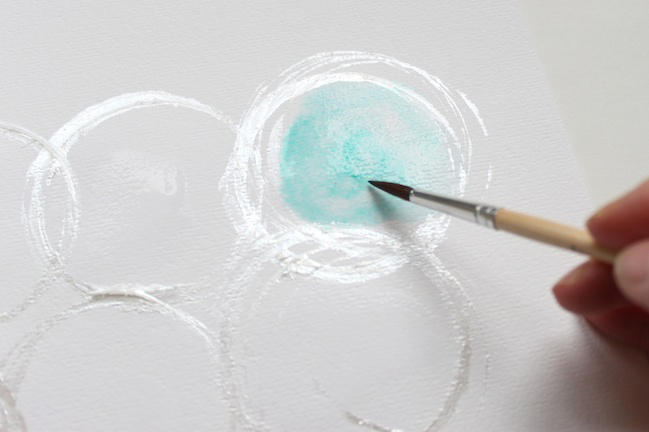
Instead of leaving these circles blank, I thought it would be fun to add watercolours inside of each one to add some colour and pop to my page. Pick your favourite colours and paint away. I like to use a wet-on-wet watercolour technique by adding plain water to my circle first and then adding my paint colours. The water already in the circle helps the spread and flow of colour..
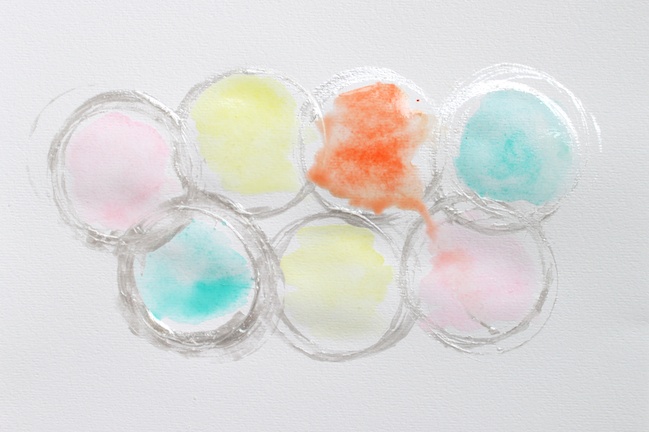
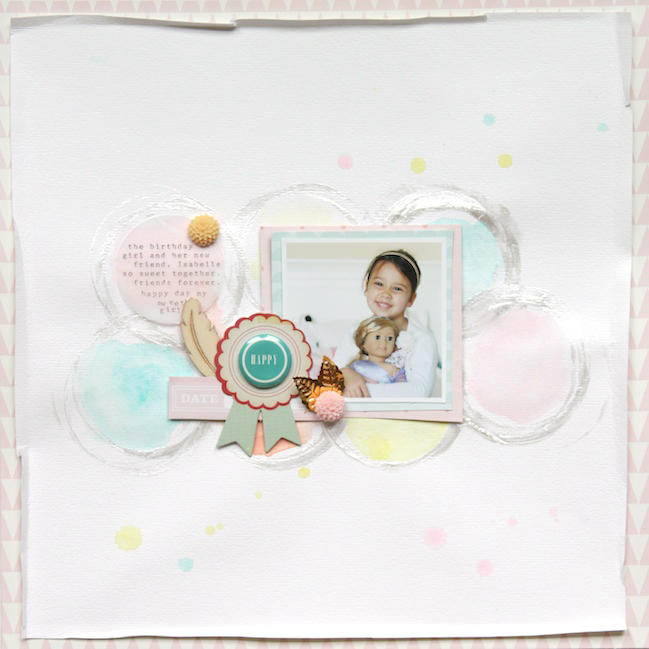
After your watercolours dry, you will have a fun little canvas for a photo, journaling and embellishments!
The colours screamed party to me, so I decided to add photo of my daughter with her new birthday present!!
Thanks so much for joining me today!! I had so much fun stamping away to create these pages and I hope you will try out this fun technique!! Happy crafting!
| Stephanie lives in North Carolina with her husband and two children. She loves all things creative and has a slight obsession with paper and photography. She started out with memory keeping through Project Life in 2011 and has not looked back yet. Her style is simple, but classic with occasional fun pops of color. Stephanie currently serves on the Design Teams for Two Peas in a Bucket, Crate Paper, Glitz Design, Gossamer Blue, Jot Magazine and My Mind’s Eye. She shares her adventures in scrapbooking and Project Life on her blog at Stephanie Makes and through Instagram. |  |
![]() Read more about:
Read more about:
Next post: Scrapbooking Milestone Moments in your Project Life Album
Previous post: Weekly Scrapbook Challenge:: Scrapbook Paper Strip


