Using Supplies from the Beauty Aisle:: A Scrapbooking Tutorial by Alissa Fast
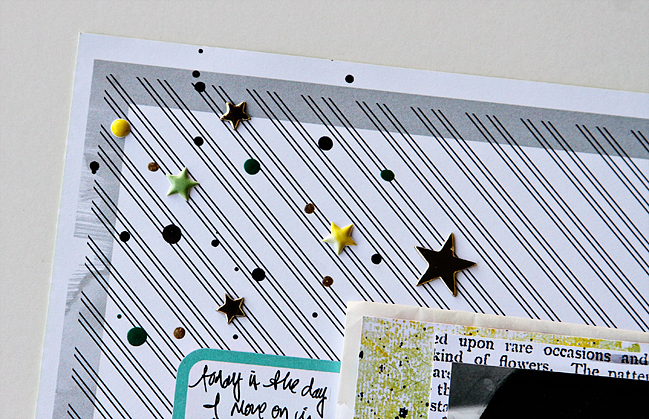
What girl doesn’t love her beauty supplies? And, if you could double their duty in your scrapbooking, wouldn’t that be cool?
Alissa Fast here and today I want to share a cool technique for using a popular beauty supply on your scrapbook projects. Here’s a look at my supplies I used. I think I added a few more in later in the process, but this is a good representation.
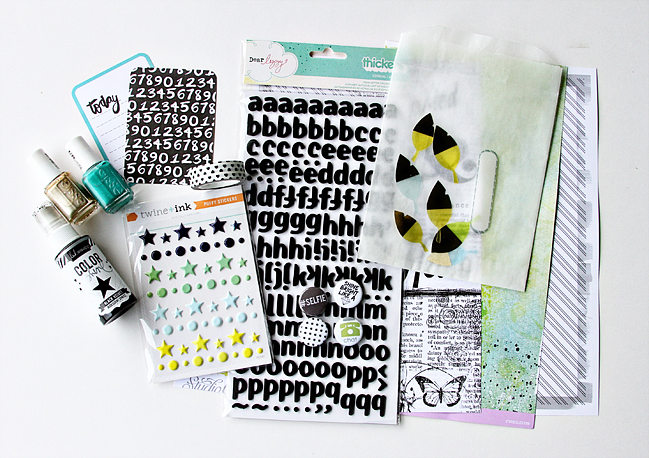
Do you spy the beauty supply I used? Nail varnish! I love it and why not use it with your scrap supplies? It is paint, after all, and don’t we all use paint in one form or another on our projects? YES!
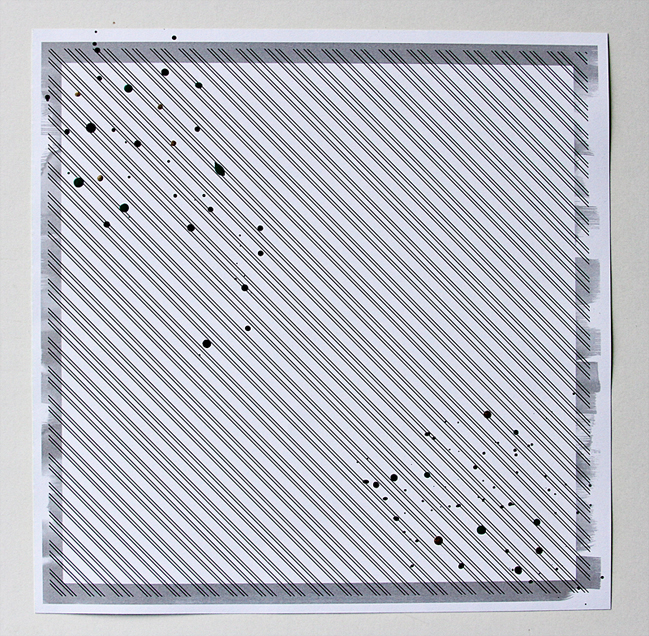
Start with your base page and splatter some black mist on the diagonal to create some movement. Once the mist is dry, drop small and large droplets of the nail varnish in the same areas of the splattered mist. It will create a slightly different look than the mist, but will be so cool. I love the texture the nail varnish adds as it dries. I did not use a heat gun to allow it to dry. I was not sure how the varnish would react with the heat. I just left the page overnight for it to fully dry.
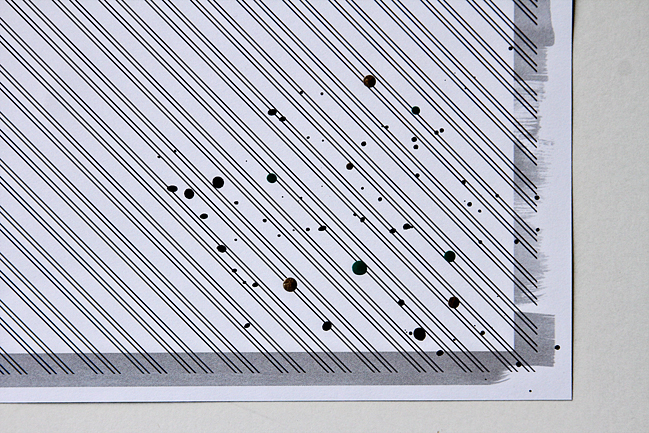
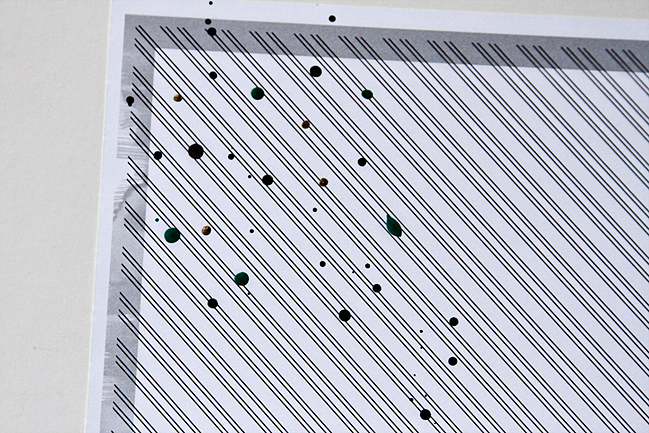
Try not to flick the nail varnish, unless you want the oblong result I got with the aqua varnish above. I personally prefer the more round droplets.
While your page is drying, you can work on the main photo ‘pack’. I like to call my layered photo stacks ‘packs’. I create the photo stack fully before adhering it to the main page.
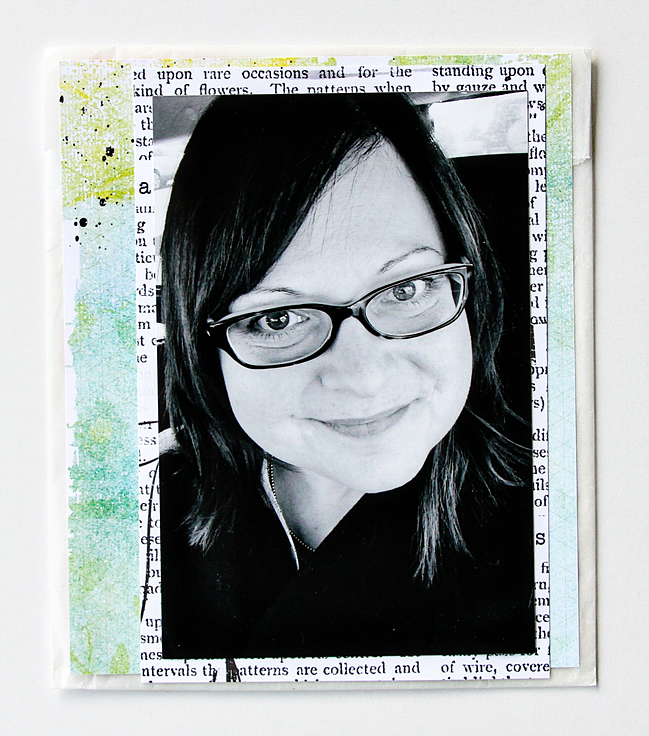
Layer the glassine bag, (leftover from a Cocoa Daisy kit packaging) a few sheets of patterned paper and your photo until you have a little stack pleasing to your eye. Once you love your little ‘pack’, adhere the pieces together. I use my Tim Holtz Tiny Attacher for this process, except for the photo. I use adhesive to adhere the photo.
Next you will want to adhere your photo stack to your background page and start adding all the fun stuff. Layer in a couple Project Life cards as an additional patterned paper and a journal spot.
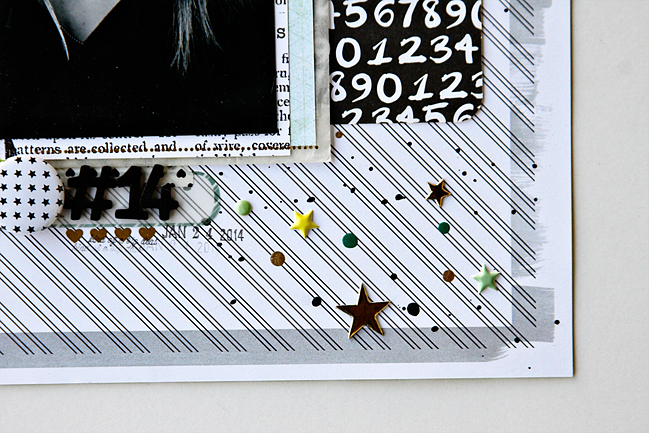
Add a few more ‘sprinkles’ to your splattered mist and nail varnish areas.
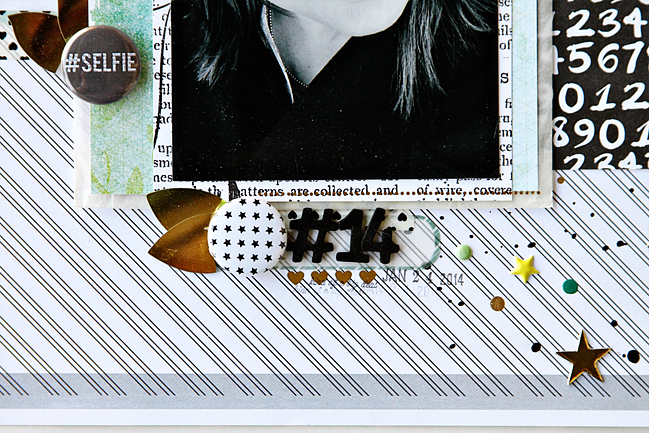
Create a triangle of embellishments on the page with the flair and gold leaves. I stapled the leaves together to hold them in place before adhering them to the page with the flair using a dab of hot glue under the flair.
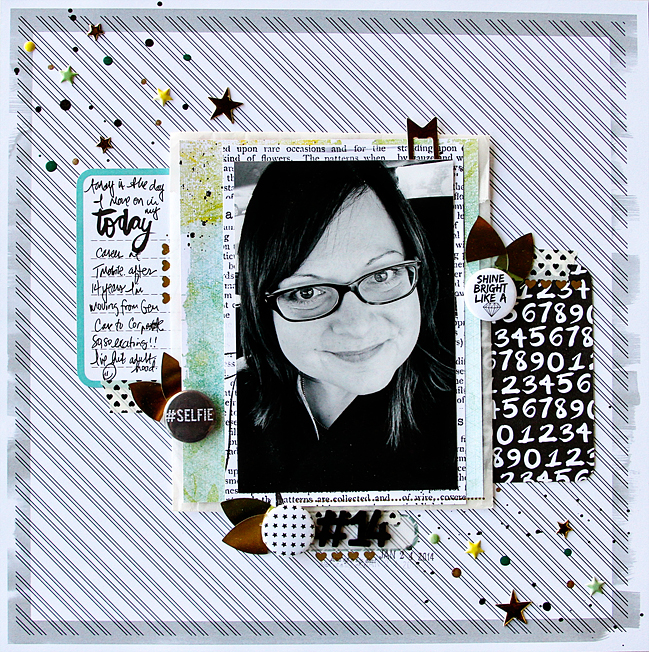
Finally, don’t forget your milestone journaling on the Project Life card. This page is all about reaching my 14th year at my job and, finally, promoting to a ‘big girl’ corporate job from Customer Service. IT was a milestone for me to just take the leap to apply and move out of my comfort zone.
Now, the next time you are in the nail varnish aisle at the drugstore, just think how all of those fun colors would work with your scrapbooking supplies.
| Alissa has been scrapbooking for as long as she can remember. In the past, Alissa worked and taught classes in her local scrapbook store that, sadly, closed to allow the owner to have more time with her family. She is currently designing for Cocoa Daisy and Simple Stories, while working her full time job in Social Media for T-Mobile. When not taking photos for local friends or creating with paper, Alissa likes spending time with her hubby of 26 years and sweet little kitty (who happens to be a survivor of Hurricane Katrina in New Orleans). They live in Northwestern Washington State, right near to Canada and the Pacific Ocean. You can see more of her work on her blog, Instagram, Facebook and Twitter. |  |
![]() Read more about:
Read more about:
Next post: Making your Own Patterned Paper:: A Scrapbooking Tutorial by Ashli Oliver
Previous post: Scrapbooking without a hint of patterned paper:: A Scrapbooking Tutorial by May Flaum


