Scrapbooking ideas for brads and eyelets

Sometimes our most basic tools and supplies get a little bit ignored in a world of craft supplies that can just be stuck together with a bit of adhesive. Yet those basics could potentially go with just about anything! Brads and eyelets are some of the most versatile embellishments around, since they can go with any theme and come in any colour, plus they can be as plain as can be or super-dressy like the floral lacework brads on this layout.
On one hand, it feels like I made this video a million years ago, but actually it was just Christmas-before-last, and indeed that is back when we lived in this flat the first time! I’m finding that is very strange working in the space again. I adore it and it is definitely the best place I’ve ever worked, but as I haven’t quite finished getting things back in their place, it can be even more confusing. Sometimes I instinctively go to where I kept something when we lived here before, only to open a drawer or cupboard and be shocked to find it looking a bit different. Now is that a random tangent from brads and eyelets or what? Suffice to say my memory would tell you that my brads are in a jar right behind me, on the bottom of two shelves. My eyes would tell you that shelf is still sitting on the floor in pieces, so the brads are clearly somewhere else. But they really did live there when I made this video, I promise.
And now for our guest artist, Jennifer Gallacher, who is a serious expert on this sort of thing!
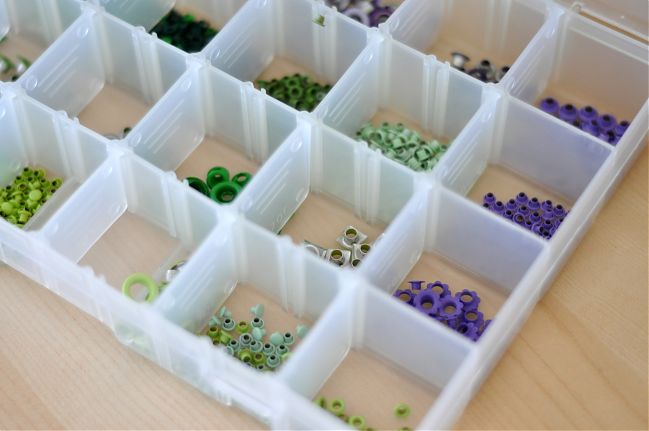
I love the concept of using up my supplies, and one thing I have collected, stored, and continued to use over the years are eyelets. Eyelets were all the rage several years ago, but were recently replaced with brads. Yet many of us still have these fun embellishments in our stash.
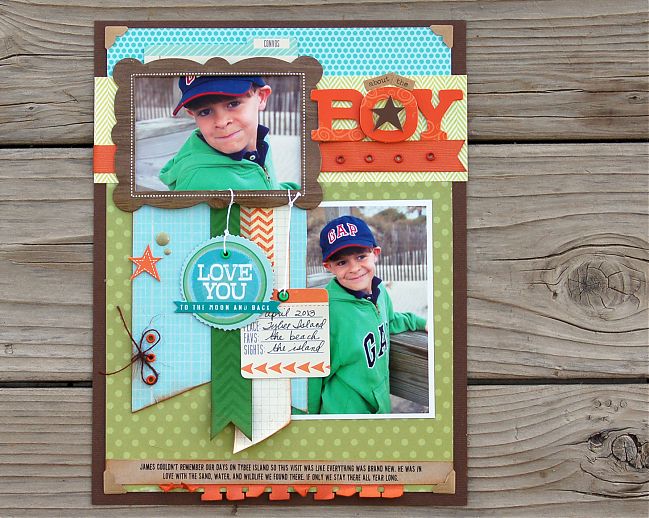
Here are three ways you can use up your stash of eyelets when creating a layout or card:
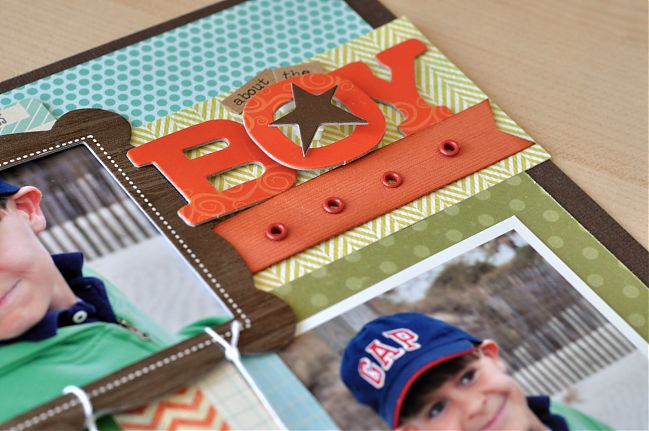
Idea #1: Create a border strip with eyelets. Use eyelets to fill the space on a strip of cardstock or patterned paper. Mix and match sizes, colors, and styles for an even more eye-catching border.
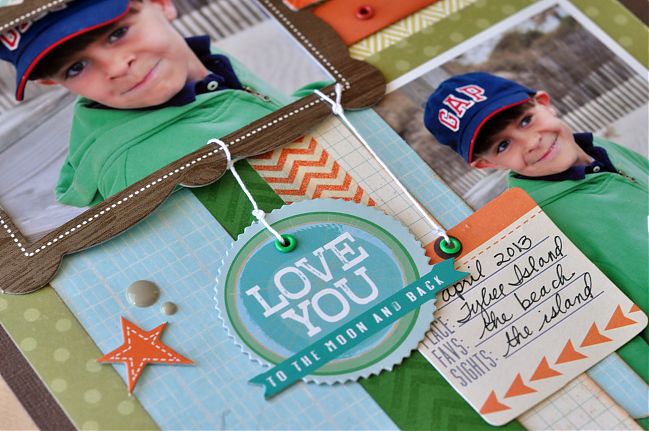
Idea #2: Reinforce tags or change an embellishment into a tag. The journaling tag on this layout is reinforced with a green eyelet. While the chipboard embellishment was not originally a tag. To make it into a tag, I used my Crop-a-dile tool to punch a hole through the top. Then I added an eyelet to the shape. To hang both items from the frame, I hung them with twine.
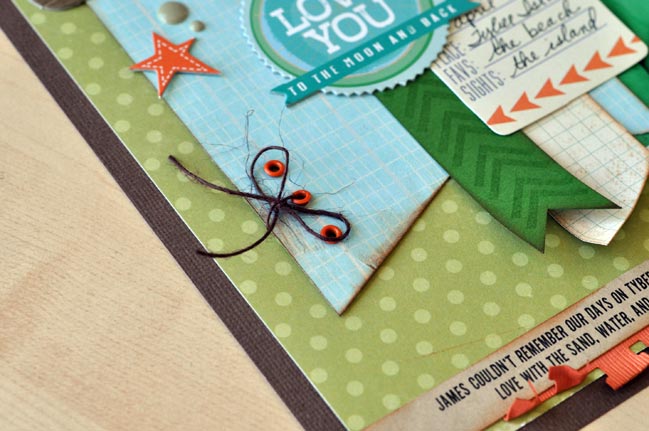
Idea #3: Tie elements to eyelets. For this concept, I simply threaded brown twine through one of the holes and tied it into a bow. You could also tie additional elements such as tags or pennants to the twine or replace the twine with ribbon.
These are just a few uses for eyelets. You can also fill a shape, such as a sunshine with yellow and orange eyelets. You could use the dots on patterned paper as a guide for placing eyelets inside. And you can add eyelets to any paper or chipboard embellishment you like for some added texture.
If you like the concept of stretching your supplies, be sure to check out my new workshop for Two Peas in a Bucket called, Tool School. In this $12 workshop, I share over a hundred ideas for using punches, die cutting machines, and many of your basic tools. While some basic knowledge of a digital die cut machine, manual die cutting, and punching is required, you aren’t required to purchase any additional tools for the workshop. Instead I’ll walk you through the steps I take to creatively use these common tools in new ways. The workshop includes a private message board forum, a 37 page instructional PDF with complete instructions and supply lists, and over 120 minutes of video tutorials.
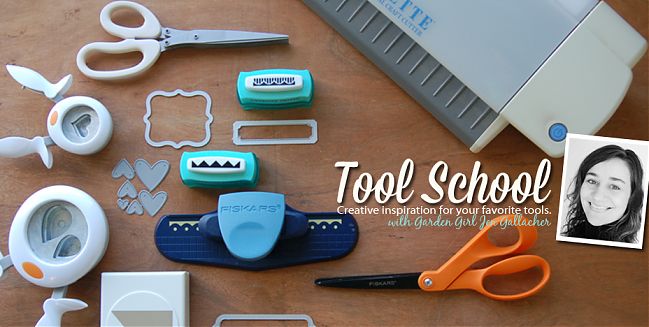
Find out more about this mini workshop here.
Your fifth challenge is to use brads or eyelets! Entries close at the end of next Sunday, the 12th of May. Please check back on the 14th of May to see if you have won a prize.
![]() Read more about: inspiration-party
Read more about: inspiration-party
Next post: How to find your scrapbooking style: scraplift yourself!
Previous post: An easy & effective way to write your scrapbook journaling


