Five Ways to Make Your Own Lettering by Kirsty Neale
As a card-maker, rather than a scrapbooker, one of the things I often find tricky is adding sentiments. I much prefer alphabet stickers to stamps, not least because it makes personalizing your message so much easier, but larger letter sets (such as Thickers) can look out of proportion on a small card. It’s also harder to use up a full sheet. You might manage to include the odd q, z, j, k or x in your layout titles, but it’s a harder sell when you’re going for a short, snappy card sentiment. My solution is very often a set of DIY letters, made to fit both the card and the occasion, as well as an overstretched craft budget. These are a couple of my favourites, if you’re looking to try something similar.
Adding Pattern to your Favourite Fonts
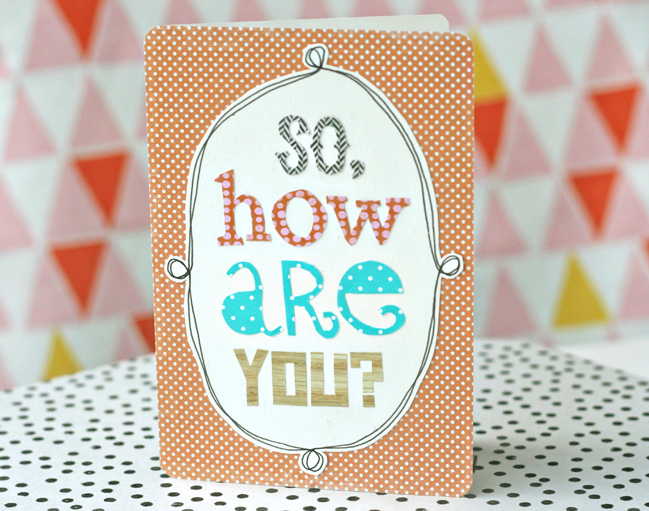
This is a fun way to combine typography and pattern. Pick a favourite font – it can be as simple or as fancy as you like – and type out your chosen message. Check it’s the right size for your card, then print onto normal copier paper. Trace onto the reverse of your patterned paper (don’t forget to flip the letter so the patterned side is the right way round), and cut out with scissors or a craft knife.
Printing Your Own Mini-Alphas
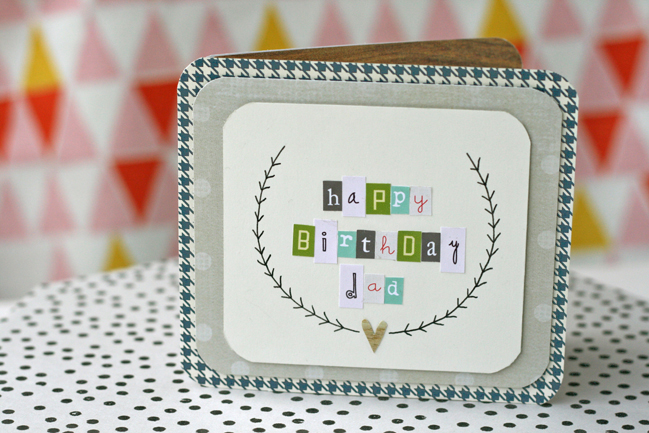
Who doesn’t love mini-alphabet stickers? They’re a great size for card-making, come in lots of colours and there are usually plenty of letter options on each sheet. But, that said, if you find yourself in a fix – nothing in quite the right shade, or a sheet with no vowels left – it’s really simple to whiz up a set from scratch. Draw out a few rows of rectangular boxes (I used Photoshop, but you could just as easily do this in Word or PowerPoint), add a letter on top of each one, and print. Try a selection of colours and different fonts if you want to fill up a whole page; I used a silky, coated sheet, rather than plain copier paper, for a slightly smarter finish. You can then press a strip of double-sided tape onto the back of the paper behind each row, and snip out the letter tiles as you need them.
Cutting Out Cursive
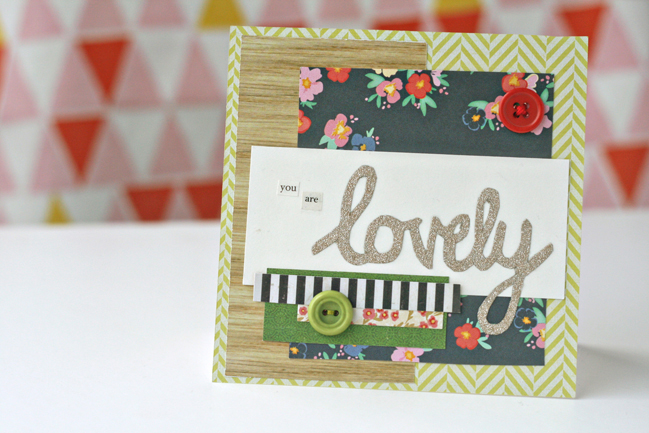
You can either try this trick with your own handwriting, or (don’t panic!) find a cursive font to use as a guide if you prefer. Grab a piece of scrap paper and a chunky marker pen, then write out your chosen word in a nice, fluid hand. It might take a couple of tries, but once you’re happy with the way it looks, cut out the word, snipping around the outside edges of the inked lines. Flip it over, and trace around the outline onto the back of a piece of paper or thin card (I used a sheet of self-adhesive glitter). Cut out with scissors or a craft knife, then glue into place on your project.
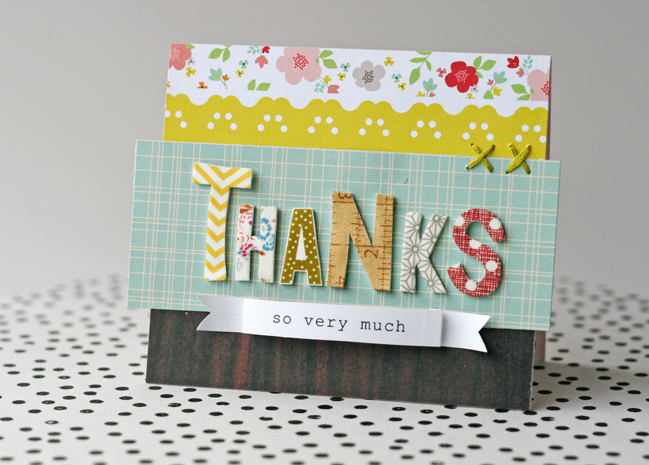
Using Shrink Plastic
If you’ve never used shrink plastic or (horrors!) think it’s only a material for children, I’d definitely encourage you to think again. Yes, it can be temperamental and unpredictable – a good helping of patience is as important as a heat gun here – but it’s also tough, dimensional and versatile. The letters on this card were made from two different types – some printed directly onto inkjet-friendly plastic (with patterns added to the letters in Photoshop), and others traced directly onto plain sheets, cut out and then decorated with washi-tape after shrinking. Both work just as well, although the latter makes it a little easier to colour-match, as printed shades intensify after shrinking.
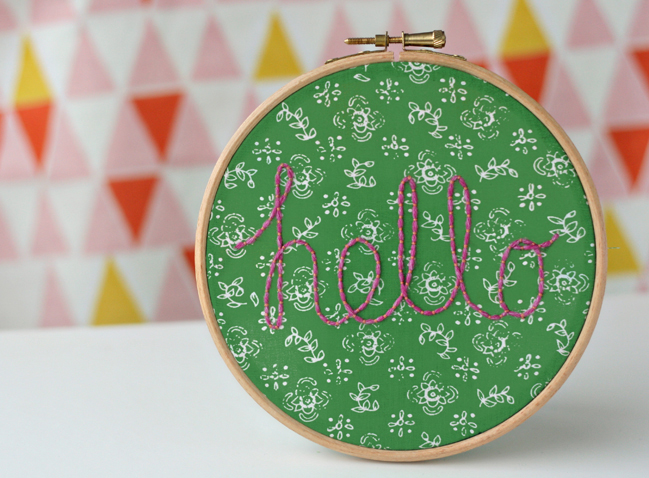
Stitching Words with Yarn
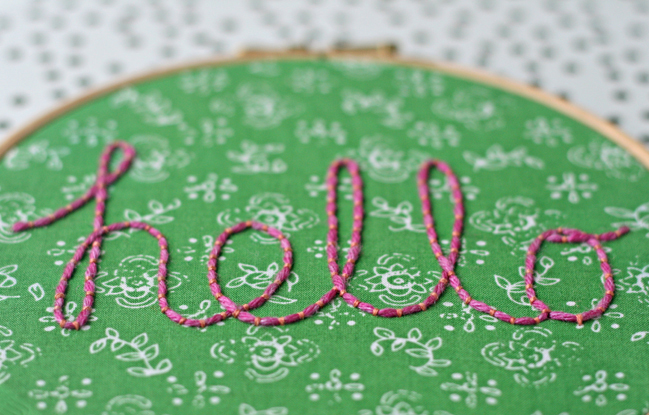
As someone who loves sewing just as much as papercrafting, I’m always happy to see the two combined. It’s pretty rare to find anything other than running stitch, backstitch and the occasional freehand cross-stitch on paper projects, but this technique really isn’t much harder. If you’re a stitcher, you’ll probably recognise it as couching, and it involves using tiny straight stitches to hold a length of yarn or cord in place on the surface of your fabric or paper. It works especially well with cursive lettering, which lets you use a single, continuous length of yarn to form a word. Although I’ve used it on fabric here, it works beautifully on paper, too. Try using contrasting yarn and thread colours for a fun, striped look, or coordinated shades for a more subtle effect. (You can find an alternative version of this project, plus a simple template over at my blog , if you want to try making your own )
I hope something here might inspire you to have a go at making your own lettering, whether it’s on a card, scrapbook layout or home décor project. Even if you’re a die-hard fan of alphabet stickers, it’s good to try out new techniques and really good when those techniques mean you’ll never have to run out of vowels halfway through a project again!
| Kirsty Neale is a freelance writer, designer and online shopkeeper living in London. She enjoys working with fabric and paper, often combining new and vintage materials, and is very detail-focused (which is just a nice way of saying obsessive). She’s a regular contributor to PaperCraft Inspirations magazine, and has just finished writing her first craft book, Hoop-la! 100 Things To Do With Embroidery Hoops . You can find her newly-revived blog at kirstyneale.typepad.com |  |
![]() Read more about:
Read more about:
Next post: Sketch to Scrapbook Page :: Scrapbooking with both square and standard photos
Previous post: Best of Both Worlds :: My scrapbooking product picks for April 2013


