Five Different Ways to Use Stencils on Paper Projects by May Flaum
Looking for the March Edition of the Best of Both Worlds kit? A post and video is coming up today, but if you really want to run now, you can find it here. Please note this list is longer than usual – it’s designed for you to choose which large alphabet is best for you rather than add them all. More about that later today!
Today I am delighted to welcome dear friend and crafty wonderment May Flaum to the blog to share her take on a supply I know I need to get more use from: stencils. I’m already taking notes, May!
Stencils used to be really limited in designs and sizes available, and if you had told me five years ago that they would become used as much as stamps in my layouts I would have told you that it was impossible. Now with more designs available in a better variety of styles, not to mention more size choices stencils have become an absolute must in my Scrapbooking stash.
Today I am going to share five projects with you, showing five different ways to use stencils on your scrapbook pages and other paper crafting projects. To get things started, I created a seven minute video where I discuss the five ways I like to use stencils on my projects, as well as my top five tips for stencils.
I want to let you know that all of the stencils I showed both in the video and here in this article are made by The Crafter’s Workshop. I don’t work for them – I just adore their 6×6 stencils and think they are truly the best. That said, let’s dig in!
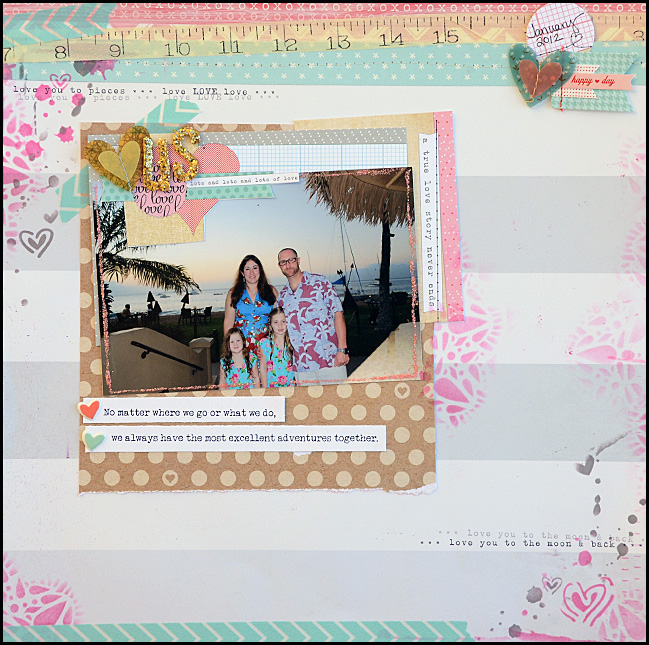
1. As a Background
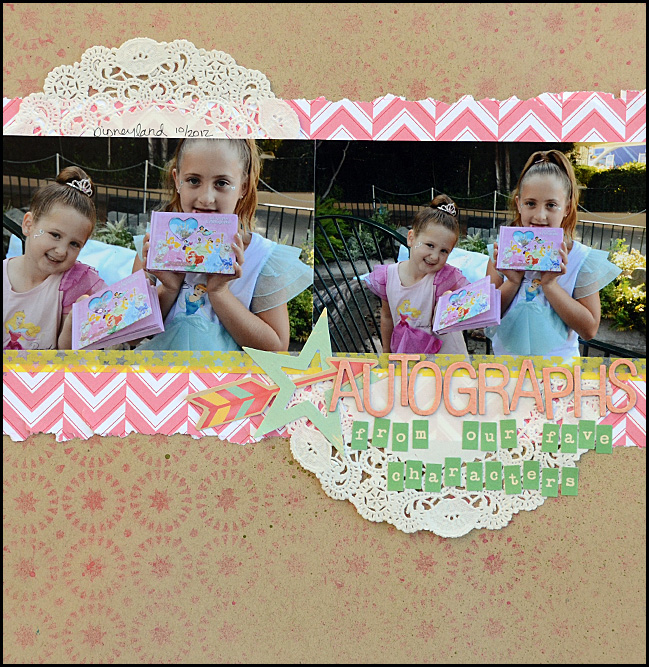
Perhaps the most obvious way to use a stencil is as a background. You can repeat the pattern, just make splotches of pattern, or even layer more than one stencil. It allows you to This works best on cardstock or a subtly patterned paper. In this layout I used Heidi Swapp color shine mist on my stencil for a subtle design to compliment my photos.
My tip for coloring – if you want a solid color inks or paint works better and if you want a more splattered or more sporadic amount of color I recommend mists. I like inks for solid color on a background because there is less liquid being used, and your paper won’t warp or take as much time to dry.
 2.Outline and Color
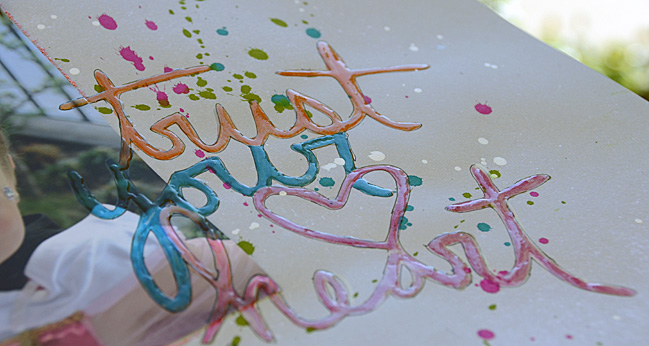
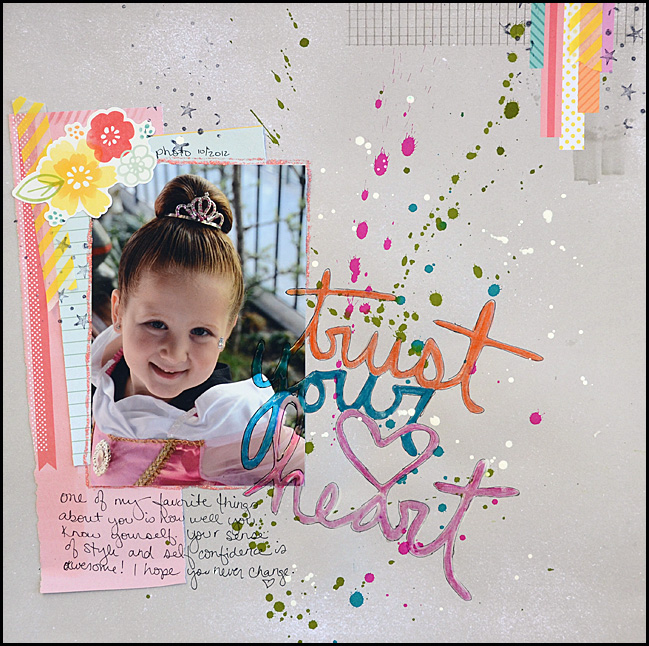
This is the most time consuming, and one I don’t do often. First I outline the stencil with a thin black pen, and then I go back and color with markers, watercolor pencils, or anything else that works for the design. In this layout featuring Amy Tangerine papers my title is stenciled, colored, and coated with glossy accents to really help it pop.
3.Partial Stencils to Finish or Accent a Page
This is fast becoming my favorite! I’ve always loved using flourish stamps to finish off my layouts, and now I can use stencils in this way too. In this layout (featuring Elle’s Studio papers and tags) I used two different stencils with ink (applied with a foam blending tool) to add little accents to my neutral background. I love all of the detail it adds – and with no bulk!
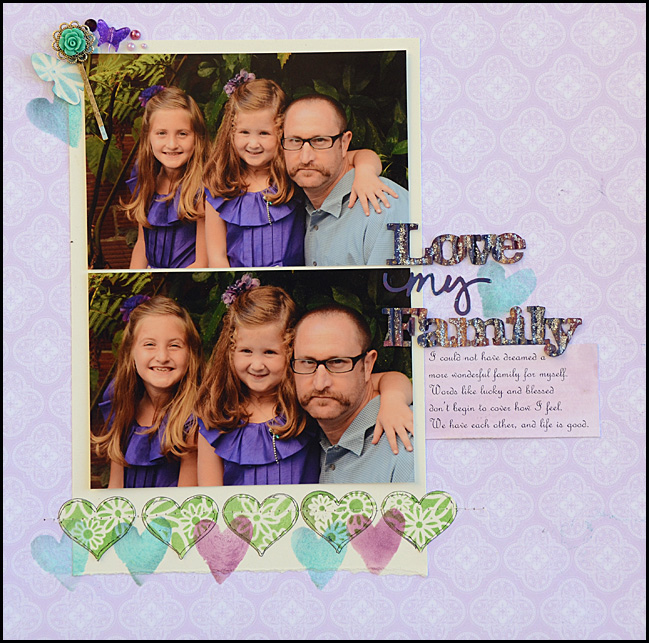
4. Stencil onto a Die Cut
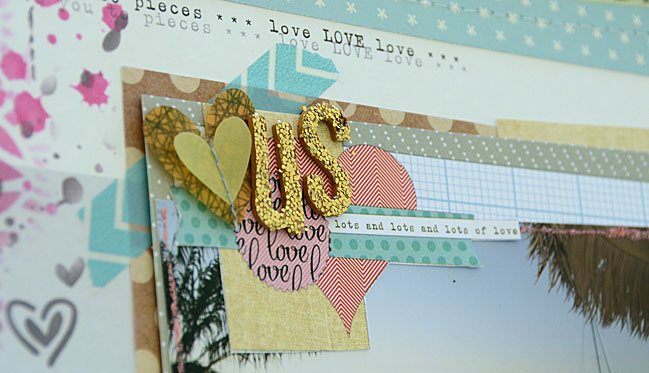
Whether it is a die cut, punched shape, alphabet sticker, or piece of chipboard don’t forget you can stencil onto more than just your layout directly. For this layout I knew I wanted to use my Webster’s Pages background paper but I didn’t really have much that went with it. I pulled out my flower stencil and colored a number of hearts and a butterfly punch that I then added to the page.
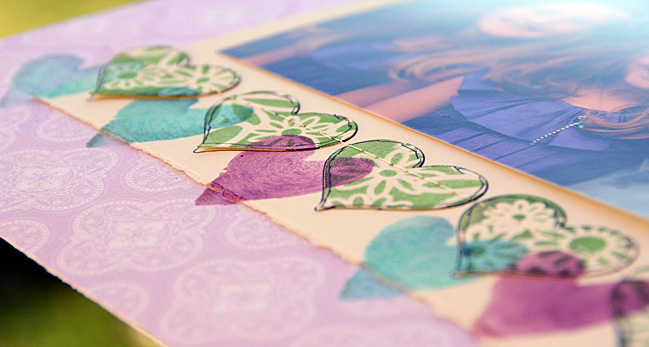
This layout also features hearts that were stenciled on in peacock and purple. To do this I used scotch tape to mask off my stencil so that when I used my foam blending tool on the stencil I would only be able to color one heart. Scotch tape is a great tool when it comes to stencils – it doesn’t stick or make a mess as long as you don’t let the sticky side touch your paper.
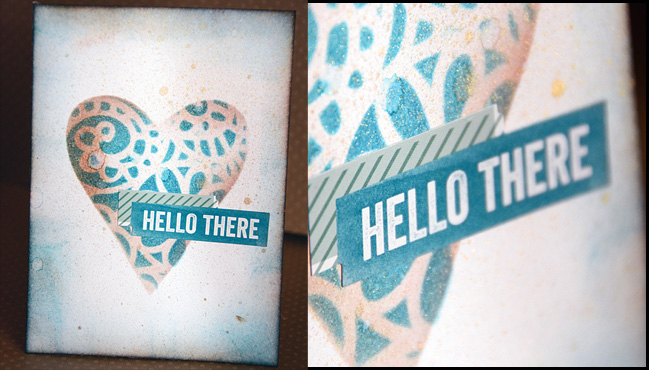
5. The Shaped Stencil
In the layout above you saw how I used a single heart (in a stencil that had many) on my layout by utilizing a good amount of tape. Another approach to doing something like this is to create a second stencil as I did in the video. For this card I did just that! I placed a heart shaped (homemade) stencil on top of a patterned stencil and colored a heart onto a blank card. The effect is stunning – and at first glance it looks a lot more complicated than it really is which always makes me smile.
Whether you go bold and finish layouts with a spritz of mist over your stencil or keep things more in control with a bit of ink on a stencil for a particular project element, know that there are a lot of ways that you can use those stencils. With intense techniques or simple applications, my stencils help me customize my projects and allow me the creative play that I always crave. I hope I’ve inspired you to try out a stencil on your next project. Oh, and one last note – if you have a punch, die cut, or electronic die cutting machine you can make stencils of your own! Oh yes, the possibilities are endless!
| When it comes to crafting May Flaum has one rule: it’s gotta make her happy. She’s not afraid to get super grungy or work with bright colors, dabble in lace and doilies then make something more splattered and wild. If she’s not in her studio (aka ‘the bat cave’) then she’s probably out running around having fun with her family or cooking up a storm. May has been working in the Scrapbooking industry for a decade and currently blogs her crafty adventures, teaches online classes, and works with amazing companies sharing her projects and ideas. She just released a new eBook Fashionably Fast with Big Picture Classes that includes twenty layouts and three bonus video tutorials. If she has one piece of advice to share, it’s always to be true to your creative heart. |  |
![]() Read more about:
Read more about:
Next post: Best of Both Worlds :: My scrapbooking product picks for March 2013
Previous post: Using Color Wheels as a Motif: a Scrapbook Tutorial by Leah Farquharson


