Five Creative Ways to use Mini Pattern Paper by Connie Mercer
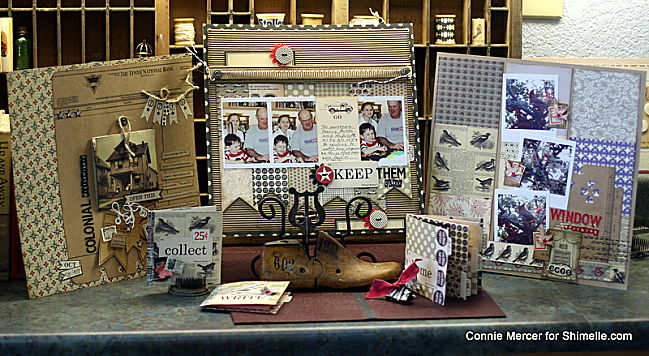
Truth be known, I love the mini pattern paper. It is a sampling of all the papers in the paper collection. It is one paper that is never used to its full potential. I would like to correct that and show you five projects you can make using the mini pattern paper. My projects are done using papers by Jenni Bowlin Studio.
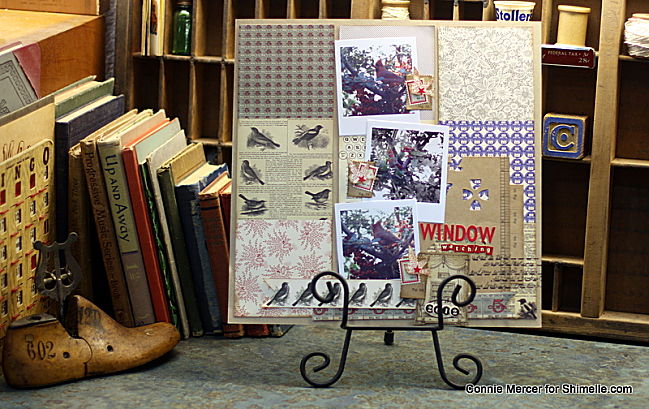
Window watching
In this first layout the paper was cut in two places making three strips of paper. The paper was trimmed 1/8” of an inch on the top and bottom. This made sure the lines of the grid would match up. The layout looks like it is squares but it is really three strips of paper. I used scraps from other projects to complete the layout. The small red letters are by Kaiser and the journal stamp is by Wendy Vecchi. The cardstock is by Bazzill and the remainder is all Jenni Bowlin Studio.
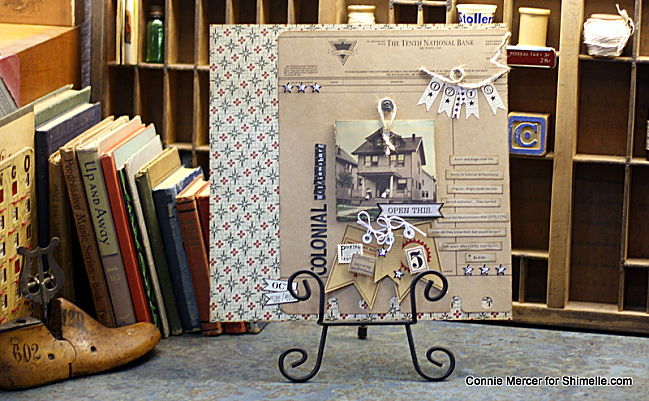
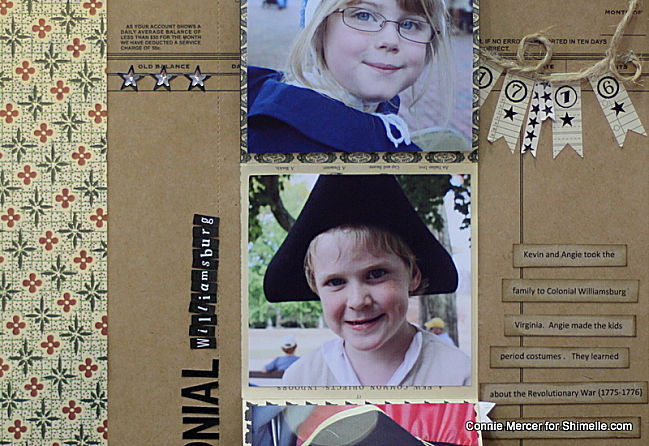
Colonial Williamsburg
This layout is using one of the strips of mini pattern paper, so that would be a 4 × 12. It is scored in two places, to make a tri-fold photo mat. I chose the lovely farm house picture, that folds down, as my focal design of the layout. Once the photo mat is secured to the middle of the layout, open it and you will have four photo mats to add photos on. I added a brad at the top middle, to make a closure for the tri-fold out of twine. You are ready to decorate as you wish. This idea is also a great place to hide private journaling. The small black letters are by Making Memories. The remainder is by Jenni Bowlin Studio.
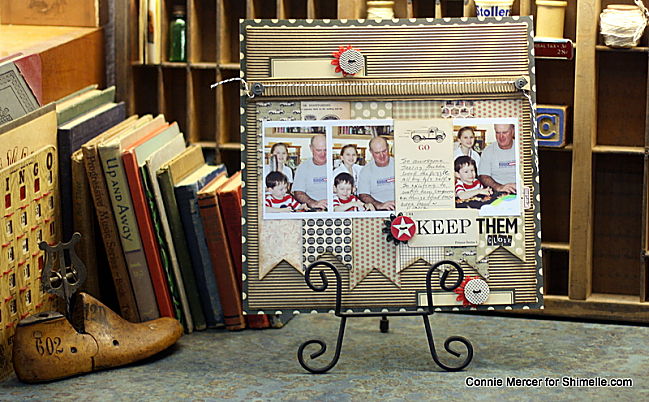
Keep Them Close
The next project is my favorite and very simple!! Cut the three top squares off, that leaves you six squares. The cut will be 4 × 12 a horizontal cut. Put that aside (that is what made the tri-fold in the layout before). Cut your remaining paper in strips, every 2”. That will give you six strips of paper. Cut the bottom on each strip into a ‘V’, to give it the banner look. Ink up the edges and lay them across the middle of your paper. I layered cardboard paper by Canvas Corp on top of my Jenni Bowlin Studio pattern paper and then added the banner strips. Finish by embellishing your project.
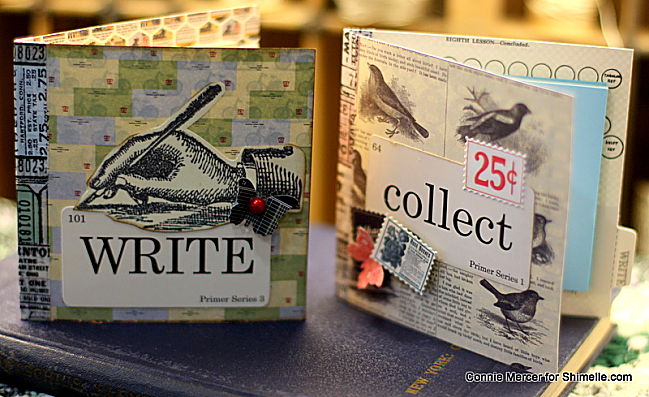
2 mini note books
This is a great teacher’s gift. One sheet of the mini pattern paper will make three of the mini note books. Take two squares from your mini pattern sheet and score down the middle. That will make a fold. Adhere washi or tissue tape on the fold to make it more durable. Inside the folder adhere a forth of a tablet of sticky notes (3 × 3 size). Embellish the front with stickers or other embellishments. The tissue tape is by Tim Holtz and all other products are by Jenni Bowlin Studio.
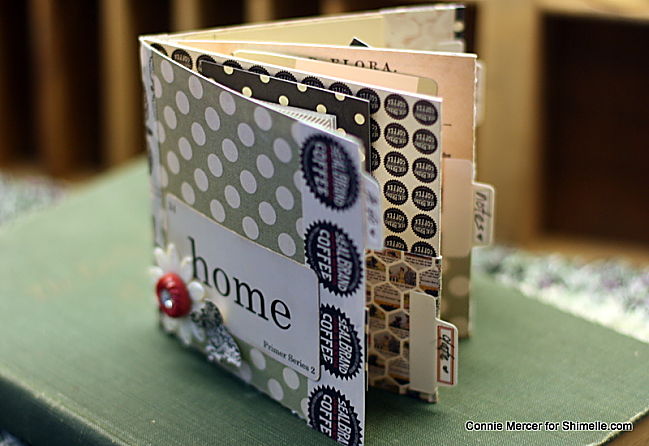
Mini Day Planner
Take the mini pattern paper and cut it down the middle going horizontal. Don’t panic, you will be cutting the second row of squares in half. You should have two 6 × 12 pieces. Score all of the dividing lines on both sheets. Fold up the bottom 2” on both sheets and fold the remaining scores back and forth, giving an accordion look. You now have two accordion strips. Glue the two ends together and secure with tissue tape. Tip: I glued the tissue tape down, making the seam of the book stronger. Open the book and you should have pockets for list making, postage stamps or a calendar – whatever your needs are. Side note: The front and back cover will be about an eighth of an inch short ( because of the bulk in the middle of the book) just add a strip of decoration to the end to even up the front and back cover with the middle pages. Decorate the front and you’re ready to make another one. I used a clip to keep it closed.
Connie Mercer has enjoyed crafting for as long as she can remember. Working with her hands and creating have always been a big part of her life. She has been scrapbooking for 13 years and has served on several manufacturing design teams. Currently Connie serves on Vintage Street Market, Jenni Bowlin Studio, Darkroom Door and Avocado Arts design teams. She has five fabulous “grands” as she calls them. Her and her husband Randy live on a ranch in Texas. Connie enjoys junkin’ almost as much as she does craftin’!! You can find more of Connie’s work on her blog Crafty Goodies |  |
![]() Read more about:
Read more about:
Next post: Twine Twirling: A Scrapbook Tutorial by Laura Craigie
Previous post: Sketch to Scrapbook Page :: Making a Banner with Photos


