How to make the easiest of fabric bunting

I know, in scrapbooking terms bunting is seen as a huge trend. And maybe on the wedding scene too. But I firmly believe that bunting is as British as a cup of tea and when I discussed this by email with a friend who qualifies as a real Brit rather than a poser like myself, she replied with just an image of a family having a picnic in the middle of the war, with bunting hanging between two Anderson shelters. That says it all to me: the British will hang bunting even in the middle of the blitz.
So clearly we need some for the wedding. (Which had nothing to do with the blitz. But say blitz out loud. It’s a rather cool word to say. I digress.)

When I made our bunting, I made it in the easiest way possible, pretty much, and it turned out exactly how I wanted so hurrah for that. No hemming. No measuring. These were the steps:
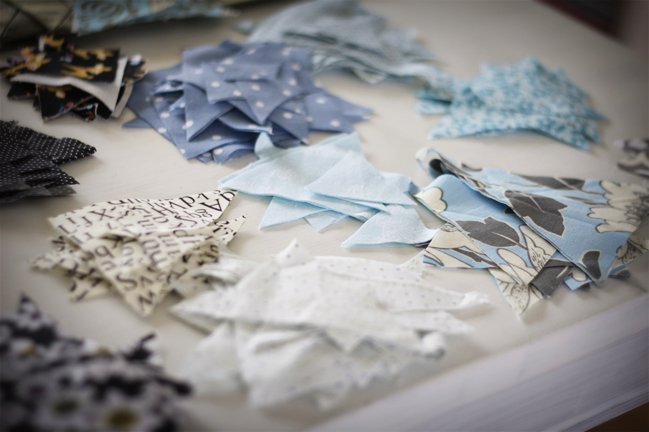
…Gather fabrics from the ‘I really am going to sew something with this someday’ pile in shades of blue or black and white.
…Iron them. Fold them with the wrong side on the inside — the print on the outside.
…Put on a DVD and cut all that fabric into tons of randomly sized triangles, arranging them by pattern on the table. (Cutting both layers at once so the print is on both sides of the triangle pair, yes?)
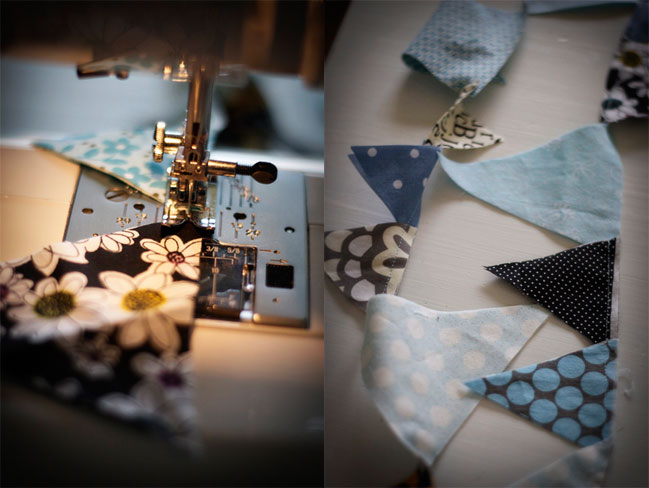
…When things are cut and DVD is done, sit at the sewing machine, making sure both spools have as much thread as possible, and pick up one pair of triangles. Start sewing with a straight running stitch, across the wide top of the triangle.
…Continue to sew and just pick up another triangle pair at the end of each one and keep right on sewing. Don’t worry about what order the patterns go in or if the big triangles are all together or anything. Just pick them up as random as humanly possible. Keep sewing until they are all in one long string.
…Realise that this has essentially created one giant knotted string of bunting on the other side of the sewing machine.
…Put on another DVD and untangle the whole mess.
And seriously, I think the last step was the hardest.
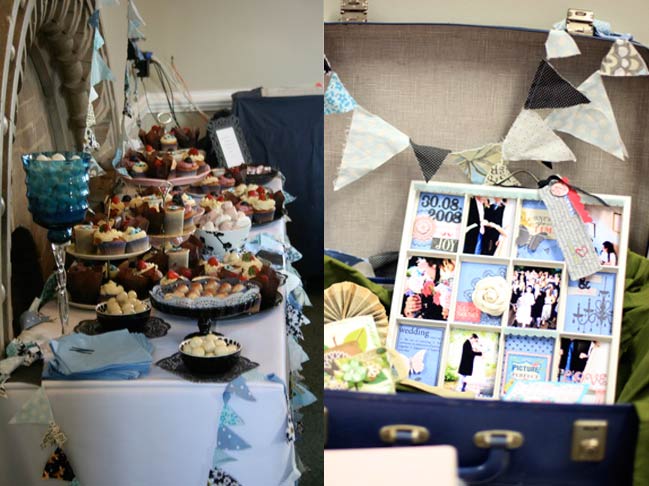
Once it was untangled, it was just as perfect as could be, and it graced our dessert table at the reception. (I had hoped to string it across the room or the terrace, but it turned out our venue didn’t really have any way of hanging anything from overhead.)

Since the wedding, the bunting has racked up quite a few miles, as it’s my go-to decoration for pretty much anything. The guest room, the Christmas tree, displays at craft shows — it always works. Since it isn’t hemmed at all, it has frayed and since it’s only one row of stitching holding it together, it does sometimes break. But both things are benefits in my mind — the fraying has given it much character now and the stitching is so easy to mend that I don’t mind pulling it apart to make it just the right length for any given space. Sometimes I even staple it back together for displays and it works just fine.
So yes, bunting. Oh how I love it. And don’t worry: I will dish more about the desserts later in wedding week, I promise. I’ll even share the recipes.
xlovesx
PS: I am curious as to how many of you actually said blitz aloud!
![]() Read more about: wedding
Read more about: wedding
Next post: The dress I didn't make
Previous post: Funny the way things start


