Christmas Tag Tutorial with special guest Natalie

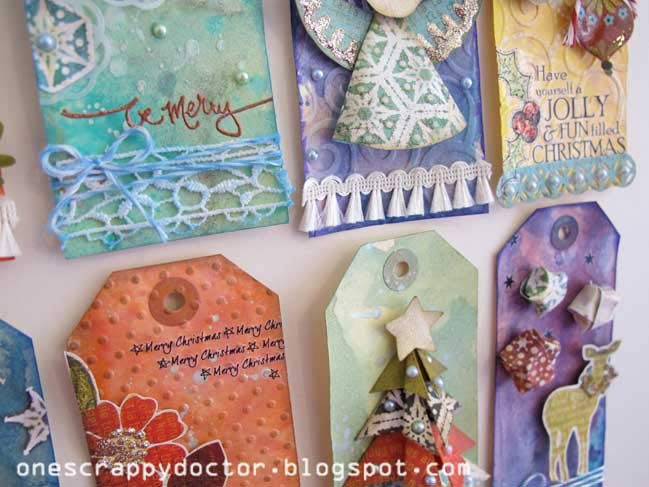
A very warm welcome to Natalie Elphinstone, our special guest today. I love the tutorial and project she’s created – I hope you do too! And if you do, please take a moment to tell a crafty friend. Take it away, Natalie!
Tags are becoming very popular to make these days – especially in the holiday season. But apart from using them on your gifts, have you ever considered what else you might do with them? A very easy way to use up any leftover tags is simply to include them in the way we know and love best…. a scrapbook page! So today I’ll show you how to both make some simple tags that look impressive, as well as how to effortlessly integrate them into a Christmas layout.
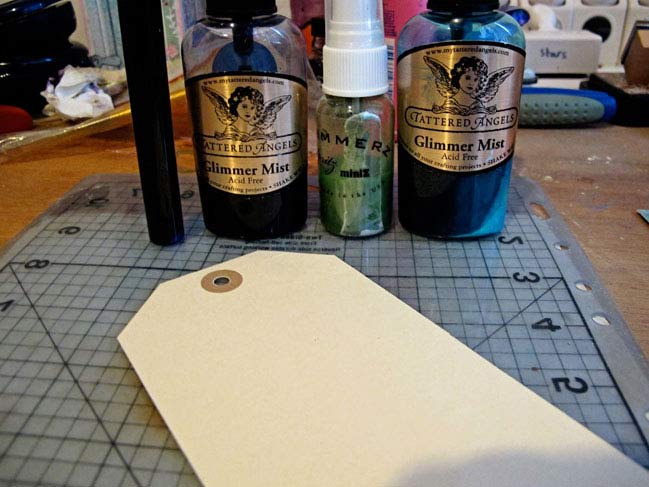
The key to these tags is creating an interesting background. You’ll need a few different shades of coordinating spray inks and a basic manilla shipping tag. You can see I’m not too picky when it comes to any particular brand of spray ink as here I’ve got Smooch Spritz in Grape Burst, glimmer mist in Midnight Blue and Turquoise Blue and Shimmerz Spritz in Olive Branch (which I didn’t end up using).
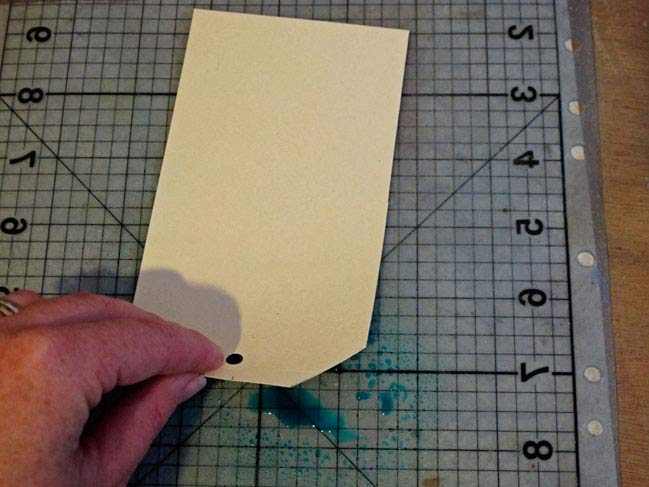
Start with your lightest shade of mist first (I chose Turquoise Blue) and spray it a couple of times onto your craft sheet. I also spray some water into this mix too so that each layer of colour is reasonably sheer. Then simply swirl your tag through the mix and speed up the drying process with a heat gun.
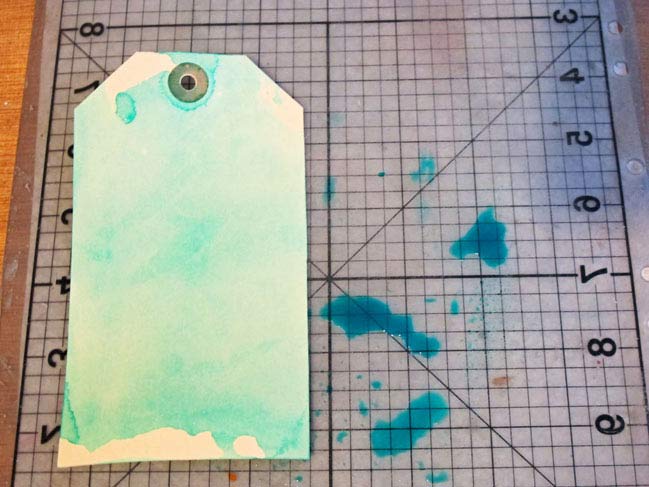
The trick here is to make it as imperfect as you can allow yourself to be! Embrace the fact that not every area of the tag is coloured, and that it’s pooling in certain areas and looking quite blotchy.
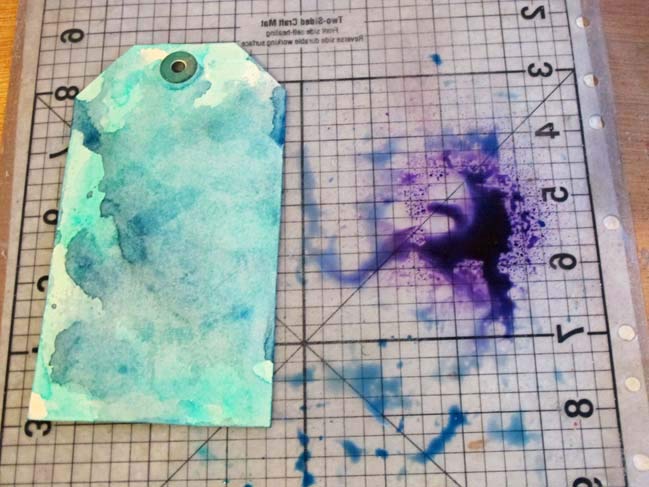
The picture above is what my tag looks like after I’ve given it two coats of Turquoise Blue, one coat of Midnight Blue and I’m ready to go ahead with my first layer of Grape Burst. As you can see – it’s all about the layers! This gives it a lovely shimmery water-colour effect.
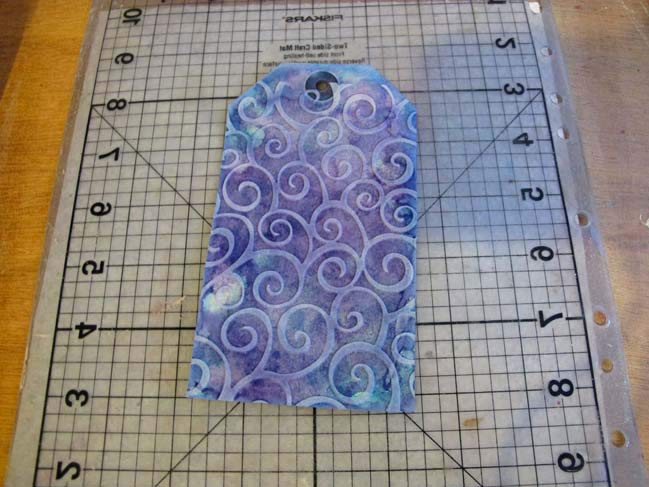
Next I inked the edges of my tag with a similar turquoise colour as my glimmer mist, then ran it through my Cuttlebug using the Divine Swirls embossing folder. I used a white ink pad to rub over the top to highlight the embossing – and doesn’t it just look as Divine as the name suggests?!
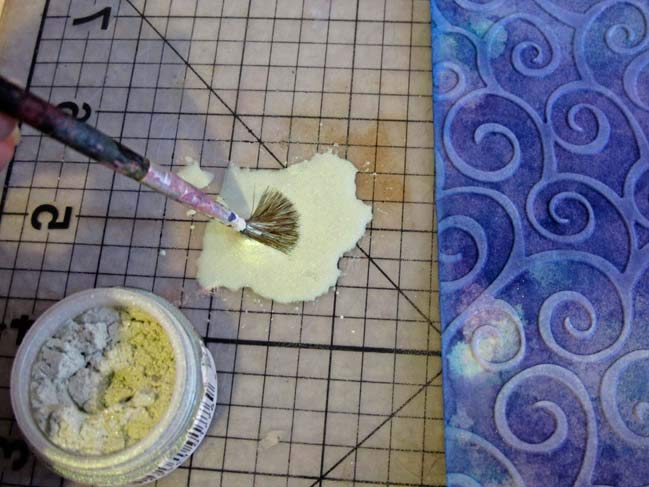
This last step was a little gem I picked up from doing Tim Holtz
12 tags of Christmas last year. I mixed a ‘scoop’ of Perfect Pearls with a little water and then flicked this over the tag.
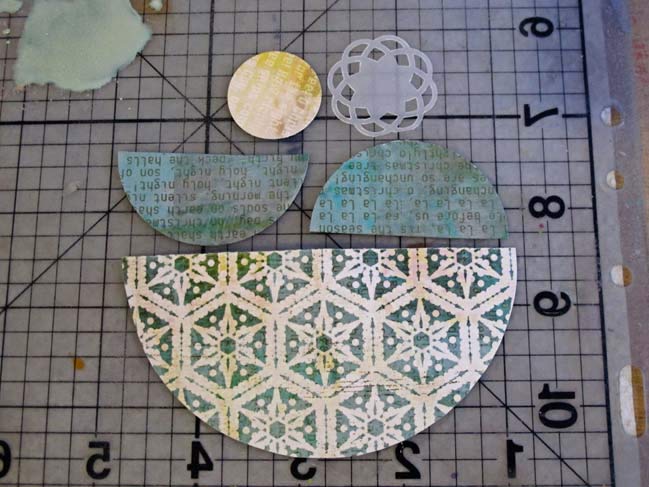
To make the angel you need one half-circle for the dress, and two smaller half-circles for the arms. Mine measure approximately 4 inches and 2 inches respectively. You also need a smaller circle for the head, and I used my Martha Stewart Medallion punch for the halo.
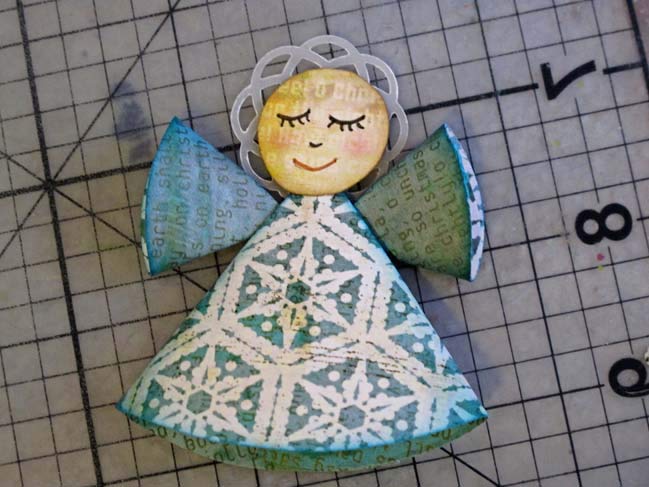
Roll each half-circle into a cone and assemble your angel. Simply glue the smaller cones on as arms, and attach the halo behind the face with some foam tape. I tried my hand at drawing some angelic facial features on mine!
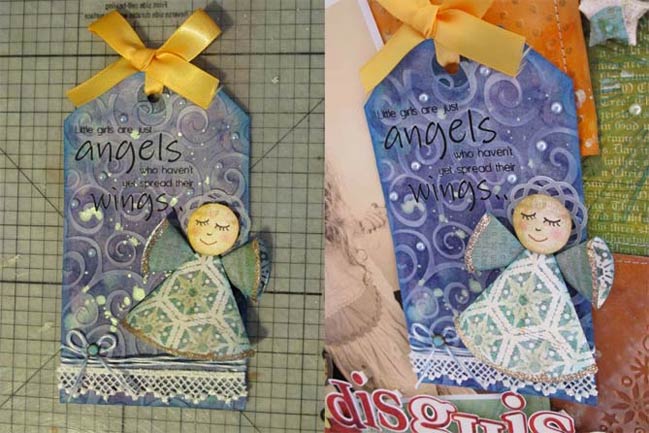
To finish off my tag I added a Kaisercraft rub-on, Prima lace, bakers twine and pearls. I added some more detail to the angel by trimming her dress and sleeves with glitter and highlighting the snowflake pattern with Dimensional Magic.
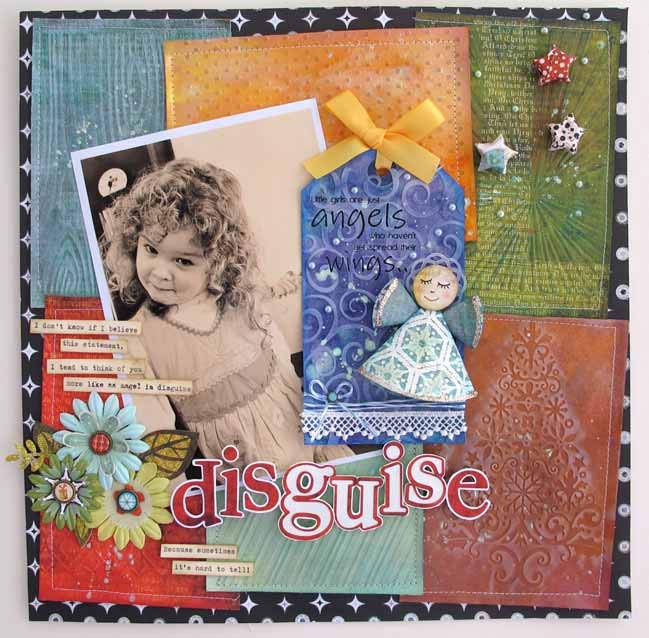
The tag looks great by itself – but if you include it on a layout it suddenly becomes the main focus. It adds lots of detail and really is the central attraction (well…. perhaps second only to my cheeky daughter of course!)
The rest of the layout is fairly straight-forward by comparison. Just some embossed colour blocks (I know Shimelle is a fan of this method of scrapping!) and a few other embellishments. I’ve used the stunning Jovial collection by Basic Grey, intermixed with plain cardstock that I’ve glimmer misted in the same method as above.
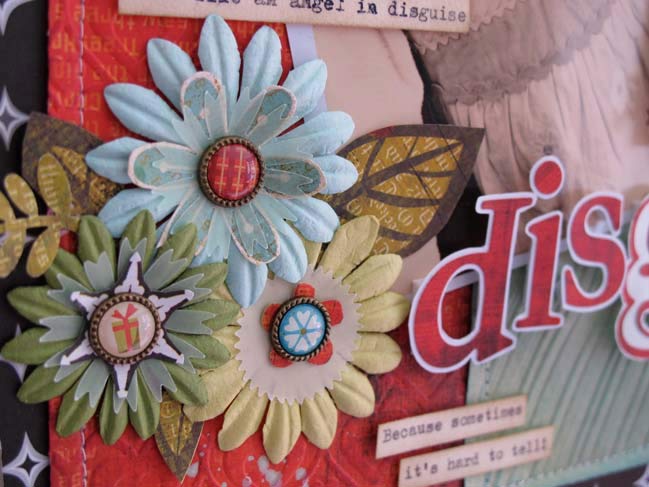
This is such a cheeky photo of my 4-year-old girl, but this is a face we see quite a bit. The sentiment on the tag reads “little girls are just angels who haven’t yet spread their wings”. But I couldn’t leave it at that and added some journaling “I’m not sure how much I believe this saying. I prefer to think of you more as an angel in disguise. Because sometimes it’s hard to tell”.
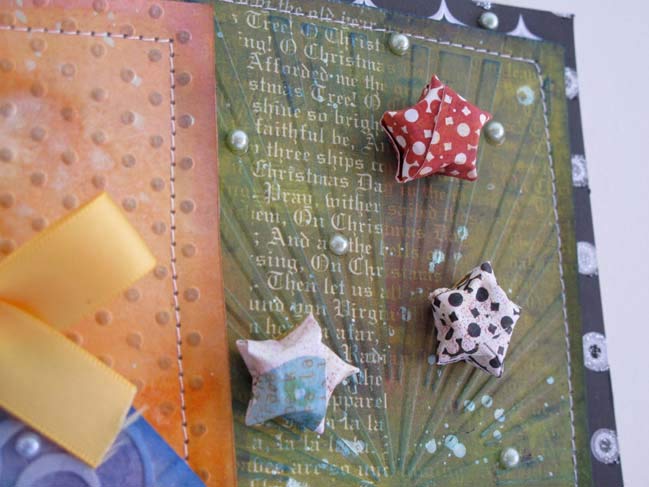
If you are interested in seeing some of the other tags I’ve created in this series, or to learn how to make those origami stars you see in the photo above then I would love it if you stopped by my blog
| Natalie Elphinstone is a busy doctor training in Obstetrics and Gynaecology. But in her time off when she’s not enjoying quality time with her wonderful husband and two gorgeous daughters you’ll find her tucked away in her ‘scrap-room’ crafting up a storm. She currently designs for Handmade by Suzanne and From Screen 2 Scrap You can read more about her life and her art on her blog Scrap Doctor |
 |
![]() Read more about:
Read more about:
Next post: Merry Christmas Scrapbooking Friends
Previous post: Notes from Ayutthaya Thailand


