Keeping it real
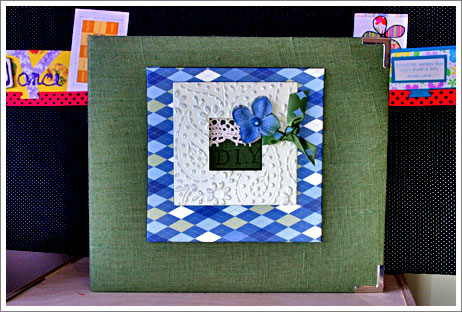
You might have seen this album in ScrapBook Inspirations — it was in the August issue. It’s my DIY album, where I keep a photo and a few notes about any craft projects (particularly the first time I make something new). It also has a place to keep plans and ideas for things I want to make but haven’t just yet. I actually use this album because it’s a cinch to add things, and even the initial assembly is pretty easy.
Supplies
*8×8 album {Mine is an olive green linen album from the classic collection at We R Memory Keepers.}
*Page protectors
*Three colours of solid cardstock, including one light shade for writing {I used Bazzill’s Admiral blue, Pesto green and Vanilla cream.}
*Three 12×12 sheets of coordinating patterned paper {Mine are from Chatterbox — buy a few extras if you will want to keep this album going for a long time. You won’t need them straight away, but it would be frustrating to run out just as they aren’t in stores any more!}
*A yard of printed ribbon to match {Chatterbox here again.}
*Writing implements: Computer & printer, black pen, letter stamps with green & black dye inks if you prefer stamps to electronics.
*A few little extras for your cover: I used a Making Memories tin frame, an extra sheet of patterned paper wrapped around a chipboard frame, a silk flower with a brad centre, with scraps of ribbon and lace trim. I also tabbed the sections with ribbon tabs from Scrapworks.
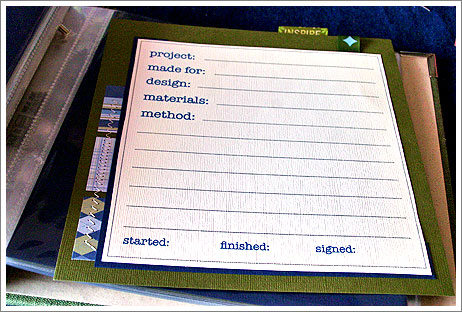
*And this download: the blank project card! Just click and it will download as a pdf for you to print.
How-To
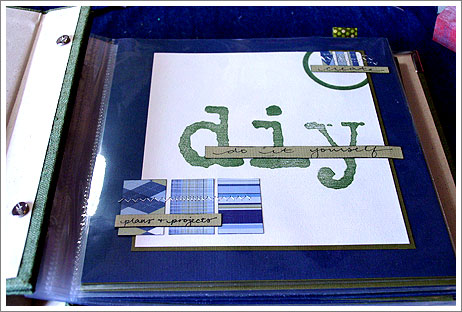
*Make your title and section pages first, as they are the only ones that use the papers in different sizes. Follow the pictures as a guide or make your own design.
*Trim the two coloured cardstocks to 8×8 to make your blank pages. You’ll need enough to fill your page protectors – so it depends on how many pages you want in your album. My project entries have one colour on the left side and one on the right — so I am not working on the both sides of the cardstock. I like everything extra sturdy! But obviously you can use half as much cardstock if you would prefer to work on both sides.
*Print the blank project card on your light cardstock and trim down to just outside the box. Make a bunch so your album is filled with cards waiting to be filled — that will help you actually use this album! By the way — the template as is will print in navy blue. If that doesn’t match your colour scheme, set your printer settings to black and white and it will print in black. Best of both worlds.
*Use the off-cuts of your darker cardstock to make a partial mat for your project card.
*Trim your patterned paper into 1“x1.5” rectangles. These go along the left side of your project card. You can sew them if you want — if your craft projects involve sewing, then it fits the theme of your book.
*Add a ribbon loop to the top right corner of the entry. These don’t go off the top of the page, although the ones on the section pages do in my album.
*Organise all your pages into the page protectors.
*Put all your spare matching supplies in a bag with a label so you can come back to them when you run out of pages.
*When you complete a craft project, take a photo or two. Fill out the card for the right side of the spread and mat the photo on the left. You can add extras (I add one of those silk flowers like the cover – but only if it doesn’t clash with the project) or just leave it plain. The entries only take a few minutes and that way? This album ends up filled for real.
xlovesx
![]() Read more about:
Read more about:
Next post: This scrapbook is falling apart
Previous post: Another slow train to the coast


