Rainbow Lettering & Cut Files with Melinda Sweetman

You know I love a bit of #scrapbookrainbows joy so today I am delighted to introduce you to Melinda and her rainbow scrapbooking project! Thanks so much for joining us, Melinda. As always, supplies are linked with affiliate links at no extra cost to you and it makes all this possible so thanks for clicking through when you are shopping. -Shimelle
Oh my stars!! I am so excited to be here with you on Shimelle’s blog sharing this scrapbook layout that I created! When I was invited along I just knew that I had to create something with a rainbow. My Master 12 inspired me to truly embrace ALL the colours when he was about two or so when he asked me “But why do I just need to pick one favourite colour Mummy? I love all the colours!!” Now I’ve said that, there is another memory that needs to be added to my “want to scrap” list.
I love to tell the story behind the photo! And that is not always the obvious story. Often, last day of school photos are more about one of my boys’ resilience and what they may have battled that year. Or that photo of me all dressed up will be about how I feel in that moment or what it took for me to get to that feeling. I also love the pretty paper, stickers and paint! When I learned that scrapbooking could be whatever you want it to be (thank you Shimelle!!) all the “rules” went out the window and here I am now, enjoying every minute I get to create and to tell my stories!

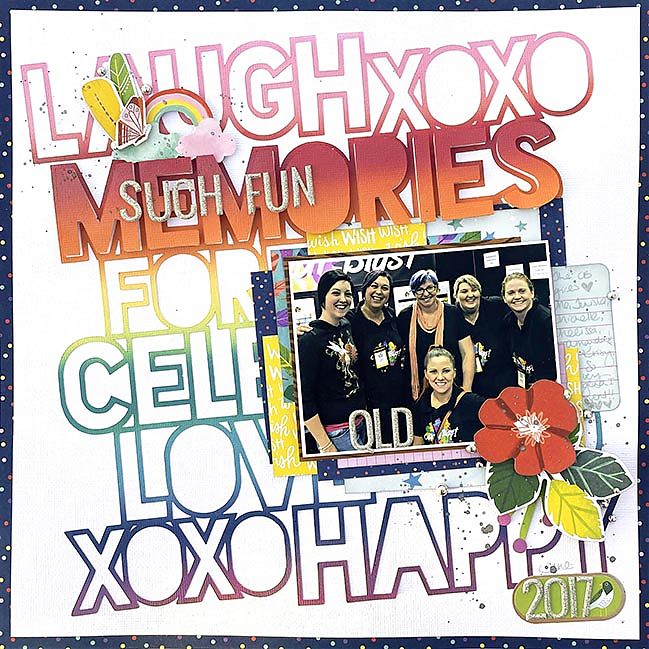
For this page, after I decided RAINBOW, next was a collection to actually choose my colours! I ended up picking a Shimelle collection – “Never Grow Up”:https://shrsl.com/3gfhd – and picked Distress Oxide Ink Pad colours to work with it. Distress Oxides are one of my most fave inky products to use – they are super easy to work with!! So easy to blend and so, so forgiving!! And you can stamp beautifully or watercolour with them – so versatile!! I’ve used (in true ROYGBIV order with a P at the front!!) Kitsch Flamingo, Fired Brick, Spiced Marmalade, Squeezed Lemonade, Pine Needles, Broken China, Chipped Sapphire and Seedless Preserves.
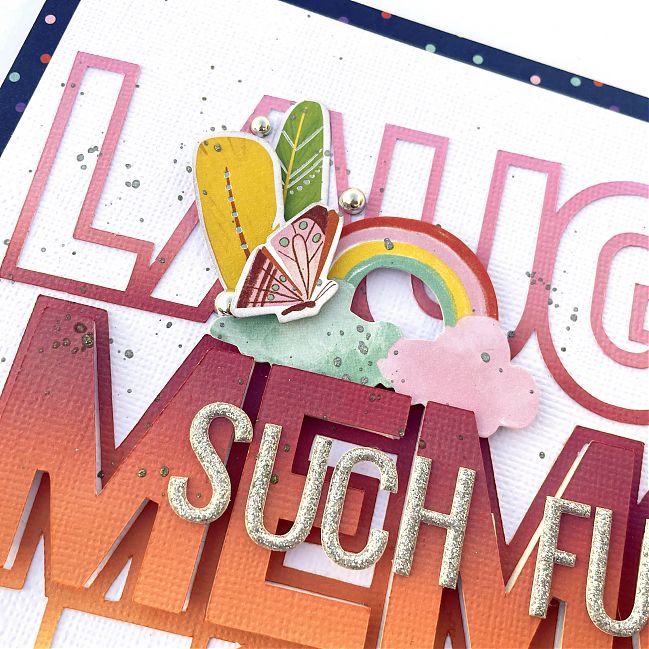
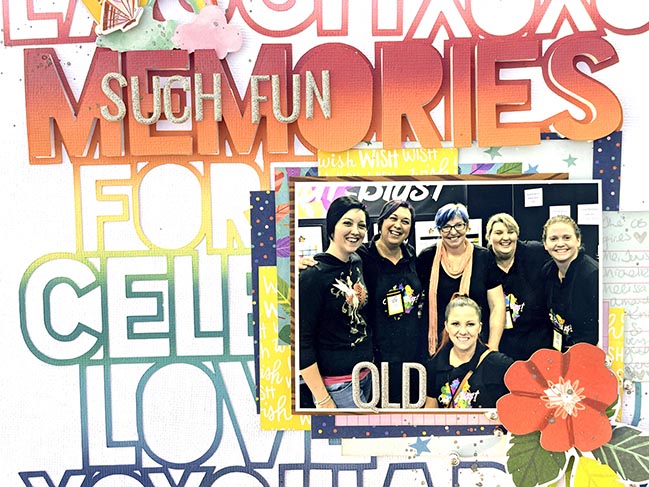
I’ve cut a cut file from white cardstock (from CUT to YOU) and then using my Distress Oxide colours and blending brushes I have added colour straight to my cut file while it was still stuck to my stick mat. Handy Tip: if you want to add colour to a cut file like this, leave it stuck to your sticky mat while you add your colour so it doesn’t move around or get mangled!! I wanted this to be a main feature of my background. I very carefully stuck my cut file to my white cardstock background on an angle and then added my photo on the same angle to keep this page fun and casual!

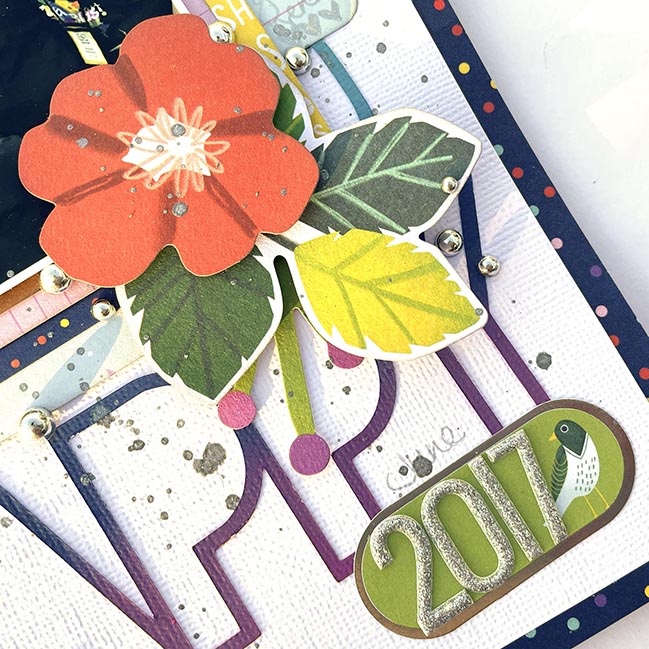
I added back in one of the ink blended words to form part of my title and some silver glitter alphas to finish it off. I then added a small sticker for journalling to the right side of my photo – I really didn’t want to design myself out of a journalling space – and then 2 small embellishment clusters. One to the top above the title and one to the bottom right of the photo. Finally I added a small label to the bottom right corner of the cut file to complete the diagonal design and then sprinkled some silver pearls along that same diagonal.

This photo is one of many that I took a couple of years ago (ok, ok, a few years ago!) at a Craft Show that I attended interstate in QLD, Australia. At the time I was part of a couple of design teams and this particular photo is me with some girls that were also on the same team as me. I had the best fun at that show and met so many amazing, fun, beautiful crafty souls that now, 5 years later, I call true friends and I long for the days that I can easily fly across the country again to hang out with them!!
This design would also be super fun in an ombre/monochromatic design – pick a colour and work with all the shades you have of that colour, working with the lightest shade at the top (for an ombre) working your way through to your darkest shade. Then embellishing with that same colour all across the page! That would be so fun, in fact, I may even add that my list!! Another way you could change this up would be to use the internal letters (and of course, the positive of the cut file!!) that have been inked with a plain coloured cardstock as the positive cut. You could then pop up either the letters or the cut file for some fun dimension. Or leave it flat and have it as more of a background design like I did!
If you’d like, you can watch my video on how I made this layout, over on my my Youtube.
| Melinda is an Aussie based in sunny Perth, Australia; surrounded by boys! Alan, aka her husband and biggest supporter, plus sons Jacob and Hunter. One of her favourite ways to spend my time is playing with pretty paper and telling stories. When not in her craft room, she listens to lots of True Crime podcasts and loves to read. If you have enjoyed Melinda’s post today, be sure to check out her social media profiles: Instagram, Youtube, Facebook, Pinterest & her Blog. |
 |
![]() Read more about: tutorials
Read more about: tutorials
Next post: Scrapbook Cocktail with Emilie Chamel
Previous post: Creating a Scene with Anna Komenda


