Scrapbooking with even more photos
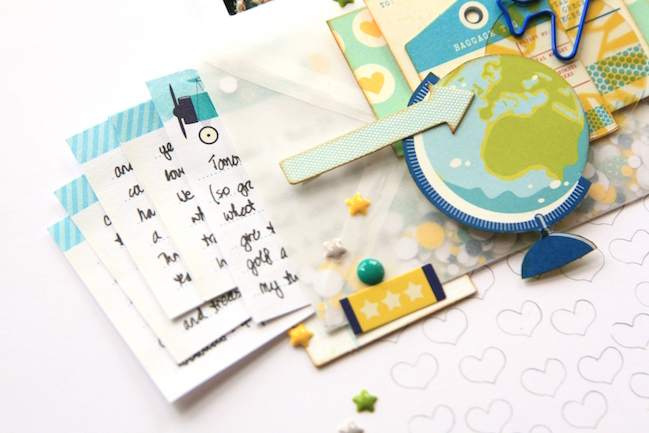
A girl after my own heart: Kirsty Smith loves globes, journaling, and finding ways to include even more photos on her scrapbook pages without losing the fun of layered embellishments. I hope you enjoy her project today just as much as I do!
All the birthday talk around here lately is great timing for me as I have just turned twenty-nine. Each time I celebrate a birthday, I like to look back on the past year and think about the highlights, the things that I have loved and the changes that have happened in my life. And then I scrapbook it! When I thought about it, being twenty-eight was a pretty big year, and I realised I had so much I wanted to include. But I also wanted to be able to use all the pictures I wanted, and say everything I wanted to while still keeping my page relevant to my style scrapbooking: using layers, white space and little details.
So today I’m going to share a way to include lots of photos and journaling in a layout without making it seem overcrowded.
To do this, we’re going to use a divided page protector to act like one half of a double page spread. I personally prefer to work on single 12 by 12 layouts, and using a pocket page to be the other half gives me the opportunity to include more photos without the need to design a full double spread.
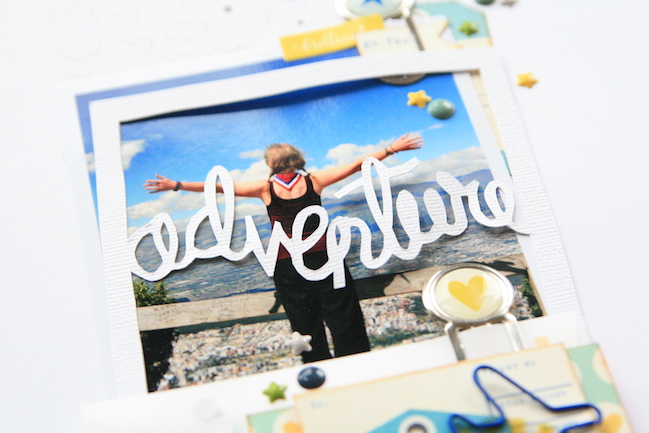
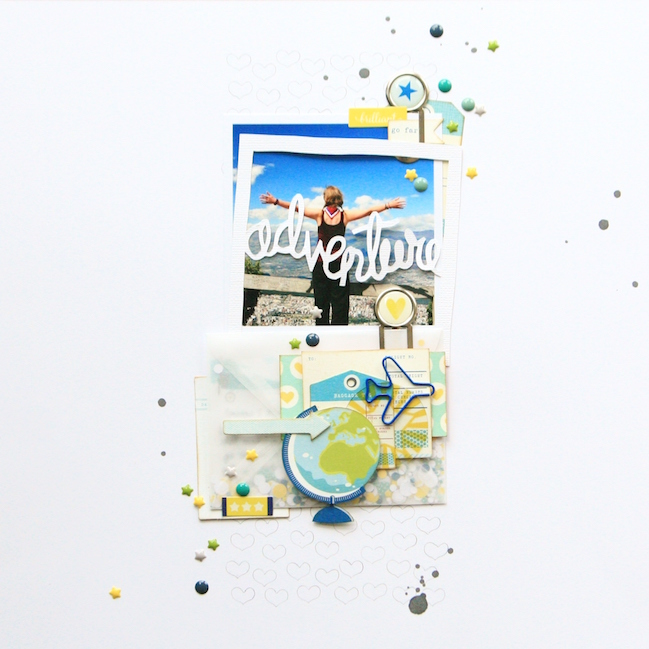
Let’s start with the 12 by 12 page. I chose a single photo to be featured and used it as the inspiration for my colour scheme as I loved the beautiful blue of the sky. I paired the picture with a vellum envelope, stacking the two in a column on the page, and structured the rest of the design around this. To emphasise the vertical construction of the design, I used a Shimelle stencil to add a background of little hearts. However, I wanted it to be a subtle effect, so rather than inking or painting over the stencil, I used a pencil to produce an outline. The result is delicate but helps to anchor the rest of the design.
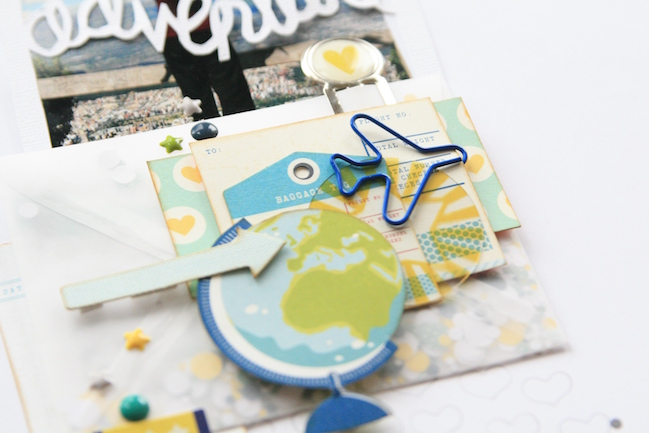
Next comes the detail and the layers. I love to use vellum envelopes as they offer a sneak peak of the goodies inside. In this instance, I used leftover scraps of some of the Starshine papers to punch out little circles of confetti in yellows, blues and greens. I filled the envelope and sealed it.
I love all the little die cuts in the Starshine collection as they are just perfect for adding little layers of detail. I pulled out any that fit my colour scheme and stacked them up with a paperclip, topping the layers with a globe cut from patterned paper. I like to ink the edges of papers and die cuts as I think it helps to add definition to the different layers, and using different elements such as transparent die cuts will add texture.
I felt the page needed a little something else however, so I hand-cut a title inside square frame, to echo the photo. I placed this over my picture, and I like how this tied the theme of adventure and exploring through the embellishments and into the title. That’s how I like to think of the last year; as an adventure!
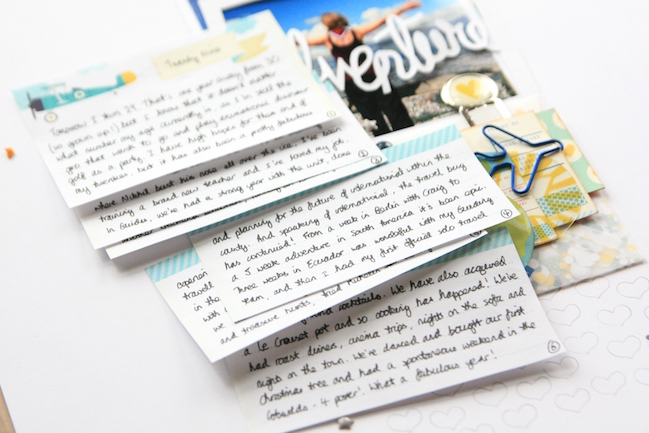
With the page coming together, it was time to write my journaling. I had a lot to say, even though I was just drawing together a few highlights. I used a little journaling pad to pen my thoughts and to write as much as I wanted. Once finished, I put the sheets into a little stack and slid them behind the vellum envelope. As the envelope was full of confetti and sealed, I couldn’t put them in the envelope, but by sticking the vellum down on only 3 sides, it effectively makes a secret pocket where I can conceal as much journaling as I like without affecting the appearance of my page. I also like that if you look closely, you can see a hint of writing just peeping through.
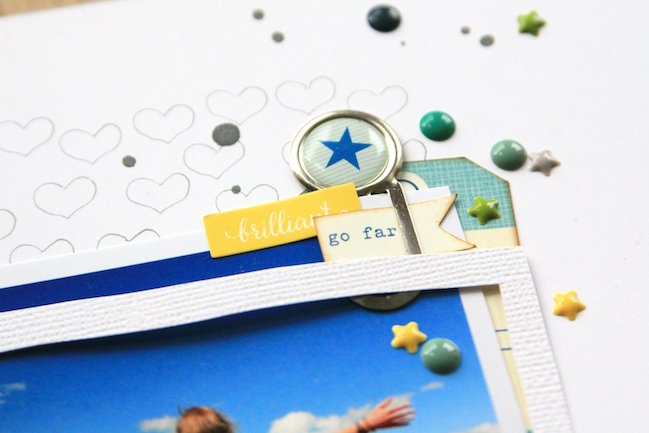
To finish off, I added a splash or two of ink, and some of the lovely little puffy stickers from the Starshine collection.
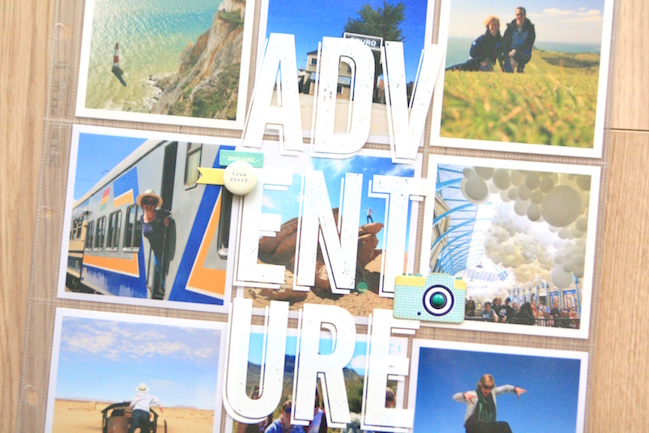
Now comes the time to turn this into a double pager! I filled a divided page protector with photos that I wanted to feature. Any size photos can work for this – just fill the pockets! Equally, a 12 by 12 page protector will work just as well if you stick your pictures to a sheet of cardstock to keep them in place.
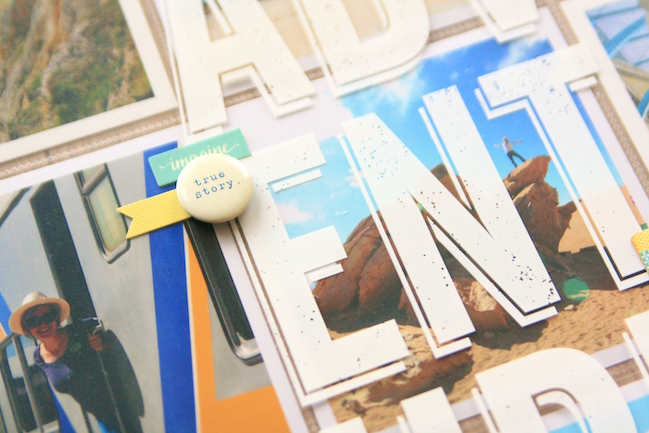
I used 4 by 4 photos with a white border to match the picture and frame on my page. Having repeating elements in your photo page is a great way to tie the two together and create a sense of cohesion. Finally, I used a transparency featuring the word ‘adventure’ as an overlay, with a couple of pops of embellishment to link back to the scrapbook page.
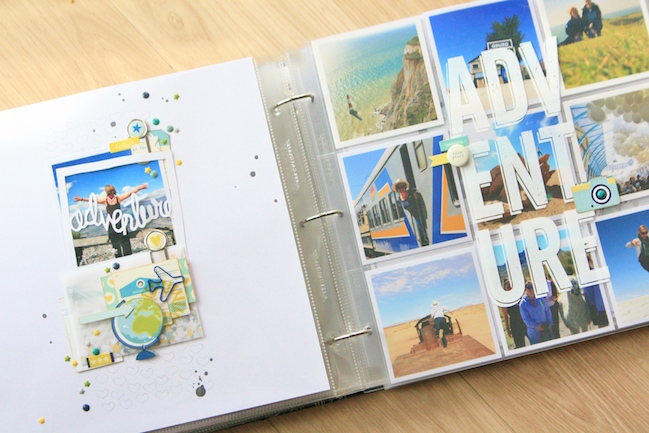
And there we have it: an almost-double-page-spread featuring ten photos and log journaling…and you’d never know it! I hope this idea will help you to incorporate more into your pages.
![]() Read more about:
Read more about:
Next post: Glitter Girl Adventure 137: An Inky Experiment
Previous post: The Scrapbook Process - A New Online Scrapbooking Class!


