Gallery inspired frames for a scrapbook page
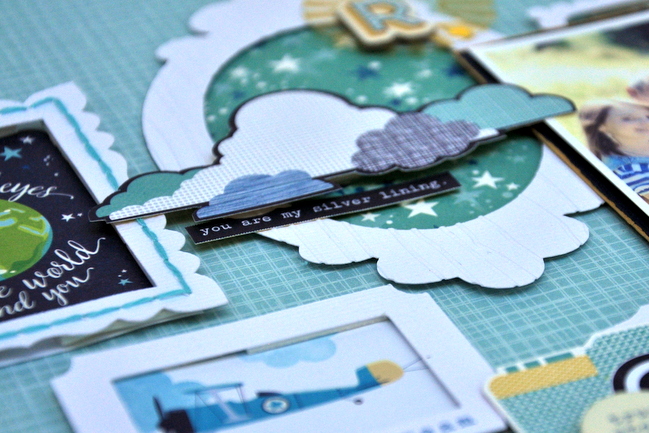
Time for a project from one of our contributing designers! Sheena Rowlands is here with a new layout and an interesting source of inspiration for your next challenge.
When I hear the word portraits, I immediately think of art galleries and museums and remember numerous visits over the years to see painted portraits of the famous and not so famous. I was also reminded of some photos shared by a friend (scrapbooker and fellow Hey Little Magpie designer) Niki Rowland, showcasing a wall she had decorated in her new kitchen where she had created her own personal gallery wall of her family.
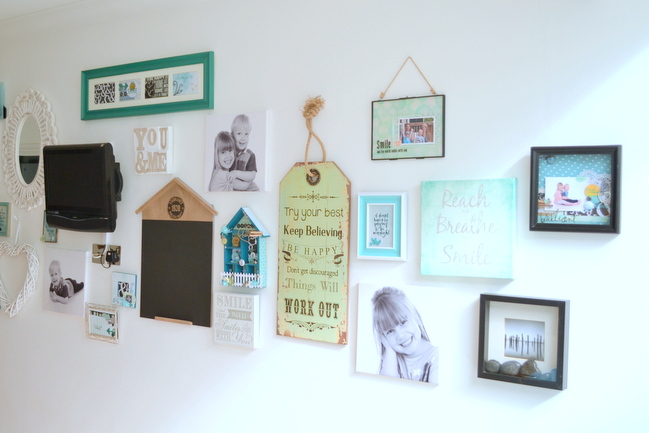
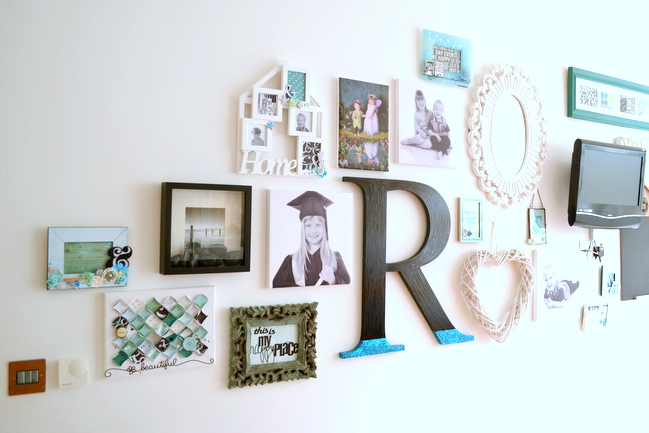
The mix of shapes and frames on her wall had me thinking this would be perfect as a starting point for my page. I sketched up a few ideas using frames as a background and once I was happy I got started.
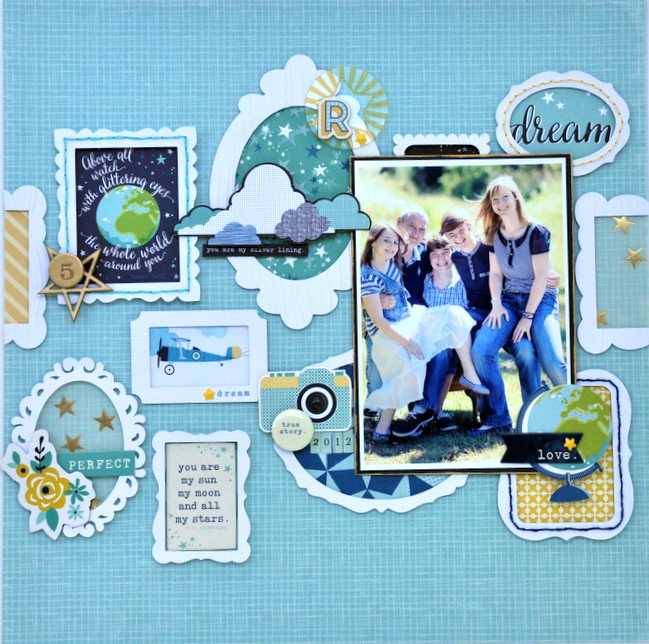
First I gathered supplies to use with my photo. It’s an informal family portrait we had taken a few years ago now, but I’ve not scrapped it before. I printed it at a standard 4×6 so it could take centre stage but also leave plenty of space for the framing work.
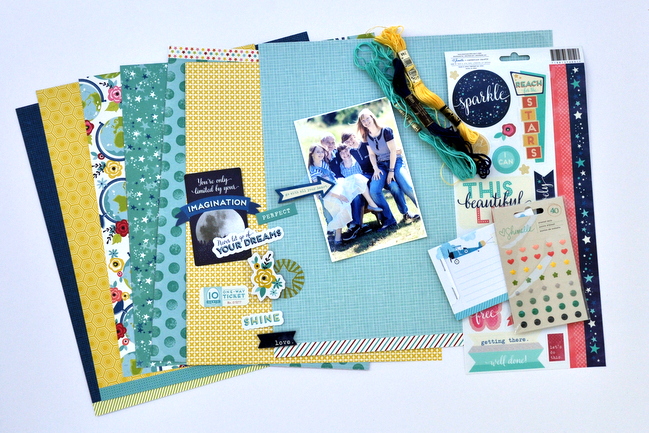
I tend to find that I’m colour led when choosing stash to use and this time was no exception as I pulled out supplies of blue, teal, yellow, and navy from the Starshine collection plus some embellishments and threads to go with them.
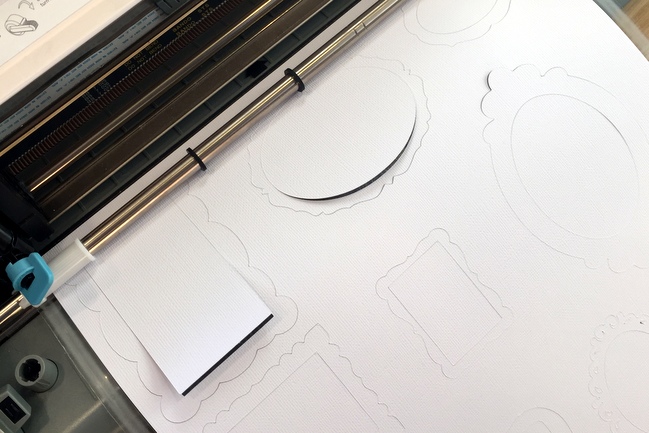
I am lucky enough to be able to die cut a selection of frames from white cardstock, but handcut frames or purchased frames would work equally as well when making this background.
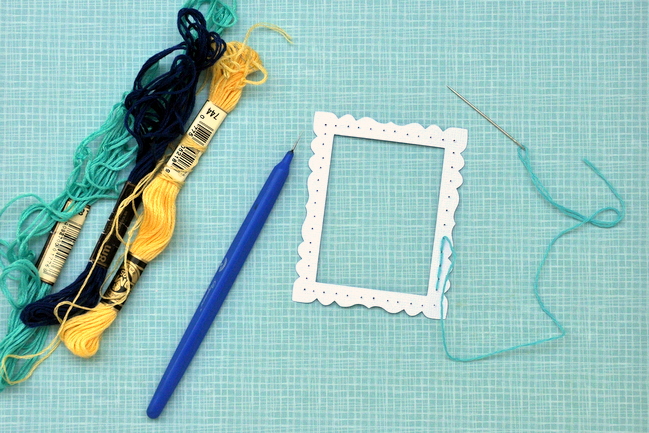
To add interest and texture to some of the frames, I backstitched around a few using some of the large supply I have of embroidery threads from my cross-stitch days and also embossed a couple using a woodgrain folder and my trusty Sizzix machine.
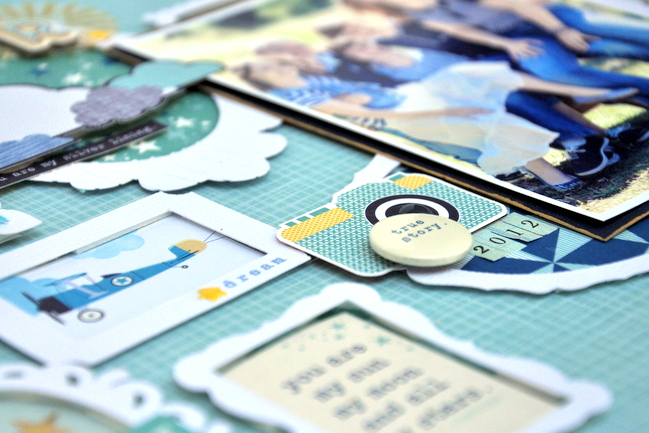
The best part of layout making for me is the fiddling about. I like adding layers and embellishments, then moving them around till I find the perfect spot for them. Sometimes I take some quick snaps on my phone as I do this so I can see how the page looks and the ideas that I’ve tried. As you can guess, I’m not a quick scrapper but that doesn’t bother me, it’s the process that I love!
I used vellum, patterned papers, die cuts, and chipboard to back the frames, which were added using foam pads for dimension. When I was happy with the placement of the frames I adhered them down before adding my photo with more foam pads.
When I look back to Niki’s gallery wall I can see how it influenced the flow of my design, the colour scheme used, and I’ve even included our initial like she did, to create my own little family work of art.
Now it’s your turn! Create a scrapbook page inspired by a wall of frames (Niki’s or another wall you admire!) and share it with us. What you scrap and what colours and techniques you use are totally up to you, and we can’t wait to see your framing work in action.
![]() Read more about: inspiration-party scrapbooking-challenges
Read more about: inspiration-party scrapbooking-challenges
Next post: An Adventurous Colour Story
Previous post: Scrapbooking older photos with a monochromatic colour scheme


