How to use letterpress plates with the Big Shot (and a travel layout process video!)
It seems absolutely ages since I pulled out the kraft cardstock to scrapbook some travel photos, since I feel pretty spoilt for choice with baby photos these days. With a week away (part work, part play) last month, it seemed time to bring the two together, and kraft cardstock feels like an old friend I haven’t seen in years, yet the conversations start just where they left off. I’m tempted to say the rest of the scrapbooking world can keep all that white cardstock for their backgrounds and I’ll just stick to patterns and kraft. It’s a happy combination.
I was also really excited to use a new product we added in the True Stories collection – letterpress plates. WeR Memory Keepers has had these for a while and they have a special tool system that makes it all work beautifully, but… I do not have that tool system. I have a Big Shot that I use for my die-cutting and if I could make the plates work with what I already had, then that would make me very happy. It was actually far simpler than I imagined, and I love the look. Admittedly it is a look that is very difficult to show the detail in a photo, but I love it in person and it is definitely worth the extra step to just stamping, especially when it turned out to be so simple. Scroll down for those steps – the video covers the layout and then the letterpress plates are below with step by step photos.
It’s an ‘As It Happens’ video, so who knows what random tangent will turn up this time! Pretty sure I made it through without any grammar debates today.
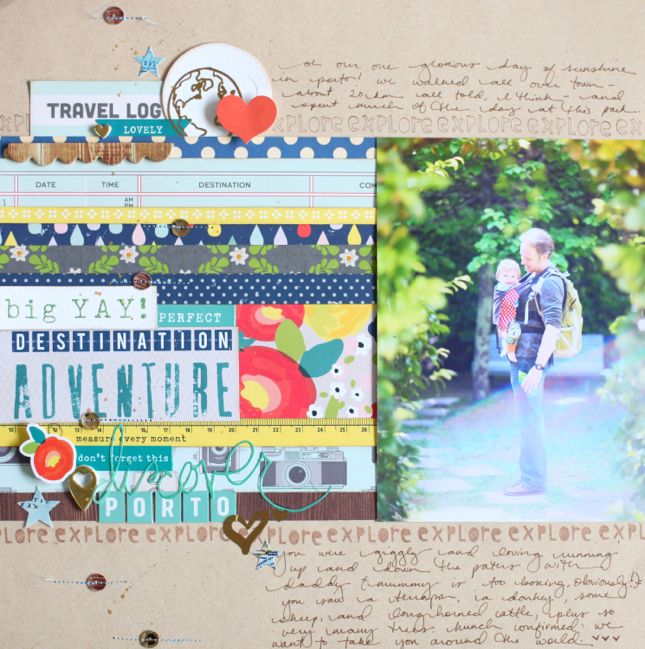
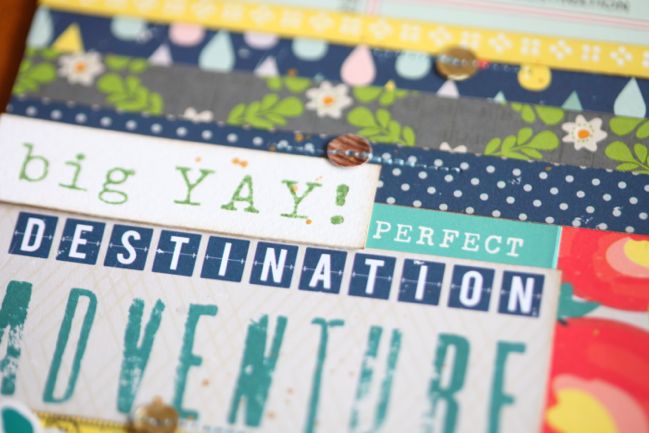
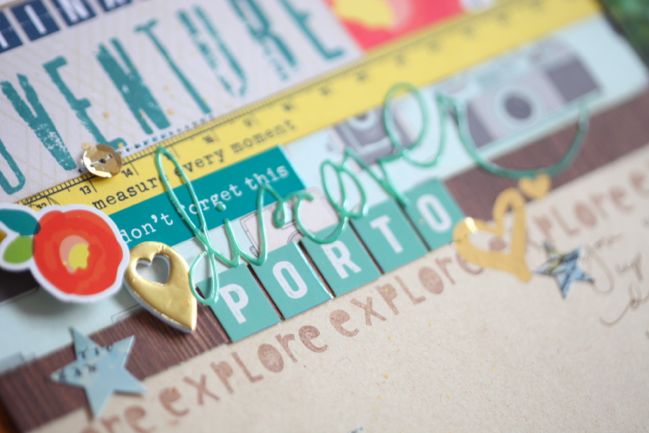
All these pieces of patterned paper came from my scrap basket, which always feels like an accomplishment! It’s a mix of paper from True Stories plus October Afternoon (Travel Girl and 5 & Dime) and an old Studio Calico woodgrain. The embellishments include True Stories ephemera and stickers, Heidi Swapp gold foil stickers and epoxy word, Studio Calico sequins and map star stickers, stamps from October Afternoon Travel Girl, and gold rub-ons by My Mind’s Eye.
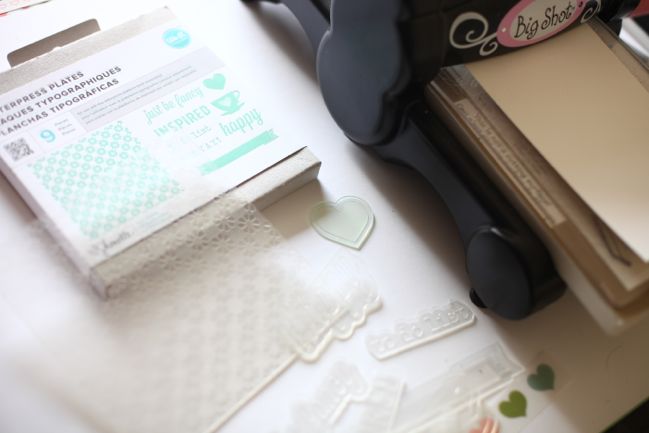
I didn’t use any special supplies aside from the letterpress plates themselves. They come in a set with a background and several smaller pieces (images and sentiments). I also used watercolour paper, dye ink, and my Sizzix Big Shot with the tabbed base and two cutting plates.
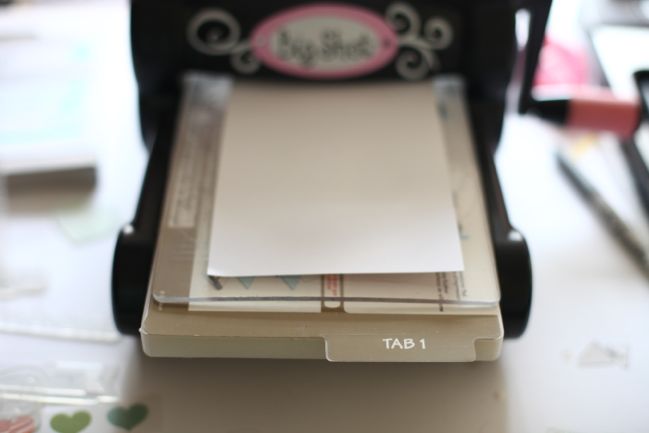
I set up the tabs and plates exactly the same as I would for thin metal dies: tab one on the base, one cutting plate, and the paper.
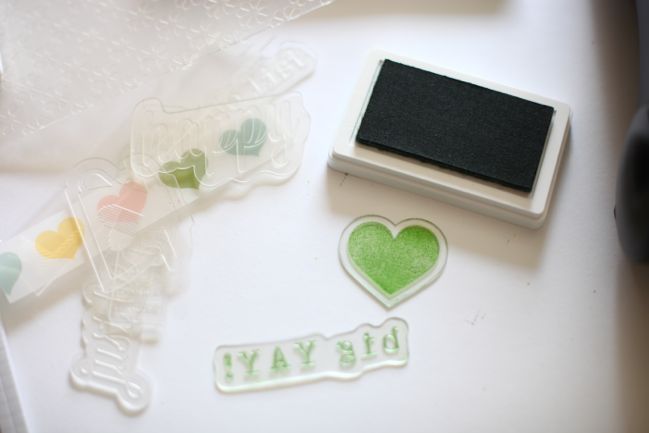
Then ink the plates. The trick is to make sure there is no ink on that bordering edge, because it will hit the paper. I found dye ink easier for this because my pigment ink pads were all a bit spongy so made a real mess of the edges, but you could use pigment ink applied with a brayer or brush to keep the edges clean.
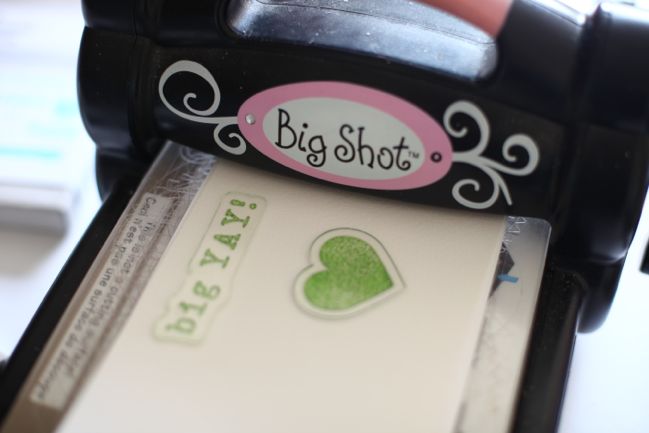
Place the plates onto the watercolour paper. Make sure nothing moves so you get a clean impression.
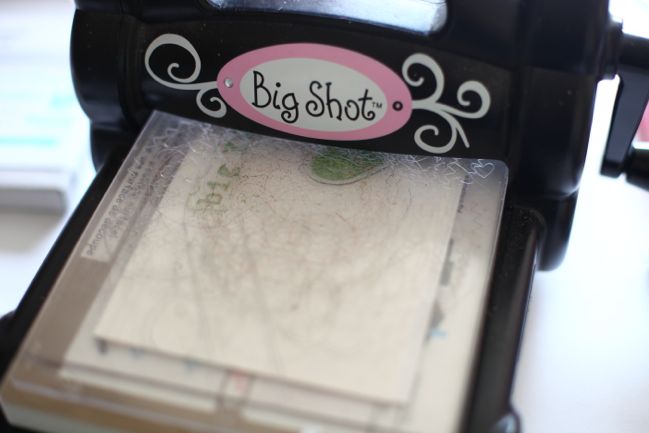
Top with the second cutting plate and run it through.
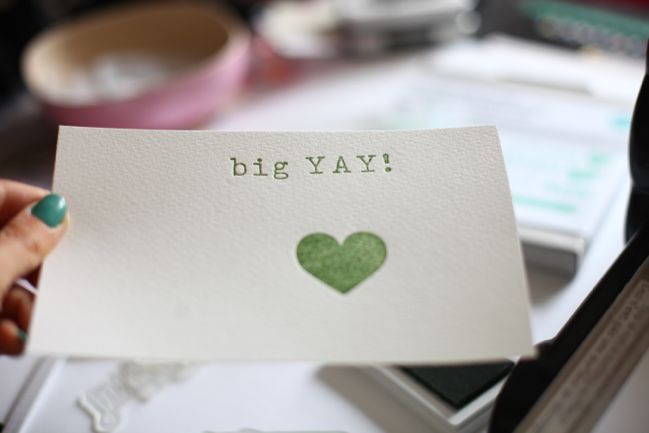
You’ll end up with a beautifully inked and debossed accent for your project!
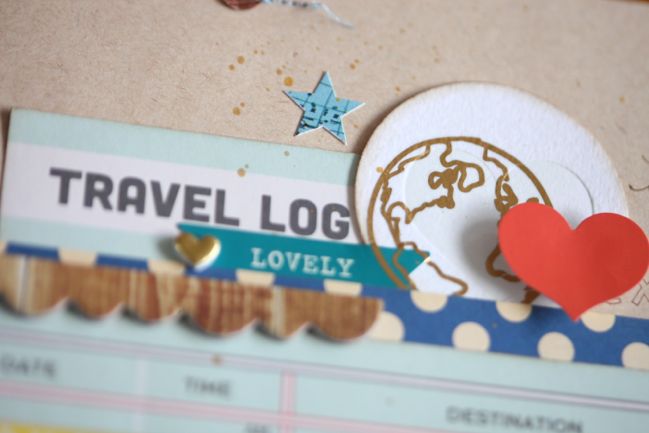
The plates can also be used without ink for a textured embellishment, like this heart.
Admittedly, it’s not quite how the system was designed to be used, but it works for me and I love the added detail on my page. I need to try that background plate next!
You can find the True Stories collection – including the letterpress plates – at Blue Moon Scrapbooking, Scrapbook.com, or your favourite crafting retailer.
![]() Read more about: american-crafts scrapbooking-videos
Read more about: american-crafts scrapbooking-videos
Next post: Scrapbooking with old and new supplies
Previous post: Cut, Stick, Stamp :: Card & Scrapbooking Ideas for a Springtime Kite Stamp Set


