Creating Christmas Giftcard Wallets by Madeline Fox
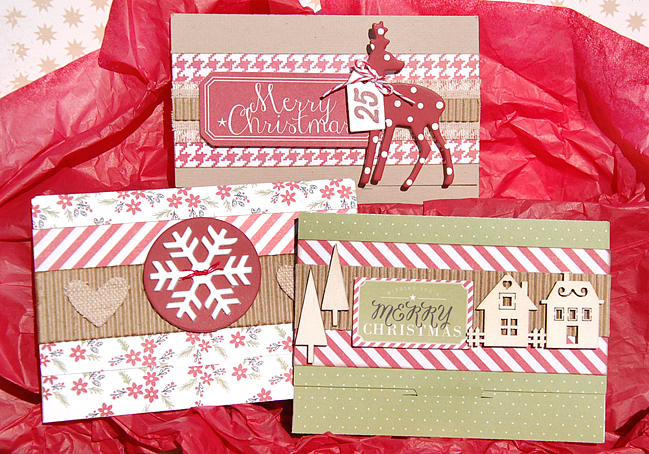
In years past, my husband, kids and I would hurry out the door on Christmas Eve, arms loaded with fancy wrapped packages of all shapes and sizes, for a family gathering and present exchange. Now that our many nieces and nephews are older, we purchase gift cards to their favorite stores…and I can fit almost everything in my purse! Still, I want those packages to be special. The perfect solution – decorated handmade gift card holders.
While there are many gift card holder templates out there, I wanted something different. The requirements: ease of assembly, able to be reopened and closed, secure sides, and large enough to pretty up with my scrappy supplies! The result is this tri-fold holder, with tab and slot closure, foldable side flaps, and a finished size of approximately 3 1/2 × 5 inches.

Click here to access a true-sized jpg. template for use with your digital cutter.
Instructions
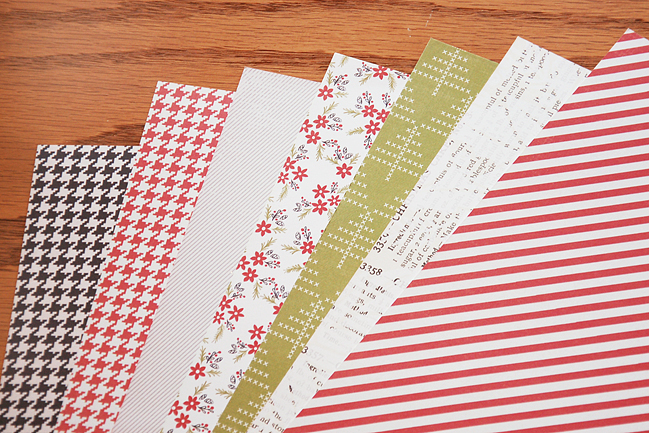
Select several 12 × 12 patterned papers, with relatively small prints on one side and contrasting colors and patterns on the reverse. I used Pink Paislee’s Merry and Bright collection.
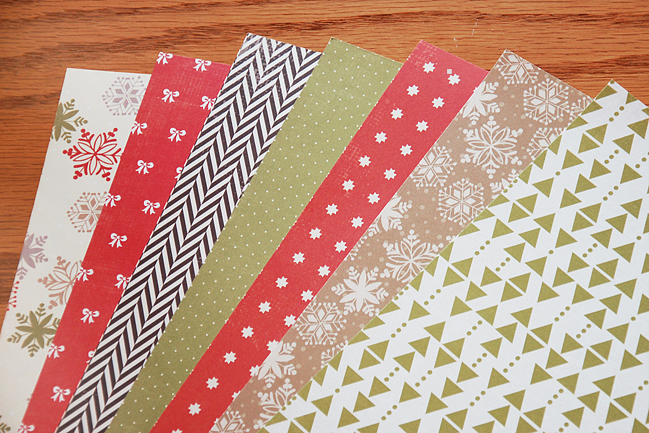
The reverse
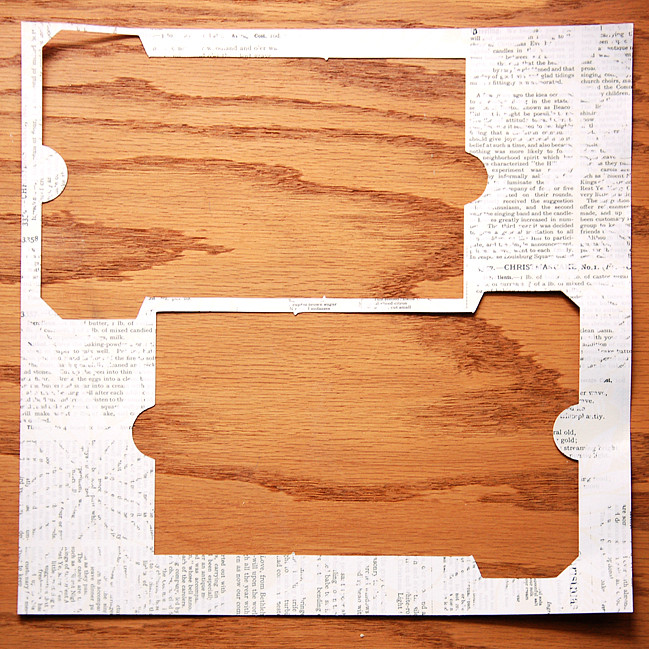
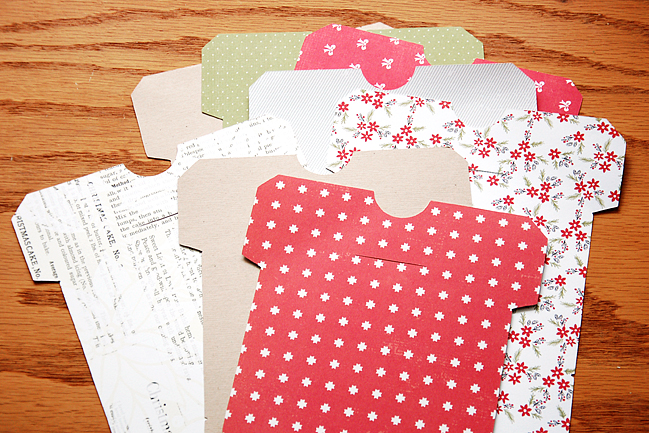
Cut two holders from each sheet of 12 × 12 paper (and save those scraps!)

Here is a look at those papers with a sheet of kraft cardstock added to the mix.
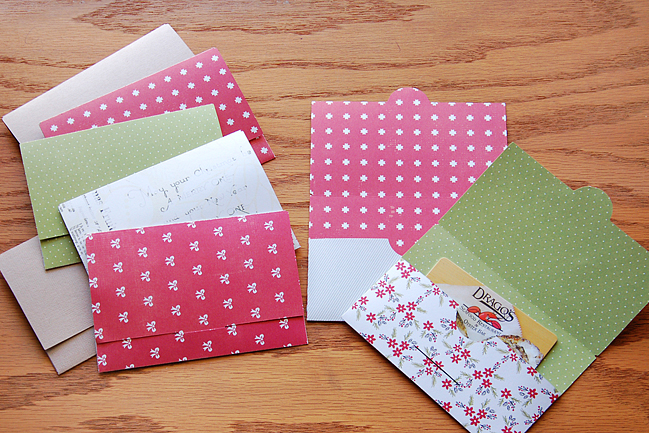
Using a bone folder, score across the card at notches and side tabs. Fold as shown, securing side tabs with adhesive to create a secure pocket for the gift card.
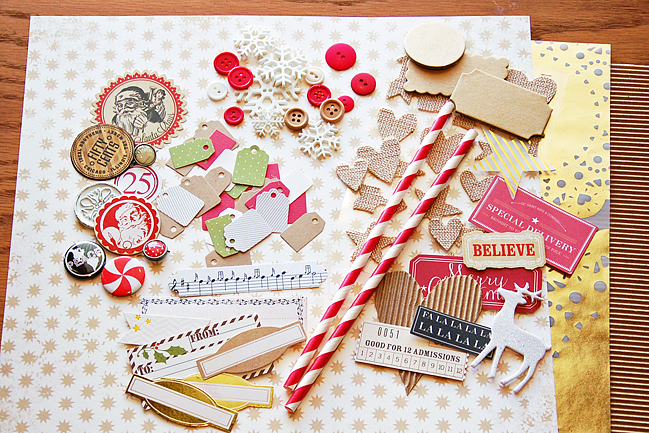
Now for the fun part! Shop your stash for stickers, buttons, chipboard, labels, flair, wood veneer and more. Not everything will find it’s way onto my project, but it’s nice to have a variety of embellishments from which to choose! Below are a few of my finds, including tags punched from paper scraps and corrugated cardstock (a favorite for adding dimension)
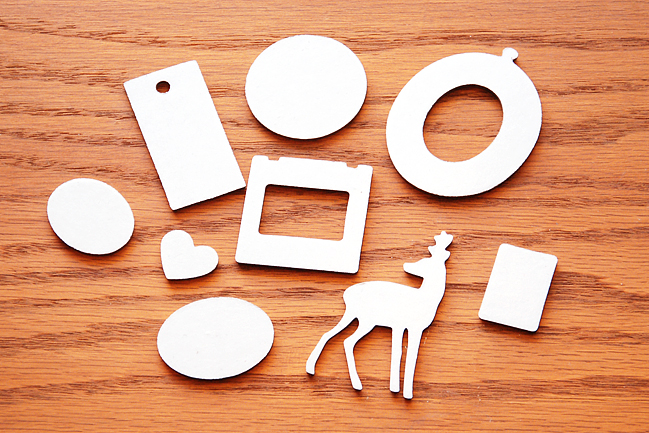
Here’s one way to turn unused chipboard shapes into coordinating embellishments for your card holders. I’ve chosen a few chipboard shapes from Maggie Holmes Open Book collection,
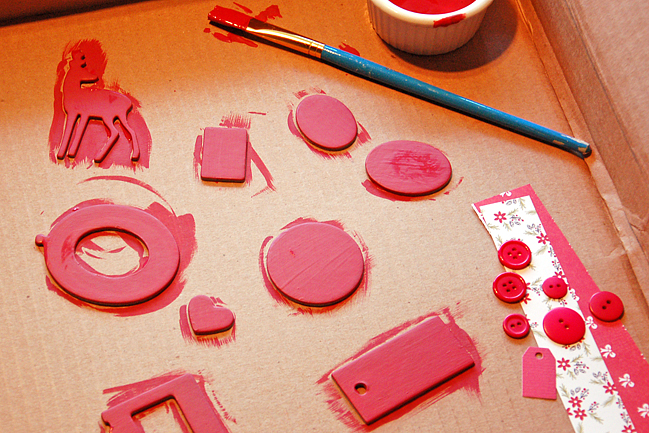
painted them with two coats of acrylic paint,
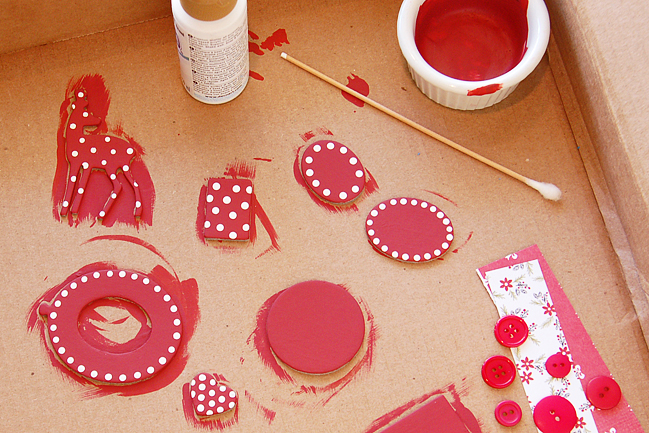
and decorated them with white dots (along the perimeter of the ovals, polka dots on the deer).

Next it’s time to let your creativity shine! Decorate the front of each gift card holder using all those paper scraps and your stash of embellishments.
For me, having a basic design helps to streamline the process. I began by layering horizontal strips of patterned paper and corrugated cardstock across each of my card holders. Chipboard, banners, tags, buttons, stickers, burlap hearts and more make each one unique.
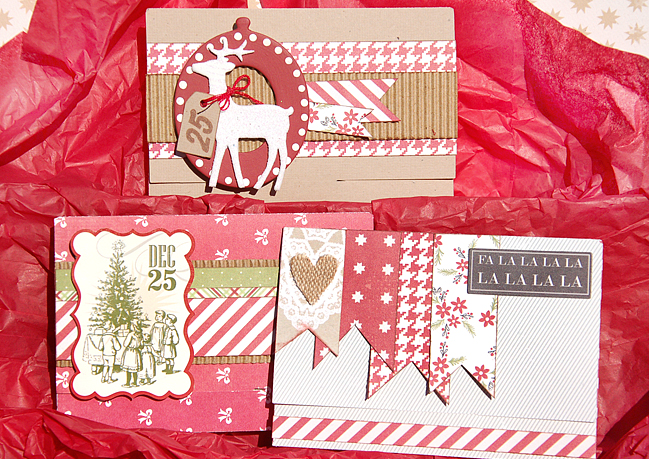
At the bottom left is an alternate style, with vertical banners cut from paper scraps.
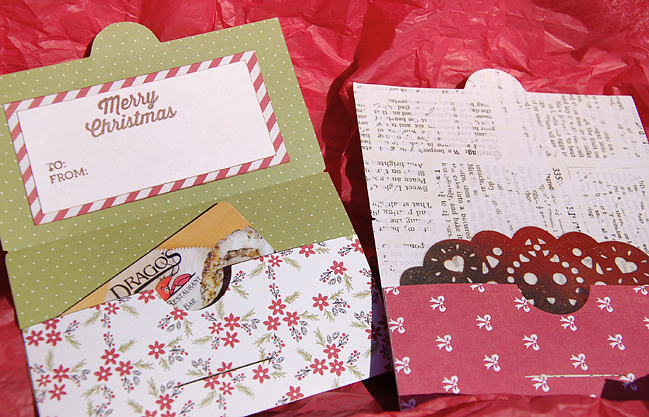
Inside or out, add a sentiment and/or place to add the recipient’s name.
There you have it, a beautiful and unique set of gift card holders, fun to create and sure to impress.
| Madeline Fox is a mother of five, living in the suburbs of New Orleans. Through the years she has tried her hand at practically every creative pursuit known to man (quilting, smocking, cross-stitching, painting, and most recently, stamp carving) but has fallen hard for scrapbooking. Beginning her love for patterned paper when her youngest was a baby, she’s realized that she will never “catch up”, but that’s OK. Fourteen years later, Madeline still enjoys finding new ways to combine paper, pictures, and memories.
She is currently on the design team for the Scraptastic Kit Club and Store, and can be found on Instagram, Pinterest, her Paper Gumbo blog, and poolside cheering for her avid swimmer. |  |
![]() Read more about:
Read more about:
Next post: Introducing True Stories... my new collection with American Crafts
Previous post: Custom Pocket Pages Tutorial with Carrie Elias


